Motorizing a Homebrew Grain Mill
Motorizing Your Mill, Purpose Built Solutions
- Motor Kit Barley Crusher – works with both Barley Crusher and Cereal Killer Mills
- MaltMuncher Mills and Motors at William’s Brewing – MaltMuncher Motorization kits work with lots of drill makes and models
- Malt Muncher Grain Mill – High Torque Motor MILL702 via MoreBeer
- Monster Brewing Hardware – Grain Mill Gear Motor
- Search Amazon for “motorized homebrew grain mill” – to shop around, offerings vary
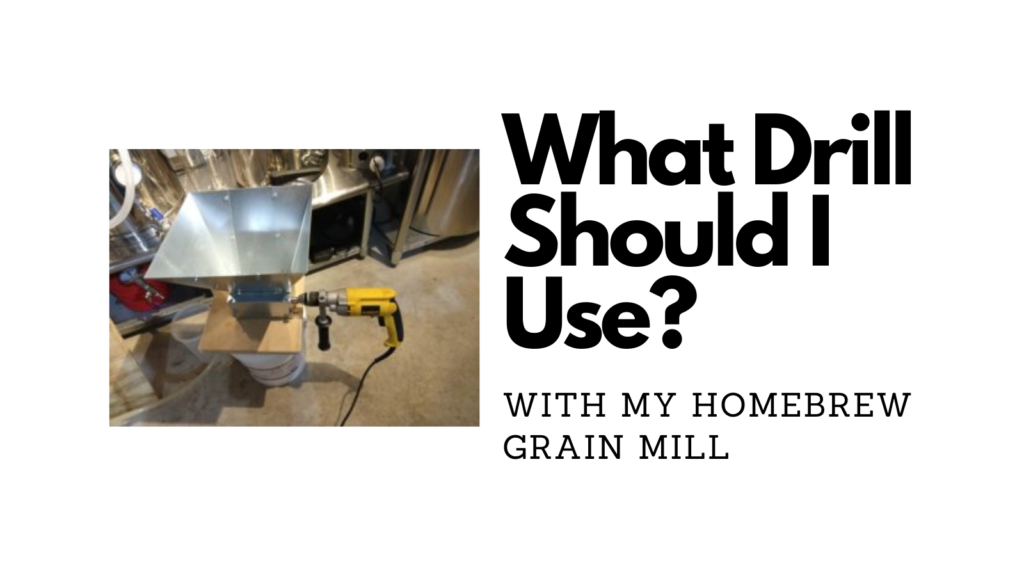
- What Drill Should I Use with My Homebrew Grain Mill?
Important: These are the steps that Aaron took to put his build together. This post does not constitute an endorsement of this process. It is provided for informational and entertainment purposes only. Your situation and equipment may by different. Make sure the components you use are compatible and rated for your intended application. Contact manufacturer with questions about suitability or a specific application. Always read and follow manufacturer directions. Always exercise caution around electricity, moving motors and moving mills. If you have questions about wiring, contact a licensed electrician. We recommend a purpose built solution for motorizing your mill.
Related Resources:
- What Drill Should I Use with My Homebrew Grain Mill?
- Should You Buy a Homebrew Grain Mill?
- Homebrew Grain Mill Reviews
- Our All Grain Related Reviews

This post may contain affiliate links. We may make a commission when you use our links. This will never cost you extra. Thank you for supporting Homebrew Finds!


Homebrew Finds makes no representations as to accuracy, completeness, currentness, suitability, or validity of any information in this article and will not be liable for any errors, or omissions in this information or any losses, injuries, or damages arising from its display or use. All information is provided on an as-is basis. To use Homebrew Finds you must be 21 years or older. toppost:motorizemill tag:tpr


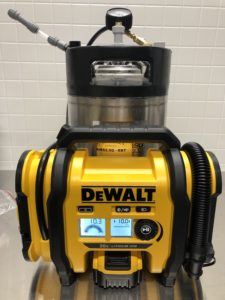
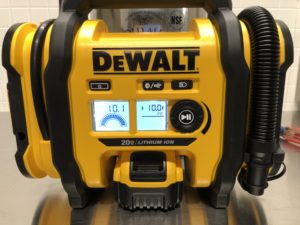 The left screen shows current pressure the right screen shows set pressure. The dial allows you to set pressure and start and stop the inflator.
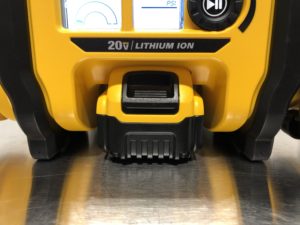 A closeup of an installed 20V MAX Lithium Ion Battery. Helping trim weeds one day and check kegs for leaks the next!


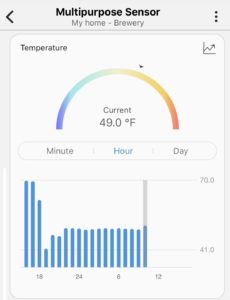
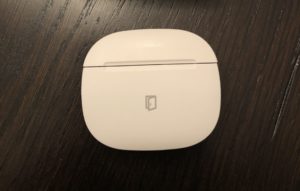
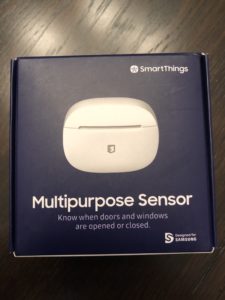 The Multipurpose Sensor can do several things including monitor temperature
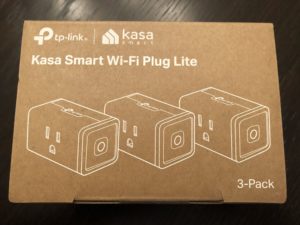 The other piece to the puzzle was a smart plug to tum the kegerator/freezer/fridge off and on as needed. I used a
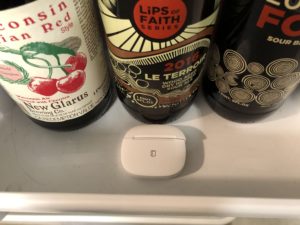
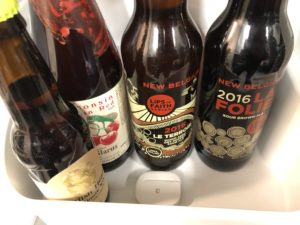 Initially I had planned to use the open/close sensing feature of this sensor for this project. However, the space between the body of my beer fridge and the door itself was too large. Fortunately, this sensor also detects vibration. That means my setup was as easy as placing this in the door. Depending on your refrigerator, you may be able to use the open/close sensor.
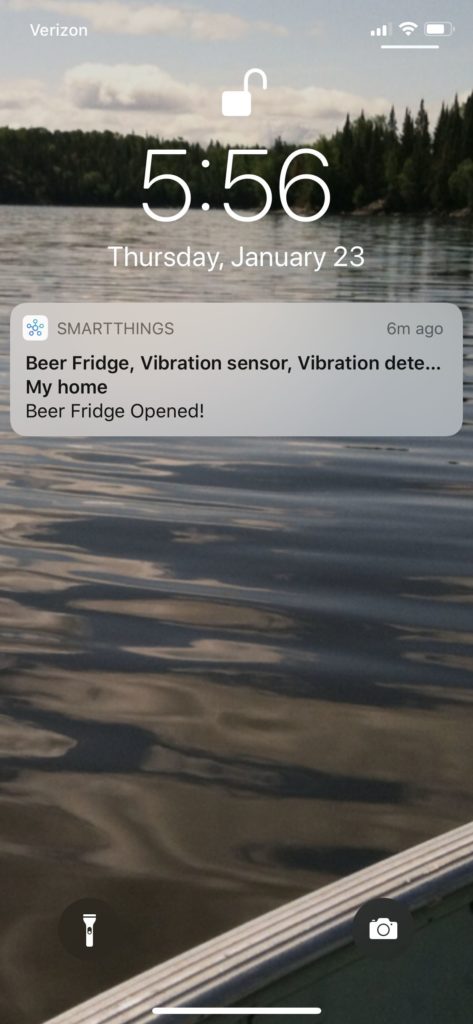 Here you can see an alert that my beer fridge was opened. Setting that up is as easy as setting up an Automation task in SmartThings to send an alert when vibration is detected. I found this to be a fairly reliable system although I did get some false positives. Example, I periodically received notice when the freezer door was opened. Playing with the sensor location and orientation could help with that.
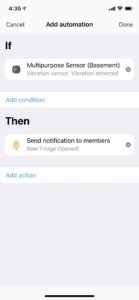 Programming this alert is straightforward. I Just added an automation that is activated when vibration is detected. I chose to “send notification to members” which sends a notification to users of the app. Text message notifications are also an option.
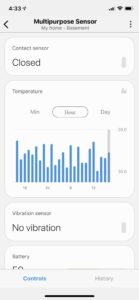 The Multipurpose Sensor also monitors temperatures. Super handy to make sure your kegerator or keezer is doing it’s job.
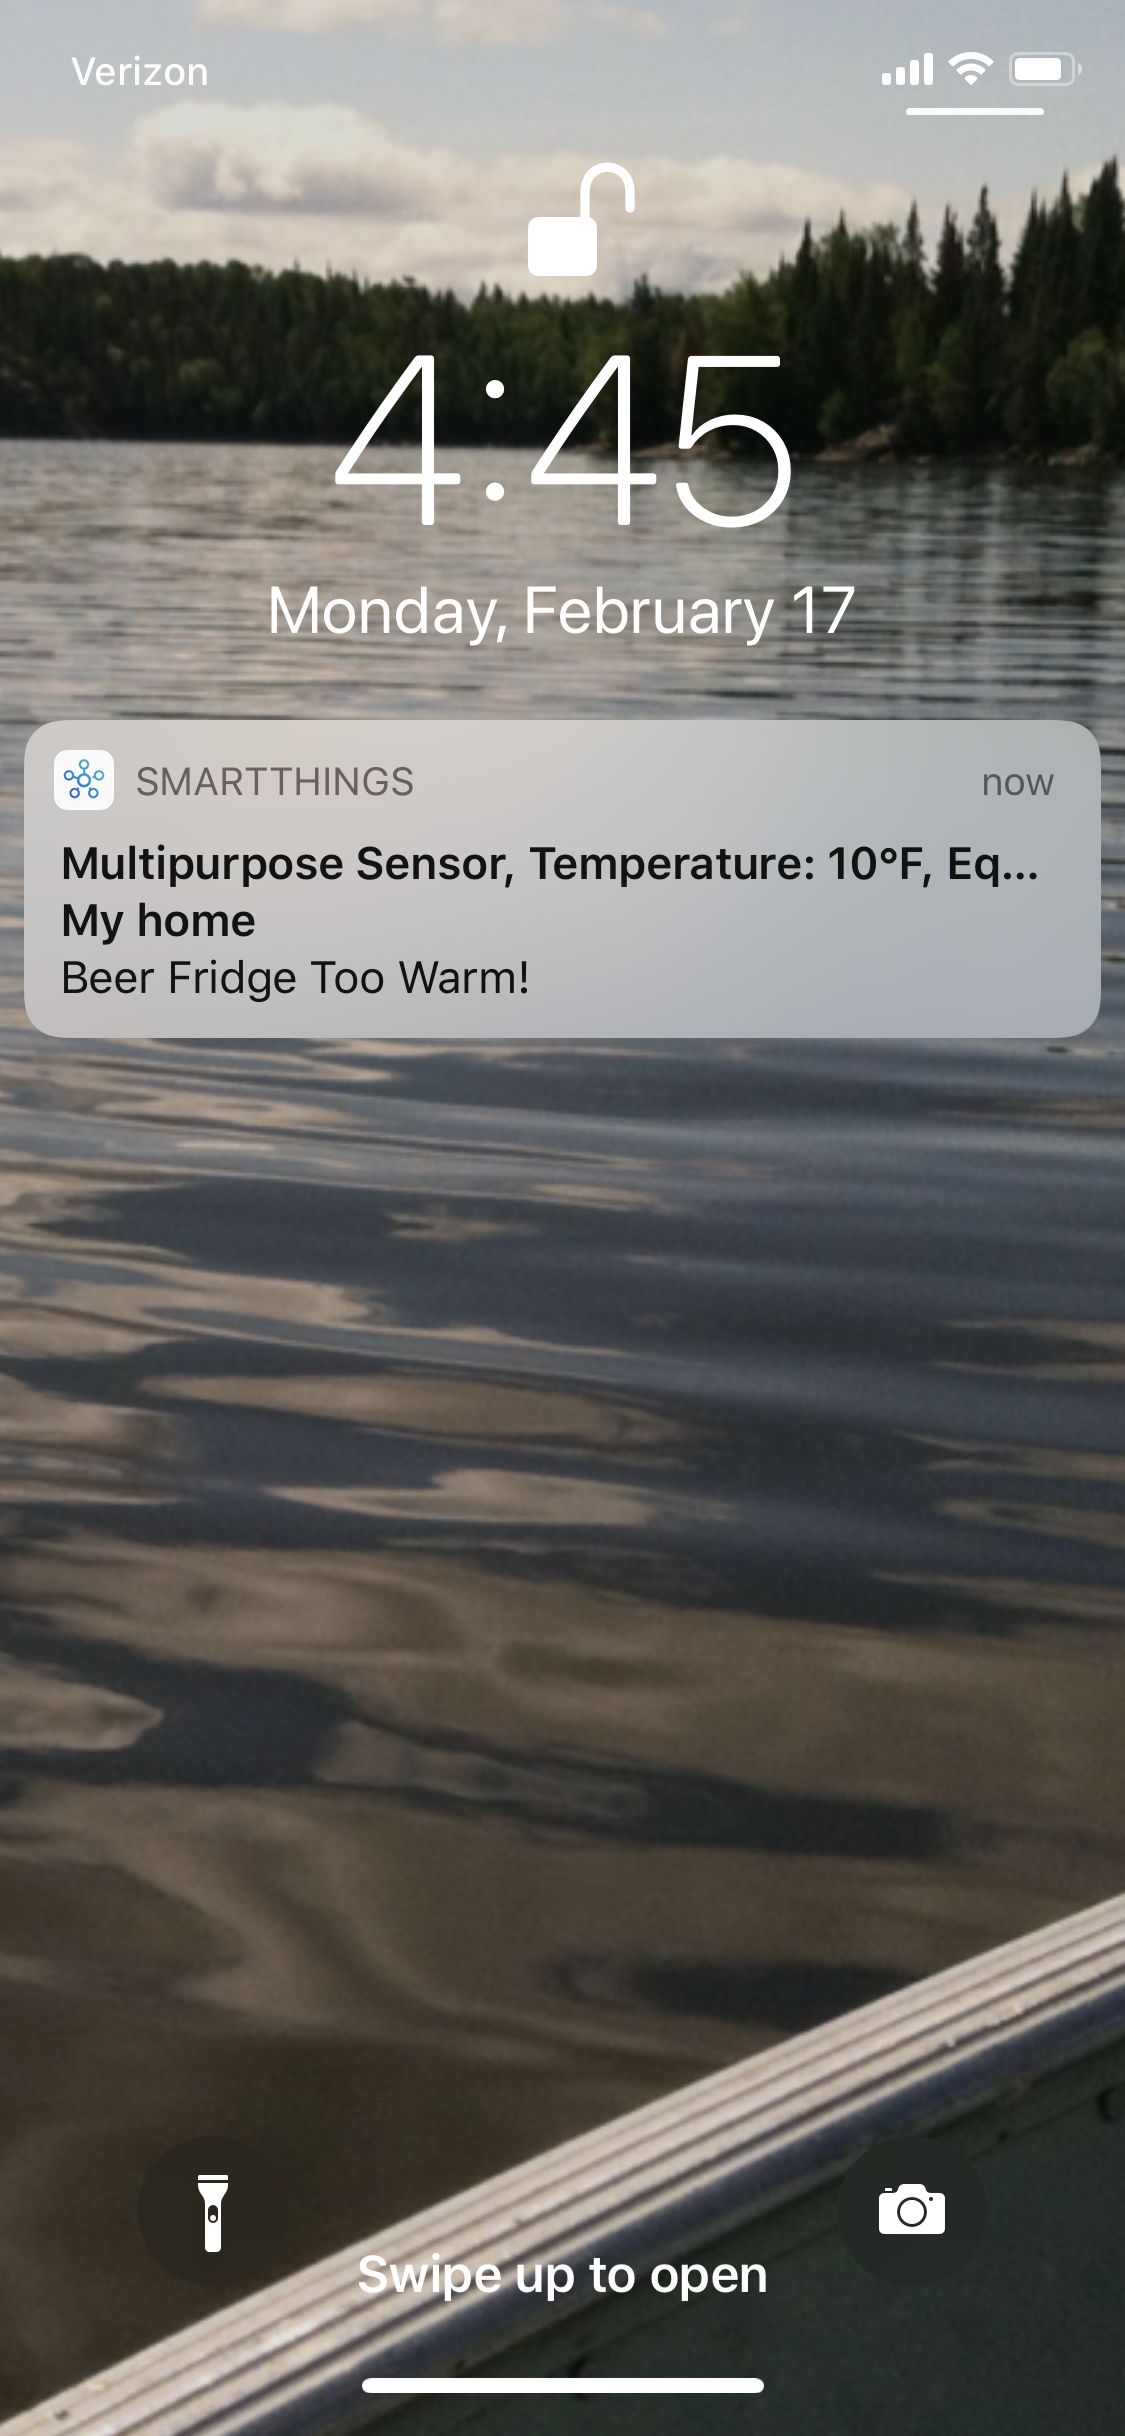 You can also take action based on temperature. This screenshot shows an alert I received telling me my beer fridge was too warm. I set the threshold temp to 10 to trigger this alert as you can see from the notification. That’s just so I could get a screenshot, of course, you’d want to choose a reasonable temp.
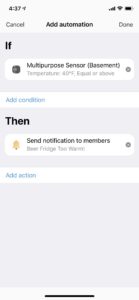 Programming this alert is straightforward. I Just added an automation that is activated when the Multipurpose Sensor goes above a certain set point. In this case, 40 degrees. You could just as easy write another automation to let you know if it gets too cold. I chose to “send notification to members” which sends a notification to users of the app. Text message notifications are also an option.