Kegland New 5 Gallon Ball Lock Corny Keg – $94.99 + free ship!, limit 1

Brand 5 gallon Kegland corny keg from MoreBeer
More InfoFrom the product description, check product page for current description, price and availability:
Ditch the bottles and start kegging today! Save time, reduce the risk of infection and get all those bottles out of the kitchen for good!
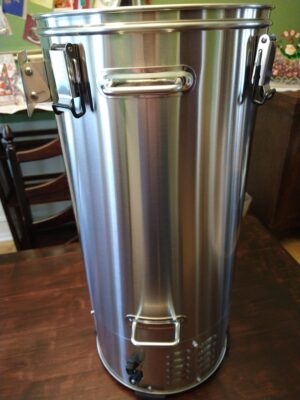
Brand new 5 gallon Kegland kegs offer convenience, security and insurance when compared to used or reconditioned kegs. There’s no need to replace gaskets or other parts, no need to trust that someone else did a good job with reconditioning, and no possibility of residual flavor or aromas getting into your beer!
Features:
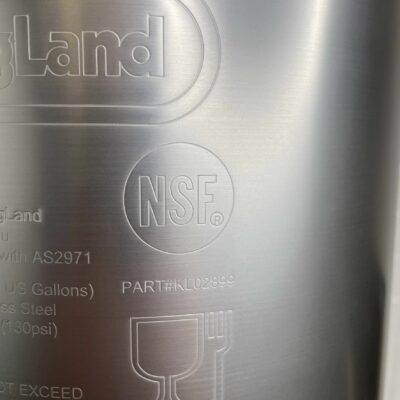
- Ball lock
- 130 PSI Operating Pressure
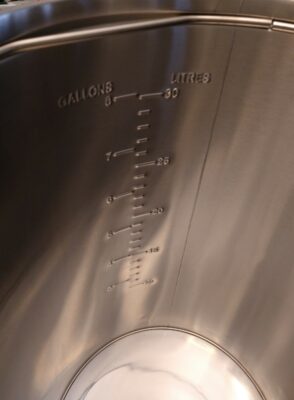
- 5 Gallon (19 L) Capacity
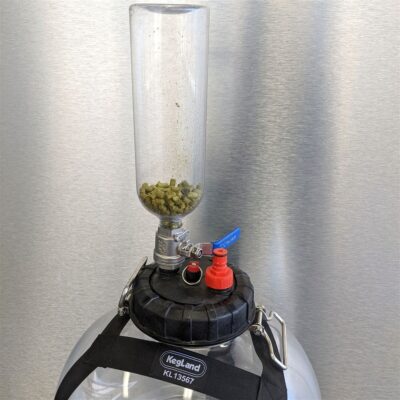
- Dry Hop Tab Welded into Lid
- 304 Stainless Steel
Dimensions:
- Height: 24.75 in.
- Diameter: 8.375 in.
Limited Availability Deal of the Day: As of this posting, this is marked down to $94.99 as a MoreBeer Deal of the Day. Shipping is also free to addresses in the contiguous US with most $59 Orders. Availability: This is available today only, while supplies last. Quantities are limited. Check the MoreBeer’s Deal of the Day to check today’s offering.
Product Description – Here – Use coupon code BEERDEAL to get this discount.
Things have tightened up in the keg market… a lot. Even in the past two days. Some of the deals we had have changed. Considering the deals going on as I post this, I think this is the best deal for a 5 gallon ball lock going on right now. You could get a used keg for less, but not a whole lot less including shipping. Check out my hands on review below. This is a great keg.
Valid today 3/1 only. Limit 1 per order, you may be able to place multiple orders to get in on this more than once. Limited quantities.
Corny Keg – 5 Gallon Ball Lock Keg KEG415
 Learn More! Hands on Review: Kegland Ball Lock Kegs!
Also: Kegerator Tips & Gear | Keg Repair Part #s | Recent Keg Finds
Our Top Draft Resources
- The Most Difficult Spot to Check for CO2 Leaks
- Keg O-Ring Materials Selection! – EPDM, Silicone and Buna-N?
- Why Do I Have Bubbles in My Beer Line? Diagnosing and Fixing Kegerator Foam Problems
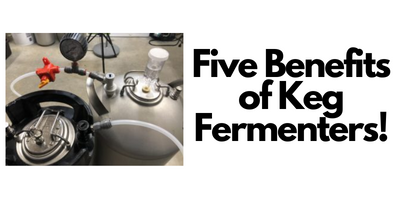
- Five Benefits of Using Corny Kegs As Fermenters
- Rebuilding & Reconditioning Homebrew Kegs!
- Food Safe Replacement Keg O-Rings in Bulk
- Hands on Review: Kegland DuoTight Fittings & EVABarrier Tubing!
- Why Won’t My Homebrew Keg Carbonate? Fixing Draft Beer Carbonation Problems
- What Does a Flow Control Faucet Do?
- Upgrade Your Kegerator – 6 Improvements!
- Serve Homebrew on Any Kegerator & Convert Commercial Kegerator to Homebrew
- Tips and Gear for Growler Filling
- What’s the Difference Between Ball Lock Kegs and Pin Lock Kegs?
- Checking for Draft System CO2 Leaks – Using The Pressure Gauge Method
- Tip: Consider Oetiker Stepless Clamps for Kegerator Gas and Beer Lines
- Hands On Review: Inkbird ITC-308 Dual Stage Temperature Controller +WiFi Version
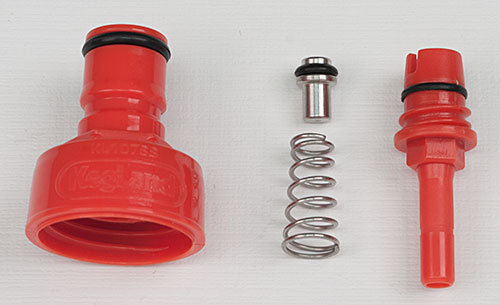
- Universal Poppets Tips and Tricks!
- Convert Your Mark II Keg & Carboy Washer to a Recirculating Draft Line Cleaning Pump!
- Step by Step: Finding and Fixing Keg CO2 Leaks
- Kegerator Beer Line Temperatures & Reducing Foam with a Recirculating Fan
- Kegging CO2 Use Estimations and Calculations
- Step by Step: Balancing Your Kegerator Draft System
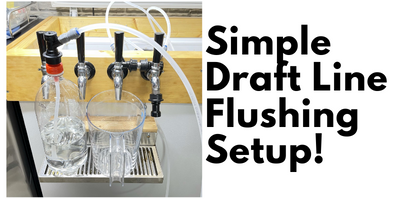
- Building a Simple Ball Lock Draft Line Flushing Setup
- Build a Recirculating Draft Line Cleaning Pump
- Home Brew Keg Roundup – New & Used, 5 and 2.5 Gallon & More!
- Damp Kegerator? Fix Kegerator Condensation
- Portable Draft Beer Serving Options!
- Homebrew Temp Controller Roundup! – Kegerator and Fermentation – concepts, applications and models
- Bulk Keg Orings and Keg Repair Part Numbers
standarddraft pinned

This post contains affiliate links. We may make a commission when you use our links. This will never cost you extra. Thank you for supporting Homebrew Finds!
morebeer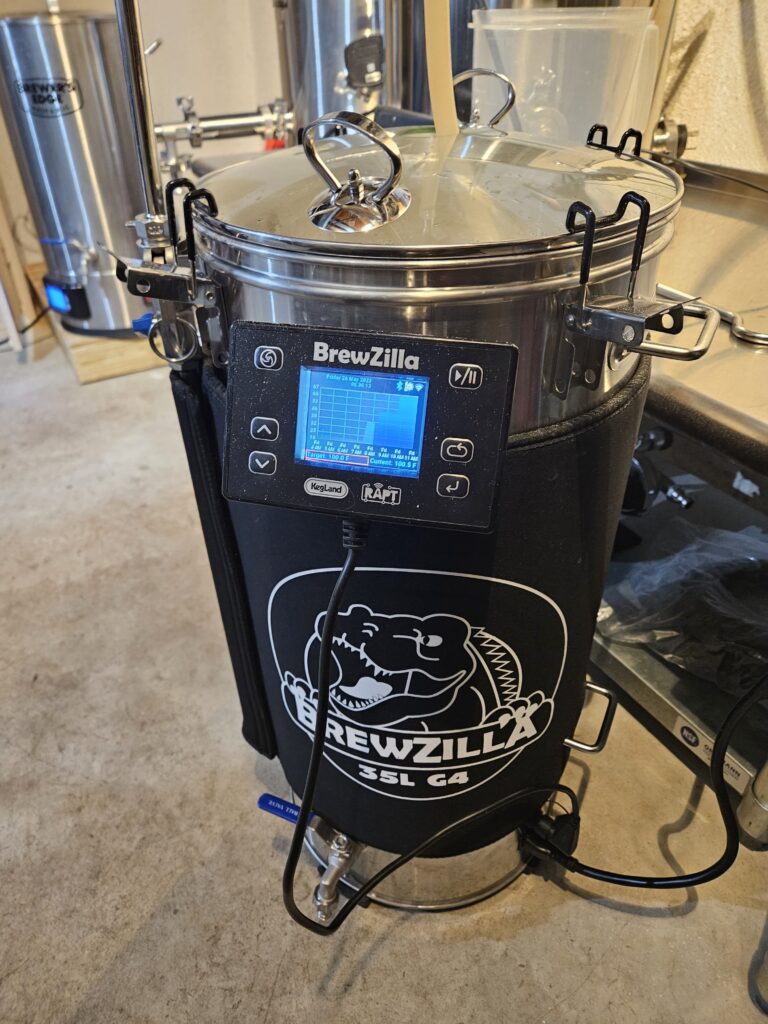

 Control Panel Notification During Mash Profile
 Bluetooth Temp Probe in Middle of Mash