Hands On Review: Inkbird ITC-308 Dual Stage Temperature Controller + Limited Time DEAL (Prime Exclusive)
Updated: July 26, 2024
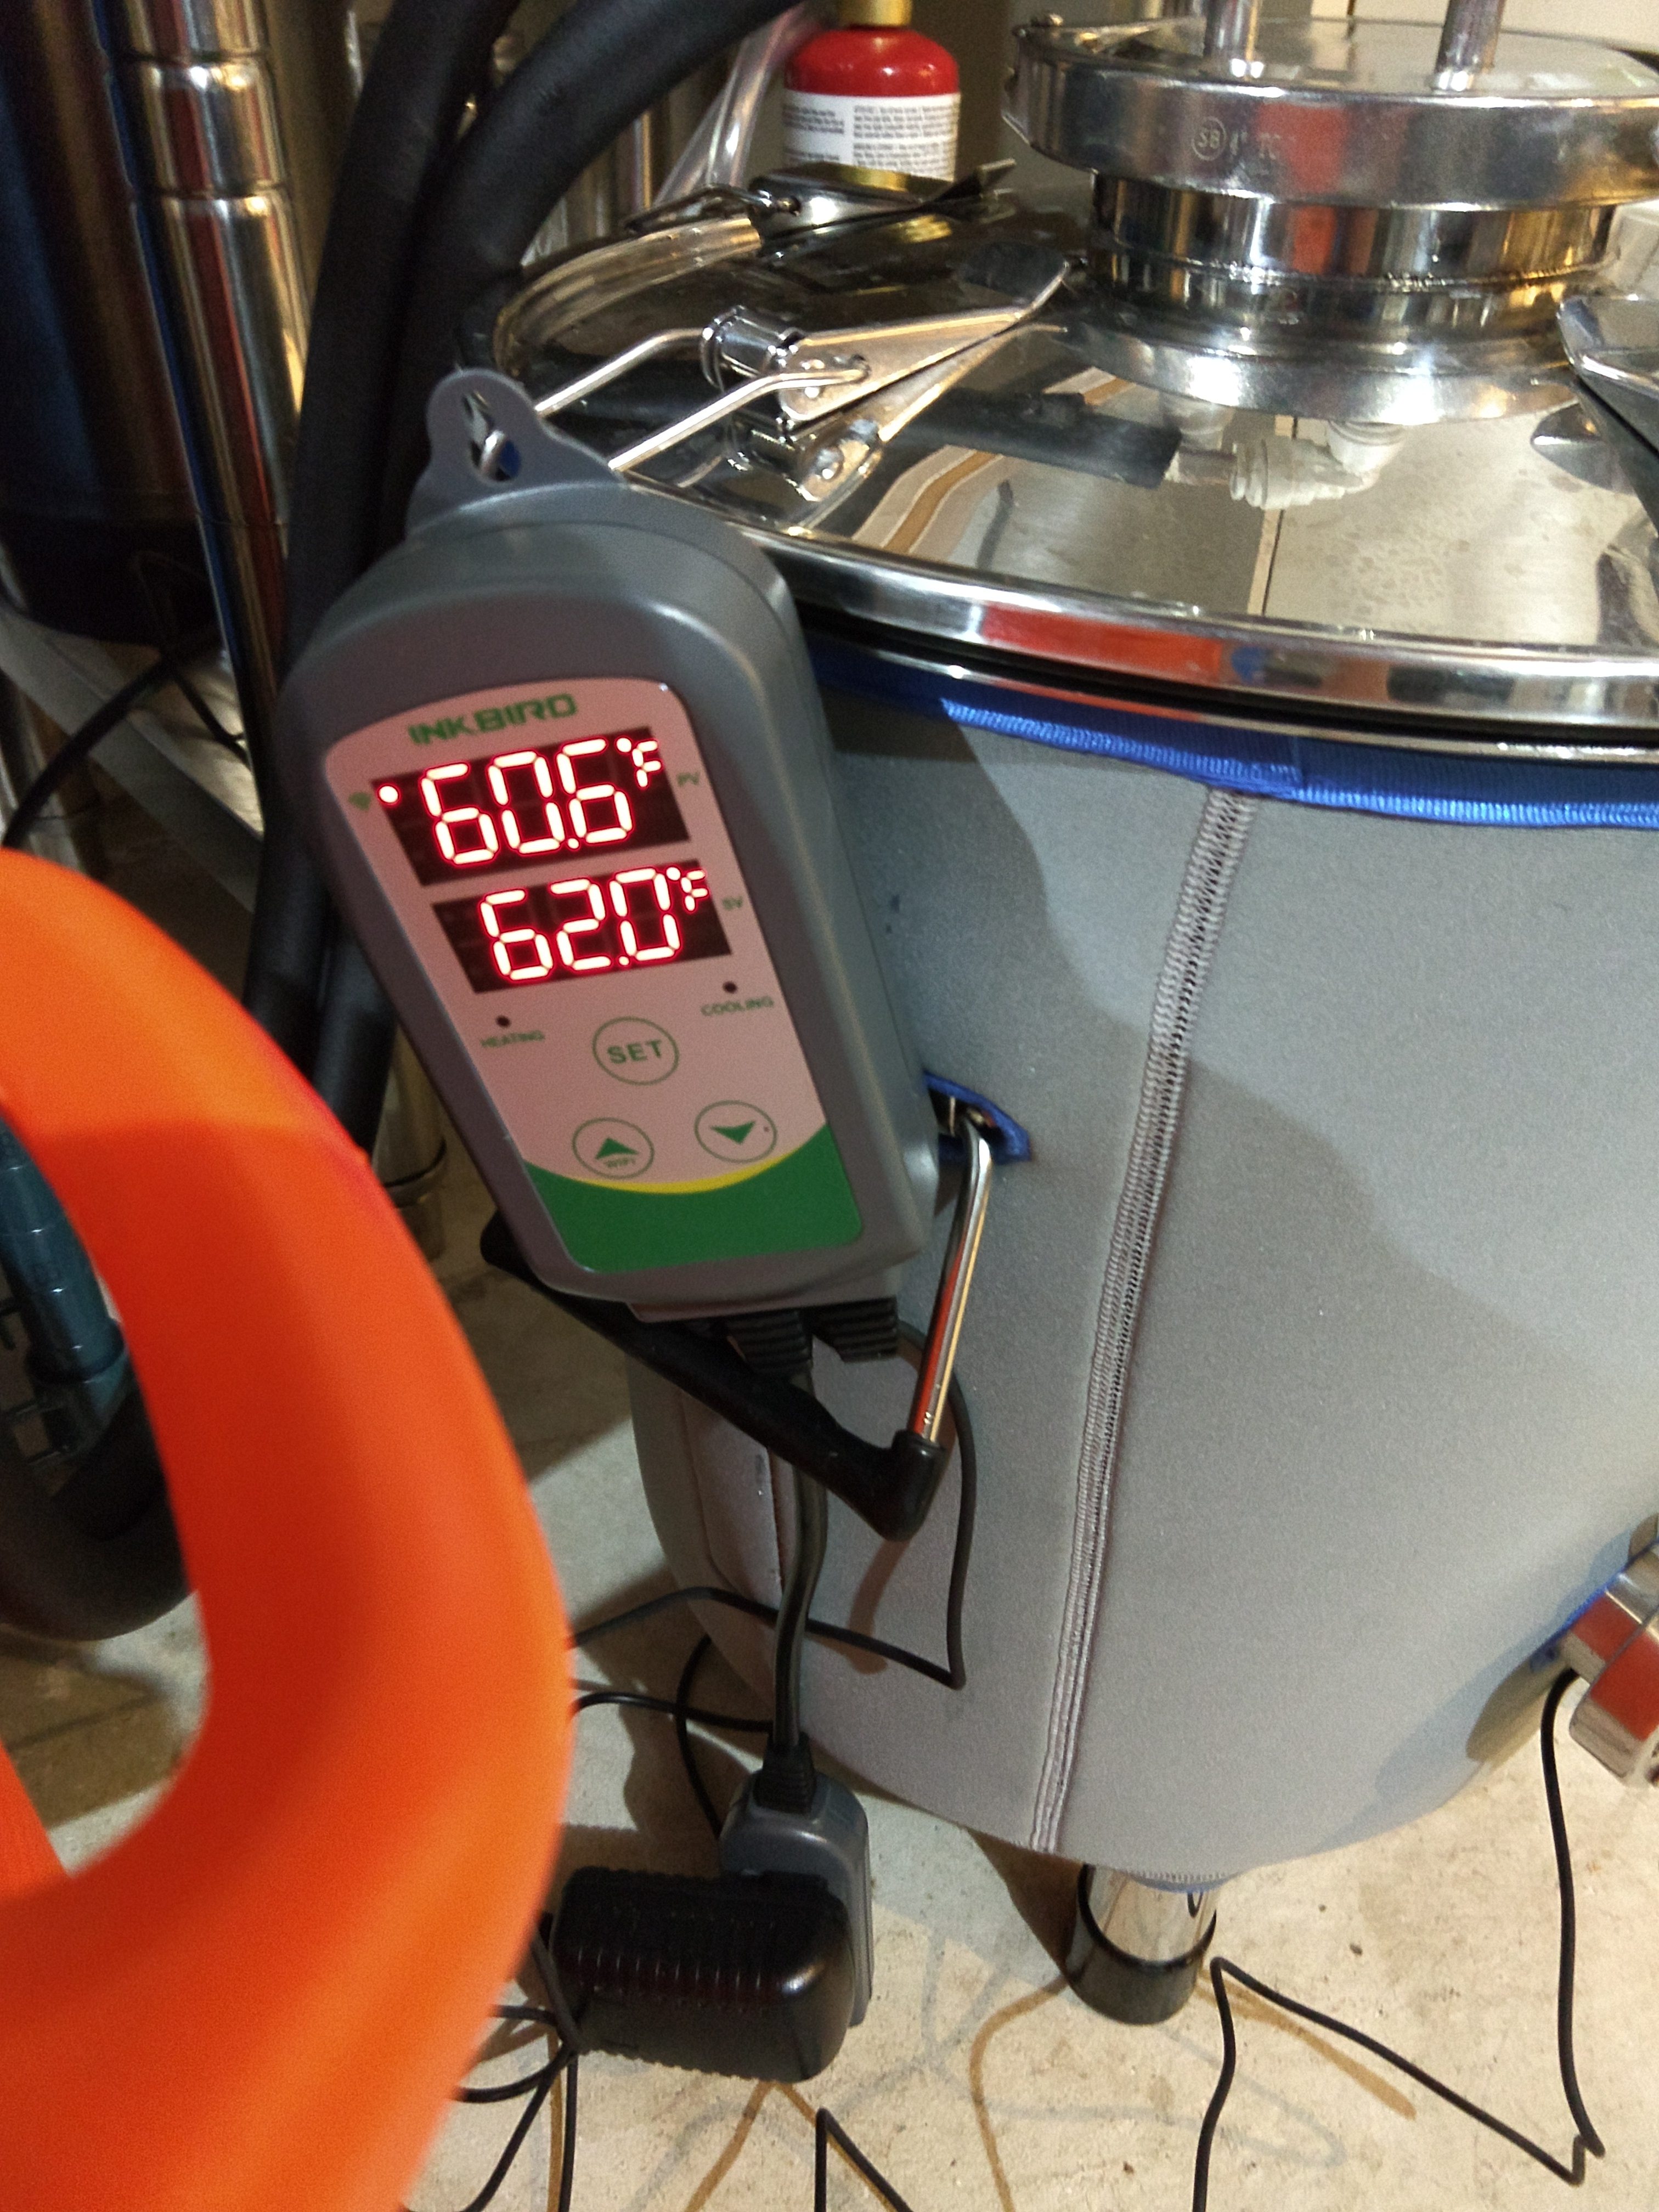
Inkbird’s ITC-308 Digital Dual Stage Temperature Controller is a dual stage, pre-wired Digital Temperature Controller
The ITC-308 comes in the original version as well as an updated Wi-Fi enabled model. This review covers both editions of this controller.
Why a Temp Controller?
Temperature controllers, sometimes referred to as over-riding thermostats, can control devices like refrigerators, freezers and fermentation heating devices to provide a consistent temperature for your kegerator, fermentation chamber or brew system. They do this by monitoring the temperature and cycling on and off the device in question. Generally, you will set the device to full cooling or heating power and the temperature controller takes over from there.
Limited Time DEAL
For a limited time Amazon has both variations of these on sale and there’s a 20% off coupon
Prime Exclusive: As of this posting, this may be exclusively available to Amazon Prime Members. Amazon Prime has a lot of great benefits. Get a Free Trial of Amazon Prime. Shipping is also free for Prime Members. Check the product page for current price, description and availability.
Inkbird ITC-308 Digital Temperature Controller 2-Stage Outlet Thermostat Heating and Cooling Mode Carboy Homebrew Fermenter Greenhouse Terrarium 110V 10A 1100W – $25.20 w/stacking coupon
Inkbird WiFi ITC-308 Digital Temperature Controller Thermostat Remote Monitoring Controlling Home Brewing Fermentation Breeding Incubation Greenhouse– $35.99 w/stacking coupon

Check Prices, Current Specs & Availability, Review Continues Below:
- Inkbird ITC-308 Digital Temperature Controller – affiliate link, note that multiple variations of this product may be available, as such a different version may appear at this link
- Inkbird WiFi ITC-308 Digital Temperature Controller – affiliate link, note that multiple variations of this product may be available, as such a different version may appear at this link
Alternate Listings:
- Inkbird WIFI Temperature Controller Reptile Freezer Thermostat ITC308 2.4GHz Digital Heating and Cooling Aquarium Heater Cooler Greenhouse Plug Outlet Probe Dual Stage 1100W 110V – affiliate link, note that multiple variations of this product may be available, as such a different version may appear at this link
- Inkbird ITC-308 Digital Temperature Controller Outlet Thermostat 2-Stage 1100W with Sensor Reptile Beer Brewing Kegs Fridge Cured Meat Breeding Growing – affiliate link, note that multiple variations of this product may be available, as such a different version may appear at this link
Different listings or combos for the ITC-308 may be available – search Amazon for “Inkbird Digital Temperature Controller” – to see what variations may be available
Canada:
At MoreBeer:
- Inkbird Digital Temperature Controller (WiFi Enabled) FE644
- Inkbird Digital Temperature Controller FE640
Our ITC-308 Deal Pages:
These pages show our most recent deals for these great controllers
Inkbird ITC-308 WiFi Digital Dual Stage Temp Controller – $35.99 w/20% off Coupon
Dual vs Single Stage
Dual stage means that the ITC-308 can control both a heating and cooling device. Alternatively, it can control a heating or a cooling device. This controller displays in Fahrenheit and Centigrade. Dual Display shows both measured and set temperature.

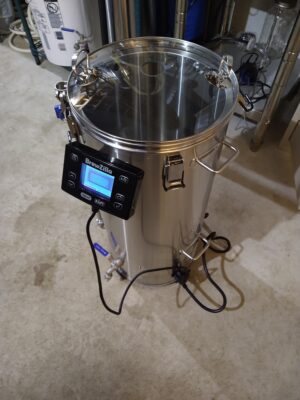
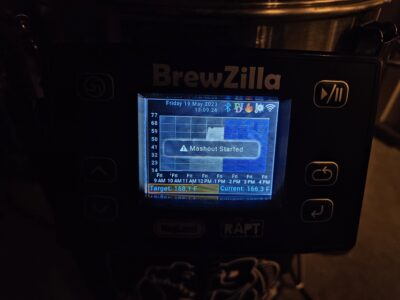 Control Panel Notification During Mash Profile
 Bluetooth Temp Probe in Middle of Mash

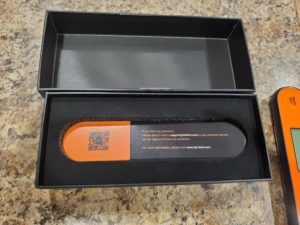 What’s under the thermometer
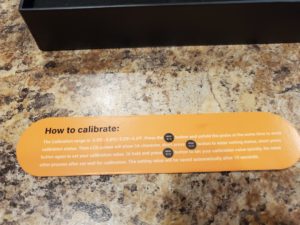 And the back side of the card they include calibration instructions
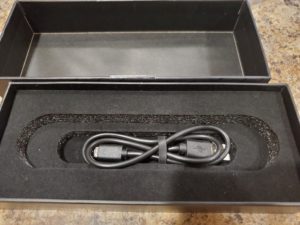 The included USB charging cable
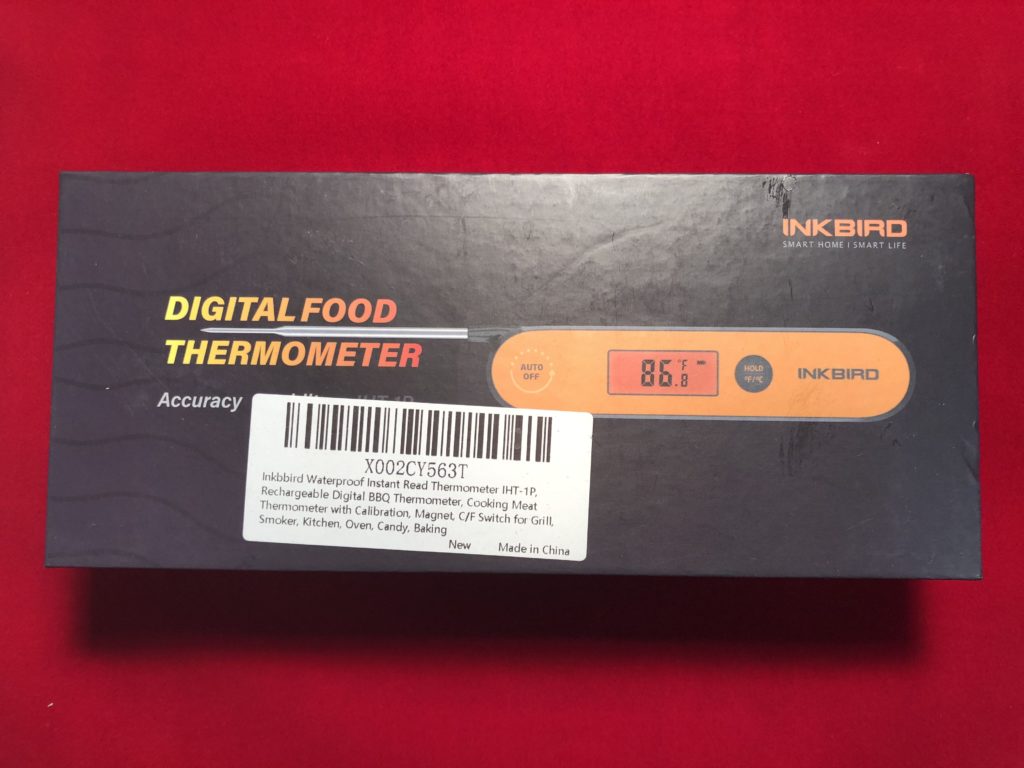
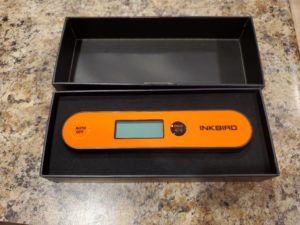
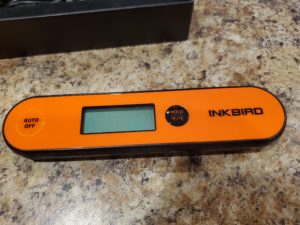 The thermometer itself
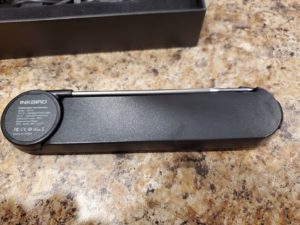 Back side
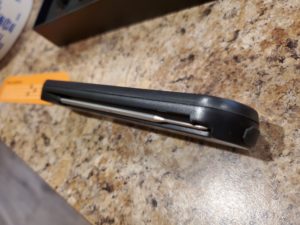 Side view
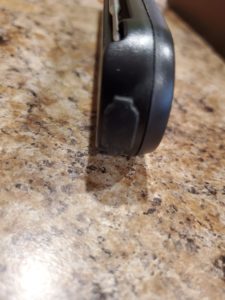 A look at the charging port cover
 As soon as you open the probe, the screen comes on. Nice back-lit screen
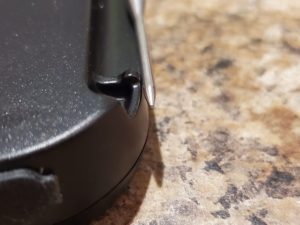 The body of the thermometer has a small “catch” piece to keep the probe in so it doesn’t accidentally open on you if it’s in your pocket.


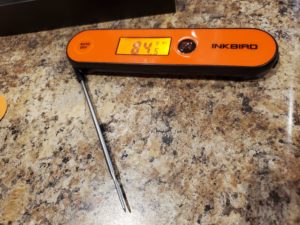
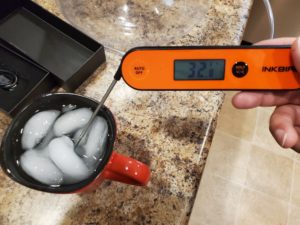 Initial calibration seems accurate from the factory
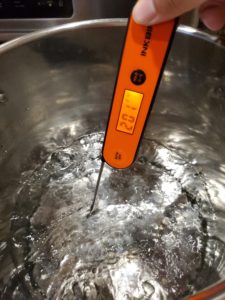
 Brew day! Reading 148F for the mash
 Compared to 149F setting on my anvil, pretty much on-point! – Related:
 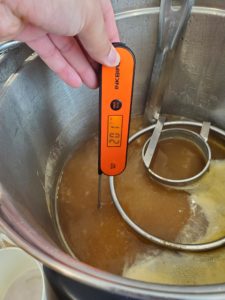 And again, boiling at around 201F which is accurate for my elevation


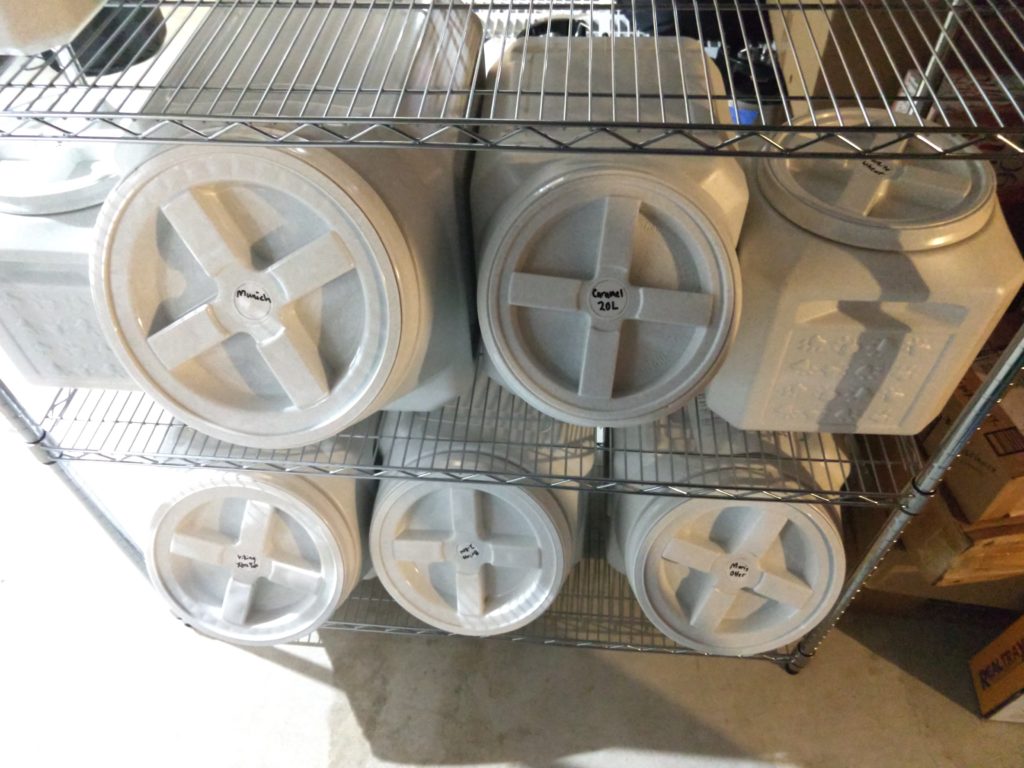
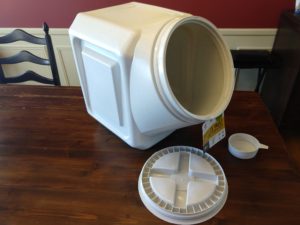 Vittles Vault 60-lb Container
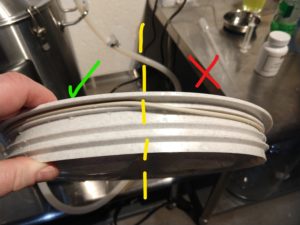 Lid o-ring Out of Groove on Right Side


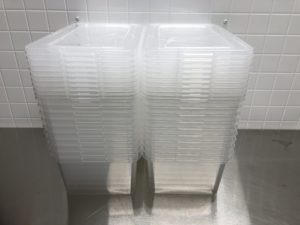 The 20 boxes and lids that I received. These stack for efficient storage when not in use.
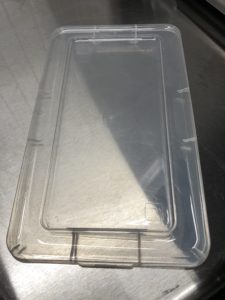 A look at the lid, these easily snap on and off. They are clear, which is an improvement compared the other style that I use.


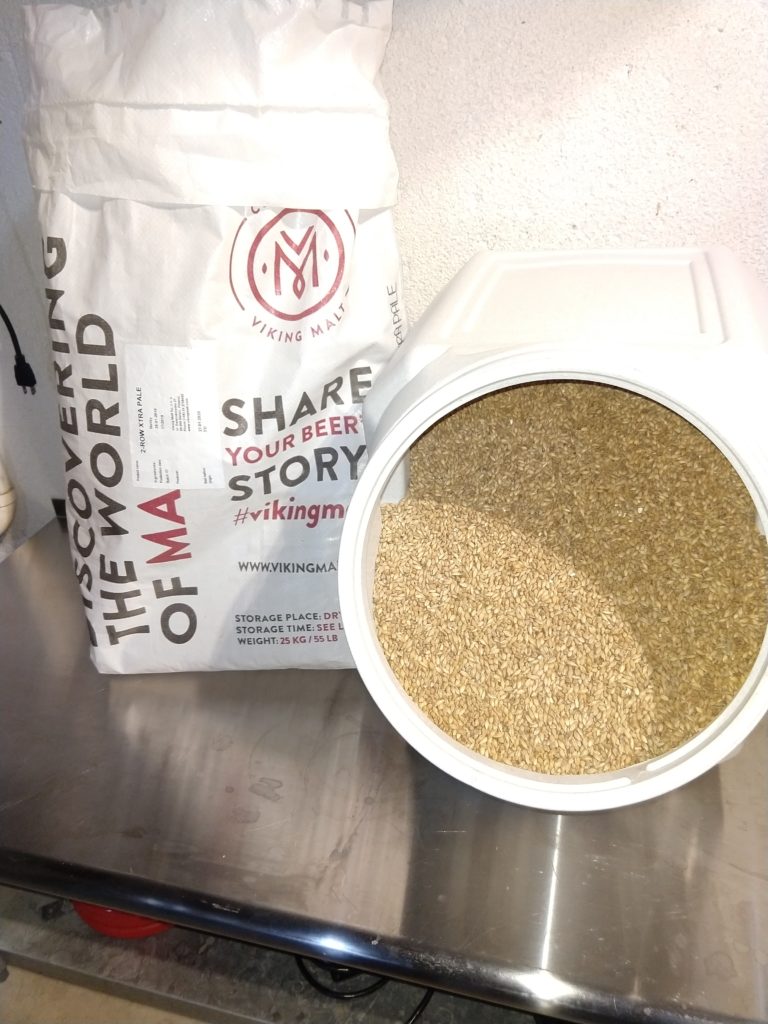 Viking Xtra Pale Malt in a Vittles Vault Container –


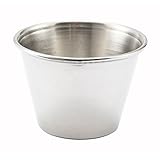


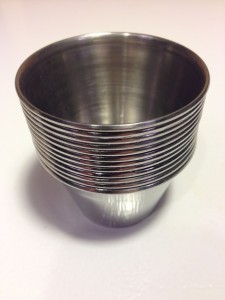 12 stacked cups take up minimal space