This article is by Homebrew Finds Reader Kris G. Thank you Kris for your creativity and hard work!
Editors Note: This is an advanced project that requires additional tools, skill and materials. This post outlines the process that Kris took to modify his keg lid with a weldless tri-clamp bulkhead. Product specifications can change over time, double check to make sure that current specifications match your needs.
Adding a Tri-clamp Fitting to a Homebrew Keg Lid
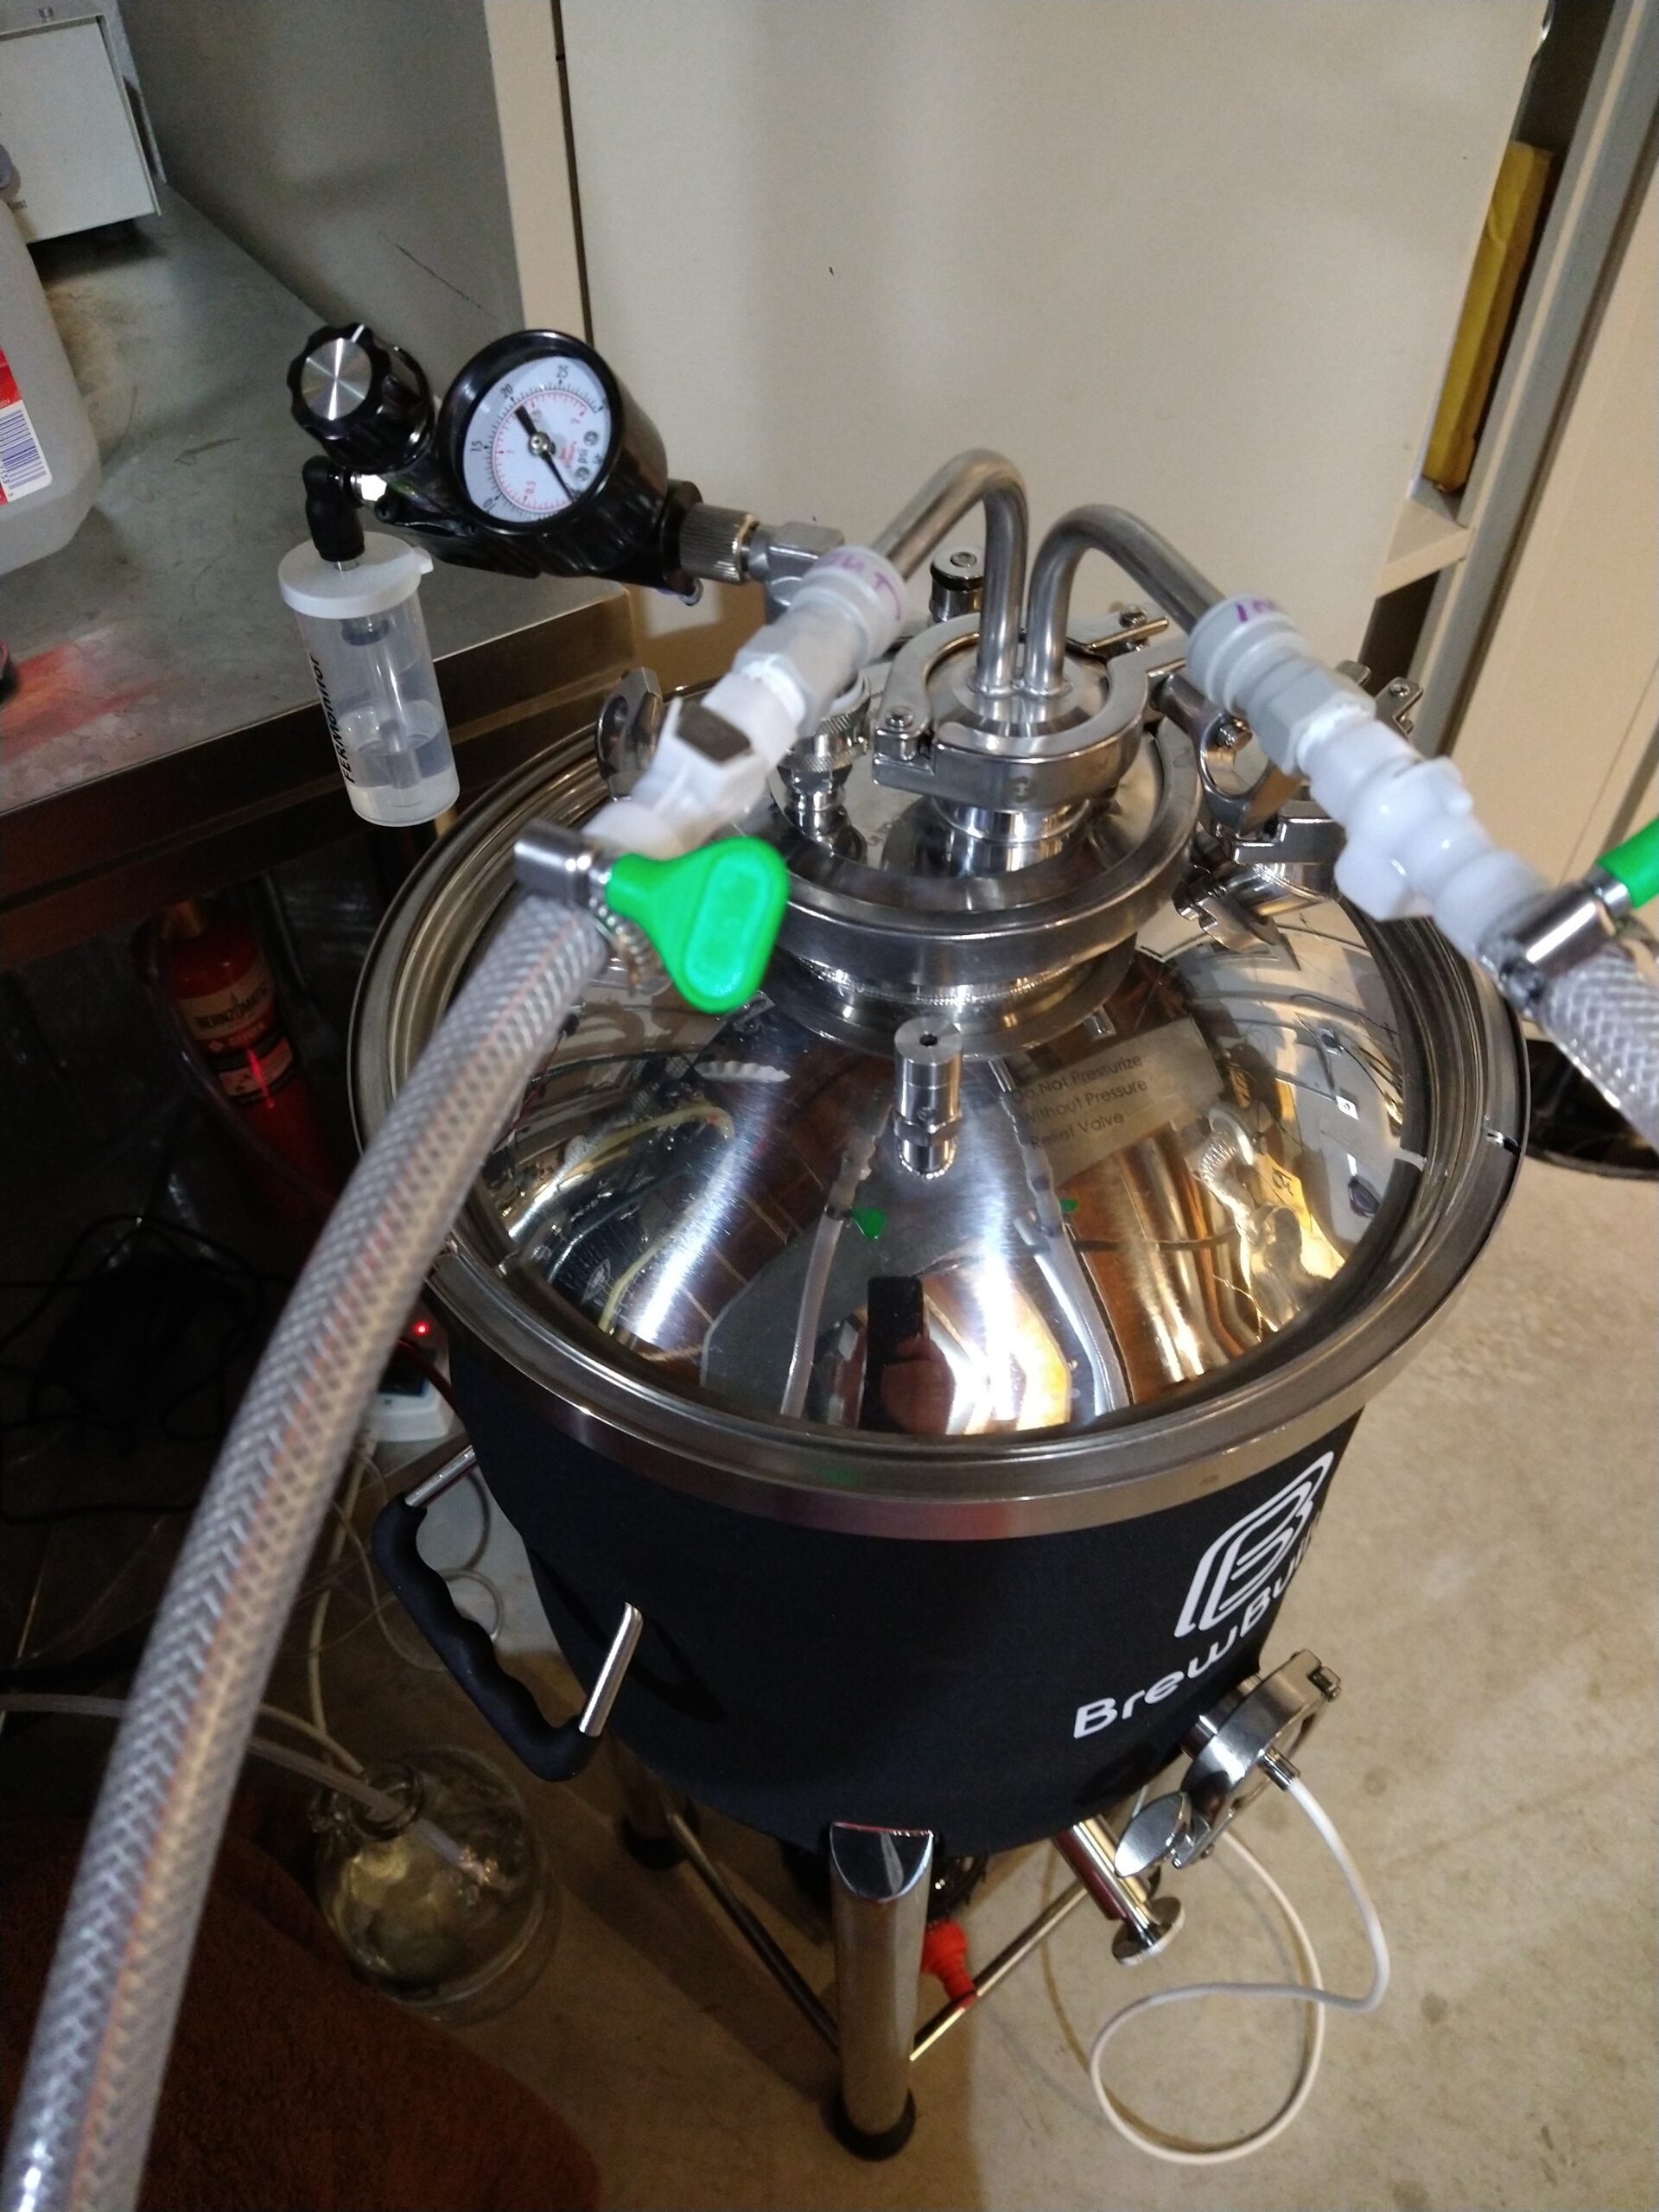
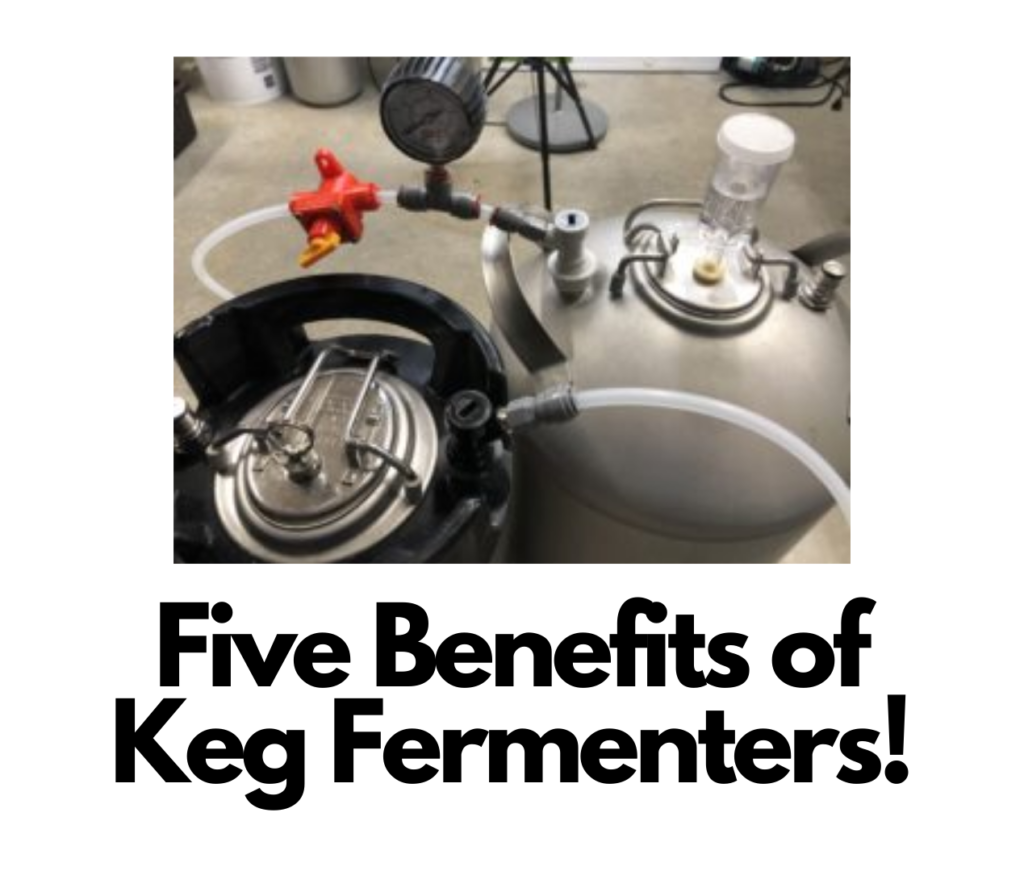
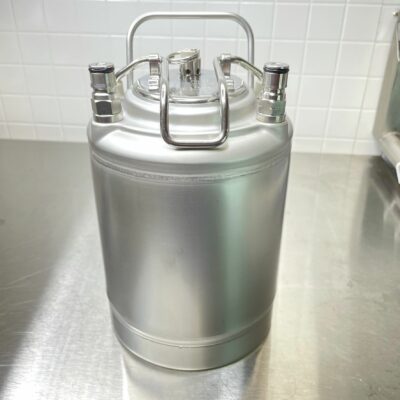
Carboys, conicals, buckets, kegs, etc. There is an ever-growing number of options for fermentation vessels. I recently moved away from carboys to experiment with pressurized fermentation. I didn’t feel like buying anything new, so why not repurpose a corny keg for fermentation? This past year I “right-sized” my batches down to 2.5-3 gallons making a corny the perfect size for fermenting. With a couple modifications (shortened dip tube, hop screen, etc), I had an old 5 gallon corny now as a dedicated fermenter. An added bonus was that it fit perfectly in my temp-controlled chest freezer.
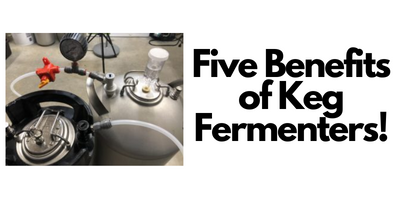
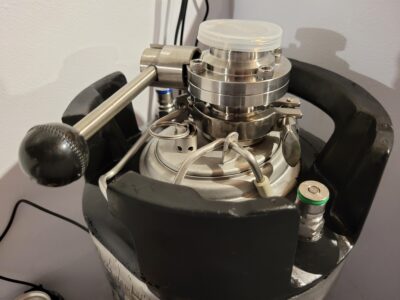
 Fermenting in a Keg Using TC Equipped Lid
Related: Fermenting Under Pressure
Commercial Option Now Available, Build Continues Below:
304 stainless steel Cornelius Keg Lid with 1.5″ Tri-clamp Ferrule,NEW Corny Beer Keg Lid 60PSI PRV Food Grade Dry Hopper – affiliate link, note that multiple variations of this product may be available, as such a different version may appear at this link
This article contains affiliate links. We may make a small percentage if you use our links to make a purchase. You won’t pay more and you’ll be supporting Homebrew Finds and more content like this. Thank you for your support!
I started seeing some other homebrew fermenters with tri-clamp connections on top. Blogs all around showed them used with blowoff tubes, thermowells, carbonation stones, CIP spray balls, etc. It seemed like a great universal connection with a ton of uses. Most importantly to me, I wanted the tri-clamp connection to build an oxygen-free dry hop dropper (that build is an article for another day).
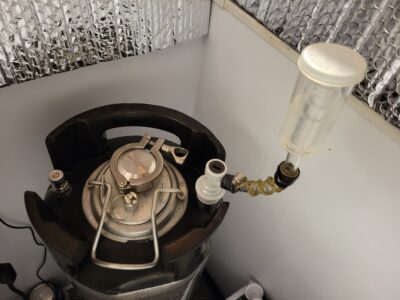
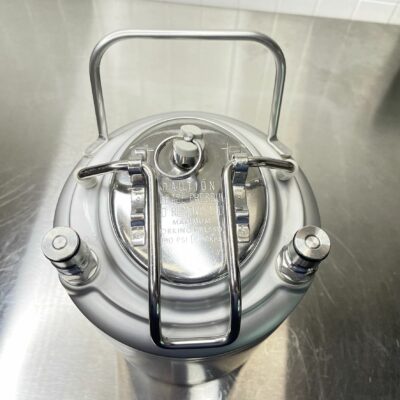
 TC Equipped Lid with Butterfly Valve – Also: Color Coded Keg O-Rings
Read on to see my trials and tribulations while adding a TC bulkhead to my corny lid.
Build note: This is a weldless build. If you’ve got the ability/skill/tools to weld stainless, go for it!
Safety Note: Ensure that you are using all tools properly and wearing all the proper PPE. You will be drilling/cutting metal which is both sharp and hot.
PLEASE BE CAREFUL WHEN FOLLOWING THESE INSTRUCTIONS.
HBF is not responsible for your irresponsibility. At time of this writing, I am fully up to date with my tetanus shot. That may or may not be related…
Supplies
Editors Note: Note that multiple variations of these products may be available, as such a different version may appear at these links. Double check sizes and features.
Continue reading →


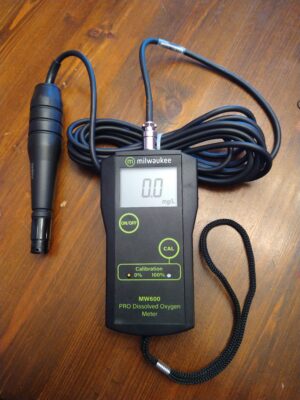
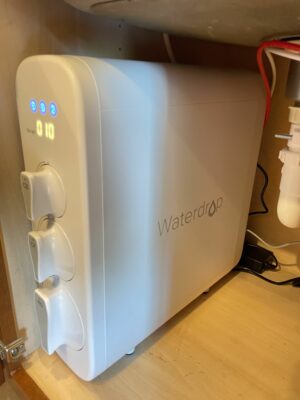
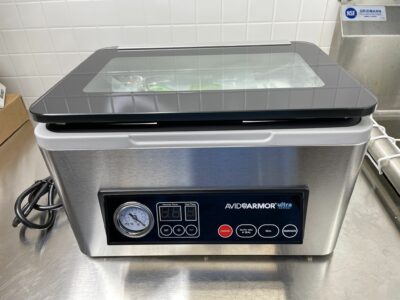 The USV20 fresh out of the box
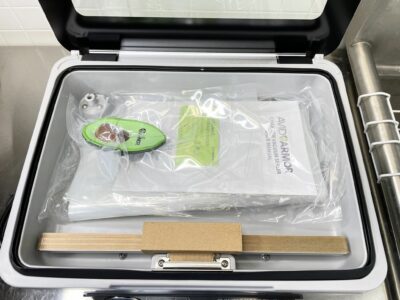 A look inside. It came with manuals, vacuum sealer bags, a quick start guide and a vac sealed toy avocado.
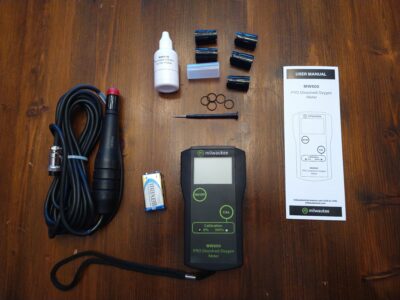
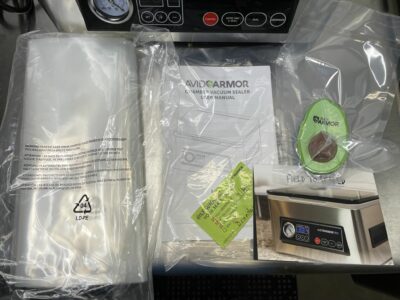 A look at the contents


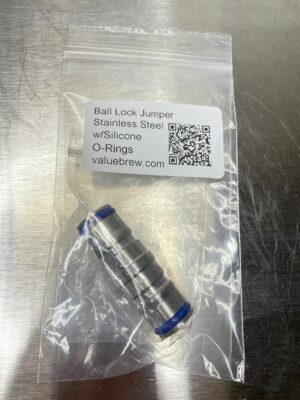 In the package. As of this posting, this comes in singles with the option to add a second on for a reduced cost. Check the product page to see if that’s still available.
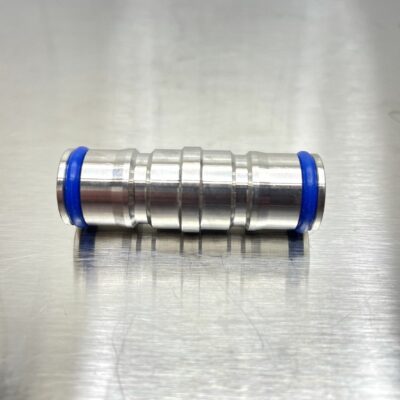
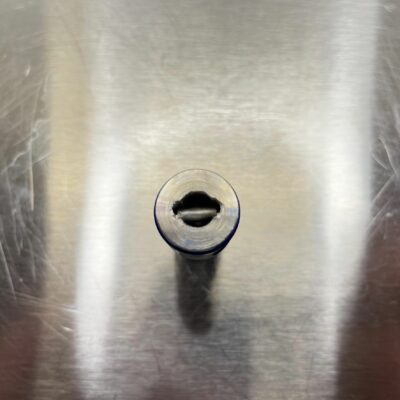 A look down the jumper. You’ll notice a stainless steel bar. This jumper doesn’t have traditional poppets. Instead these bars take their place enabling connected ball lock QDs to open when connected. This is actually a really good feature because it means the jumper is open to the air when unused and can be clean, dried and sanitized.
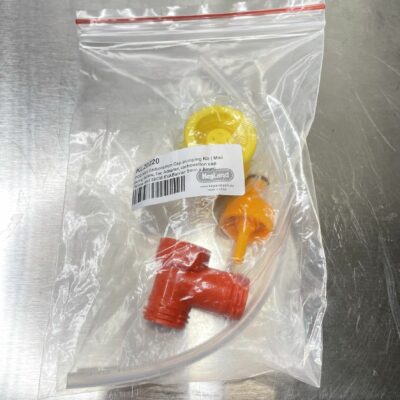 Bag o’ stuff
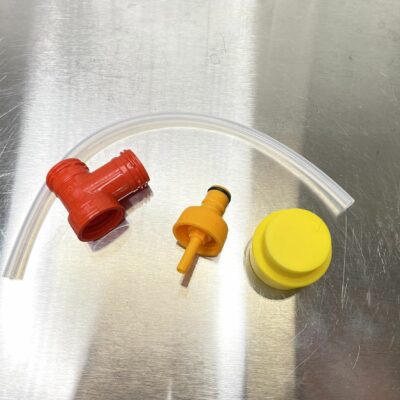 This is what you get with the basic pump. Tee, carbonation cap, pump and dip tube.
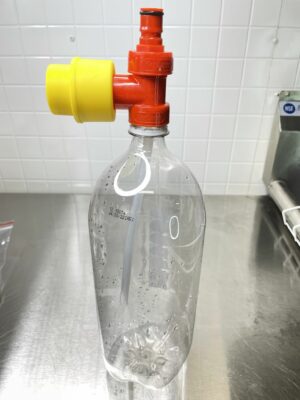 I installed this on a 2L bottle. You’ll notice the carbonation cap has changed colors. I used one I already had (Kegland brand, just a different color), because I already has a dip tube trimmed to size and installed from a recent update to
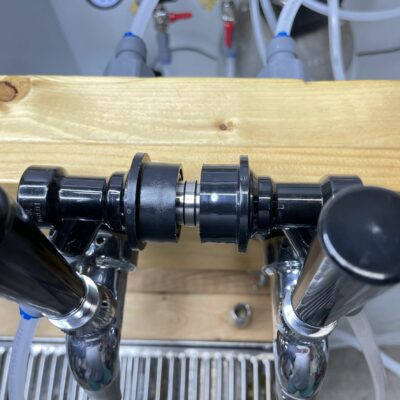
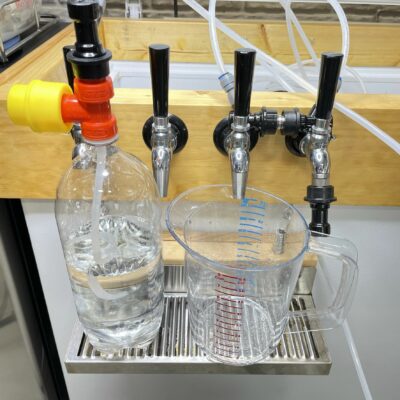 Complete test setup
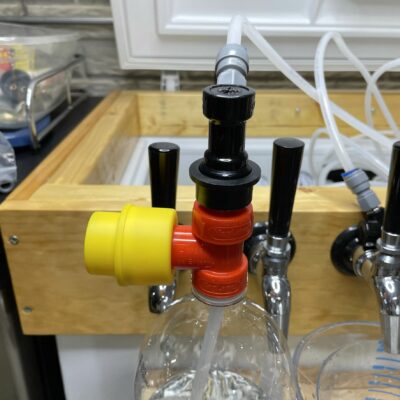 Ball Lock QD Installed on the pump assembly
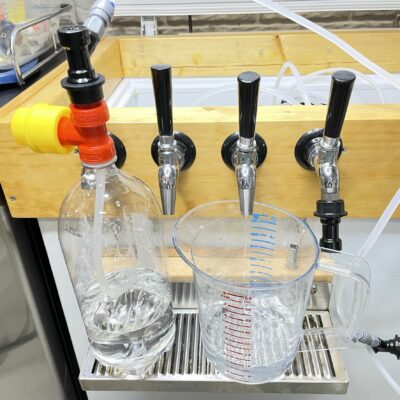 It’s a little difficult to see but… it works. With some pumping, I got a slow steady stream of liquid. Keep in mind this is cleaning two 10′ lines at the same time.
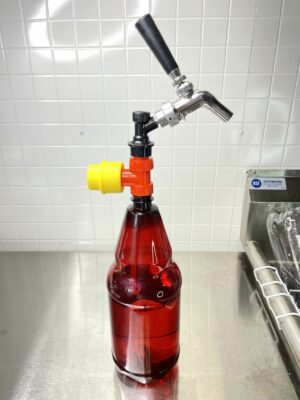 Add on a ball lock faucet and you’ve got a portable serving keg without paying for expensive CO2 cartridges. Before you email me/comment/etc… yes this will cause oxidation, I would not suggest this as a long term solution. Only for the occasion that you and your friends will be able to drink an entire growler in an evening. Oxidation won’t have enough time to become a factor. Use another solution for longer term applications.
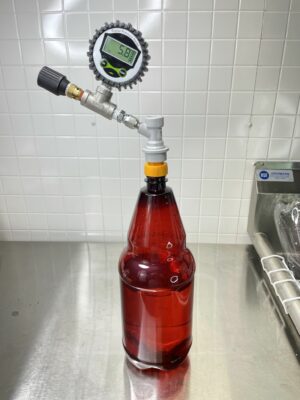 Remove the tee, add a
 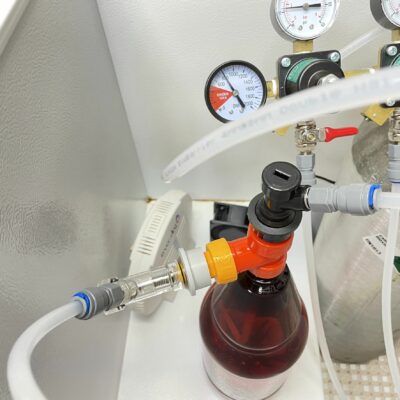 Replace the pump with another carbonation cap, use a 2.5 liter bottle and… you have a 2.5 liter keg you can use in your kegerator!


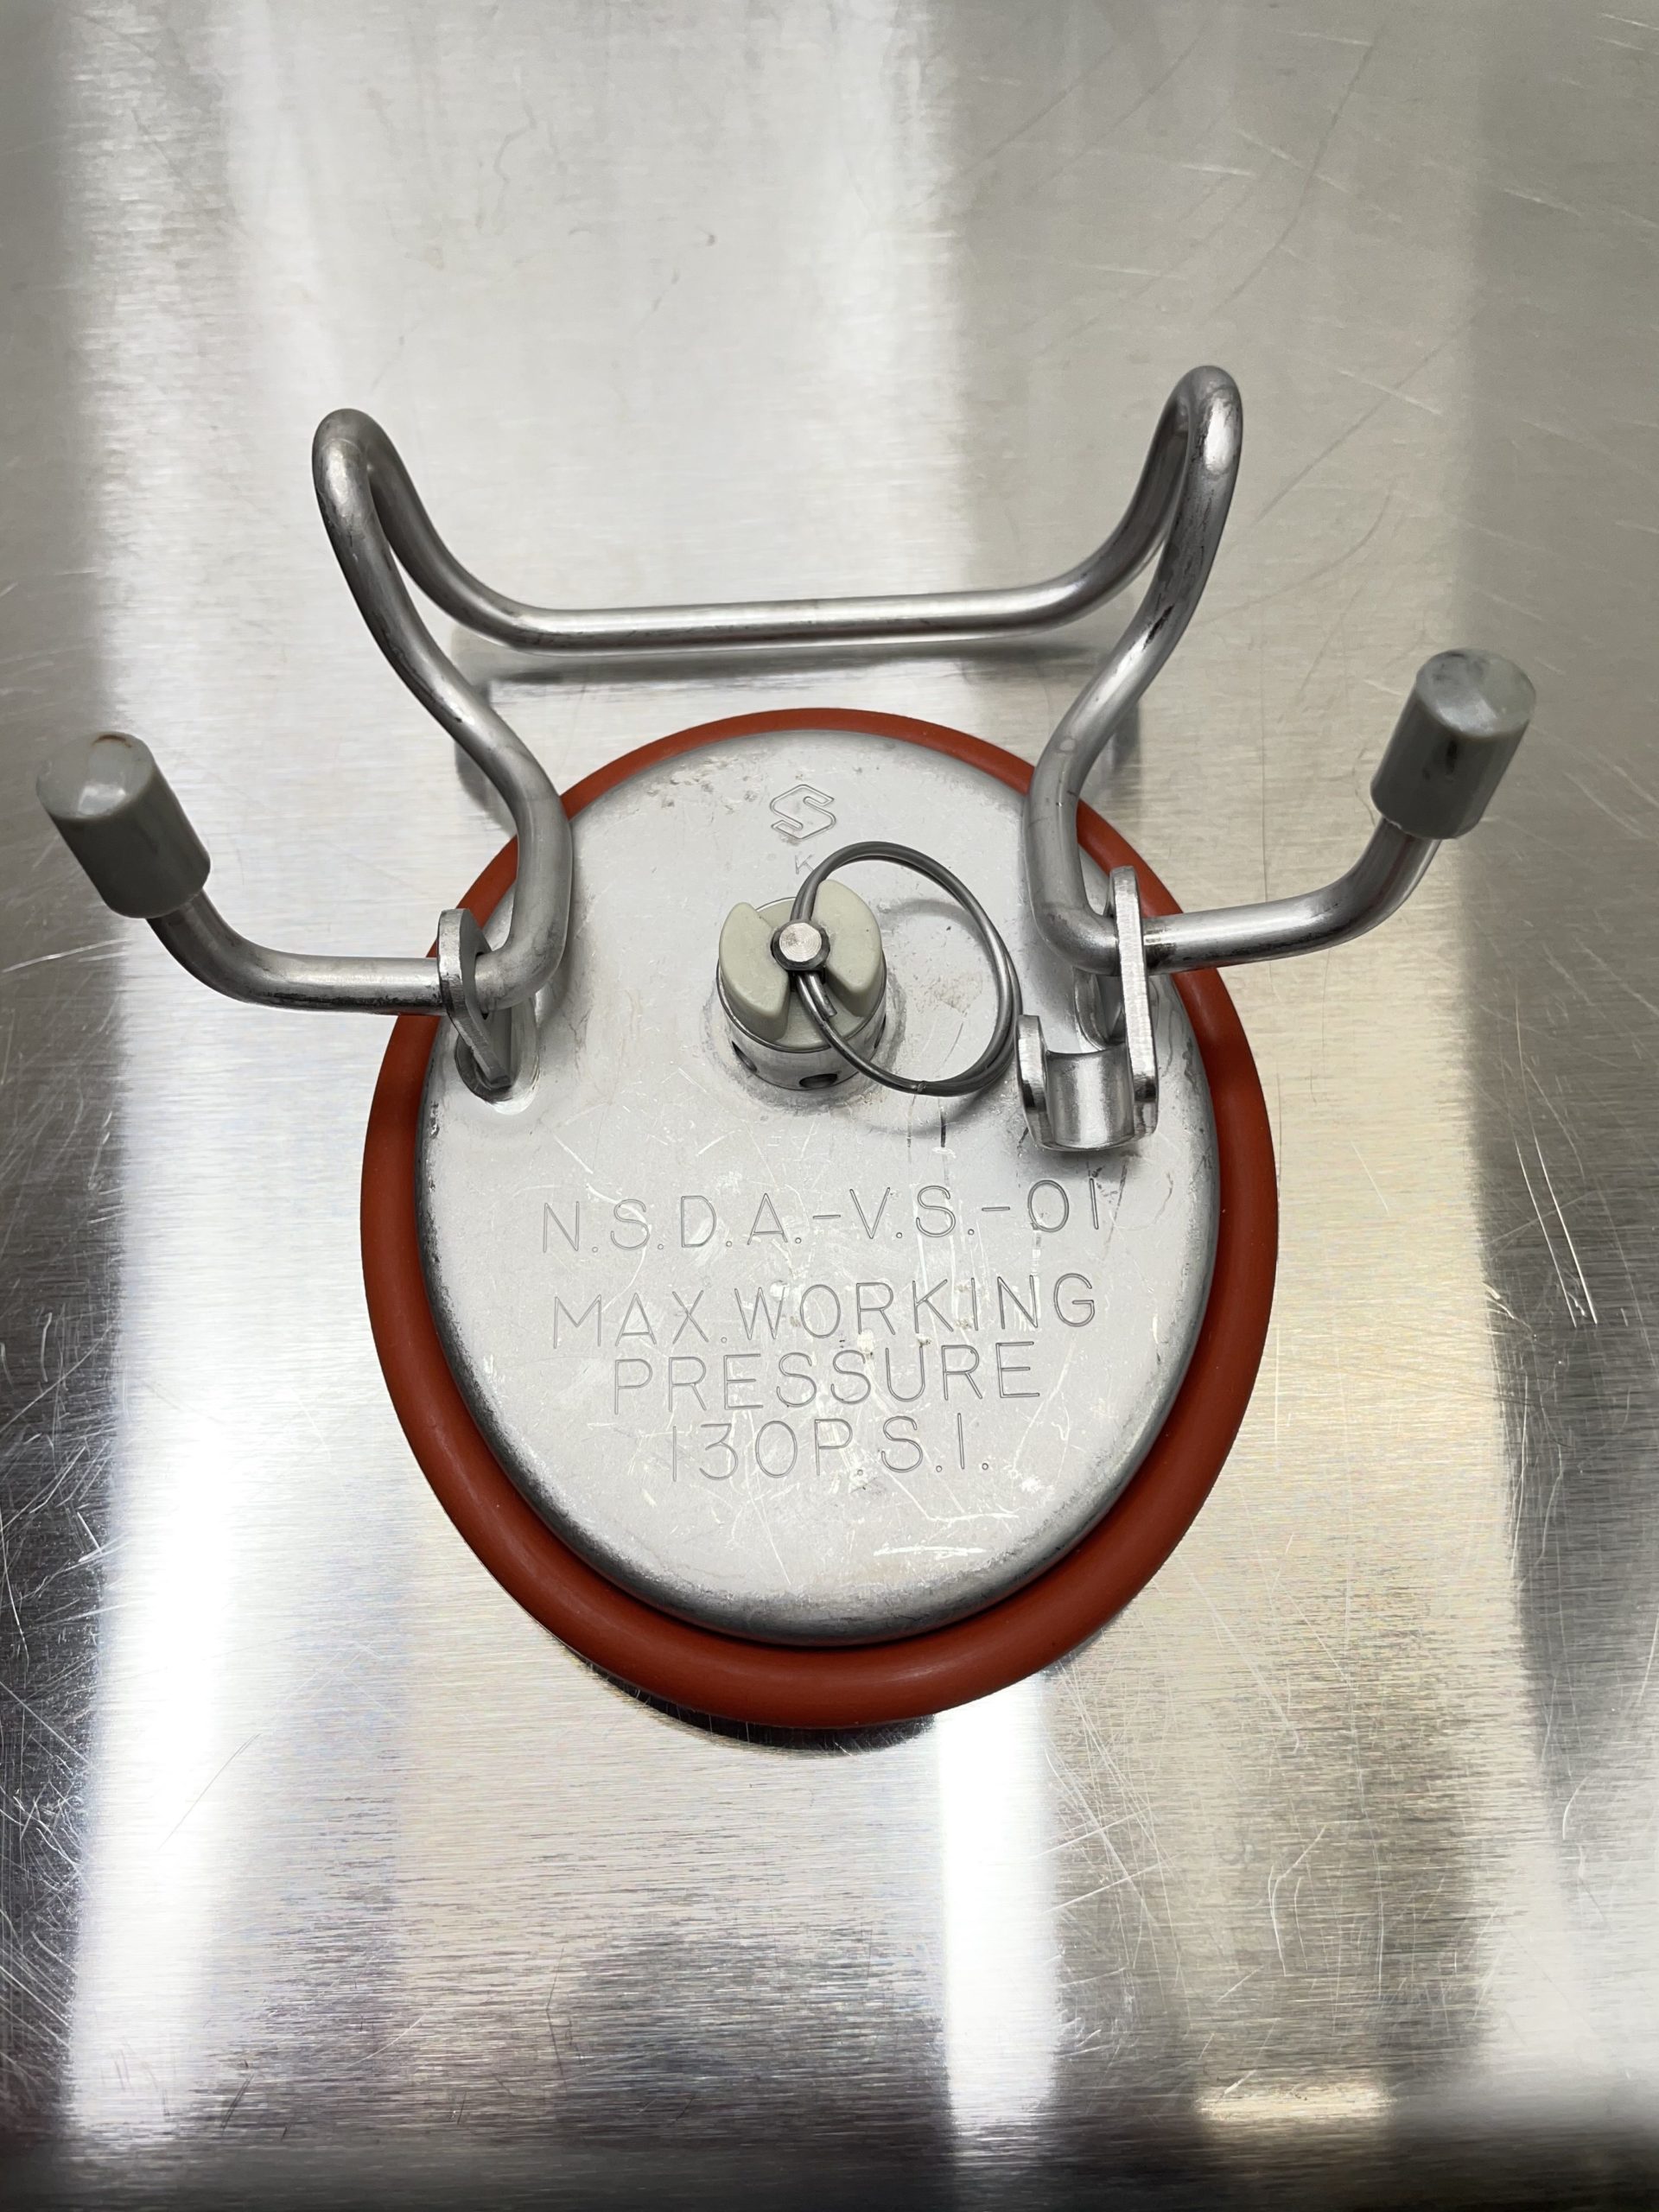
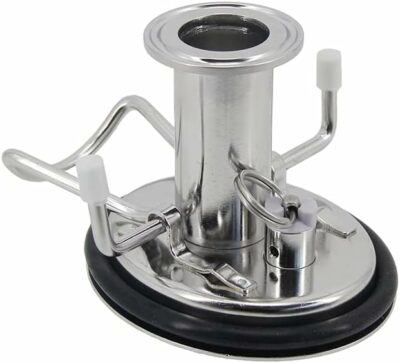
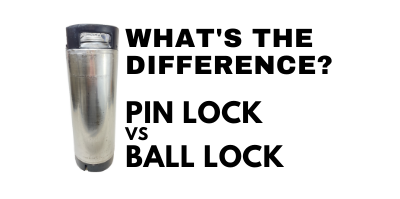
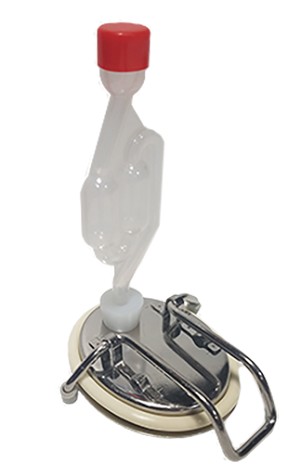
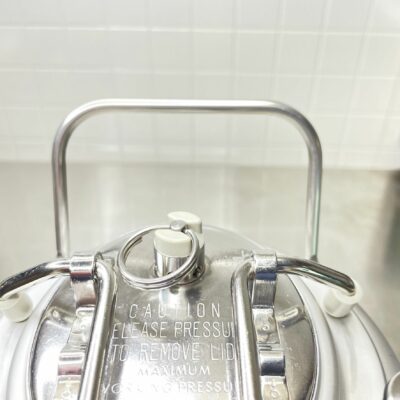 A closer look at the handle and lid. This lid (like most ball lock style lids) is equipped with a manual PRV. Generally speaking… Both Ball Lock and Pin Lock style lids are the same dimension and are interchangeable. You can use a Ball Lock Lid on a Pin Lock Keg and vice versa. A big difference are the PRV (pressure relief valve) functions between the two styles. Both have automatic safety PRV valves. That is, if the pressure gets too high, both will automatically vent for safety reasons. The difference is in manual PRV functionality. Ball Lock Keg lids have a pull ring that allows you to manually vent the keg as you’d like. You may want to do that for the purpose of removing the keg lid or to vent excess pressure in an attempt to get down to a lower pressure. See:
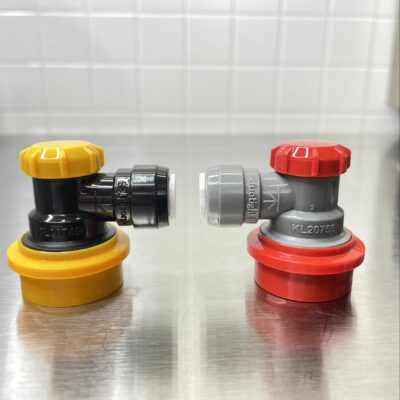
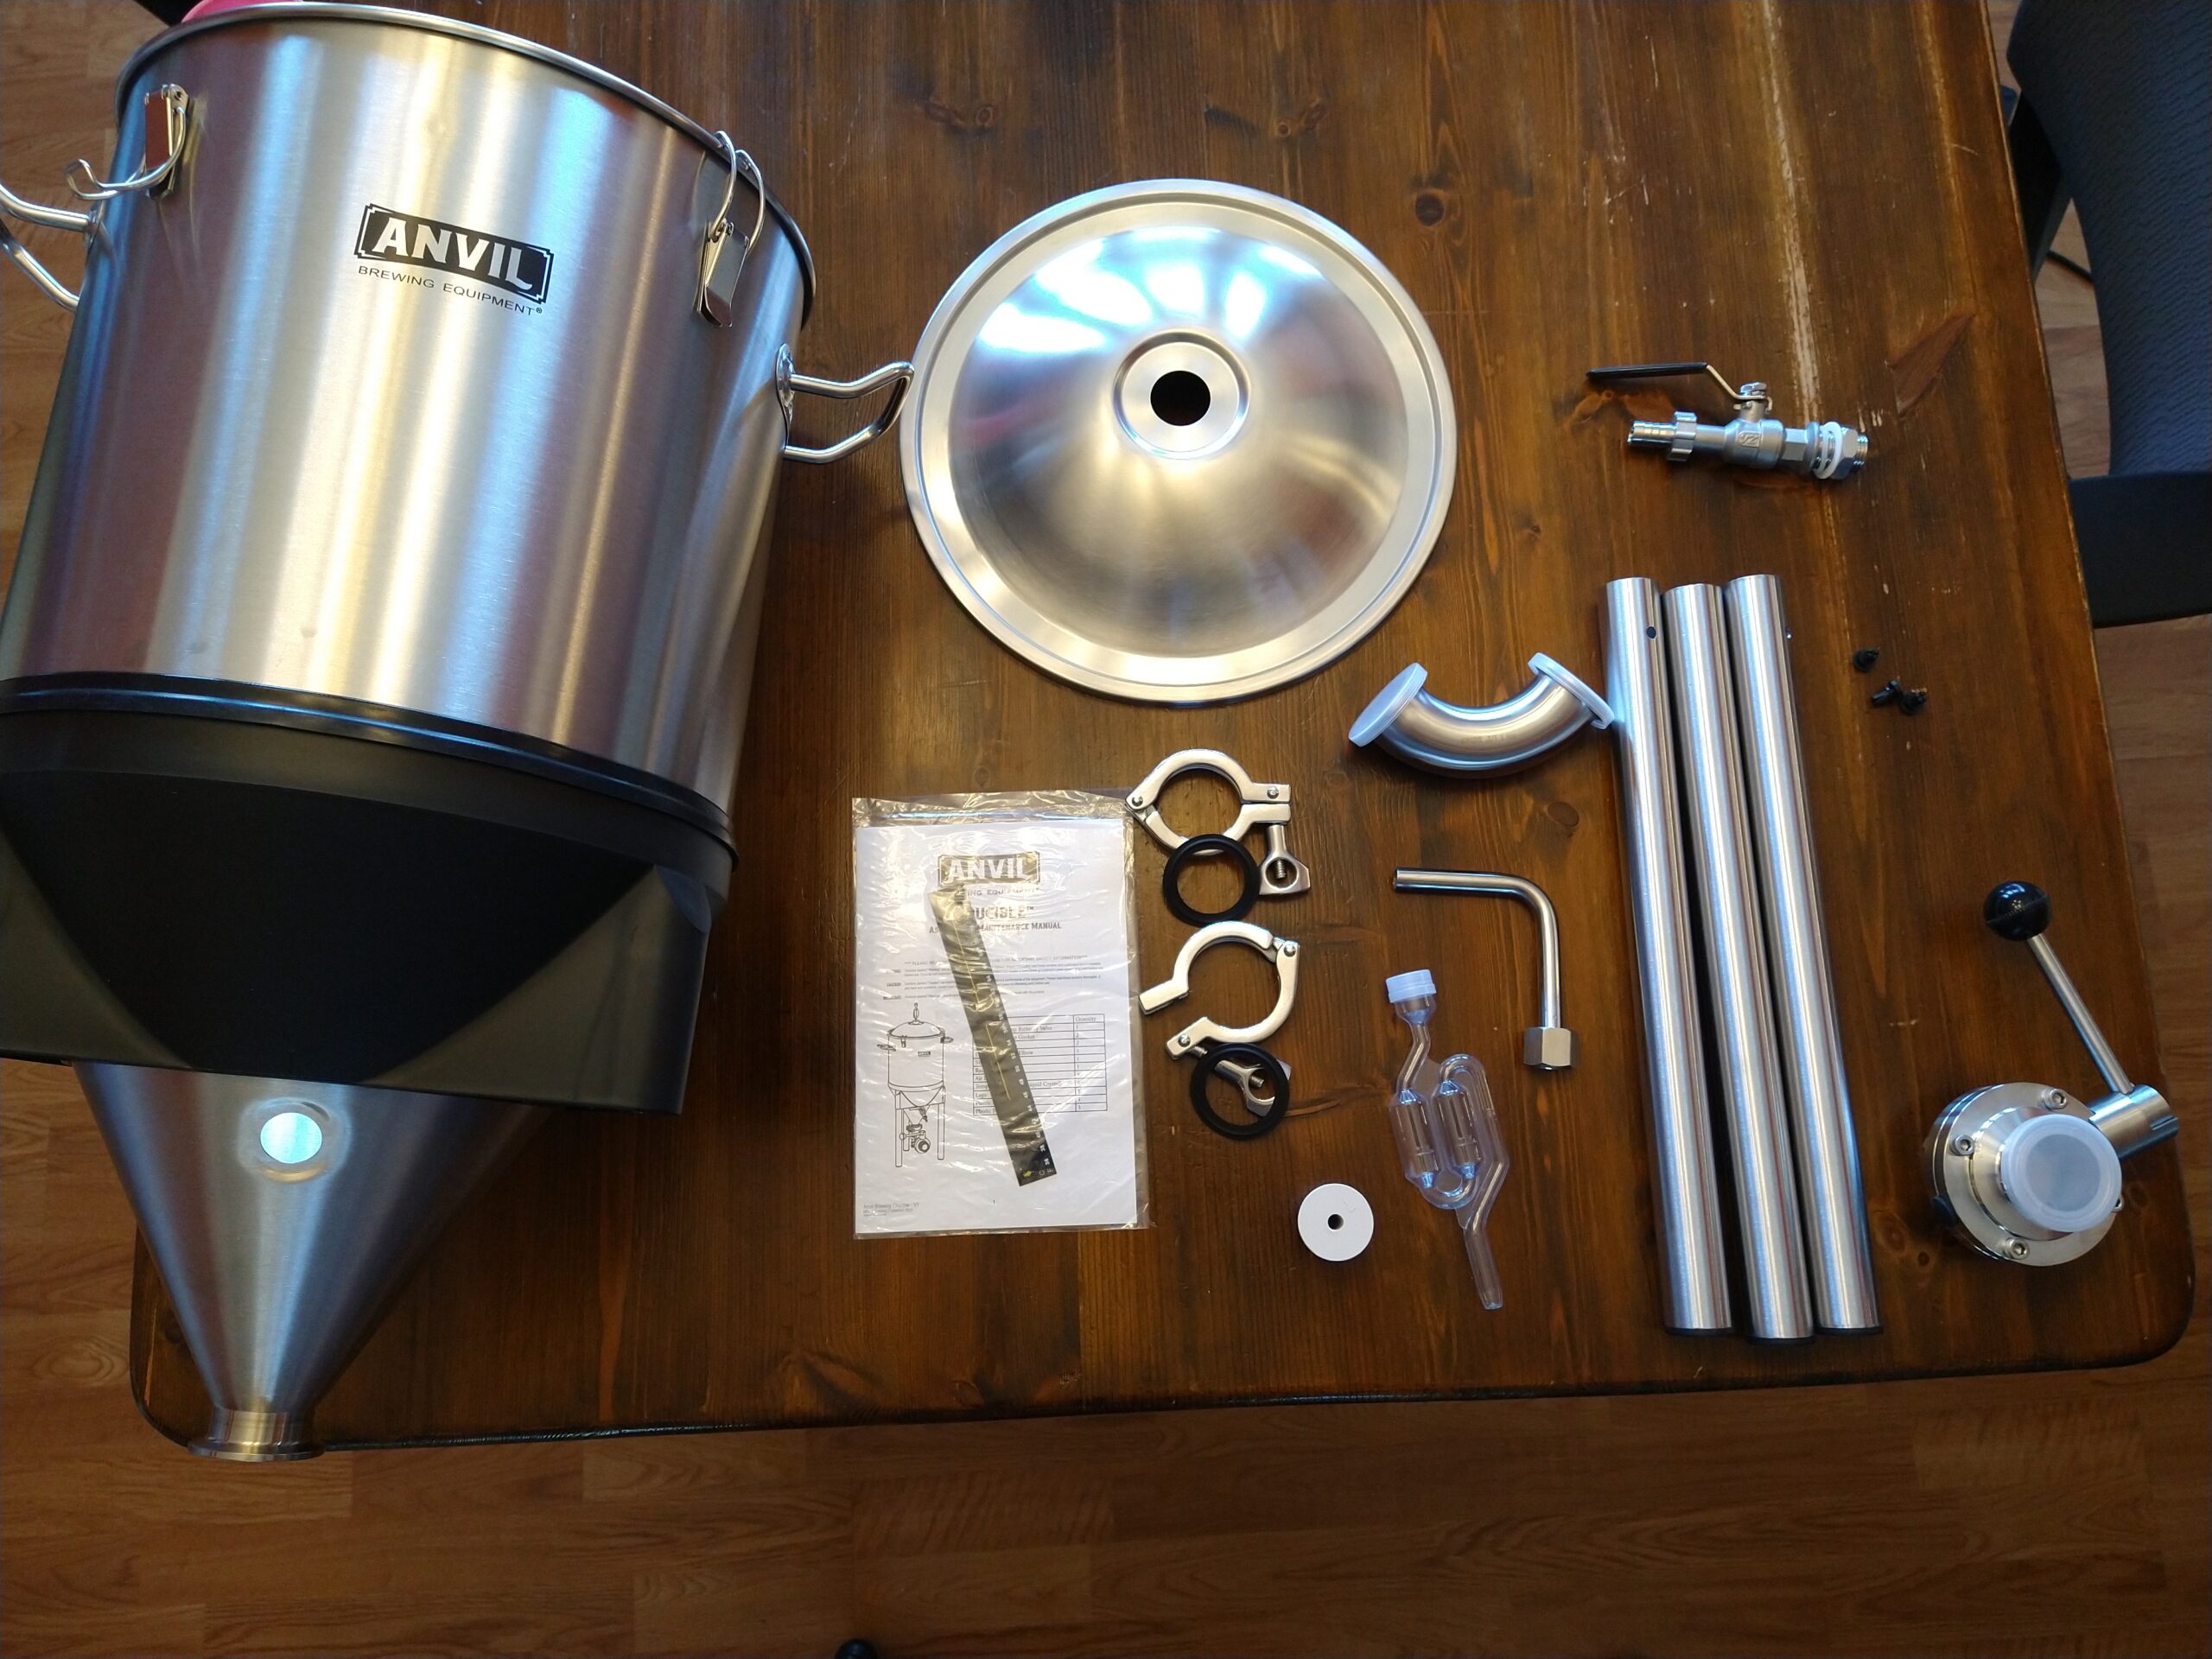
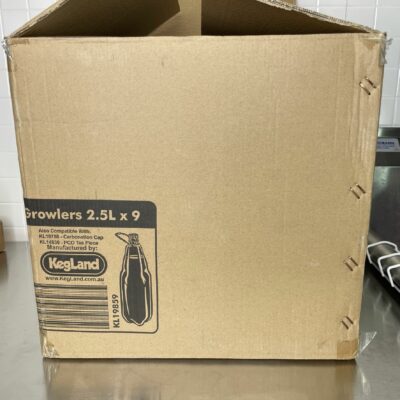
 Contents of Kit
 Description of Box Contents
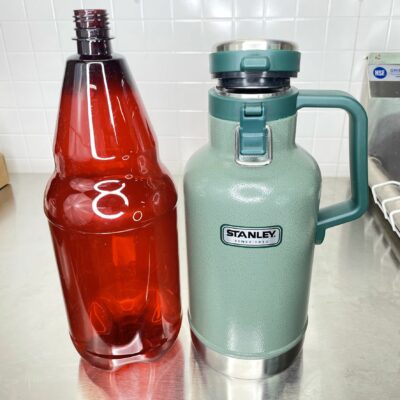
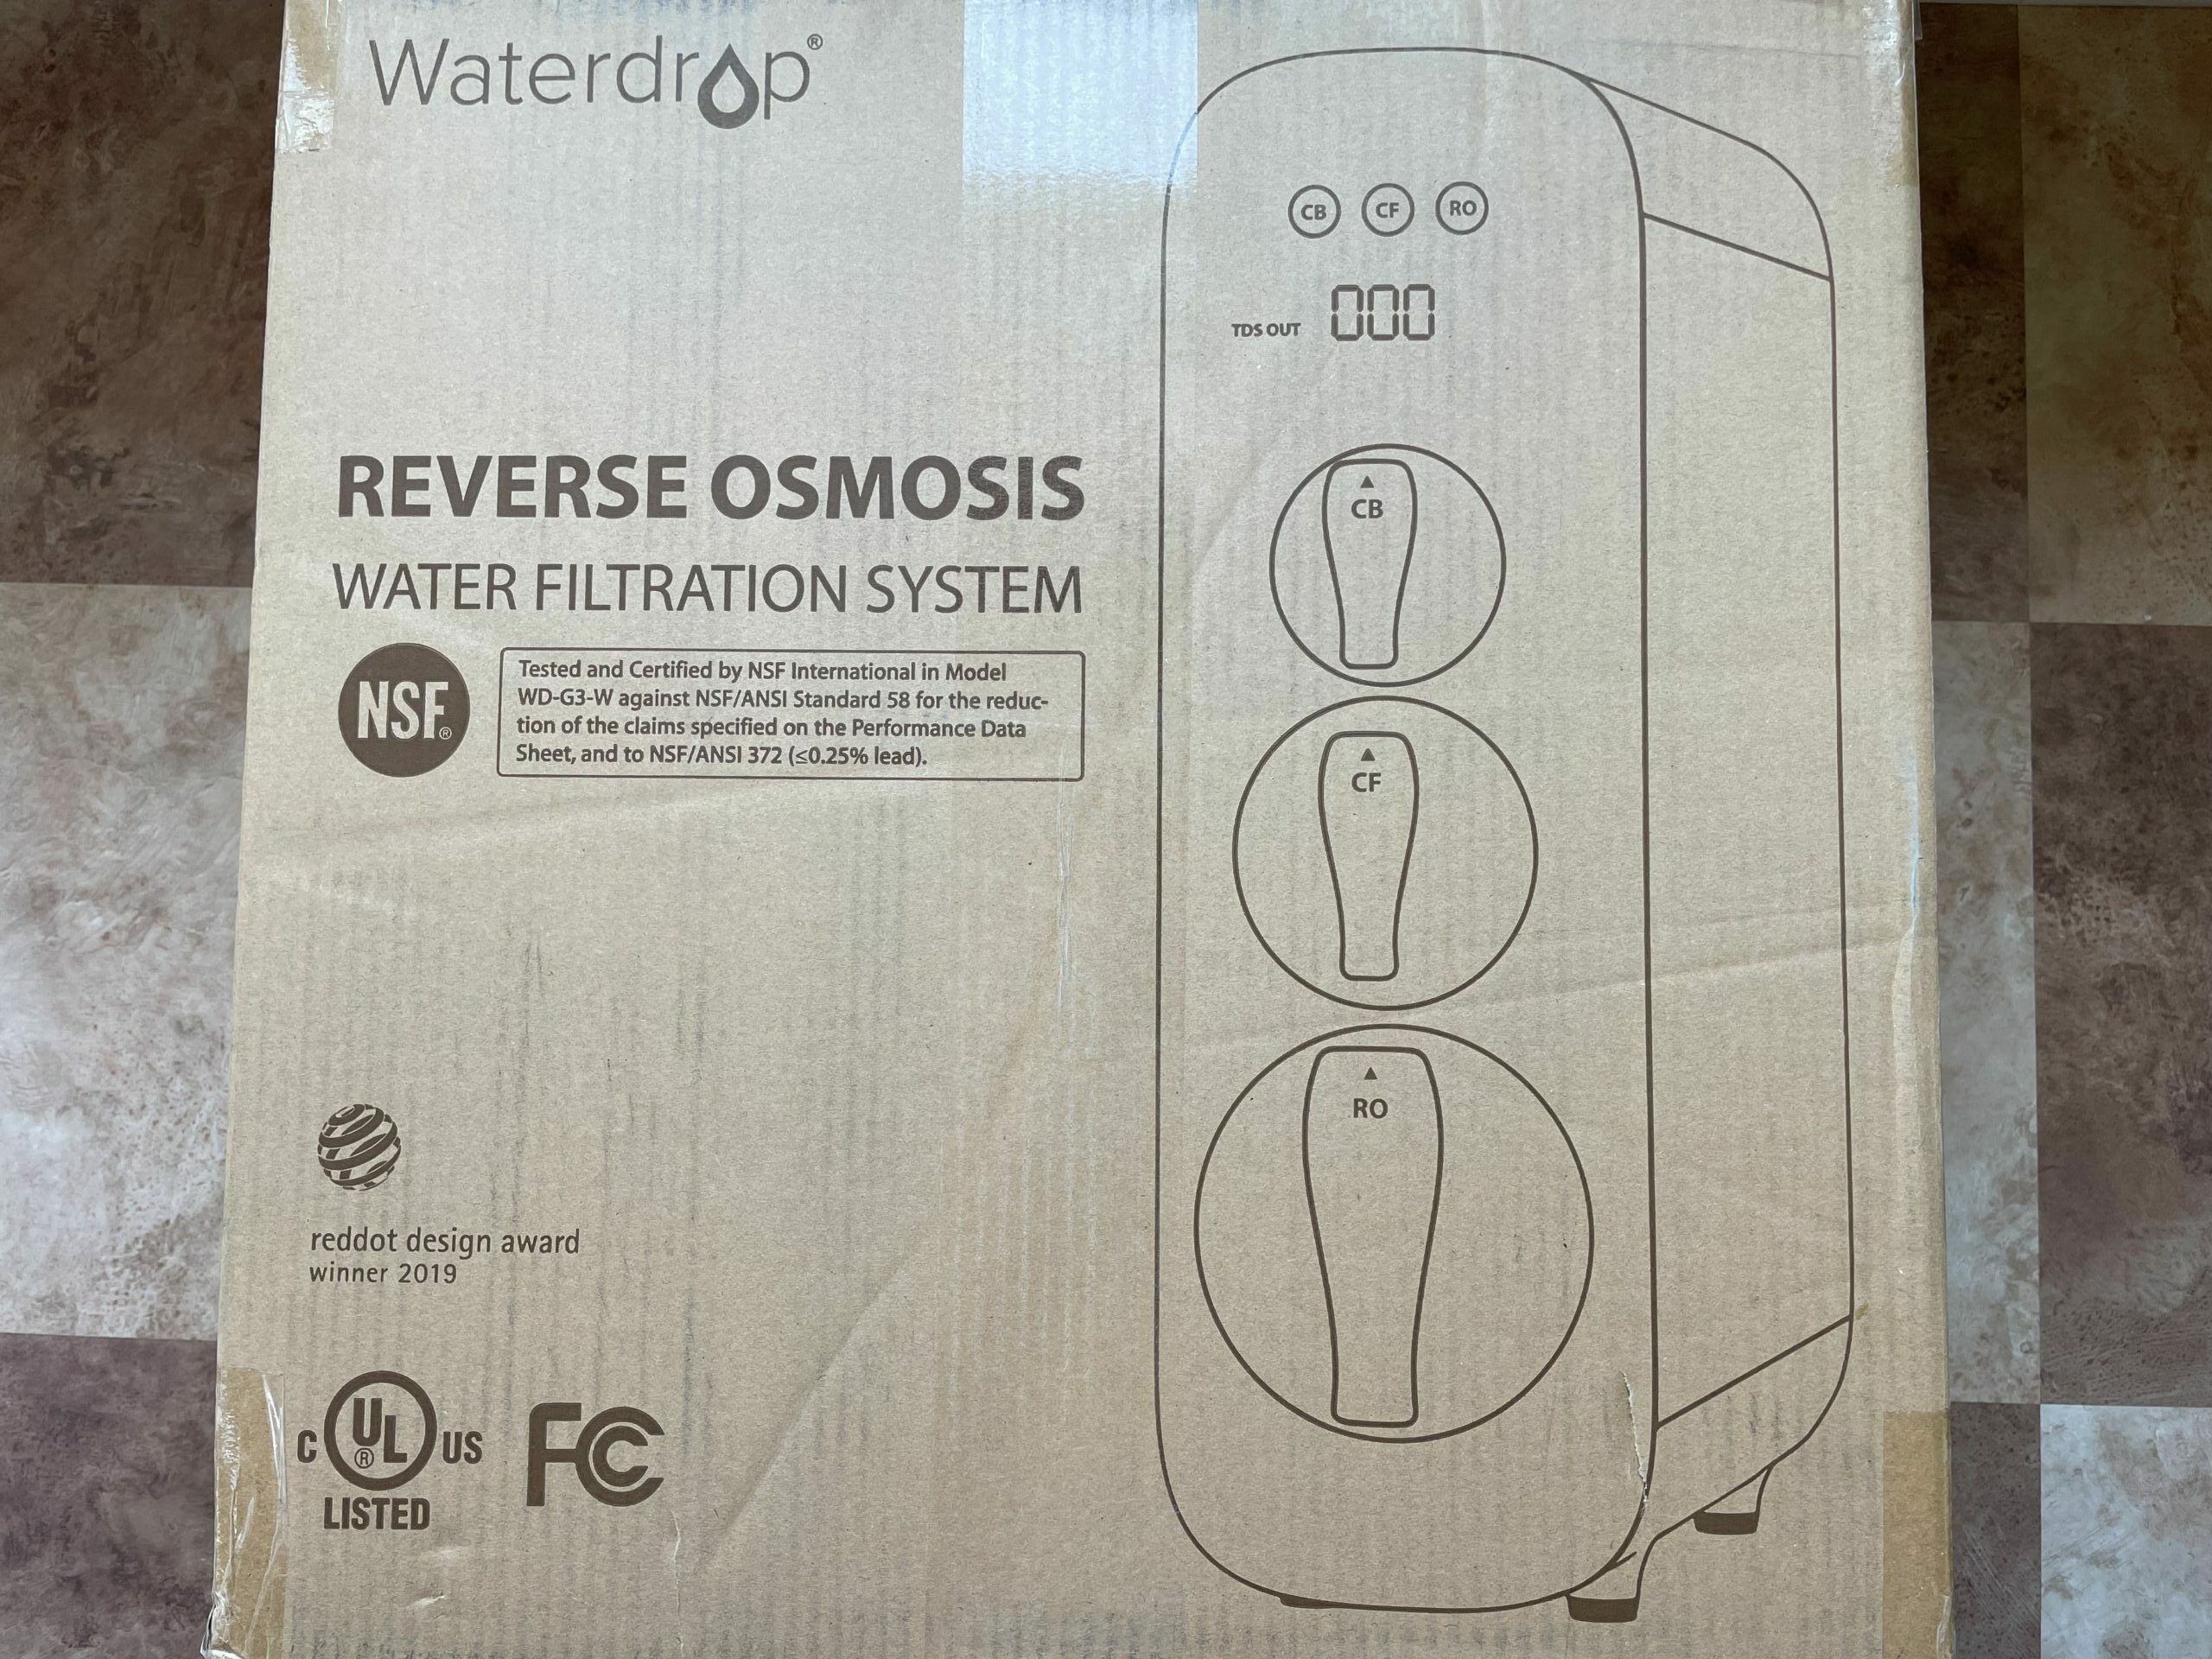
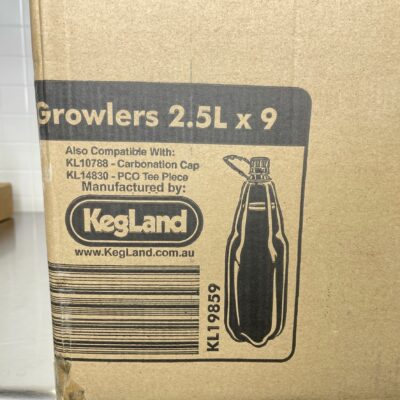 Close-up of the box. Part number KL19859, Compatible with


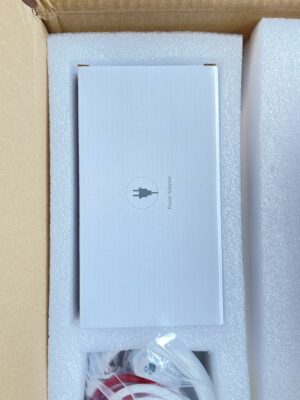 The AC Power Adapter. This unit requires power. I believe that’s related to the tankless aspect of this filter’s design. My assumption is that It has a pressure pump that drives water through the filtration system to deliver a reasonable on-demand performance. The advanced filter tracking features and built in TDS sensor also require power.
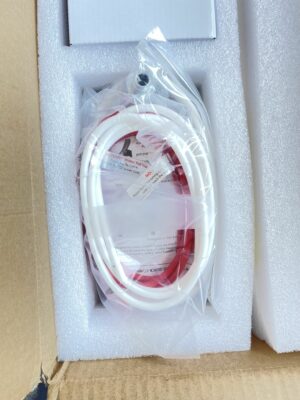 Required tubing and fittings