July 1, 2024
Thank you to HBF Contributor Aaron Nord for this hands on review! Aaron is an advanced award winning brewer, a long time reader and a serial tipster!
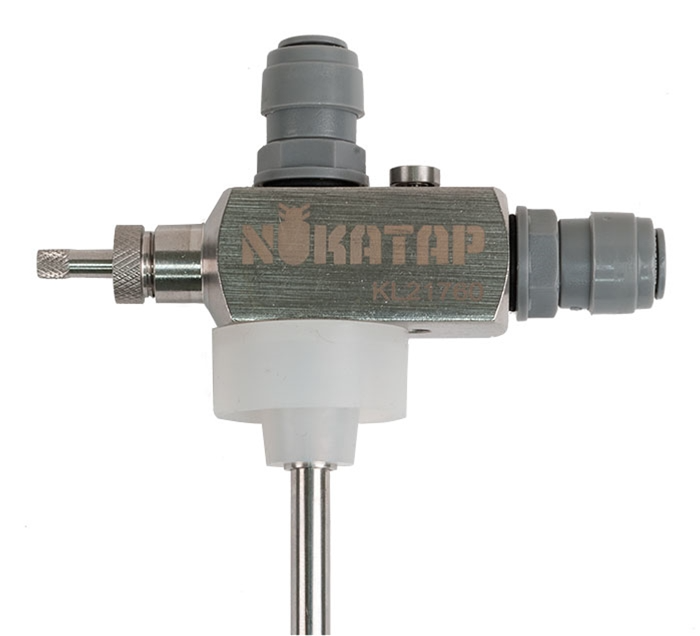
Nukatap Bottle Filler
As with many homebrewers, my experience with the hobby began with making a boxed kit on my stovetop with about 50 bottles of drinkable beer when all was said and done. It was enough to keep me coming back, advancing in skill and acquiring equipment as time went on. I realized quickly that bottling was my least favorite part and was looking forward to ditching the bottles and getting into kegging. This change was one that made a big impact as far as increasing enjoyment of the hobby for me – that and getting out of stovetop brewing and into an electric brewing setup.
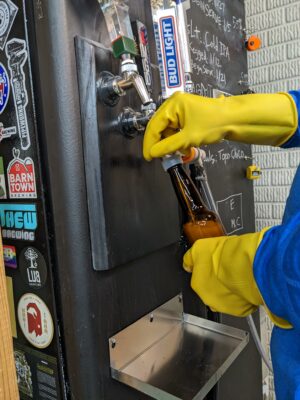
Inevitably, I found myself in the situation where I still needed to fill a few bottles from time to time, mainly for competitions. Now that I was kegging all my beer, I wanted an option that wouldn’t interrupt that practice too much. At the time, the most prevalent options for homebrewers were complicated counterpressure systems or the Blichmann Beer Gun. I opted for the latter and used that for several years to successfully bottle my competition beers. It has its pros and cons (discussed more later), and I always kept my ear to the ground on other options.
Limited Time DEAL!
Nukatap Counter Pressure Bottle Filler
More Info
From the product description, check product page for current description, price and availability:
Do you having a kegging system with beer faucet, and want to bottle kegged beer? The Nukatap Counter Pressure Bottle Filler is an easy way to fill bottles directly from your beer faucet while preserving carbonation in the bottle. The O ring sealed beer inlet nipple press fits into any beer faucet with 10.0 mm inner diameter spout/nozzle including Nukatap, Intertap, Perlick Forward Seal, and Ventmatic faucets.
For the gas inlet side, a male ball lock fitting is provided, so you can use any ball lock gas connector to attach the C02 purging gas. This gas should be at the same pressure as your kegerator dispensing gas, and should be connected to your kegerator C02 regulator. Not Included: you will need a spare gas line from your regulator kegging system with a female ball lock on it to connect your purging C02 gas.
The integrated counter pressure relief valve gives you control of the counter pressure and thus the filling speed. How fast the bottle can be filled without too much foaming depends on CO2 level, beer temperature and bottle temperature. Keep everything cold for the best results.
Fits all 16 ounce and 32 ounce ‘Grolsch’ style swing top bottles.
This connects directly to your compatible forward sealing faucet (Intertap, Nukatap and more) and allows you to easily counter fill bottles directly from the tap.
This is DuoTight compatible, although you don’t need to use DuoTights throughout your entire tap system to use it.
- William’s Brewing has this for $74.99.
- William’s Brewing has a short 15% off sitewide sale going on right now. Applies to orders of $59.99 or more. Some exclusions apply. Use coupon code 15OFF
- William’s rarely does % off sales. When they’ve done them, they haven’t been this much, at least that I can recall.
- Shipping is free or reasonably priced flat rate to addresses in the contiguous US depending on your order size for most items.
- Compare: Nukatap Counter Pressure Bottle Filler via MoreBeer, $79.99 as of this posting
Nukatap’s Counter Pressure Bottle Filler – $63.74 with coupon code 15OFF
Check Current Pricing & Availability:
Continue reading →

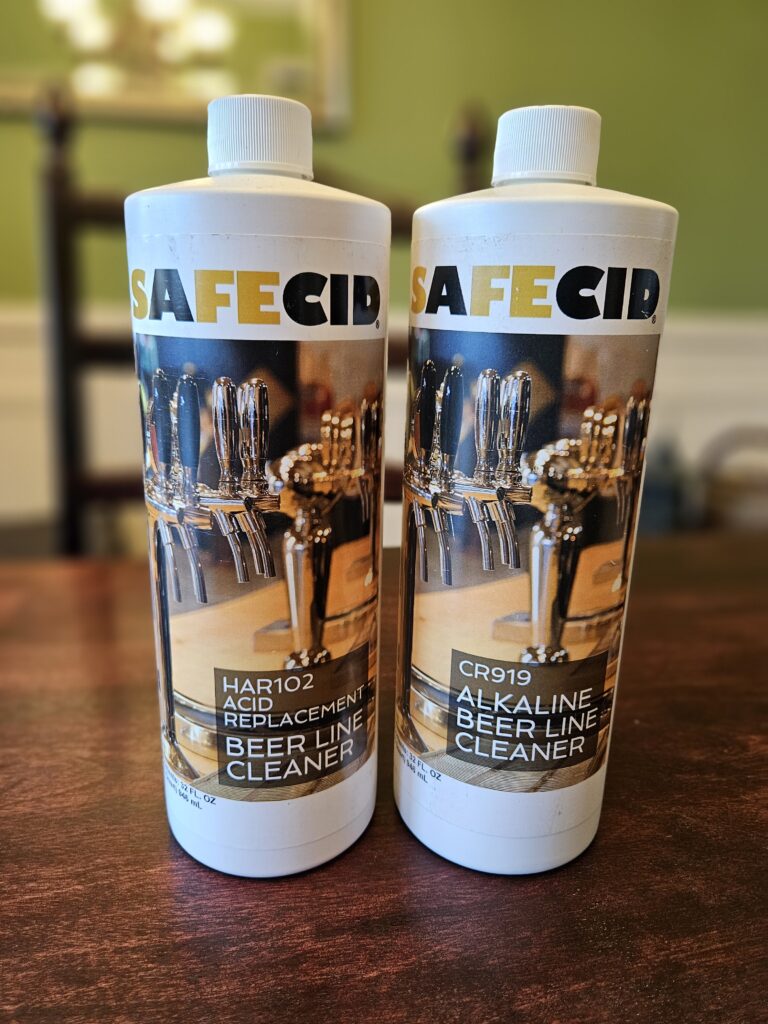


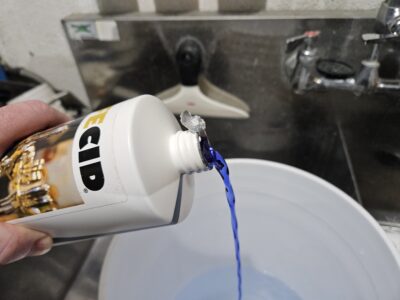 Alkaline Cleaner Distinct Blue Color
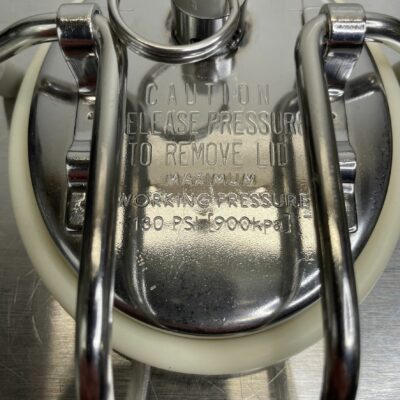
 Lid on Foam


 Bottom of Mash Basket


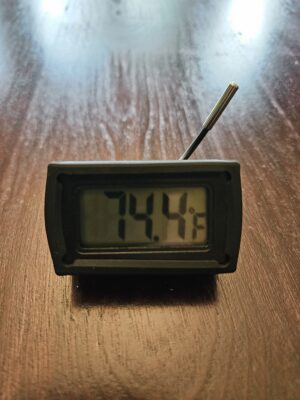


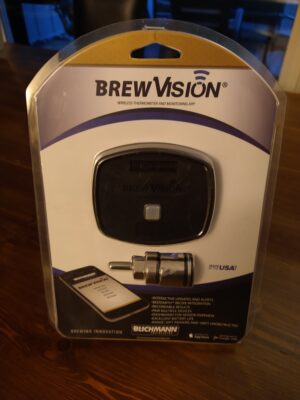
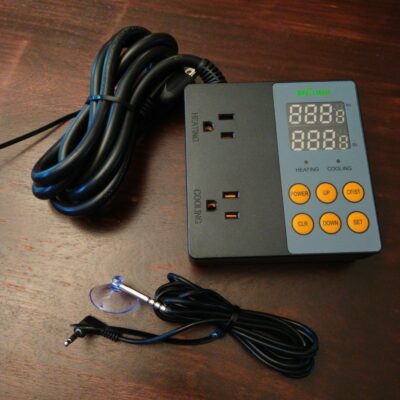 Controller and Probe