This review is by Homebrew Finds Contributor Brad Probert. Brad is an engineer, expert homebrewer and experienced reviewer. Grab a link to Brad’s website at the end of this review.
Blichmann Engineering Mash Tun
When selecting a mash tun, there are lots of choices out there. There are all-in-one electric systems, converted Igloo coolers, aluminum stovetop pots, and many different types of stainless steel kettles. If you’re not going down the path of the all-in-one unit, stainless steel is usually the predominant choice. That’s because it is sturdy, easy to clean, has a very broad temperature range, and doesn’t contain questionable stuff that comes with that California Prop 65 warning.
Blichmann BoilerMaker G2 Kettle
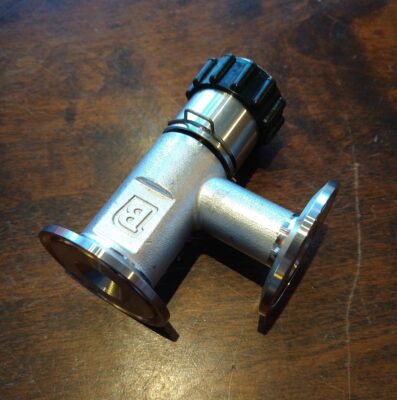
This mash tun is built around Blichmann’s G2 Kettle. See our Hands on Review of the G2
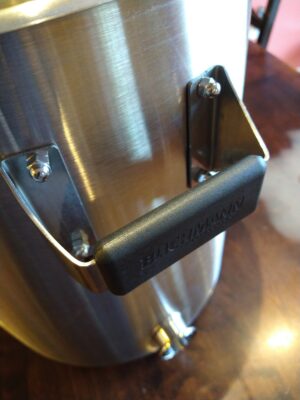 Handles with Cool Grip Comfort Pads
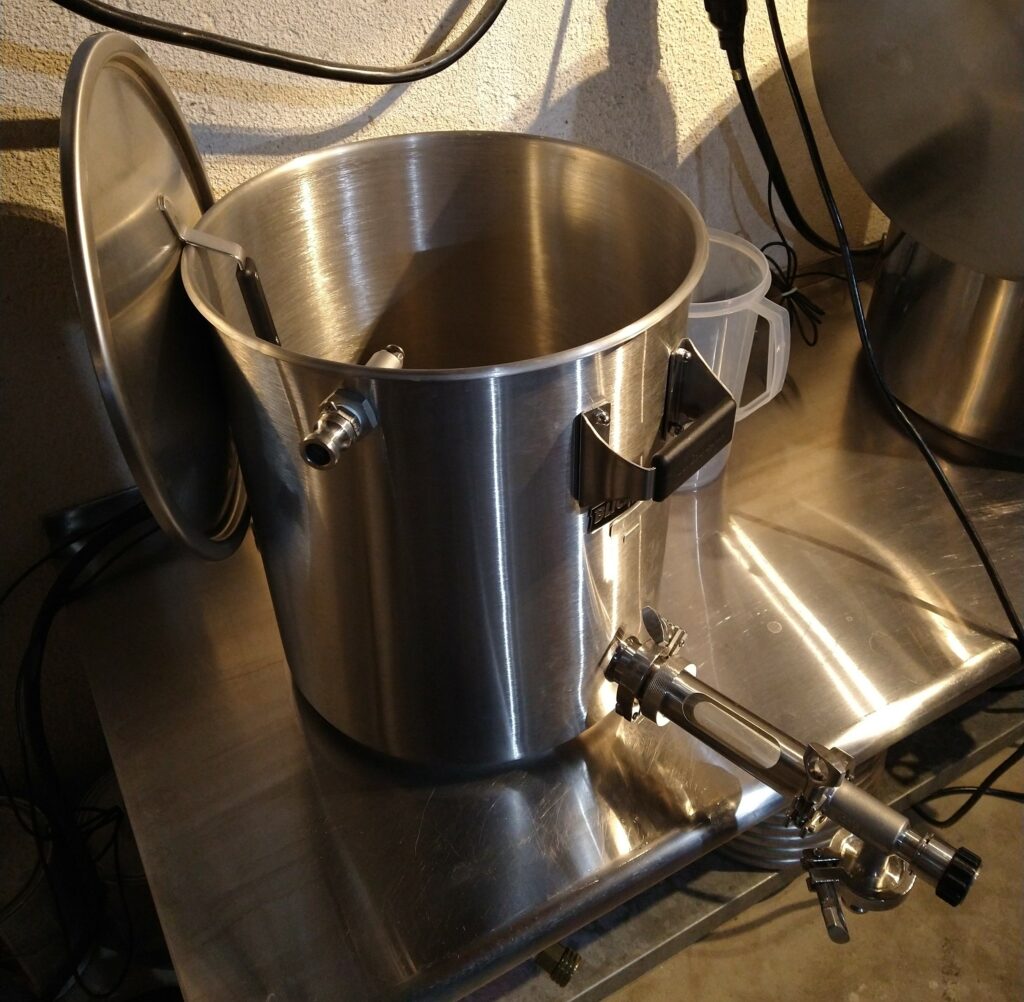
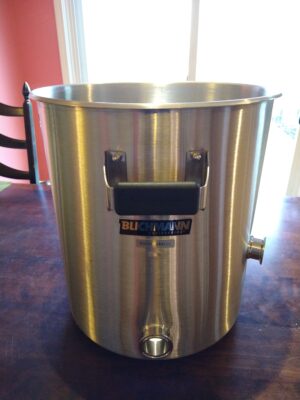
Blichmann’s kettle offering is the BoilerMaker G2. It’s made from 304 Stainless Steel and has a brushed finish. According to Blichmann, although both inside & out have a brushed finish, the inside is a bit smoother to make stuff less likely to cling to it. The kettle has volume markings on it, but instead of etched or stamped markings, it uses a borosilicate sight glass with volume markings on the outside of the kettle. The handles are located at the front and rear of the kettle, so when you’re carrying it, you don’t have the drain valve sticking out in front of you at risk of banging into things or facing the other way and digging into your leg.
 Kettle with Temperature Port Offset to Side
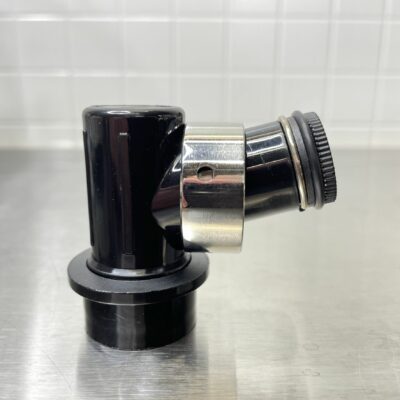
The kettle comes with either welded 1.5” TC ports or weldless ½” NPT Threaded fittings for a drain valve attachment and a thermometer port. For the thermometer port you can get either an analog dial thermometer with an adjustable angle face, or a digital BrewVision. The kettle comes with the Blichmann Linear Flow Valve for the drain, but the TC kettle also has an option for a butterfly valve. The Linear Flow Valve’s exit comes out at a 90-degree angle from the inlet, and you can point it in whatever direction you want to eliminate tight hose bends or having to add an additional 90-degree elbow fitting.
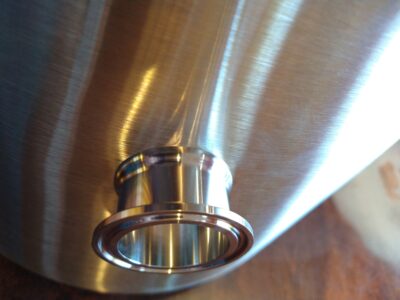 Welded TC Port on Outside
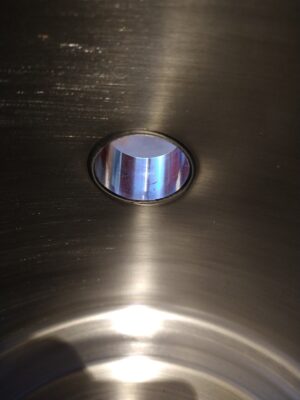 Welded TC Port on Inside
Compare Models, Prices and Availability, Review Continues Below:
The Boilermaker comes with many customization options. If you want it to be an electric boil kettle, you can order it with the Blichmann Boil Coil. You can even take the customization further and select additional ports and add-on additional Blichmann kettle accessories. Beyond the add-on features, you can pick the size- from as small as 7.5 gallons to as big as 55 gallons.
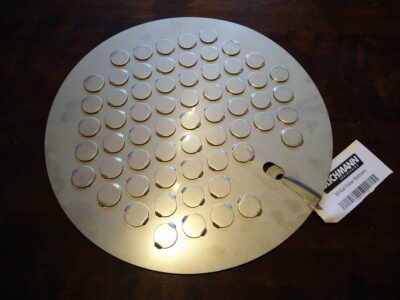
If you plan to use the kettle as a mash tun, the Blichmann Button Louver false bottom is made to fit inside the kettle and connect with the pickup tube that feeds the drain valve. The false bottom sits on the stepped bottom rim in the kettle, and the pickup tube passes through a hole in the false bottom, drawing wort from below it. The false bottom is covered with small 1” circular stampings (where the “button” part of the name comes from) which are slit along the sides (for the “louver” part of the name). With this design, the gaps are on a vertical edge, not on the flat horizontal face. That means you don’t have gallons of water and grain pushing down on your cracked grains, trying to push them through slits or holes like most false bottoms do.
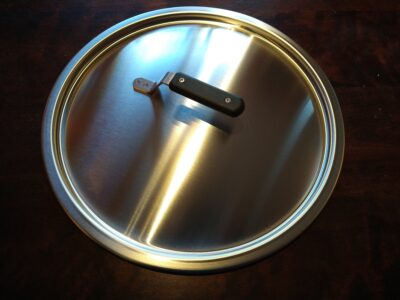
Last on the list of nifty features is the lid. Lids don’t do much on kettles, and generally are pretty boring. Blichmann made their lid do something others don’t. Instead of the normal handle bracket welded on both ends, they left one end open, so it forms a type of hook/hanger. With the cantilevered hanger design, not only can you hook it to the kettle handle, but you can hang it from any side of the kettle, simply by hooking it over the rim.
Hands on Review

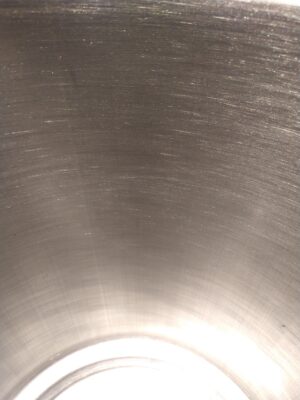
I evaluated a 10 Gallon G2 kettle with the Button Louver false bottom, to use as a Mash Lauter Tun in my 2-vessel brewing setup. The 10 Gallon size worked great for 5-gallon batches. The look of the kettle right away stood out as different. The brushed finish made it less shiny than highly polished kettles I’ve used before when pulling it out of the box. However, the brushed finished meant it stayed bright and consistent after several brews. I found the brushed finish inside seemed to require a bit more effort to clean afterwards than my smooth kettles. But if I compared the amount of effort to get my smooth kettles shiny and new looking, the brushed finish was easier to get it back to “like new” finish. So what initially seemed like a downside, was actually a benefit.
The other thing I noticed when pulling it out of the box was its weight. It felt lighter than other kettles. Sometimes there are legit reasons to brag about gauge thickness of your kettle. The beefier it is, generally the more resistant to wear & tear and potential denting. However, when you’re talking about kettles in the region of 5-gallon batches, clean-up usually means lugging them somewhere to clean/rinse them. And when you’re doing that, you appreciate a kettle that isn’t thicker just for bragging rights. The Blichmann kettle seemed robust enough to be considered sturdy, and it seemed a good balance when lugging it around for cleaning.
Hands down the most impressive feature of using the Blichmann BoilerMaker as a mash tun was the Button Louver false bottom. Technically this is an add-on, and not part of the kettle. But if you buy the kettle to use as a mash tun, you of course buy the false bottom. I’ve used different designs of false bottoms in different mash tuns, but none have worked as well as the Button Louver one. I had previously optimized my grain crush on another mash tun to be at a point that I didn’t get a stuck mash, but still had good mash efficiency. I was milling my grain at a 0.033” gap on a 3-roller MM-3 Monster Mill. On my other mash tun this resulted in good mash efficiency, no stuck mashes, and a small amount of grain fragments that made their way into the boil kettle. This same grain crush setup on the Blichmann false bottom gave me the same mash efficiency, no stuck mashes, but I was shocked to see no grain bits in the boil kettle. I thought this was a fluke on my first batch, but I watched it on a total of seven test batches with the same results.
 Button Louver Closeup
The one exception to this “grain free” performance happened once during my trials. I found later that what happened was I dislodged the washer on the pickup tube where it goes through the false bottom. The washer is a loose piece that has a tight clearance around the pickup tube and blocks an oversized hole in the false bottom. While stirring the grains during mashing in, I stirred too deeply and scraped this washer up. Grain got under it, and I then had a large hole where grain could get through while recirculating the mash. By the end of my 60-minute mash, the grain was able to set up a decent filter bed, and I only got a few debris in the boil kettle during sparging. But I did have to do some clearing of my recirculation tubing at the start of the mash to get the giant slug of grain out of there. Now I know to not stir so deep as to scrape across that washer.
 Linear Flow Valve with TC Ends
Conclusions
The G2 BoilerMaker kettle worked well for me. The lighter weight made it nicer when it came time to cleaning and moving the kettle over to the sink. The brushed finish grew on me after a few batches, as I recognized it kept the kettle looking as good after several brews as it did when I pulled it out of the box. The Button Louver false bottom earned a spot in my unofficial list of “favorite brewing gear” with its stellar performance of keeping grain particles out yet still providing plenty of pass-through liquid slots. With the ability to custom-order the kettles with the types of fittings, number of fittings, and location of fittings, it can be a great tool for many types of use.
Compare Models, Prices and Availability, Review Continues Below:
More Photos
 Brushed Finish Interior
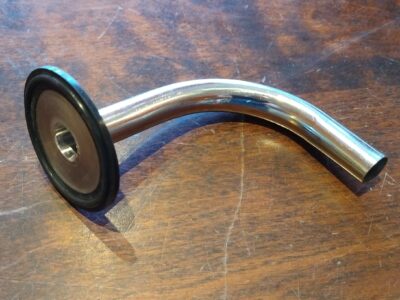 Pickup Tube with Over-molded Gasket
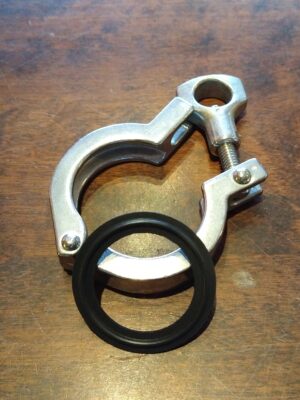 Tri-Clamp with Gasket
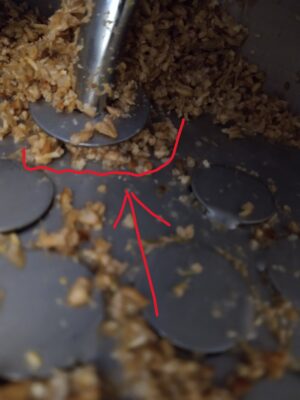 Washer Accidentally Lifted Allowing Grain to Pass Underneath
More Blichmann Engineering Reviews!

More Homebrew Finds!
Recent Deals!

10 Most Recent Homebrew Resource Posts & How-To’s!

This post may contain affiliate links. We may make a commission when you use our links. This will never cost you extra. Thank you for supporting Homebrew Finds!
More Tri-Clover/Tri-Clamp! Tri-Clamp Fittings at Proflow Dynamics
Special Thanks to Blichmann Engineering for providing the unit used for evaluation in this review.
By Brad Probert. Check out Brad’s website – beersnobby.com
Make sure the components you use are compatible and rated for your intended application. Contact manufacturer with questions about suitability or a specific application. Always read and follow manufacturer directions.
Price, promotions and availability can change quickly. Check the product page for current price, description and availability. review:blichmash tag:tpr


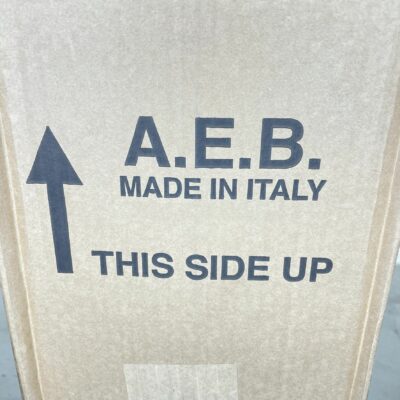
 A look at the box
 The other side of the box. This is one of the better looking keg boxes I’ve run across.
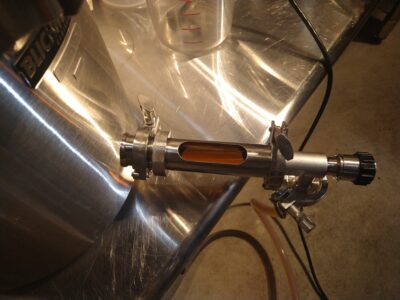 1-inch TC Sight Glass Added to Output
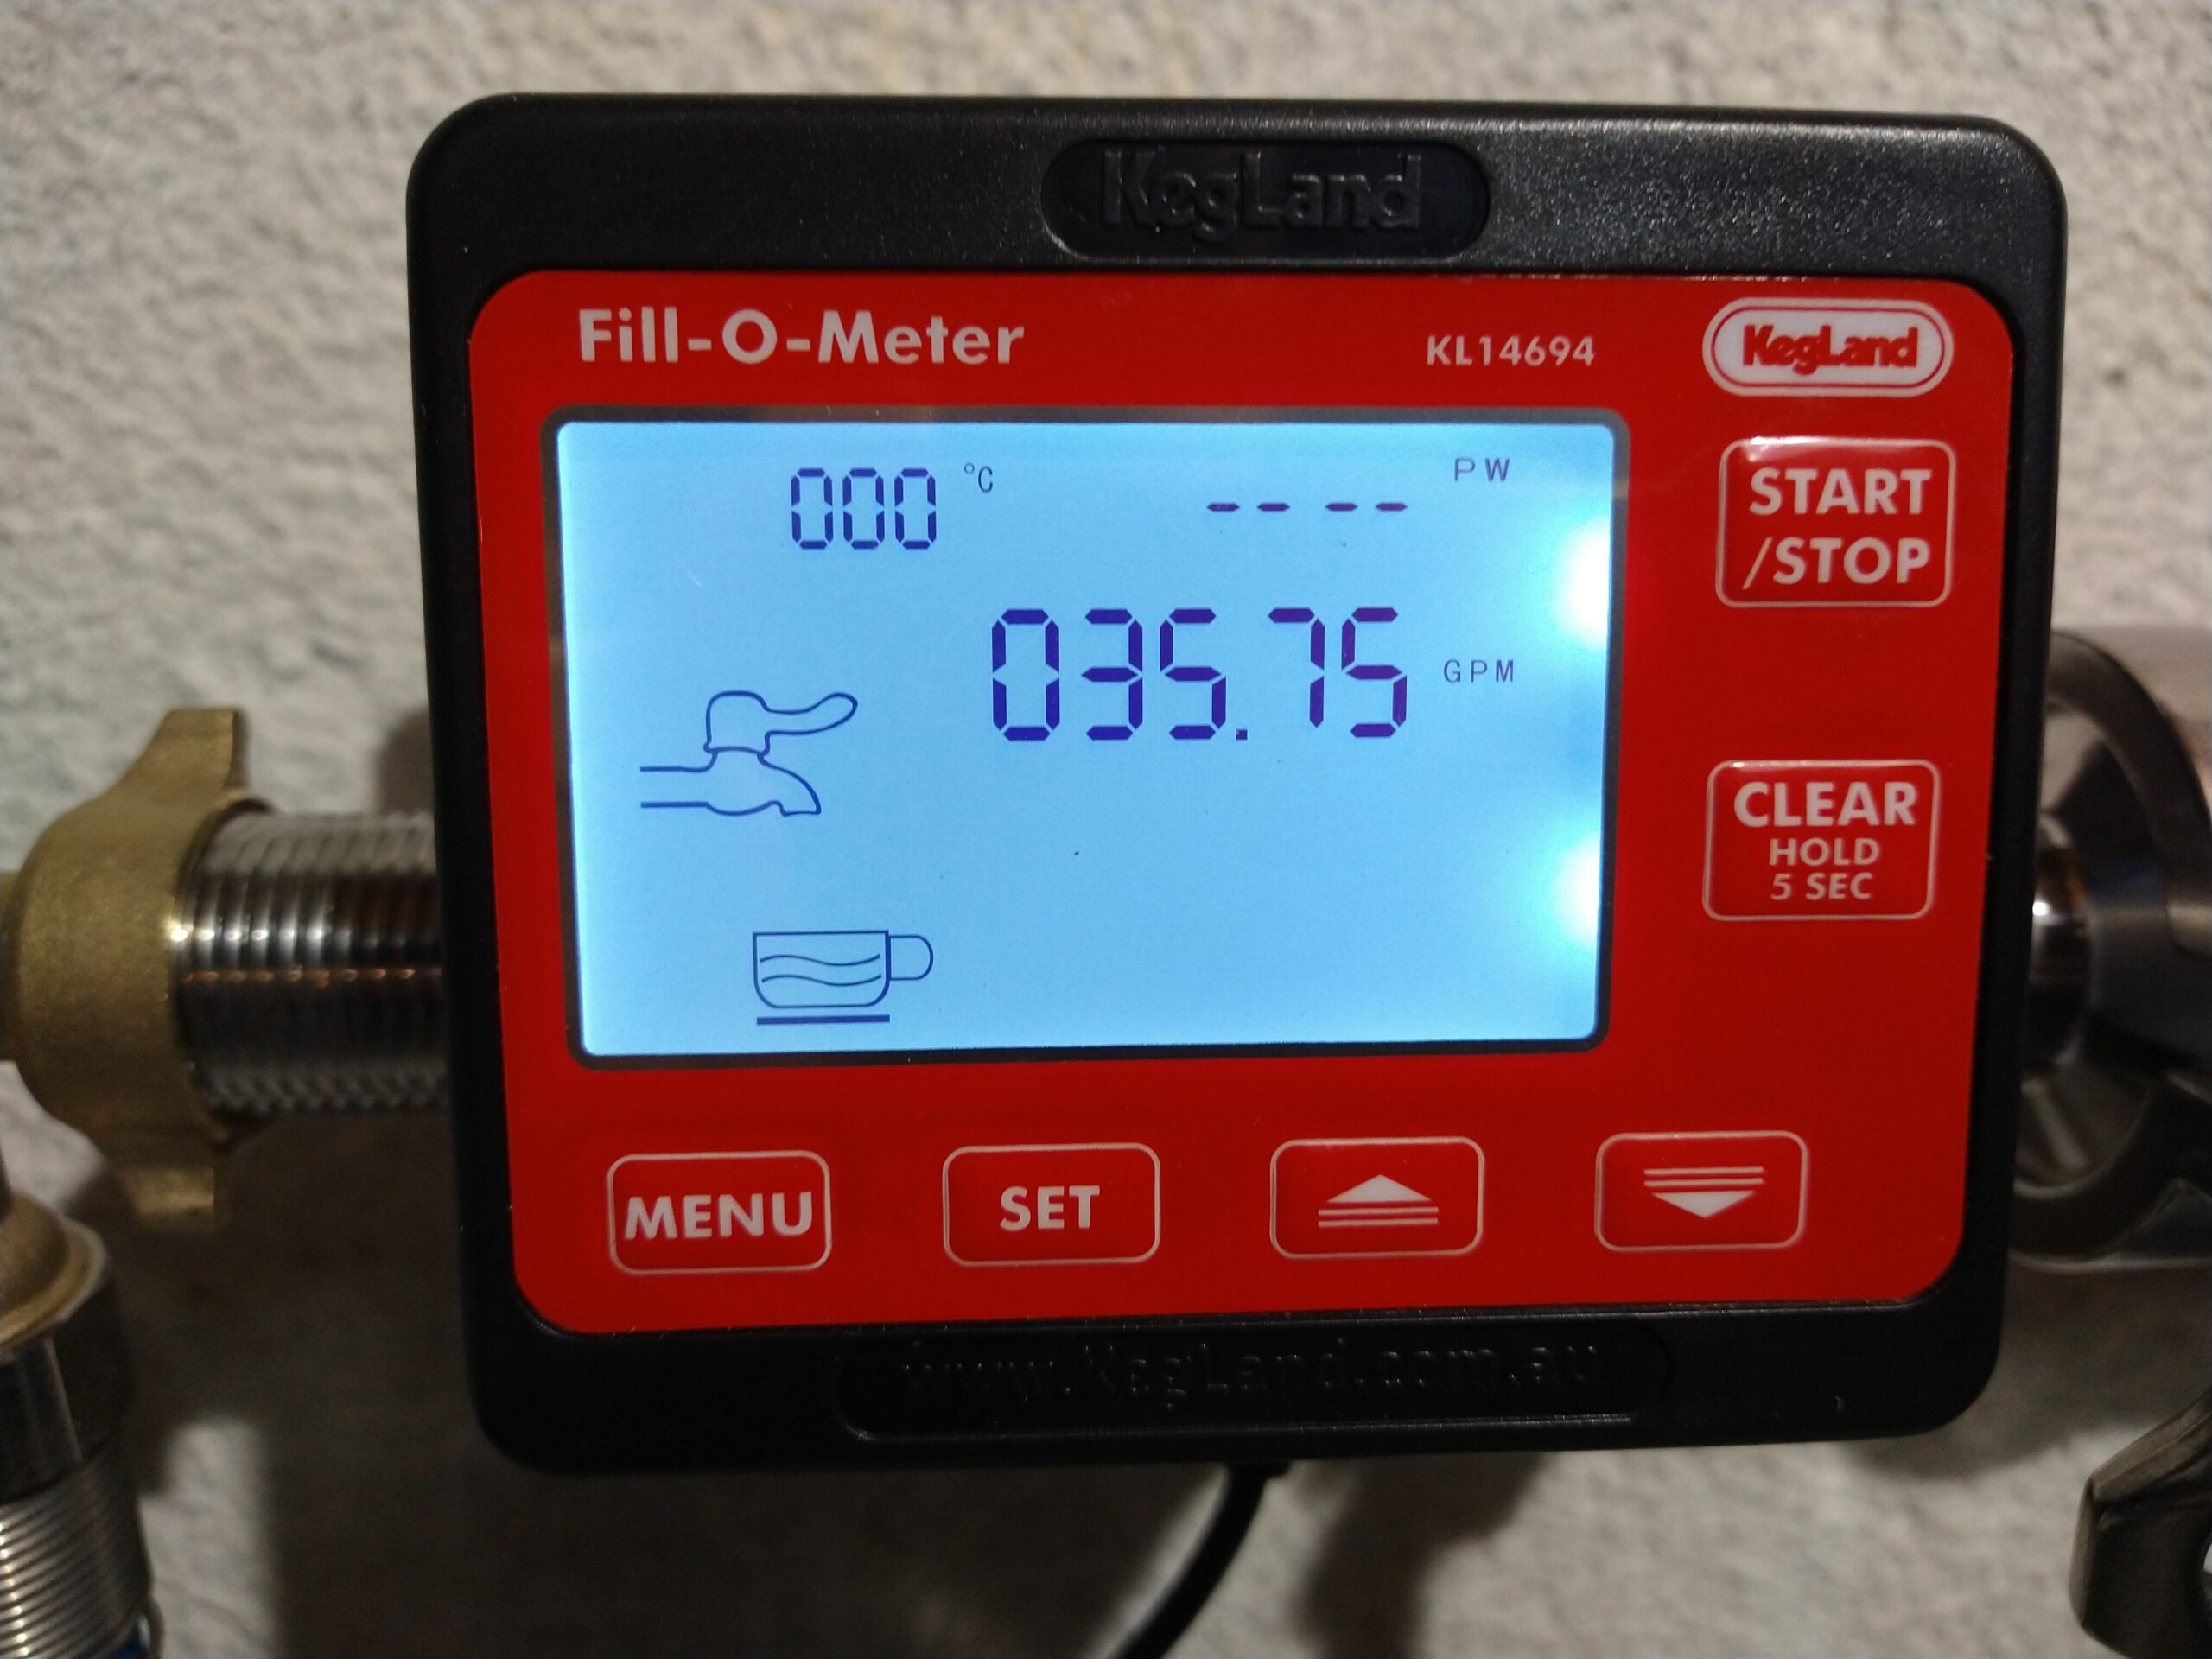
 Fill-O-Meter in Box
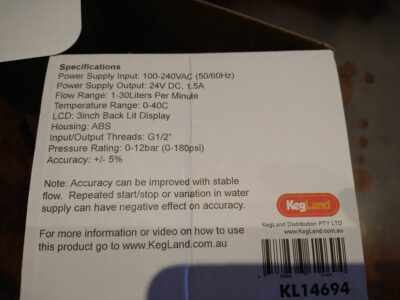 Specs on Side of Box
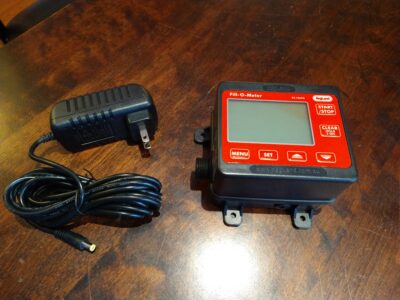 Contents of Box- Meter and Power Supply
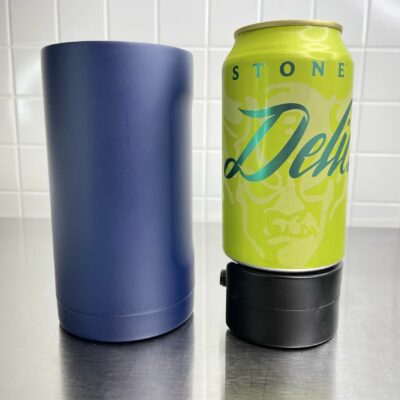

 A look at the box
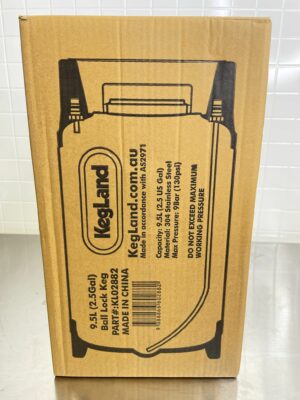 The other side of the box. This is one of the better looking keg boxes I’ve run across.
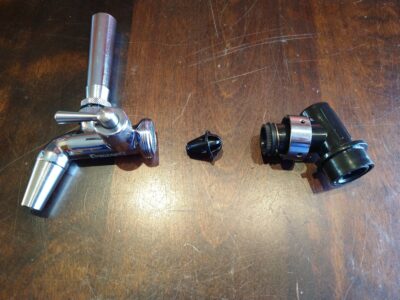 Flow Control Faucet Disassembled
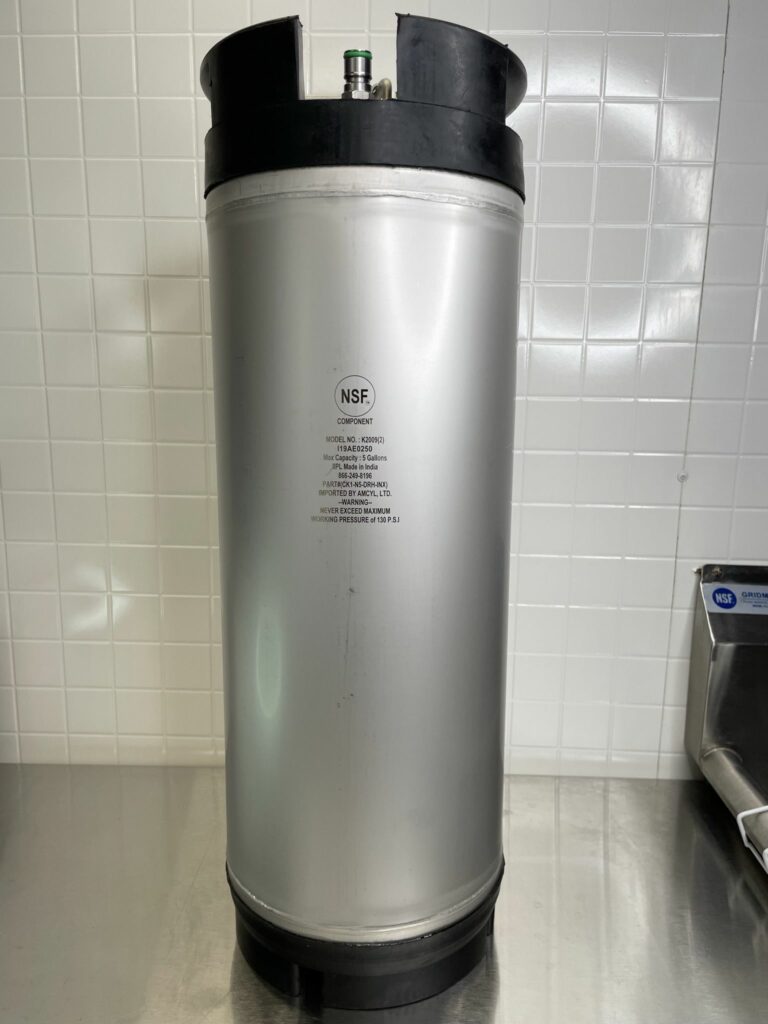
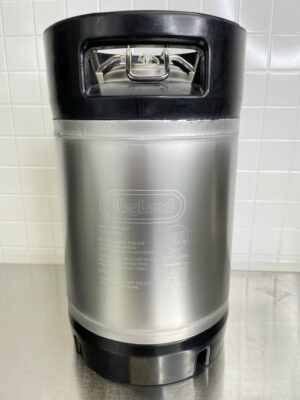
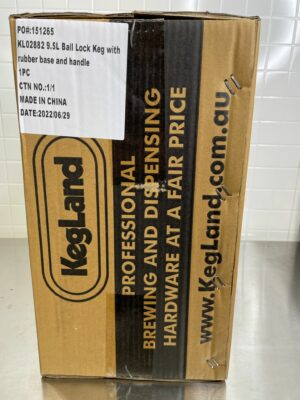
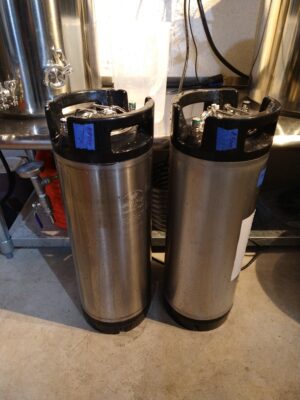
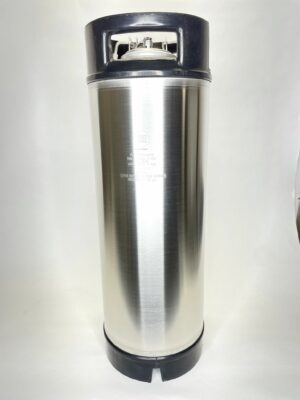
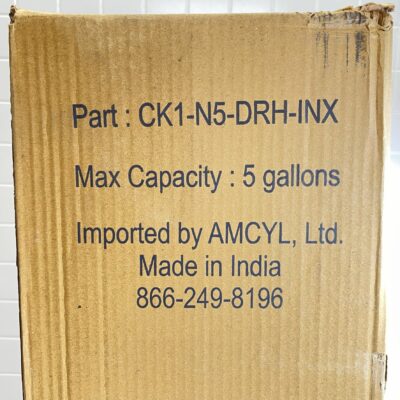 Here’s the box. This particular keg is showing as part # CK-N5-DRH-INX. Capacity 5 Gallons. Made in India.
 A look at the seam side of the keg. Generally speaking the body of a keg is cut from a sheet of stainless steel. A rectangle is bent into a cylinder and then welded. This vertical line is that weld.
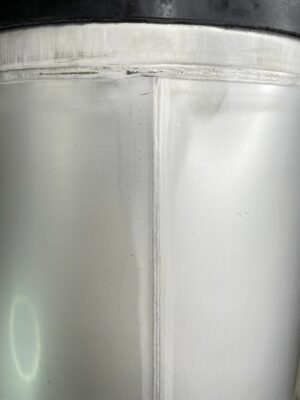 Close up of the T, where the vortical weld meets the top most weld.
 Top down view
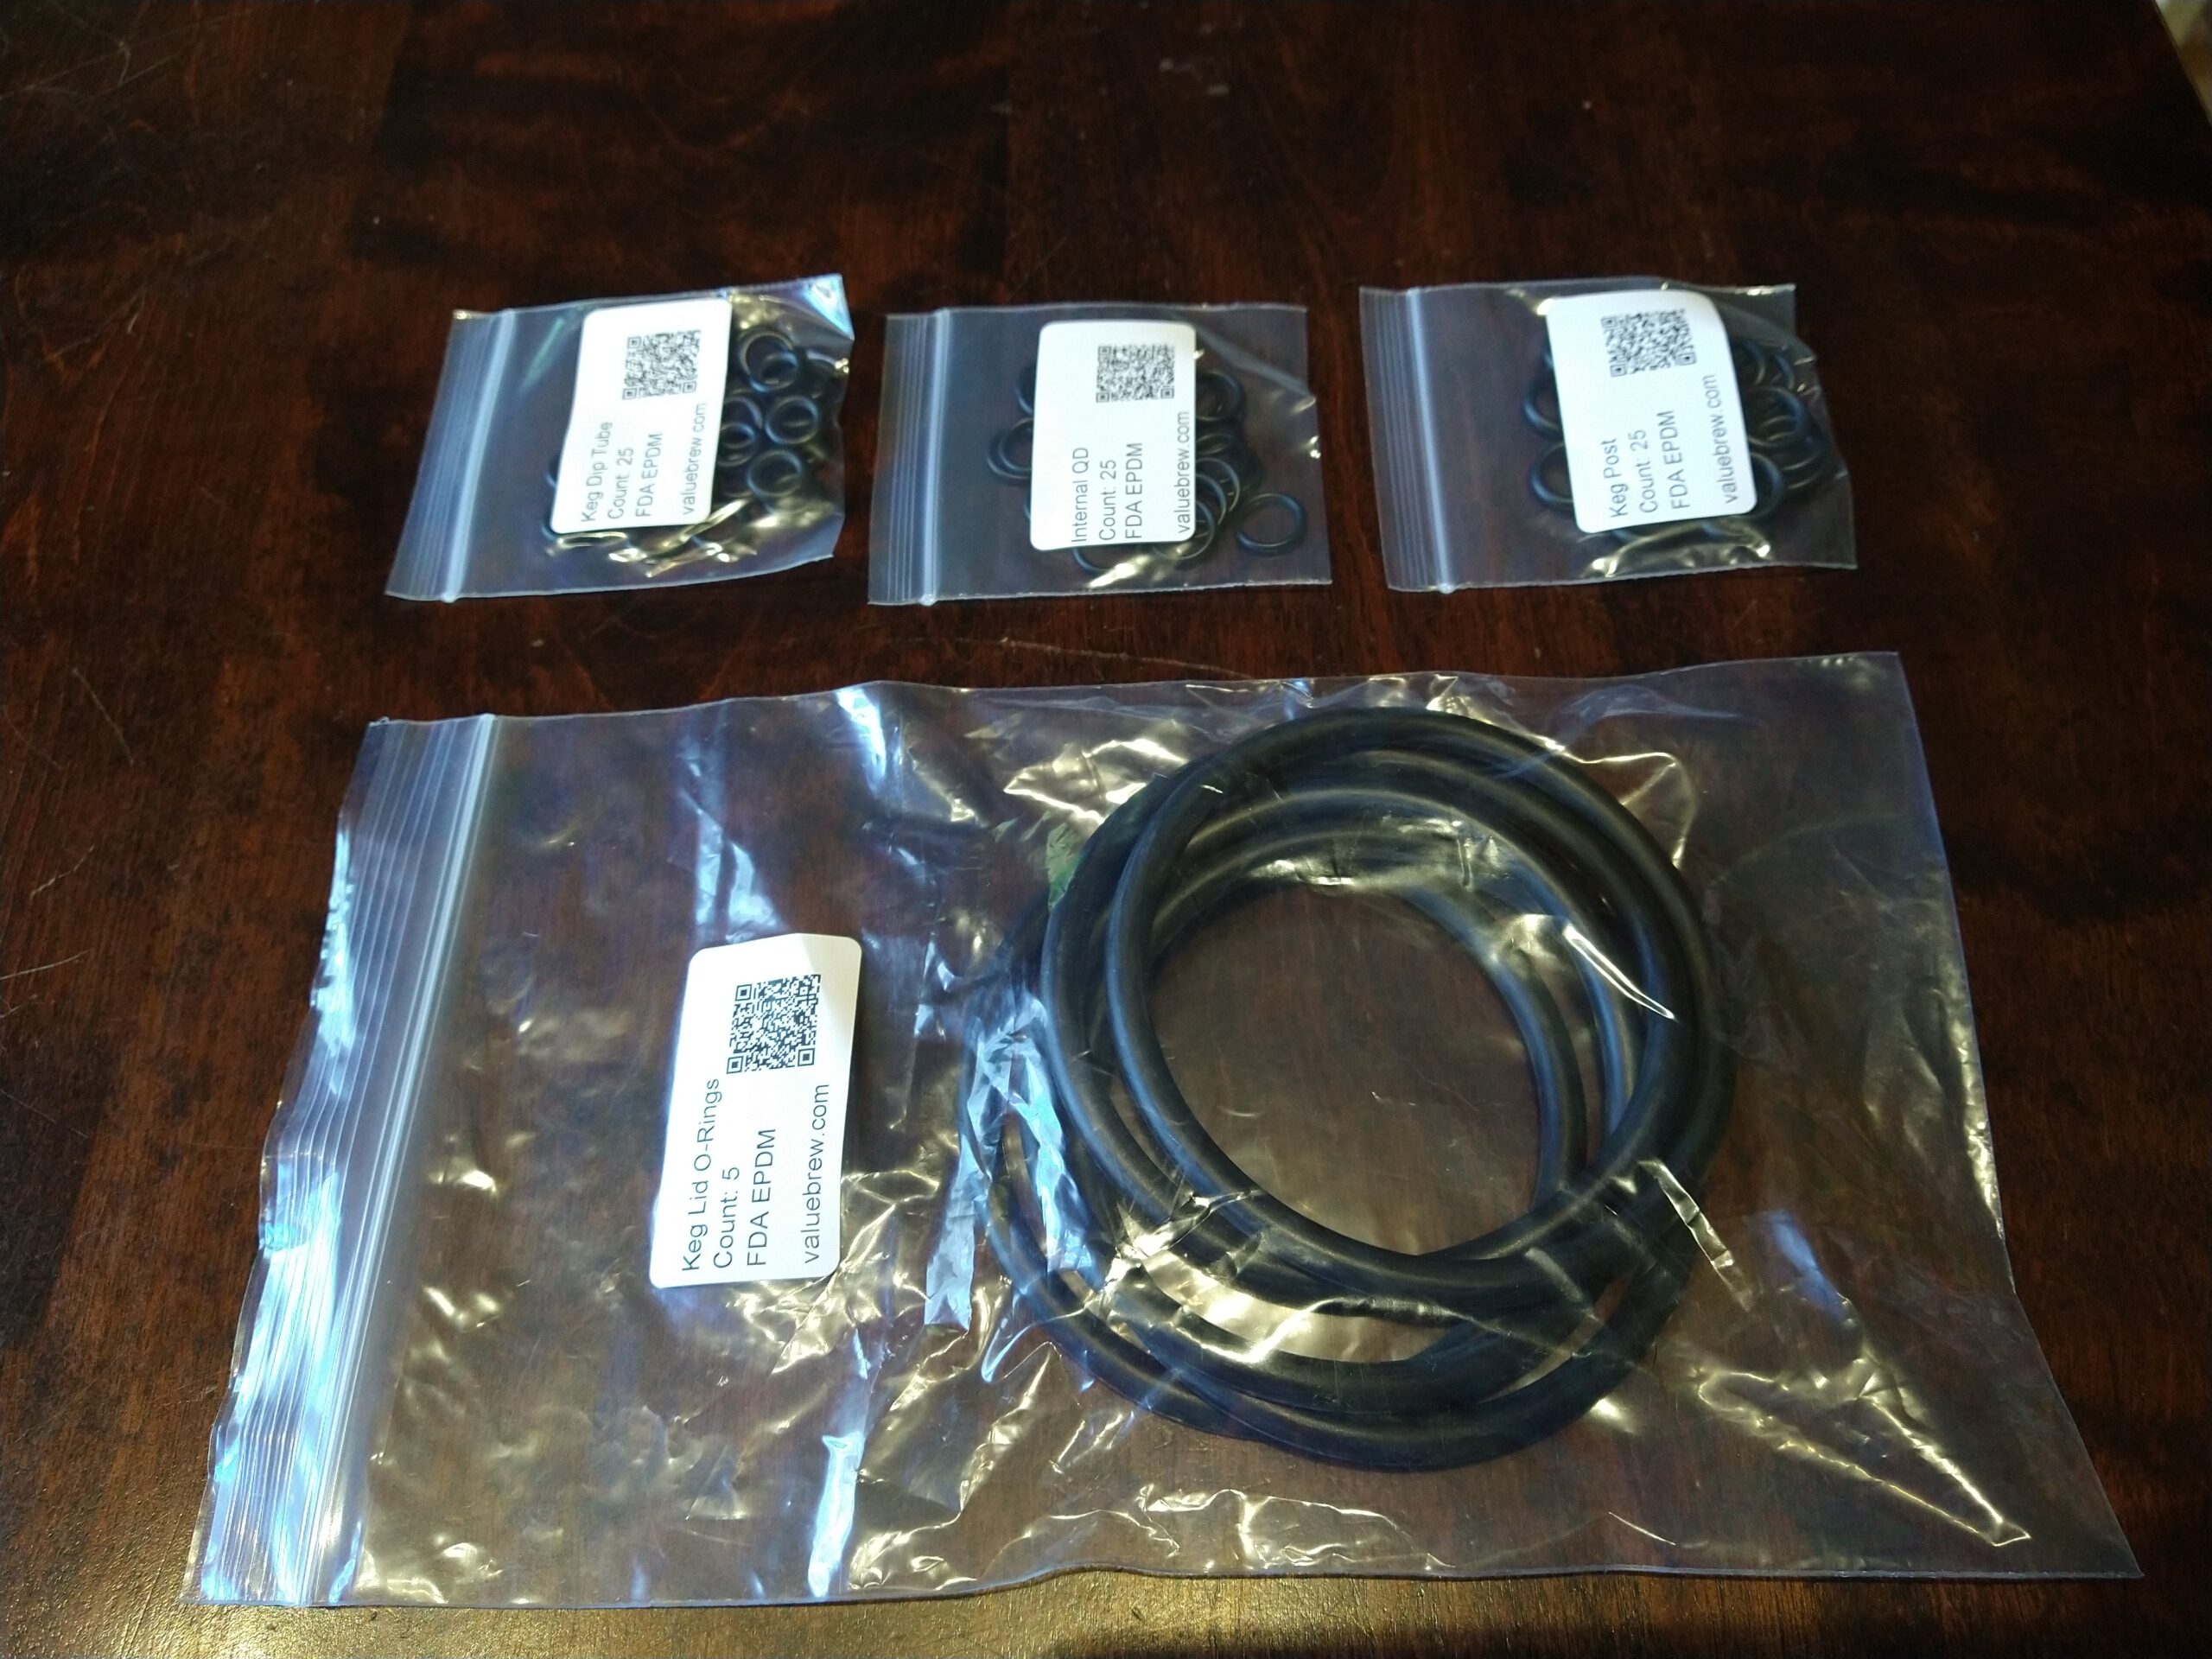
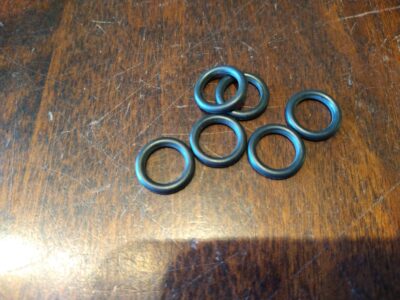
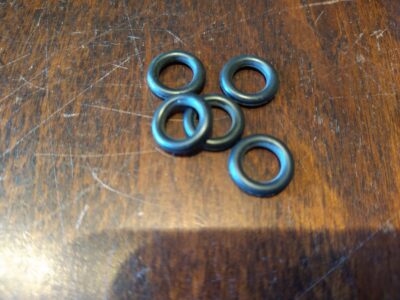
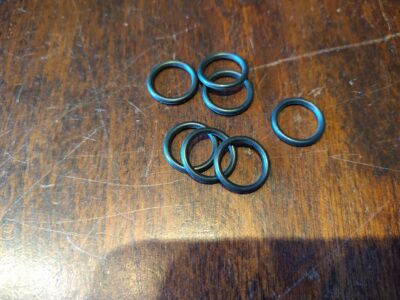
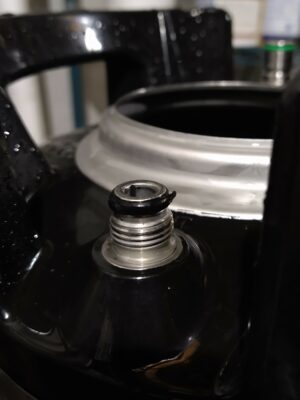 Some Old Dip Tube O-rings Were in Rough Shape
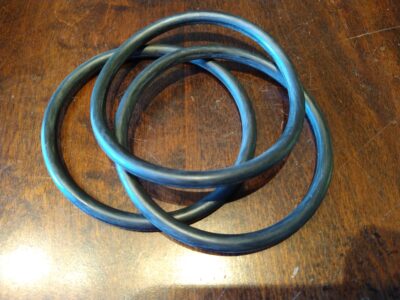


 Pressure Holding Test with Spunding – Related:


 A.E.B. Made in Italy. AEB leans heavily on their Italian identity. That makes sense to me as I generally think Italian made = high quality. That’s a broad stroke, but my espresso machine was made in Italy and it’s amazing. So, fair or unfair, that’s where I’m at.
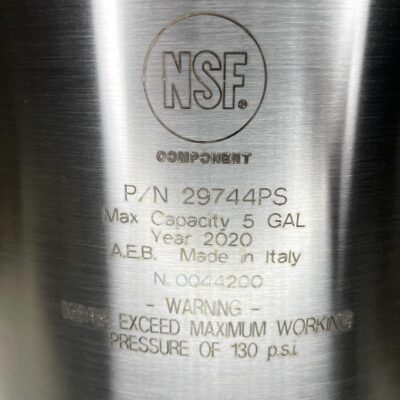 Close up of the keg imprint. NSF P/N 29744PS, Max Capacity 5 GAL, Year 2020, A.E.B. Made in Italy, N 004420, Warning, Never Exceed Maximum Working Pressure of 130 PSI.
 Old style faucet converter and QD
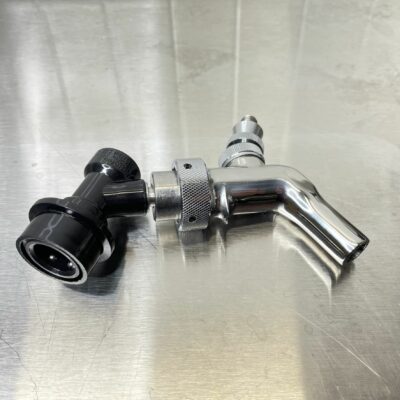
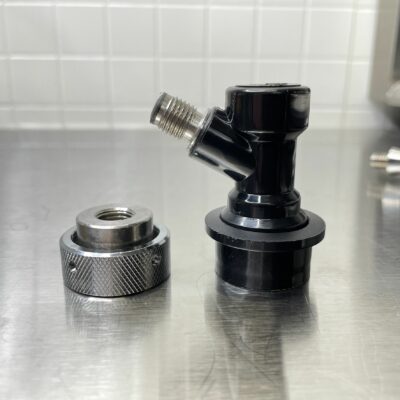
 Kegland’s Ball Lock QD with shank has a standard looking ball lock QD body. Instead of a flare or barb outlet it features and integrated shank and sleeve.
 Homebrewers measure a lot of things around the home brewery… pH, gravity, temperature and volumes. This is a look at Winco’s 1 Pint Measuring Cup.
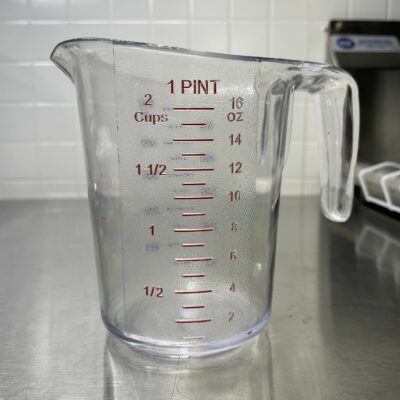 This measuring cup features polycarbonate construction and two measuring scales. I found an unofficial source that says this is heat resistant up to 210 degrees F. Here are the pint/cup markings. These are in red.
 Rigid Joiner pictured with a check valve and
  Rigid Joiners, part number KL18012. To my knowledge these are available in 8mm only. I’d venture a guess that this is the most common size.


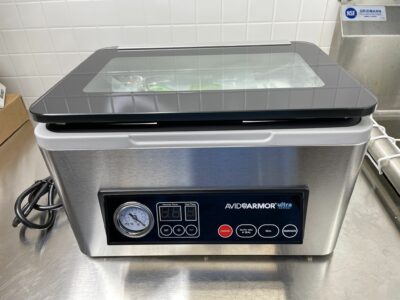 The USV20 fresh out of the box
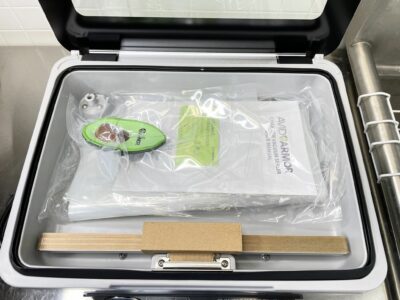 A look inside. It came with manuals, vacuum sealer bags, a quick start guide and a vac sealed toy avocado.
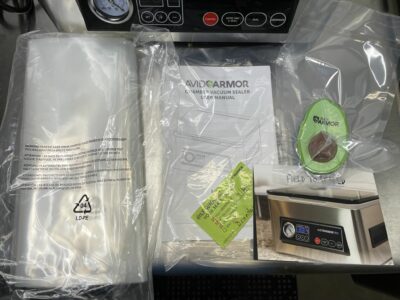 A look at the contents


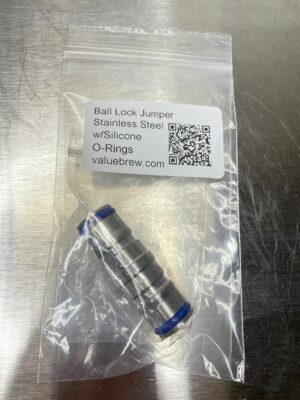 In the package. As of this posting, this comes in singles with the option to add a second on for a reduced cost. Check the product page to see if that’s still available.
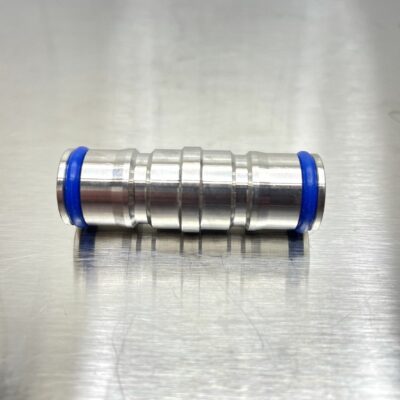
 A look down the jumper. You’ll notice a stainless steel bar. This jumper doesn’t have traditional poppets. Instead these bars take their place enabling connected ball lock QDs to open when connected. This is actually a really good feature because it means the jumper is open to the air when unused and can be clean, dried and sanitized.
 Bag o’ stuff
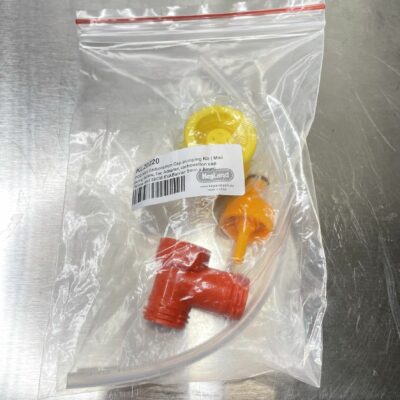
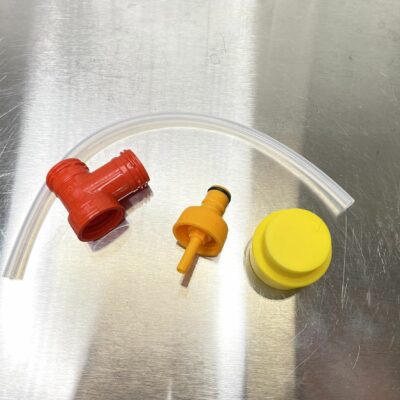 This is what you get with the basic pump. Tee, carbonation cap, pump and dip tube.
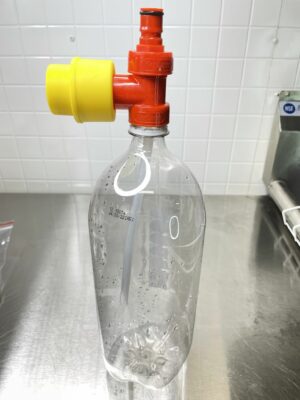 I installed this on a 2L bottle. You’ll notice the carbonation cap has changed colors. I used one I already had (Kegland brand, just a different color), because I already has a dip tube trimmed to size and installed from a recent update to
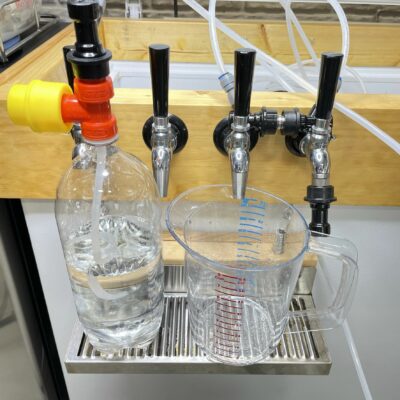 Complete test setup
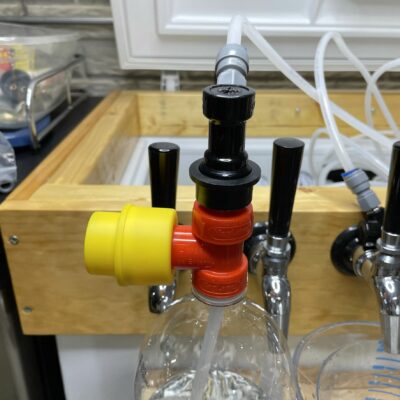 Ball Lock QD Installed on the pump assembly
 It’s a little difficult to see but… it works. With some pumping, I got a slow steady stream of liquid. Keep in mind this is cleaning two 10′ lines at the same time.
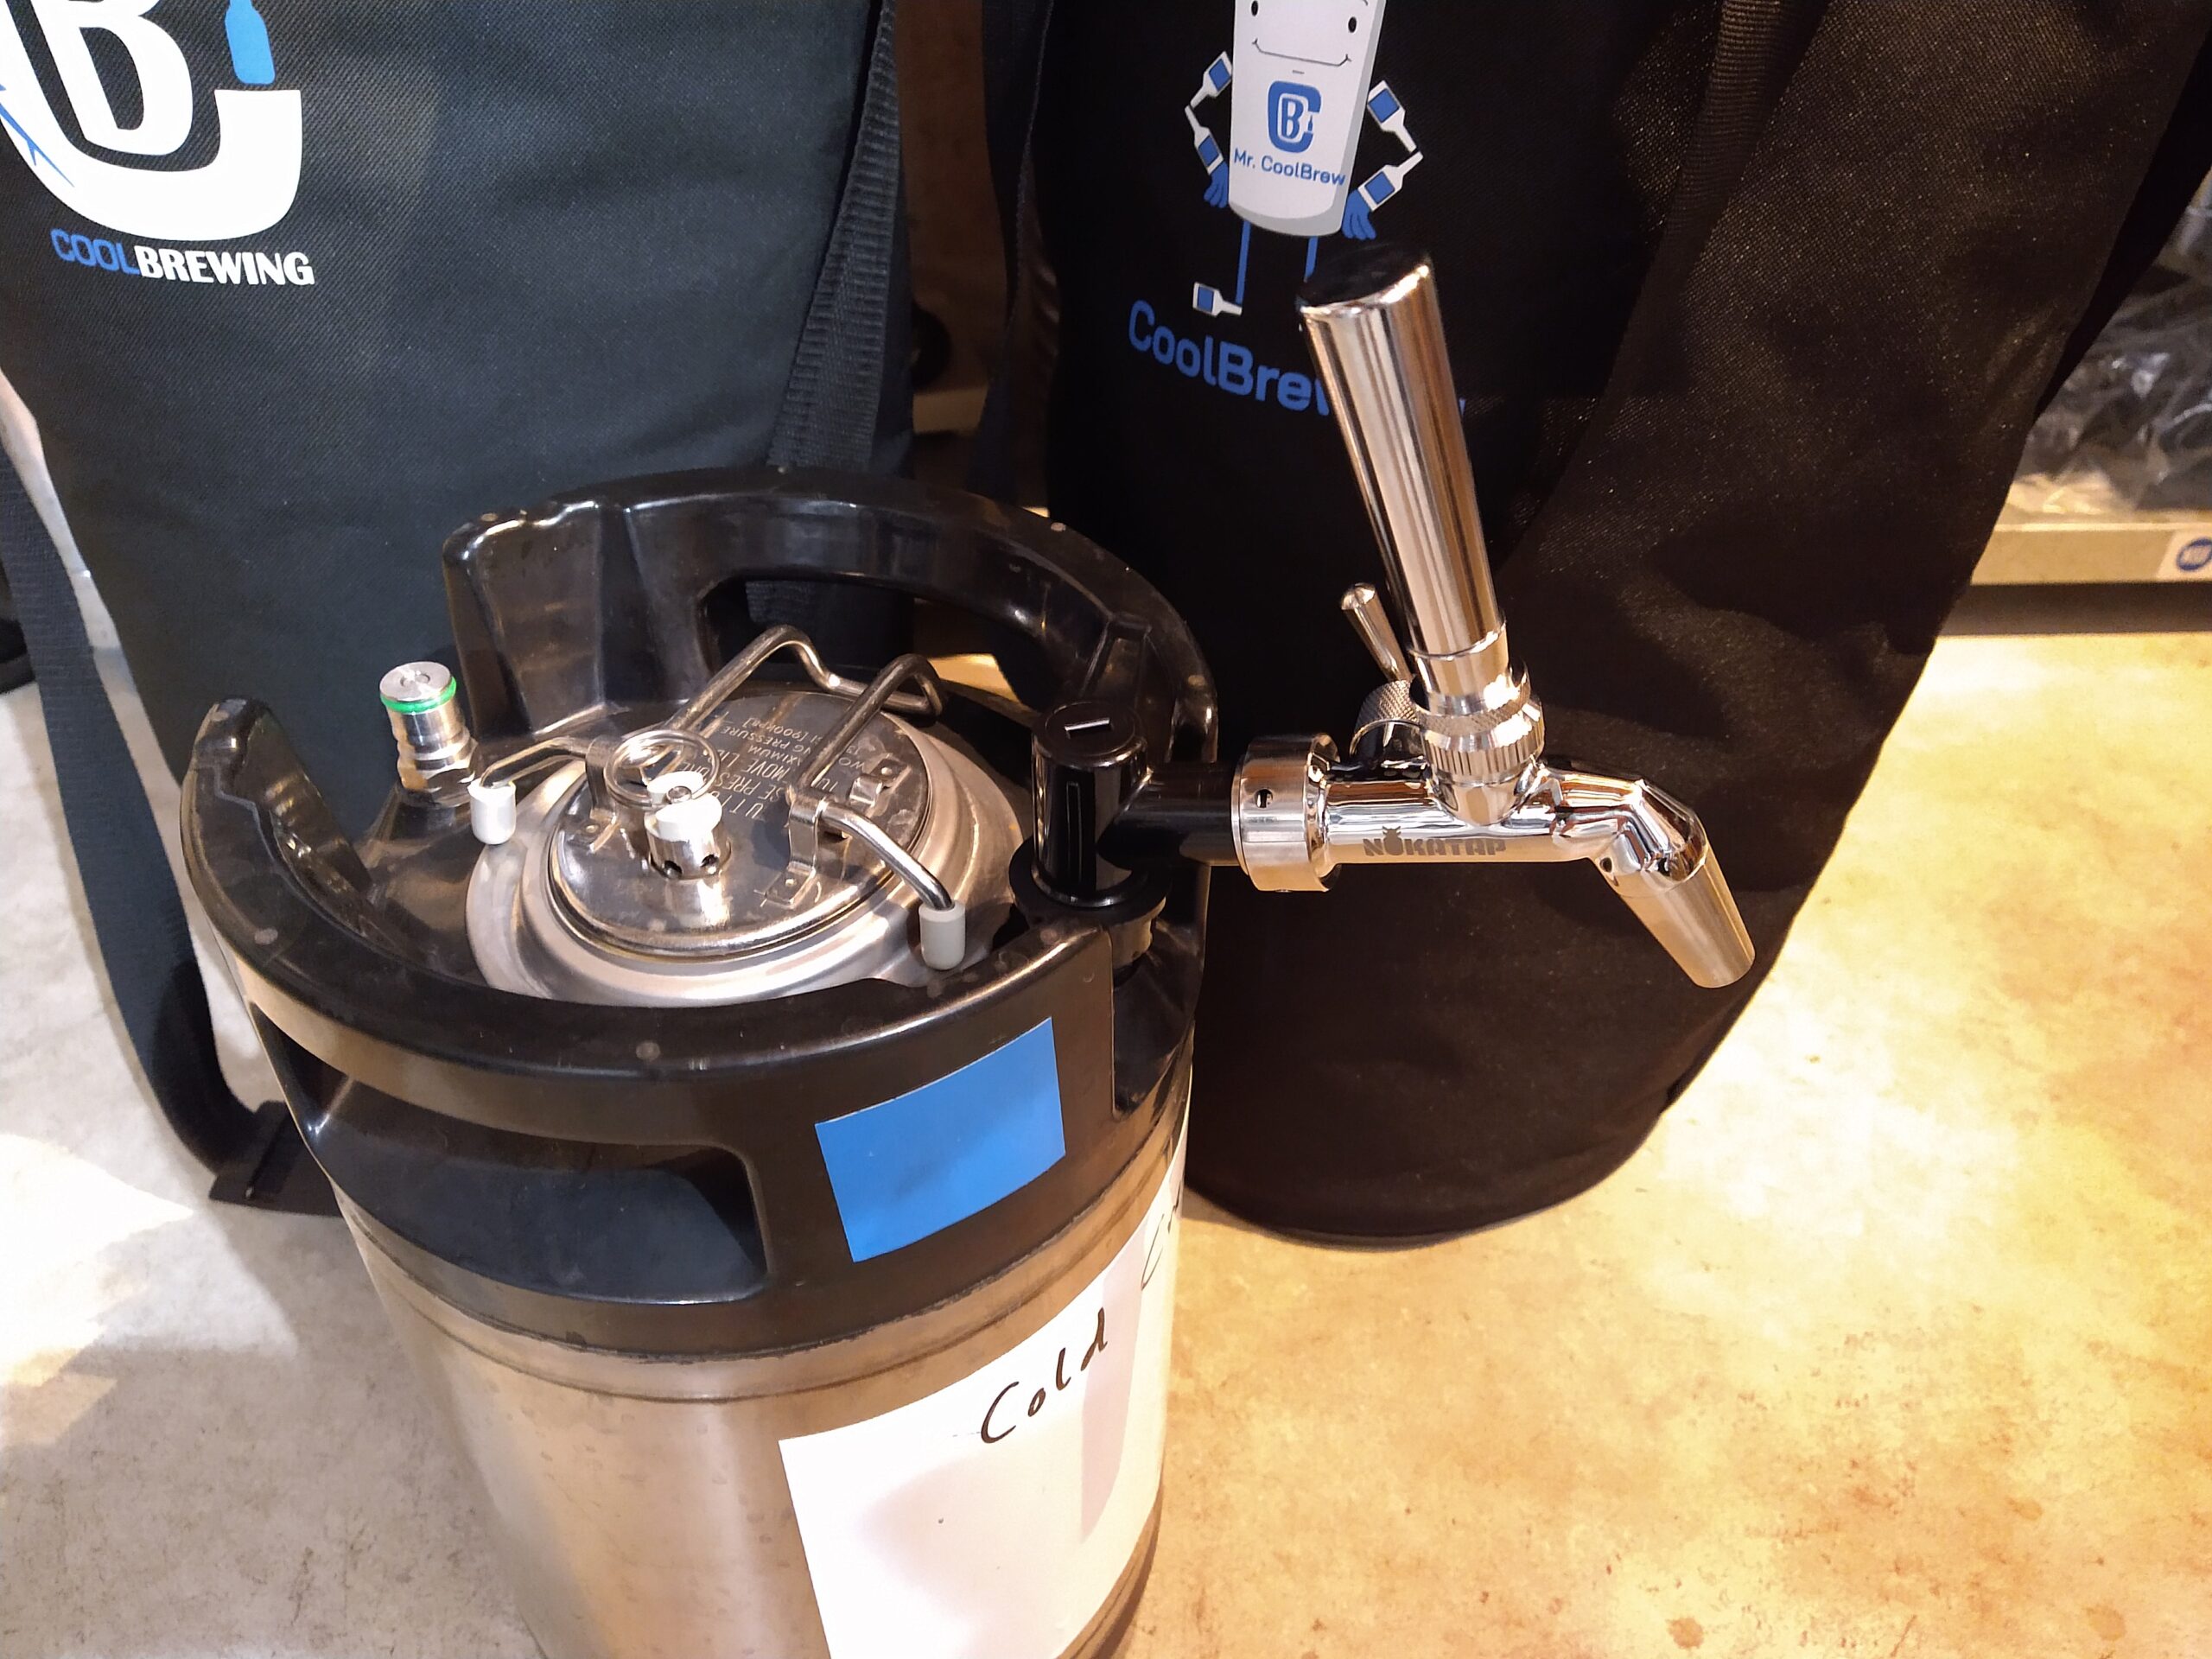
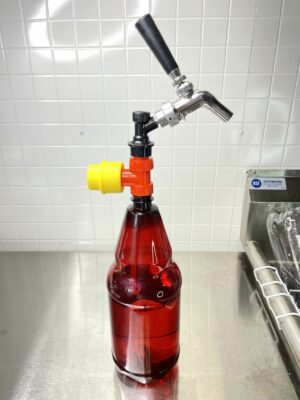 Add on a ball lock faucet and you’ve got a portable serving keg without paying for expensive CO2 cartridges. Before you email me/comment/etc… yes this will cause oxidation, I would not suggest this as a long term solution. Only for the occasion that you and your friends will be able to drink an entire growler in an evening. Oxidation won’t have enough time to become a factor. Use another solution for longer term applications.
 Remove the tee, add a
 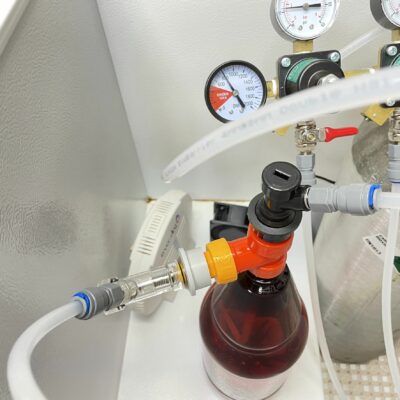 Replace the pump with another carbonation cap, use a 2.5 liter bottle and… you have a 2.5 liter keg you can use in your kegerator!