Oktober Design was started in 2014 by a group of engineers and beer lovers. They make high quality, well thought out and affordable Crowler and Can seamers. Their target has been brew pubs and smaller commercial brewers. With the introduction of the SL1 they’ve finally made a machine designed specifically for homebrewers.
Before Oktober Designs and similar started making countertop can seamers, canning beer was out of reach and unrealistic for homebrewers and even some smaller brew pub operations. I looked into canning early in my homebrewing career. Around that time a manufacturer released an “affordable” system that was in the $10k, range. That was considered affordable at the time. I’m happy to say that times have changed.
Deals on Cannular are rare. MoreBeer periodically offers a discount
From the product description, check product page for current description, price and availability:
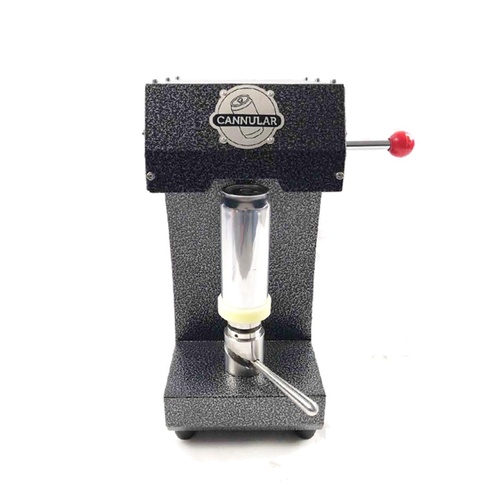
The Cannular is a manual can seamer that is easy to use, reliable and beautifully simple.
Whether you’re a brewery looking to offer canned beer to go or a homebrewer wanting to keep your creations fresh and fully protected from light, the Cannular is the answer. This bench top unit is one of the most compact and easy to use can seamers you’ll find. The Cannular only requires one person to operate, and each can takes roughly 5 seconds to seam. With a two-person team, one filling and one seaming, the Cannular becomes a suitable option for nano breweries doing small canning production runs.
Operation:
The beauty of the Cannular lies in how truly simple it is to operate. With only three points of operation, it only takes a few minutes to familiarize yourself with the machine. The seaming process is as follows:
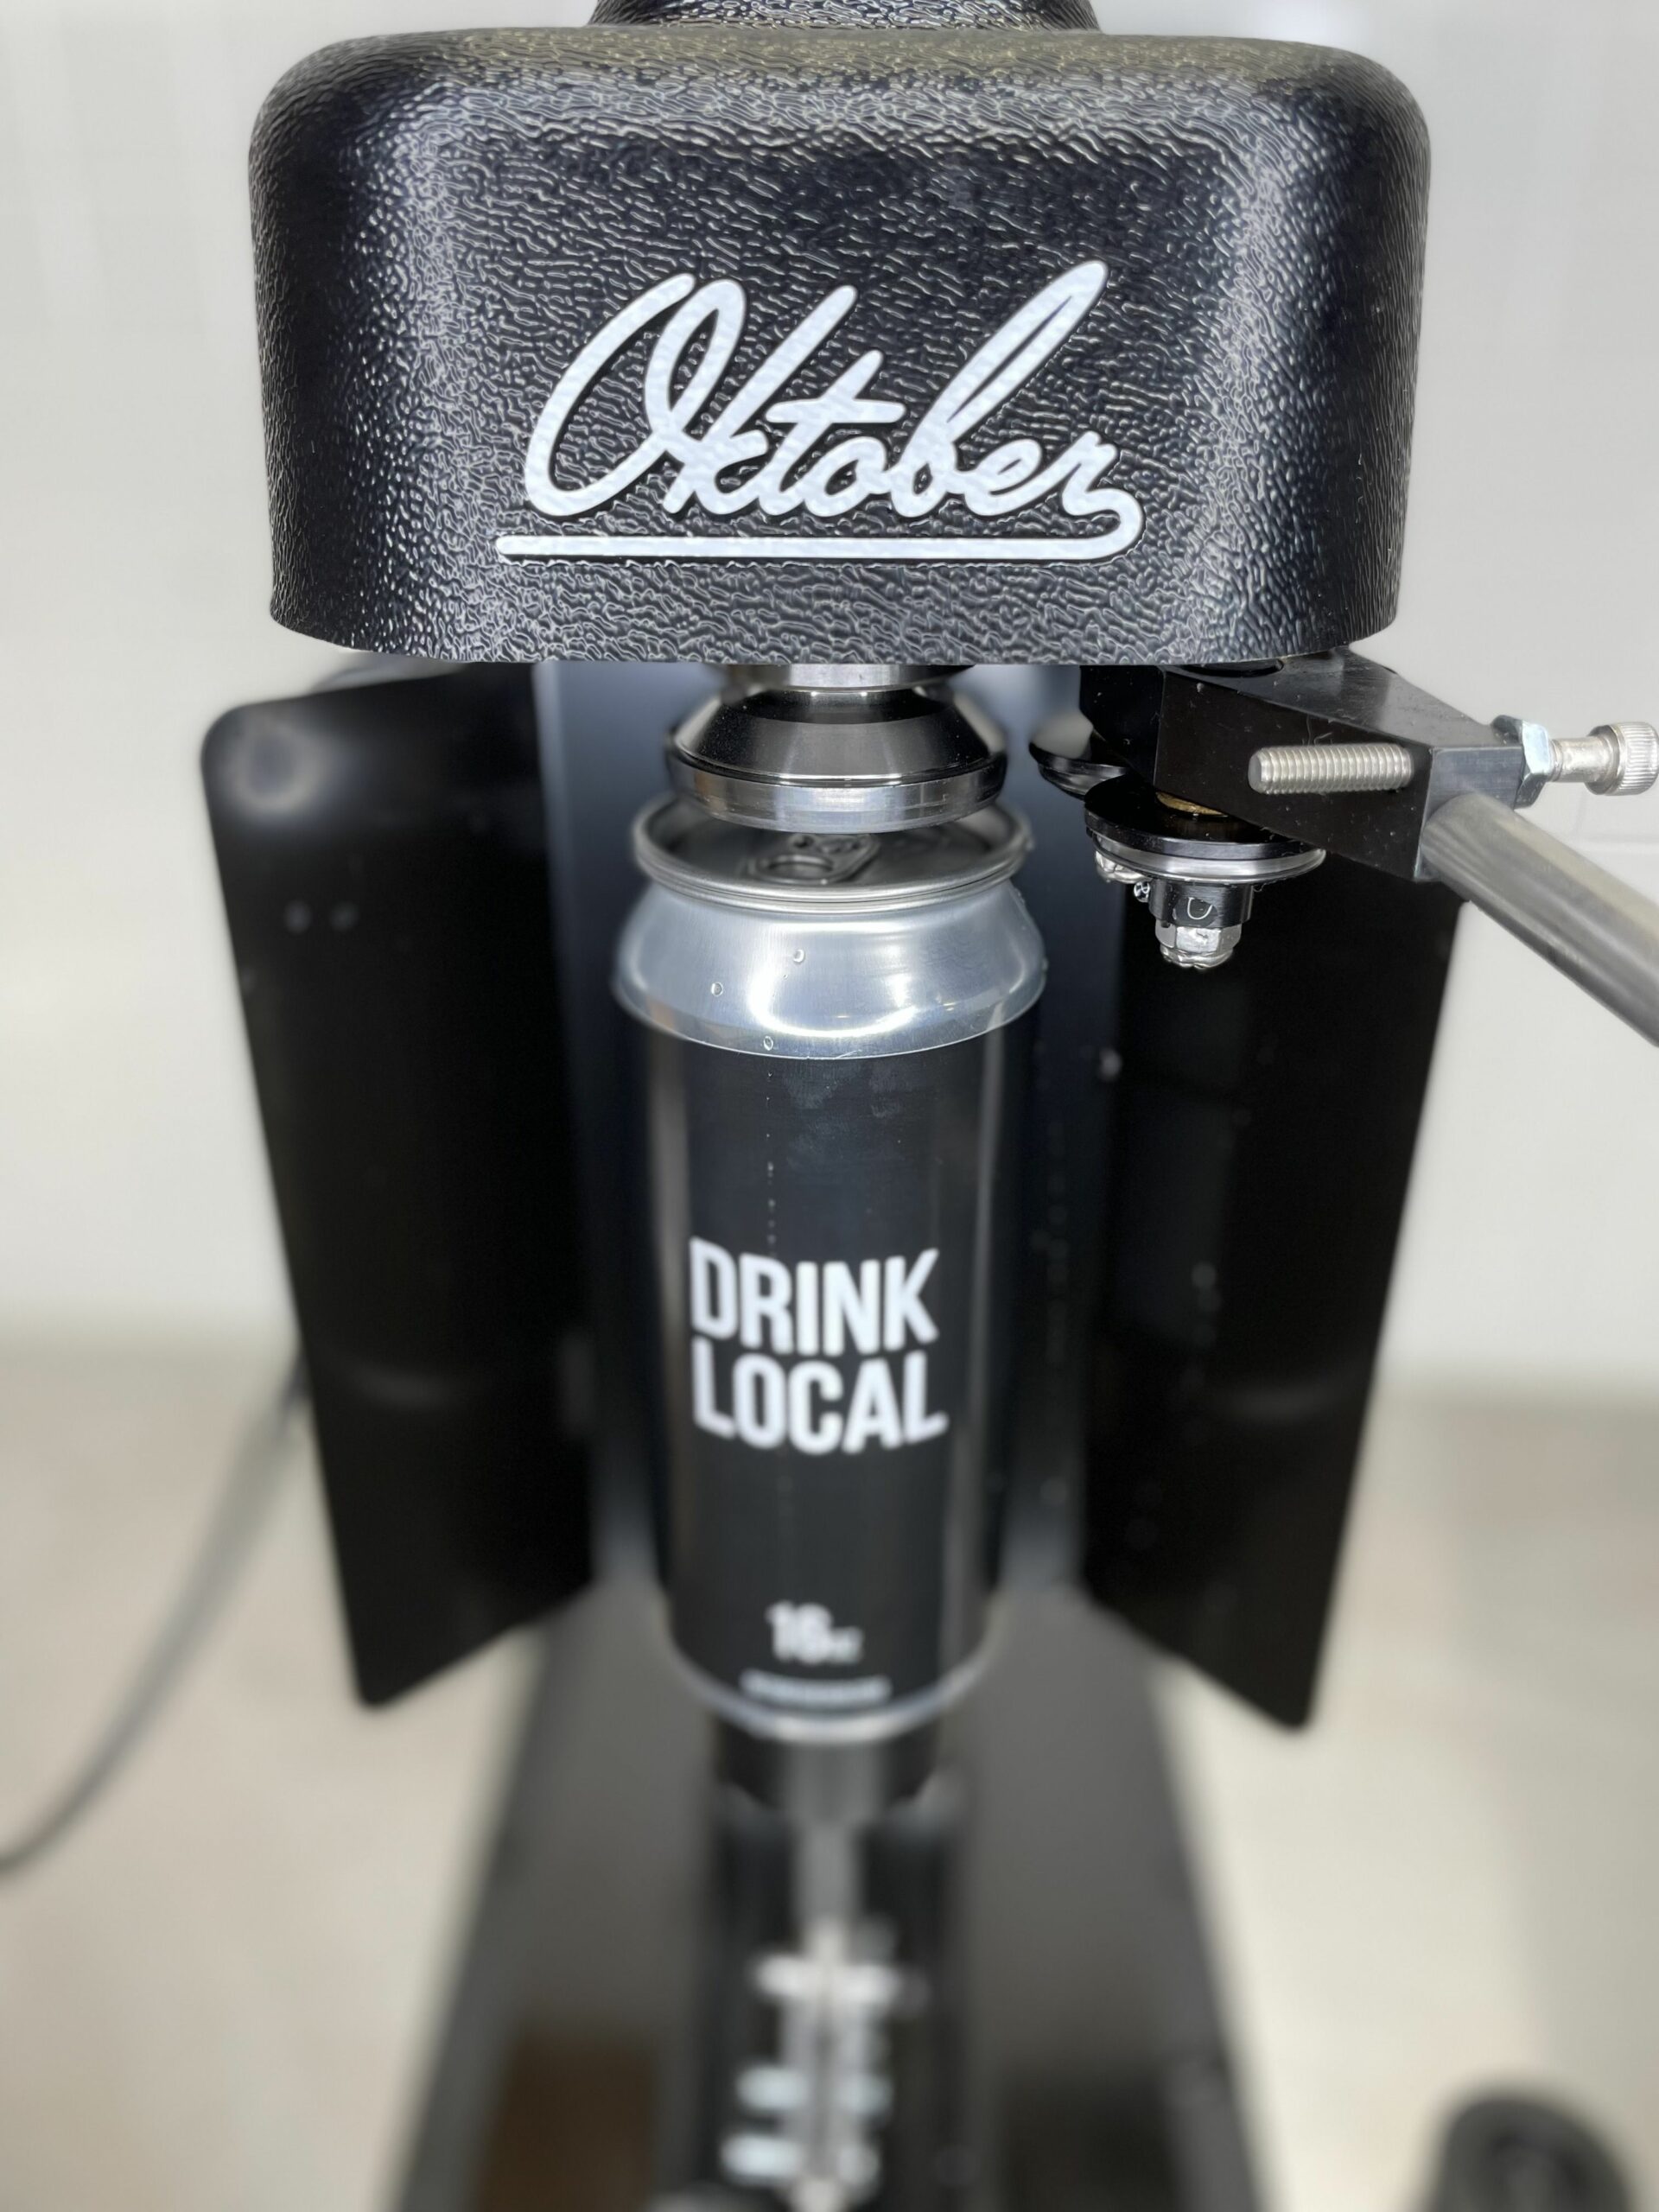
Place lid atop the can and place the can on the platform
Turn the platform lever clockwise to raise the can to the seamer
Press the button to turn the machine on and begin spinning the can
Push the seaming lever away from you and hold for 1-2 seconds
Pull the seaming lever towards yourself and hold for 1-2 seconds
Press the button to turn off the machine and stop spinning the can
Turn the platform lever counterclockwise to lower the can
That’s all there is to it!
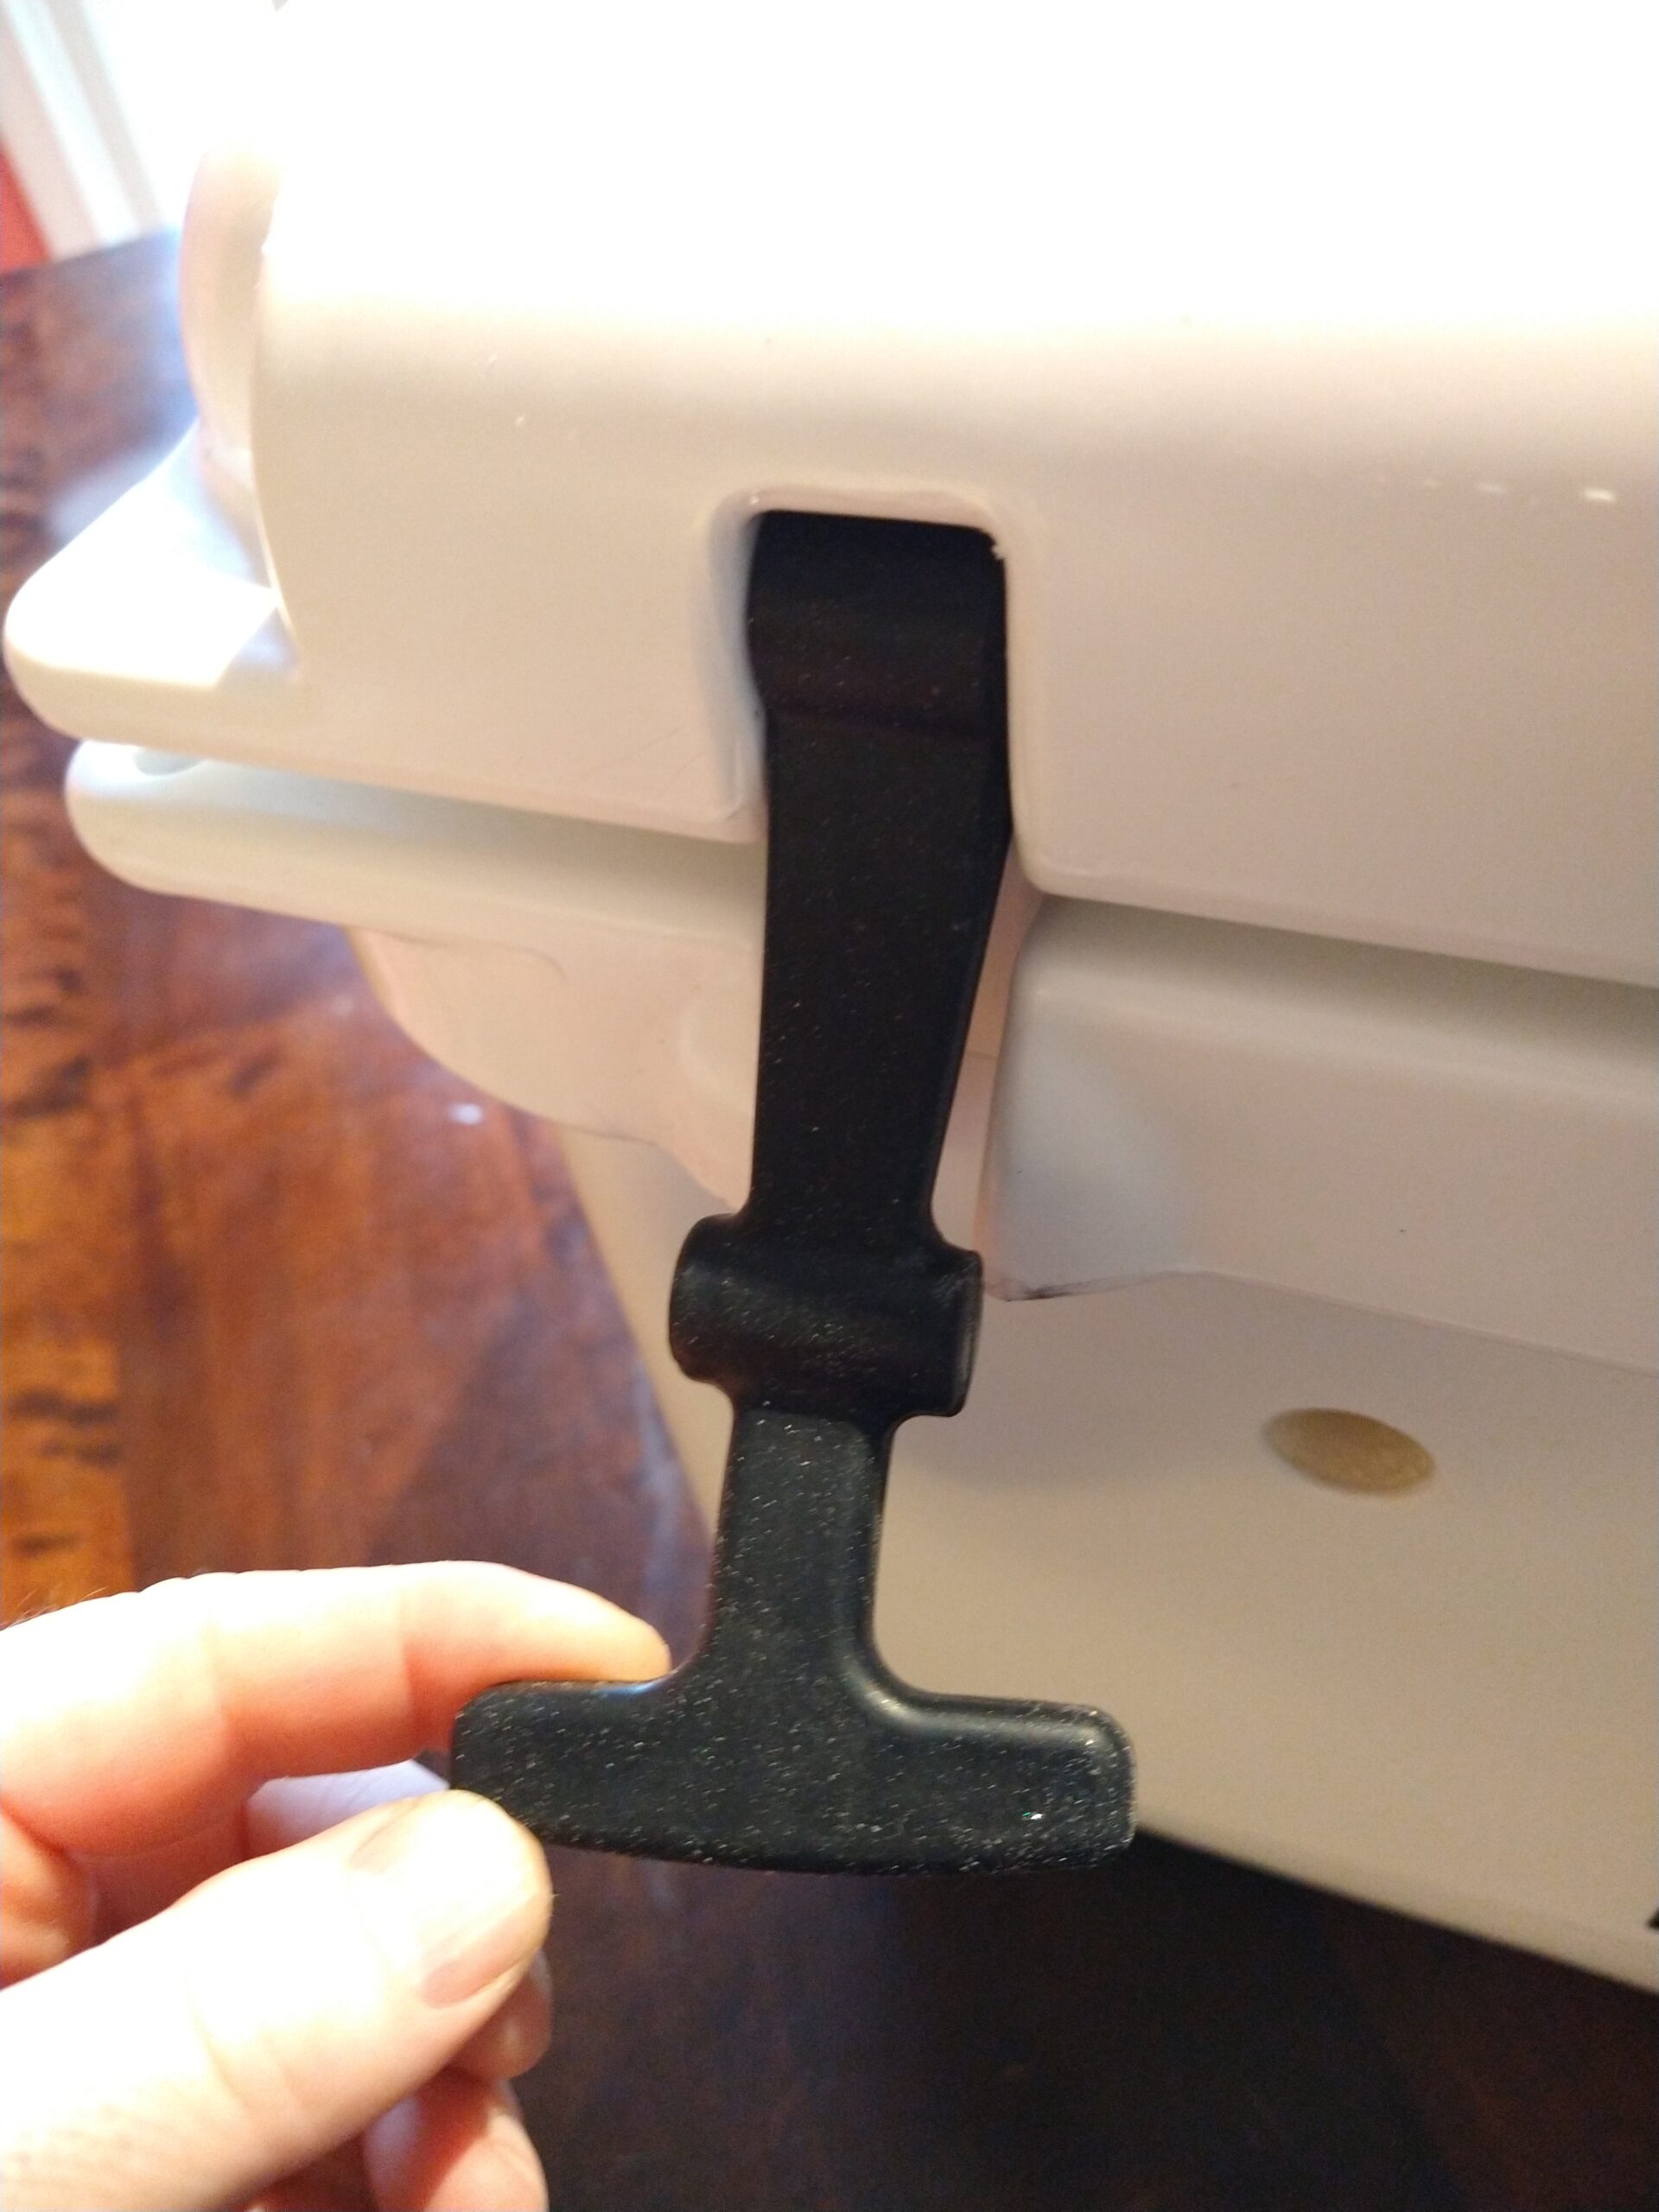
Construction:
The Cannular was designed to be compact, durable, and safe to operate in a wet environment. The platform assembly is made from 304 grade stainless steel, so no matter how messy your canning gets, there’s no need to worry about rusting or degradation. The body of the unit is made from hammered sheet metal and bolted together with stainless steel screws. Rubber feet help keep the unit from slipping and sliding while in use. Additionally, the Cannular features built-in brackets near the feet so you have the option to mount the machine to your counter or benchtop. The Cannular runs off of 24v DC power via the Anderson socket located on the back. This lower voltage was chosen specifically to make the unit as safe to use in a wet environment as possible.
Power:
As noted above, the Cannular comes with a 24v DC Anderson socket located on the back of the unit. It does not, however, include a cord and plug. When purchasing the unit, you’ll have the option of pairing it with either a power supply with 110v plug, or with a 6 ft. long cord with Anderson plug and alligator clips. The power supply is straight forward, and allows you to plug the unit into a standard 110v power socket. The alligator clips give you the option to power the unit from a battery, and can even be used with an 18v cordless power drill battery. This is certainly the most affordable option for powering the Cannular, and we’ve found that upwards of 200 cans can be seamed on a single battery charge.
Why Cans?
So why can when you can bottle? There’s no doubt that canning has become a more and more popular format for packaging beer among craft breweries over the last several years, and with good reason. Aluminum cans aren’t just more environmentally friendly than bottles, since cans require less energy to transport and recycle, they’re also much better at protecting the quality of the beer. Whereas bottles allow in light, which leads to skunking, aluminum cans offer 100% protection from UV and other wavelengths of light that are harmful to beer. There’s still great debate surrounding whether cans or bottles are better at keeping beer fresh, but if done correctly, cans are theoretically the superior option. When a crown cap is crimped onto a bottle, the lining of the cap can form an imperfect seal on the bottle, allowing small amounts of oxygen in, as well as small amounts of CO2 out. Over time this can result in oxidation of the beer and lost carbonation. Seamed cans, on the other hand, form a much better seal that can prevent these issues. Of course, it’s important to make sure that the can is purged of oxygen before being filled, and that the can lid is sealed atop foam to eliminate oxygen from the headspace. Aside from all the “sciency stuff”, cans are just plain safer. Take your beer backpacking, camping, or poolside and rest assured that broken glass won’t ruin your day!
Specifications:
Power: 250W
Rated Speed: 3300 RPM
Gearbox Ratio: 9.8 : 1
Power Plug: Anderson Type 40A
Can Height: 45-170mm (1.8 – 6.7 inches)*
Can Diameter: 35-75mm (1.4 – 2.9 inches)*
Dimensions: 14″ L x 9″ W x 19.5″ H
Weight: 40 lbs
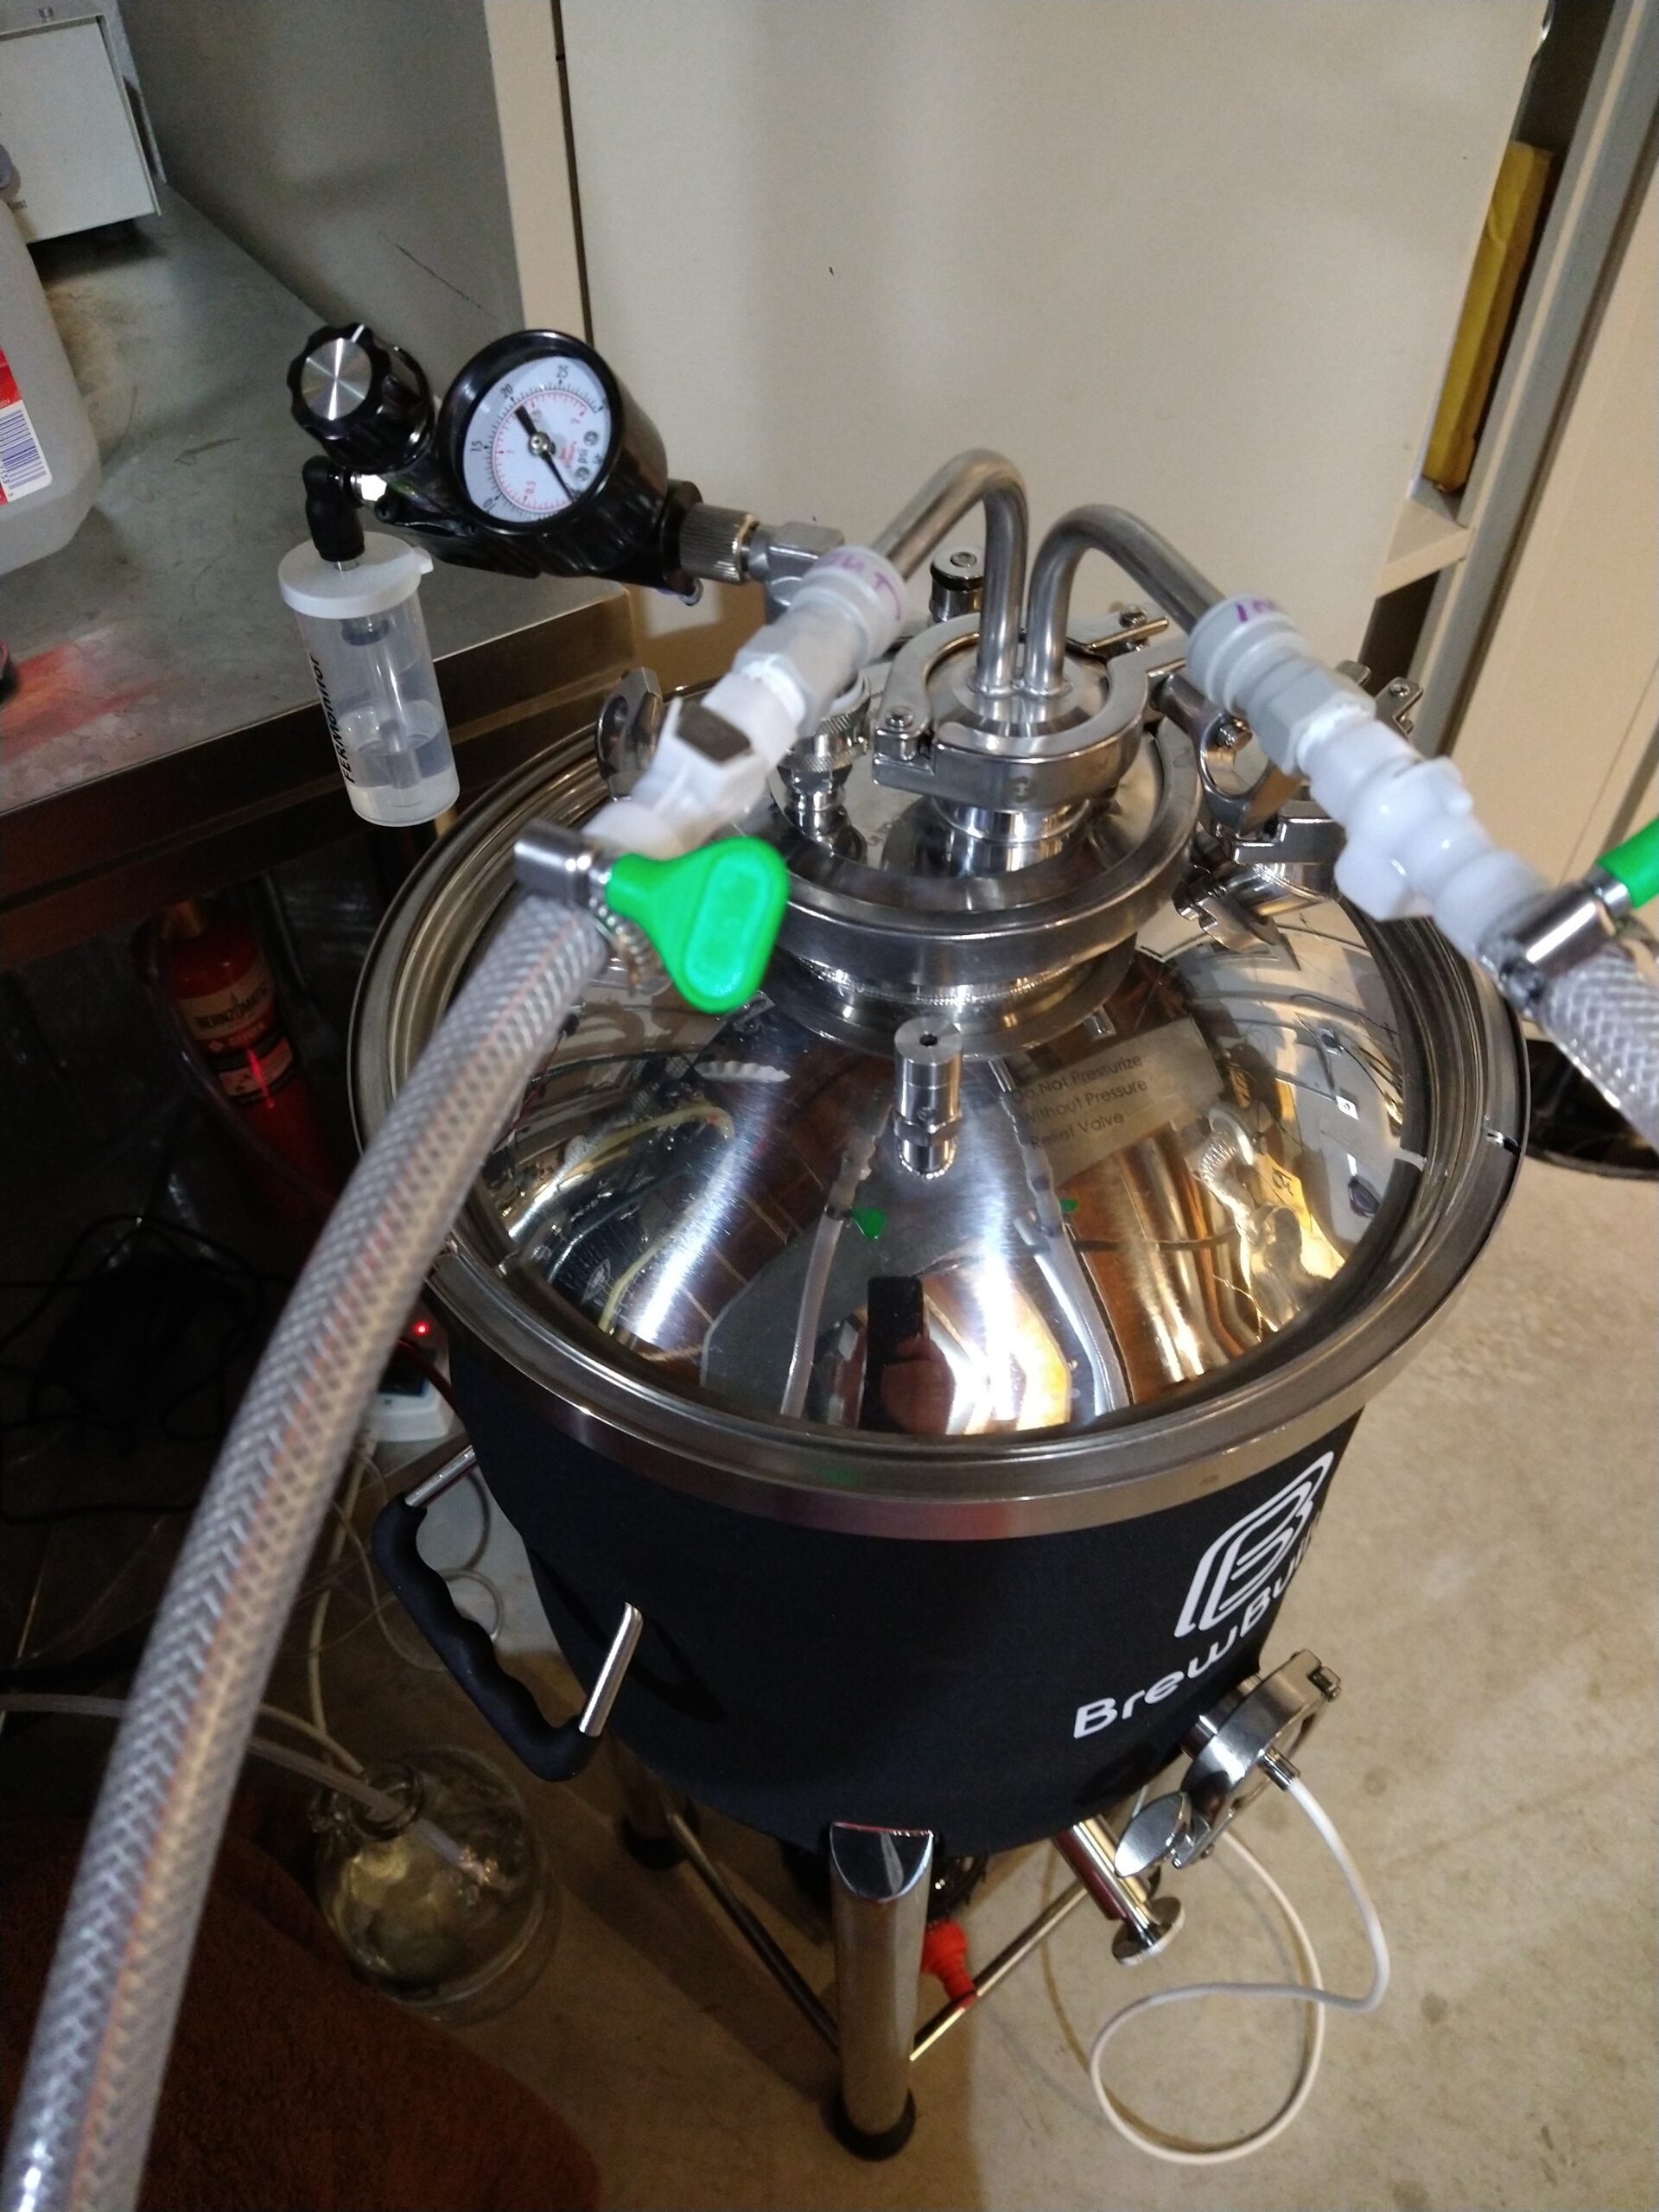
Cans block all light and oxygen transfer. That’s not true of bottles. They also play well at the park, beach and pool. Glass bottles are made from breakable glass that can… break. 🙂 Canning is also… cool. We’ve been able to pretty easily do everything that commercial brewers have been able to do – Conicals, Control Panels, Fermenting Under Pressure and More – for quite some time. Canning, until recently, was a hold out.
This article contains affiliate links. We may make a small percentage if you use our links to make a purchase. You won’t pay more and you’ll be supporting Homebrew Finds and more content like this. Thank you for your support!
Even with new equipment like the SL1 becoming available, canning is more expensive than bottling. You can save used bottles for free and use a $10 capper. This means that doing things as cheap as possible cannot be a driving factor when considering a can seamer.

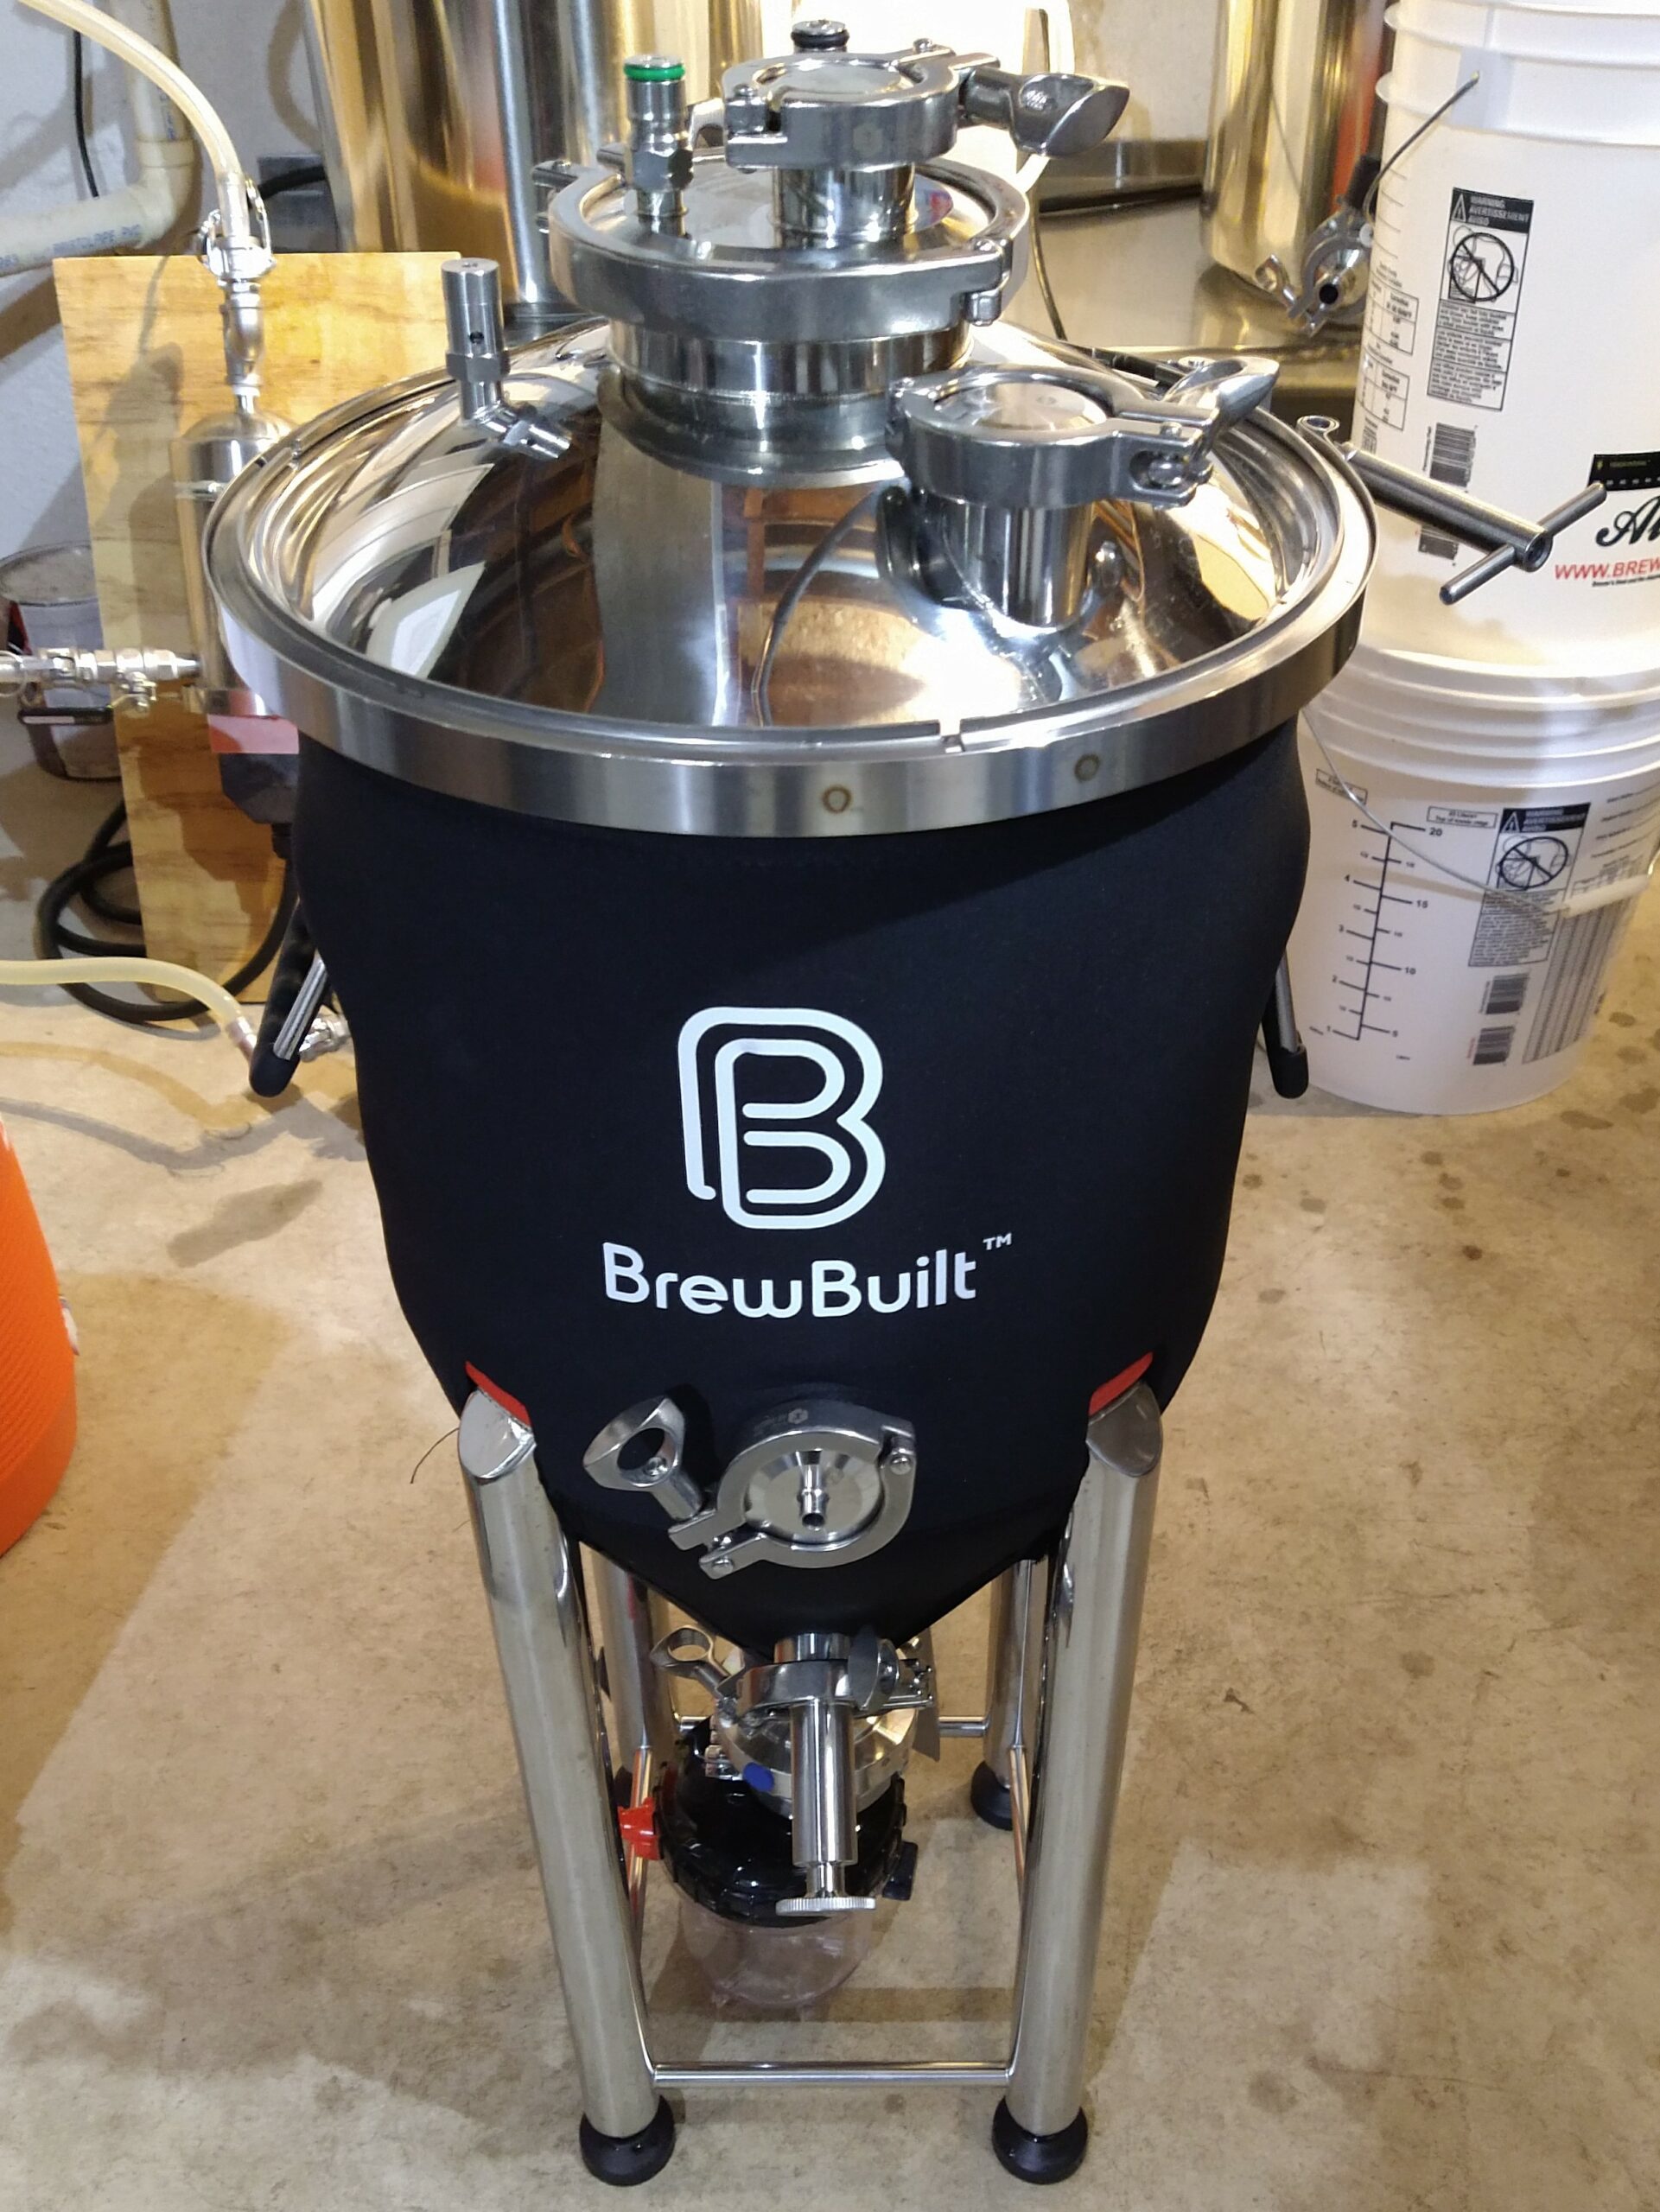
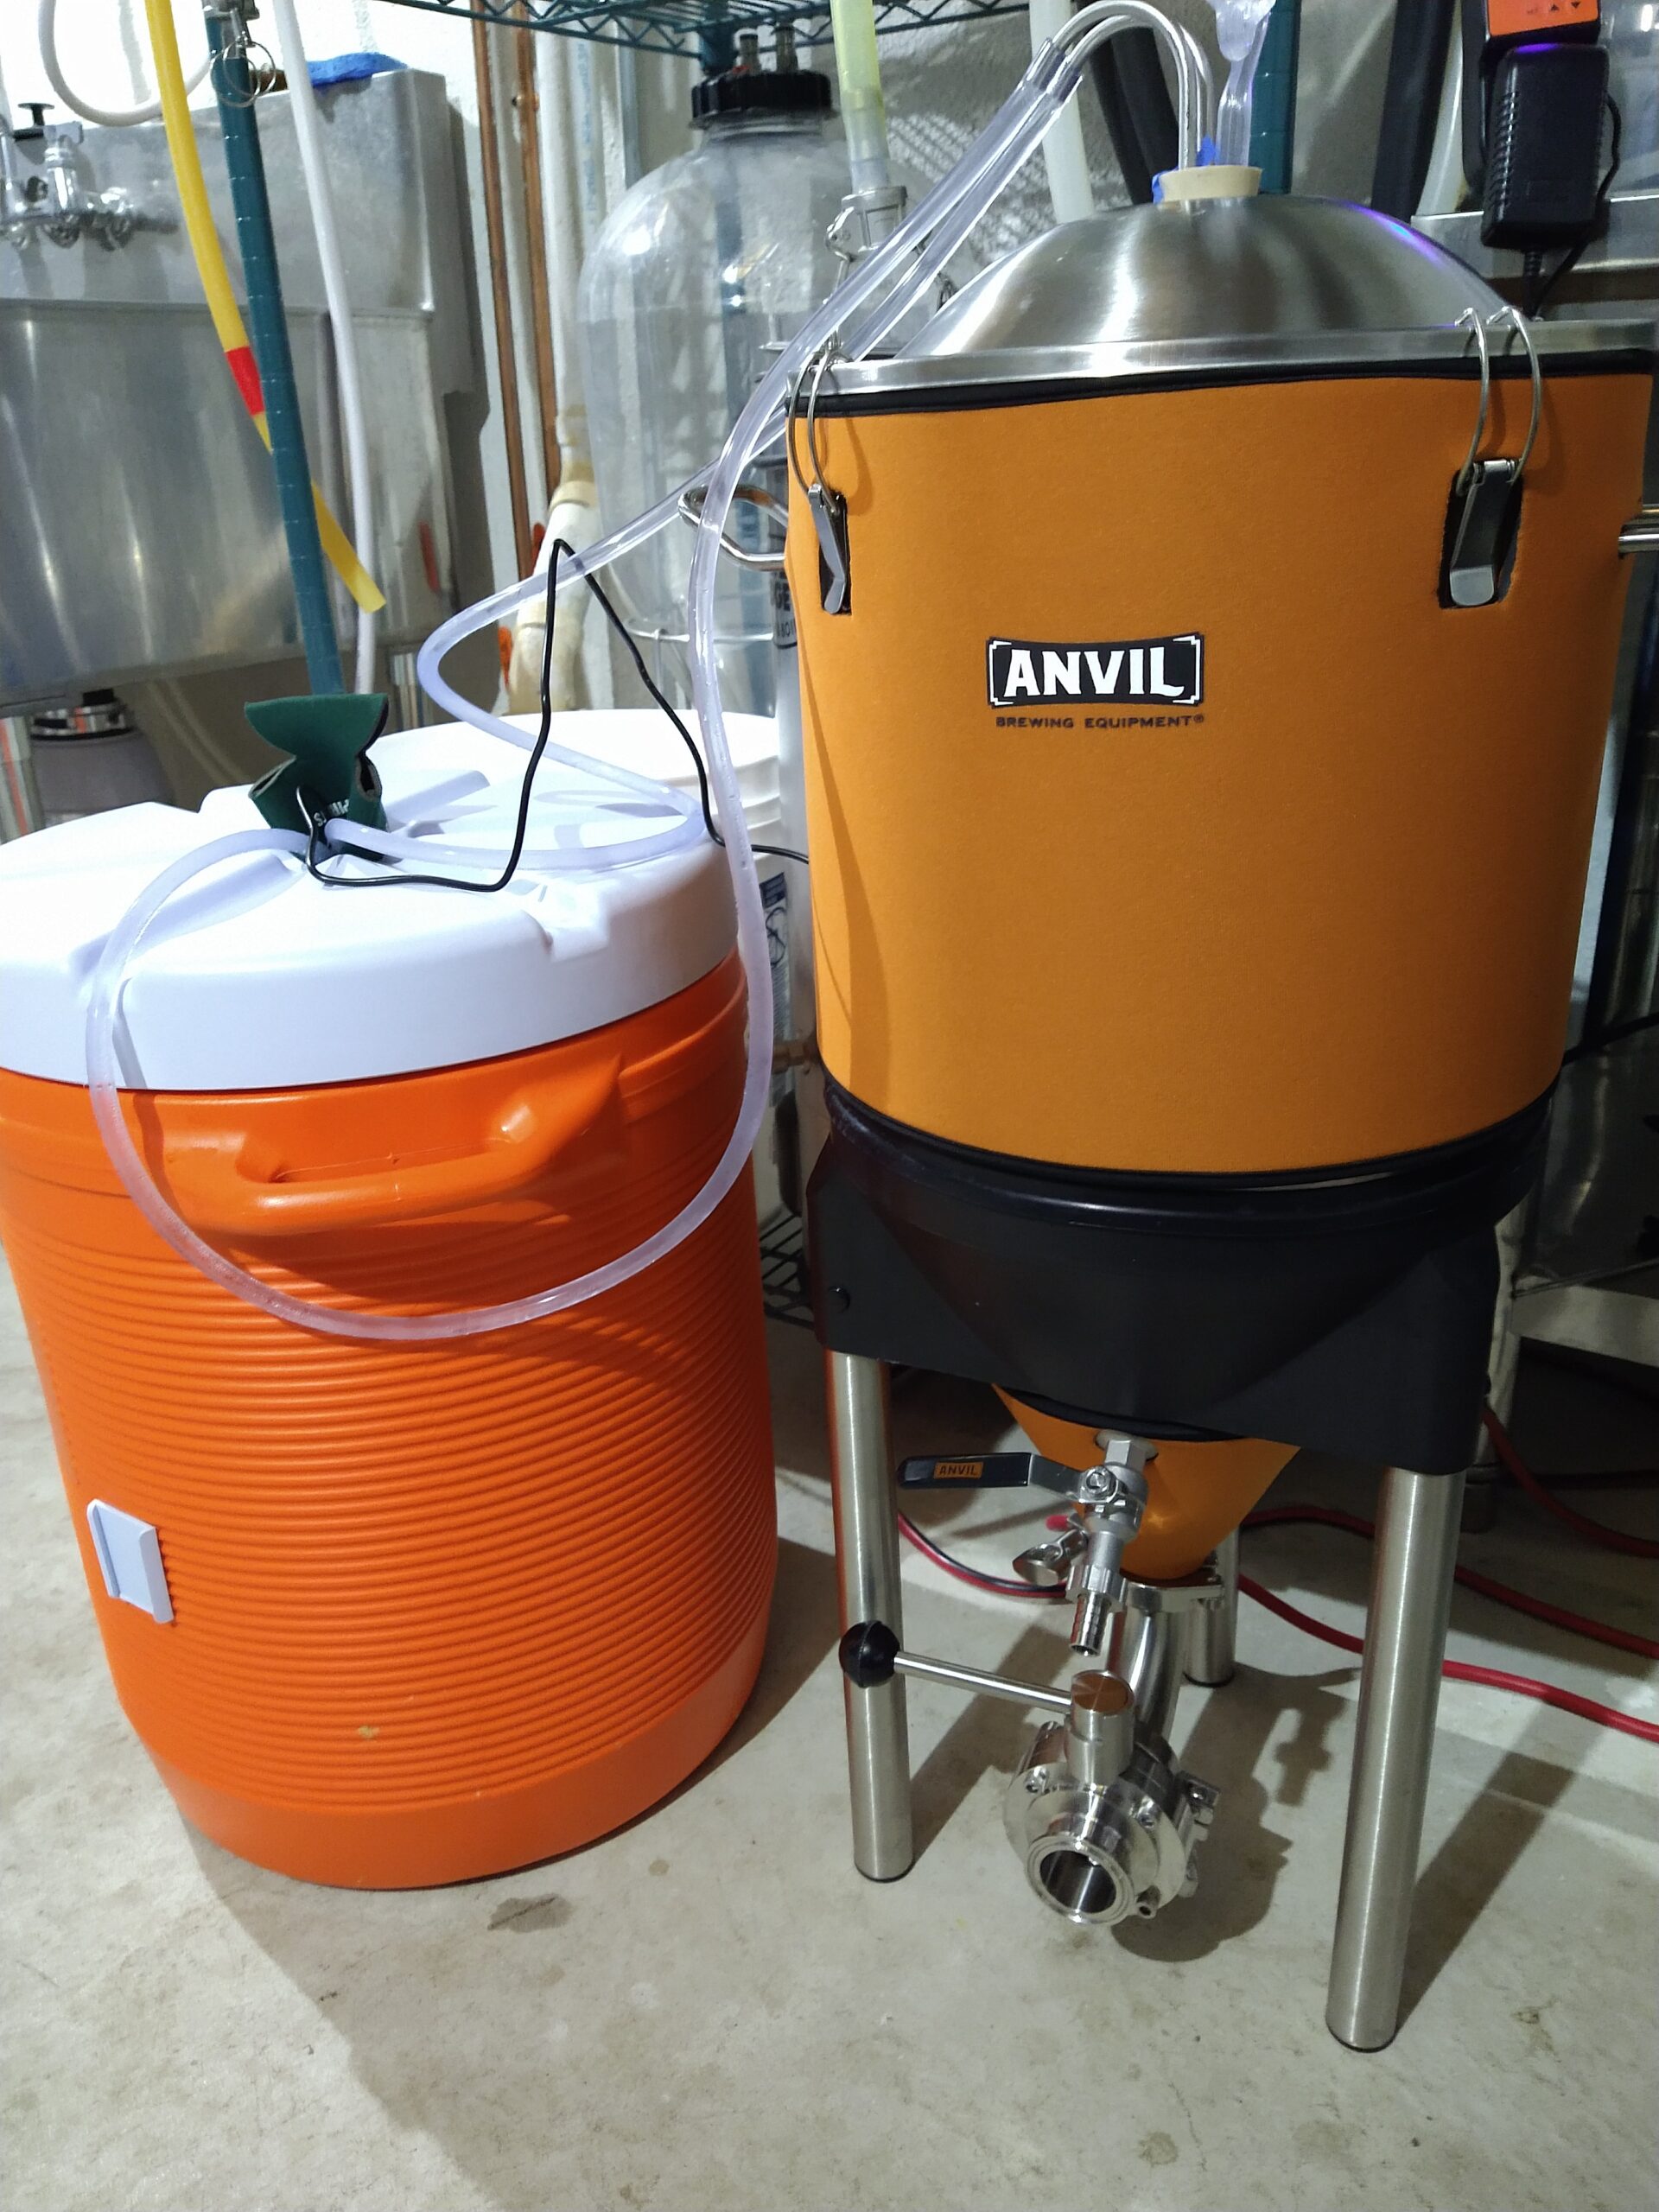
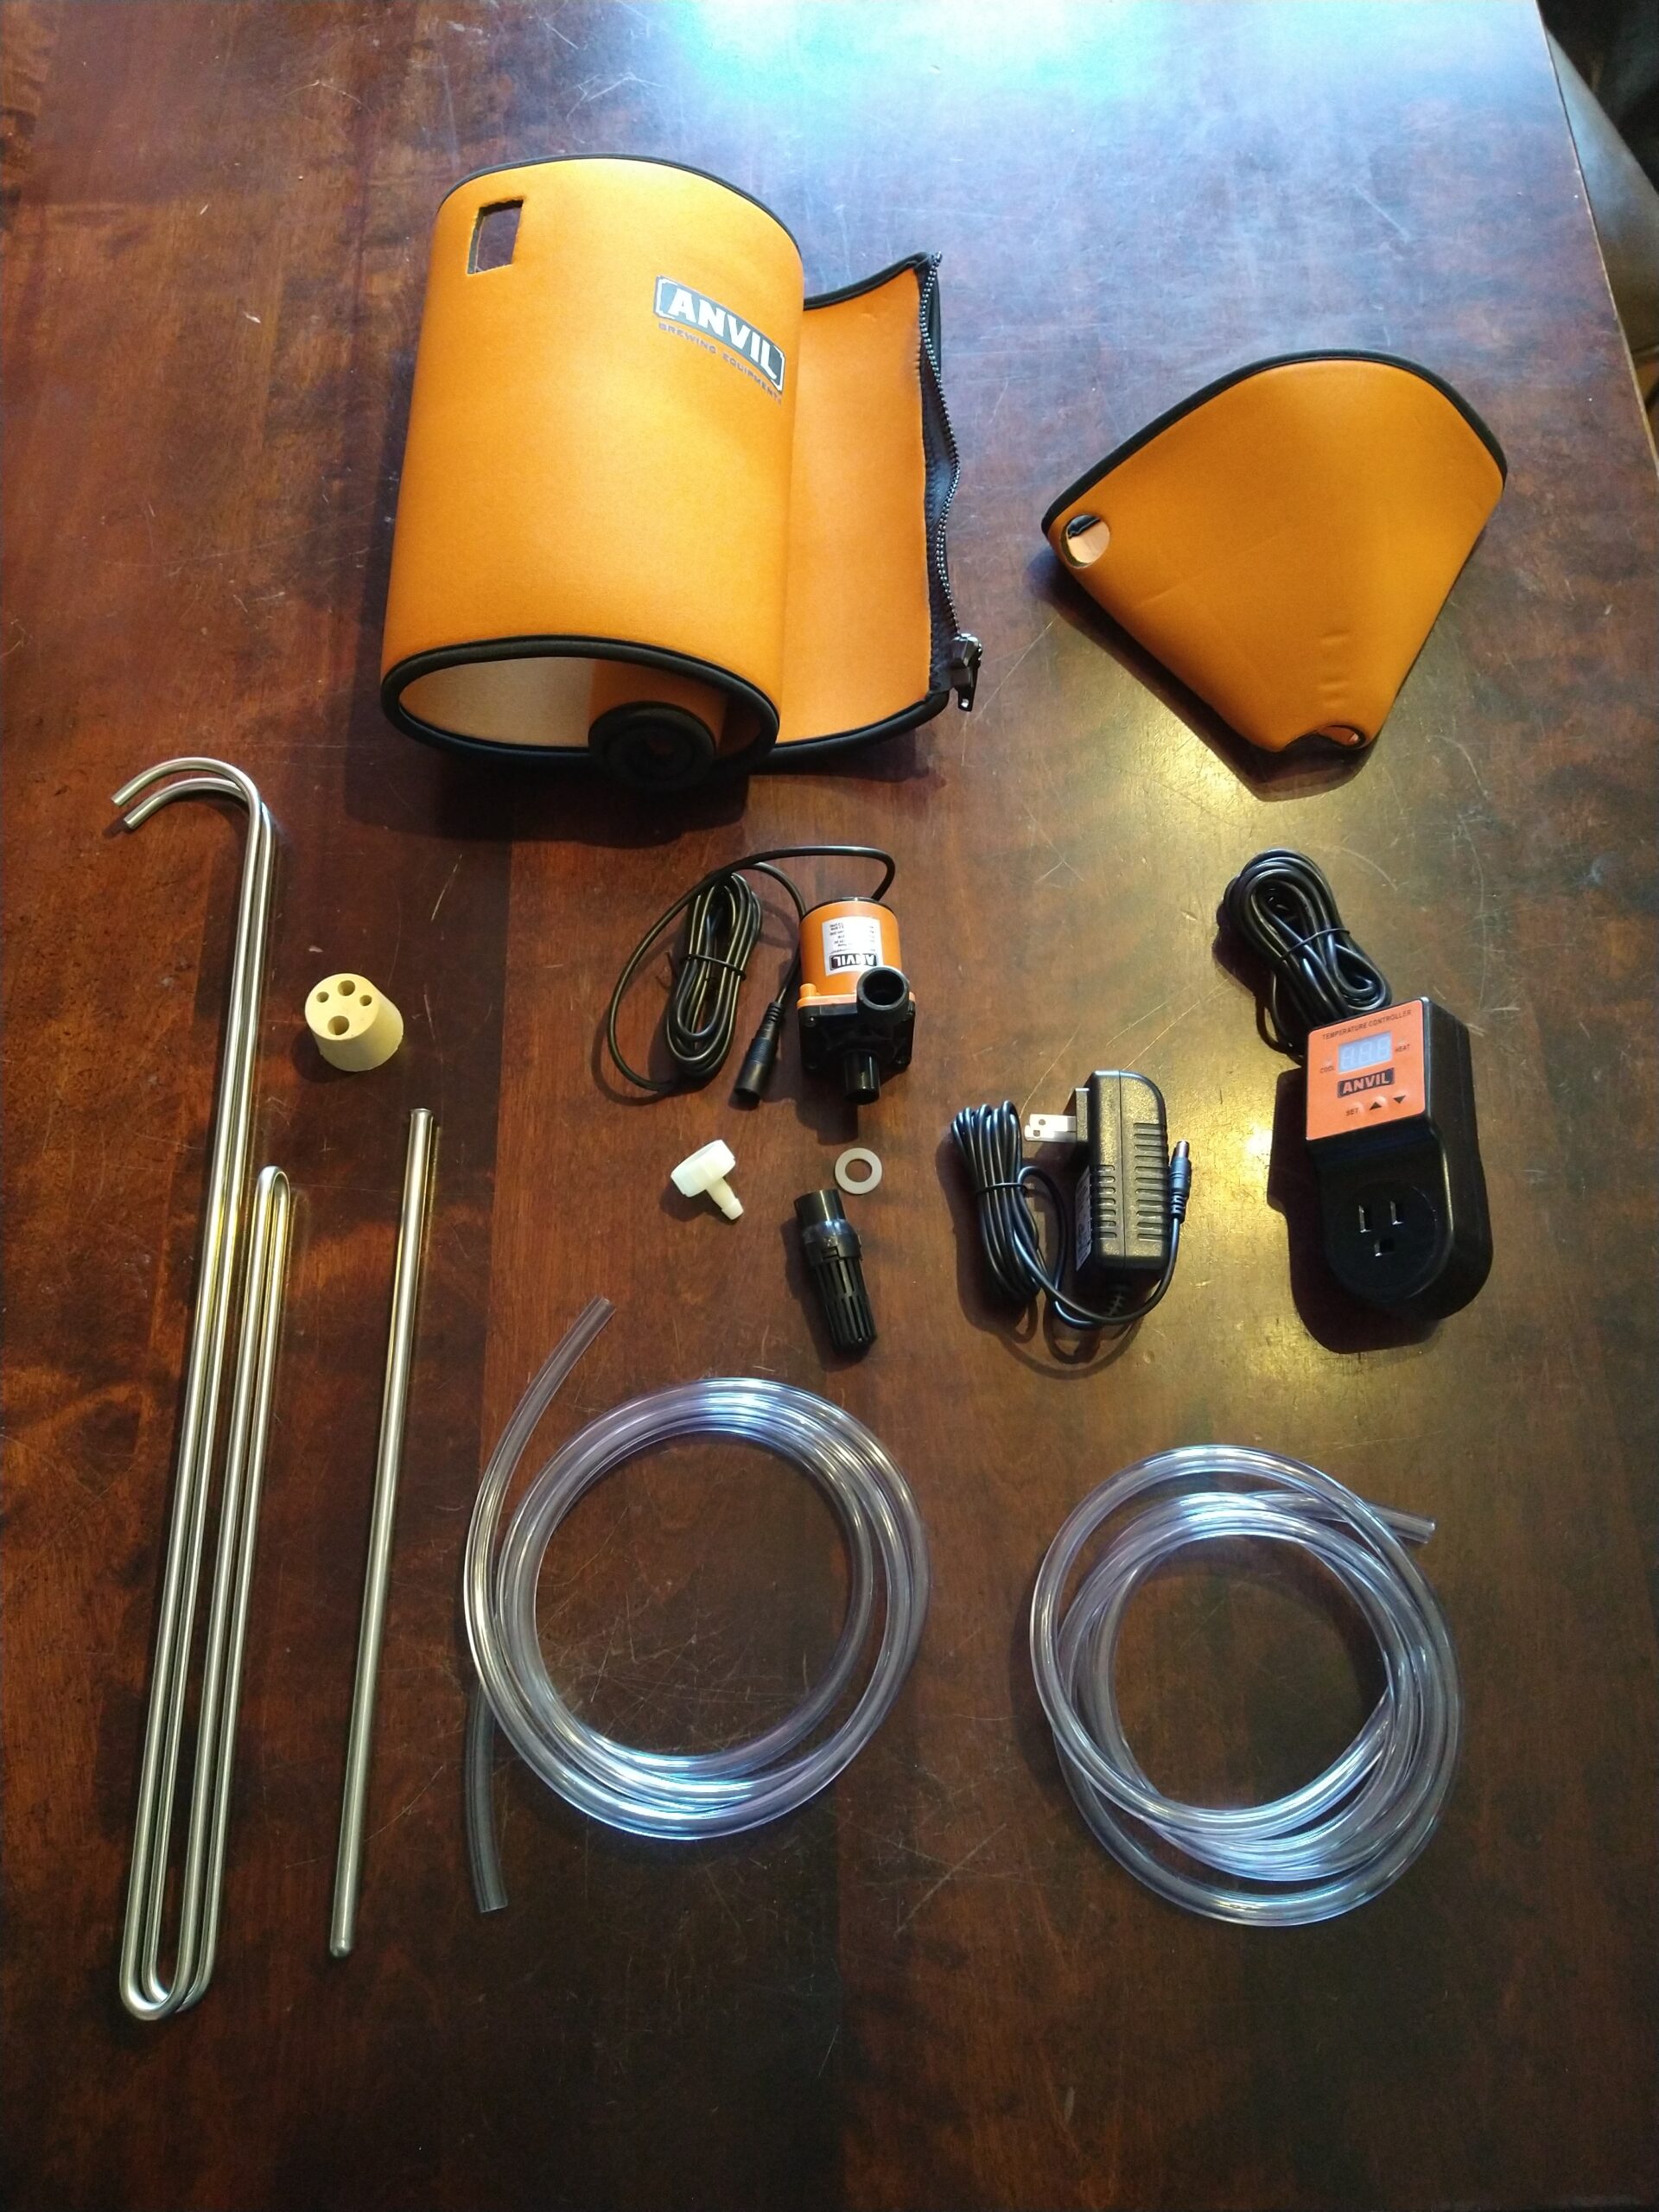
 Fermentor Before Any Assembly
 Cleaning Fermentor Before First Use