This review is by Homebrew Finds Contributor Brad Probert. Brad is an engineer, expert homebrewer and experienced reviewer. Grab a link to Brad’s website at the end of this review.
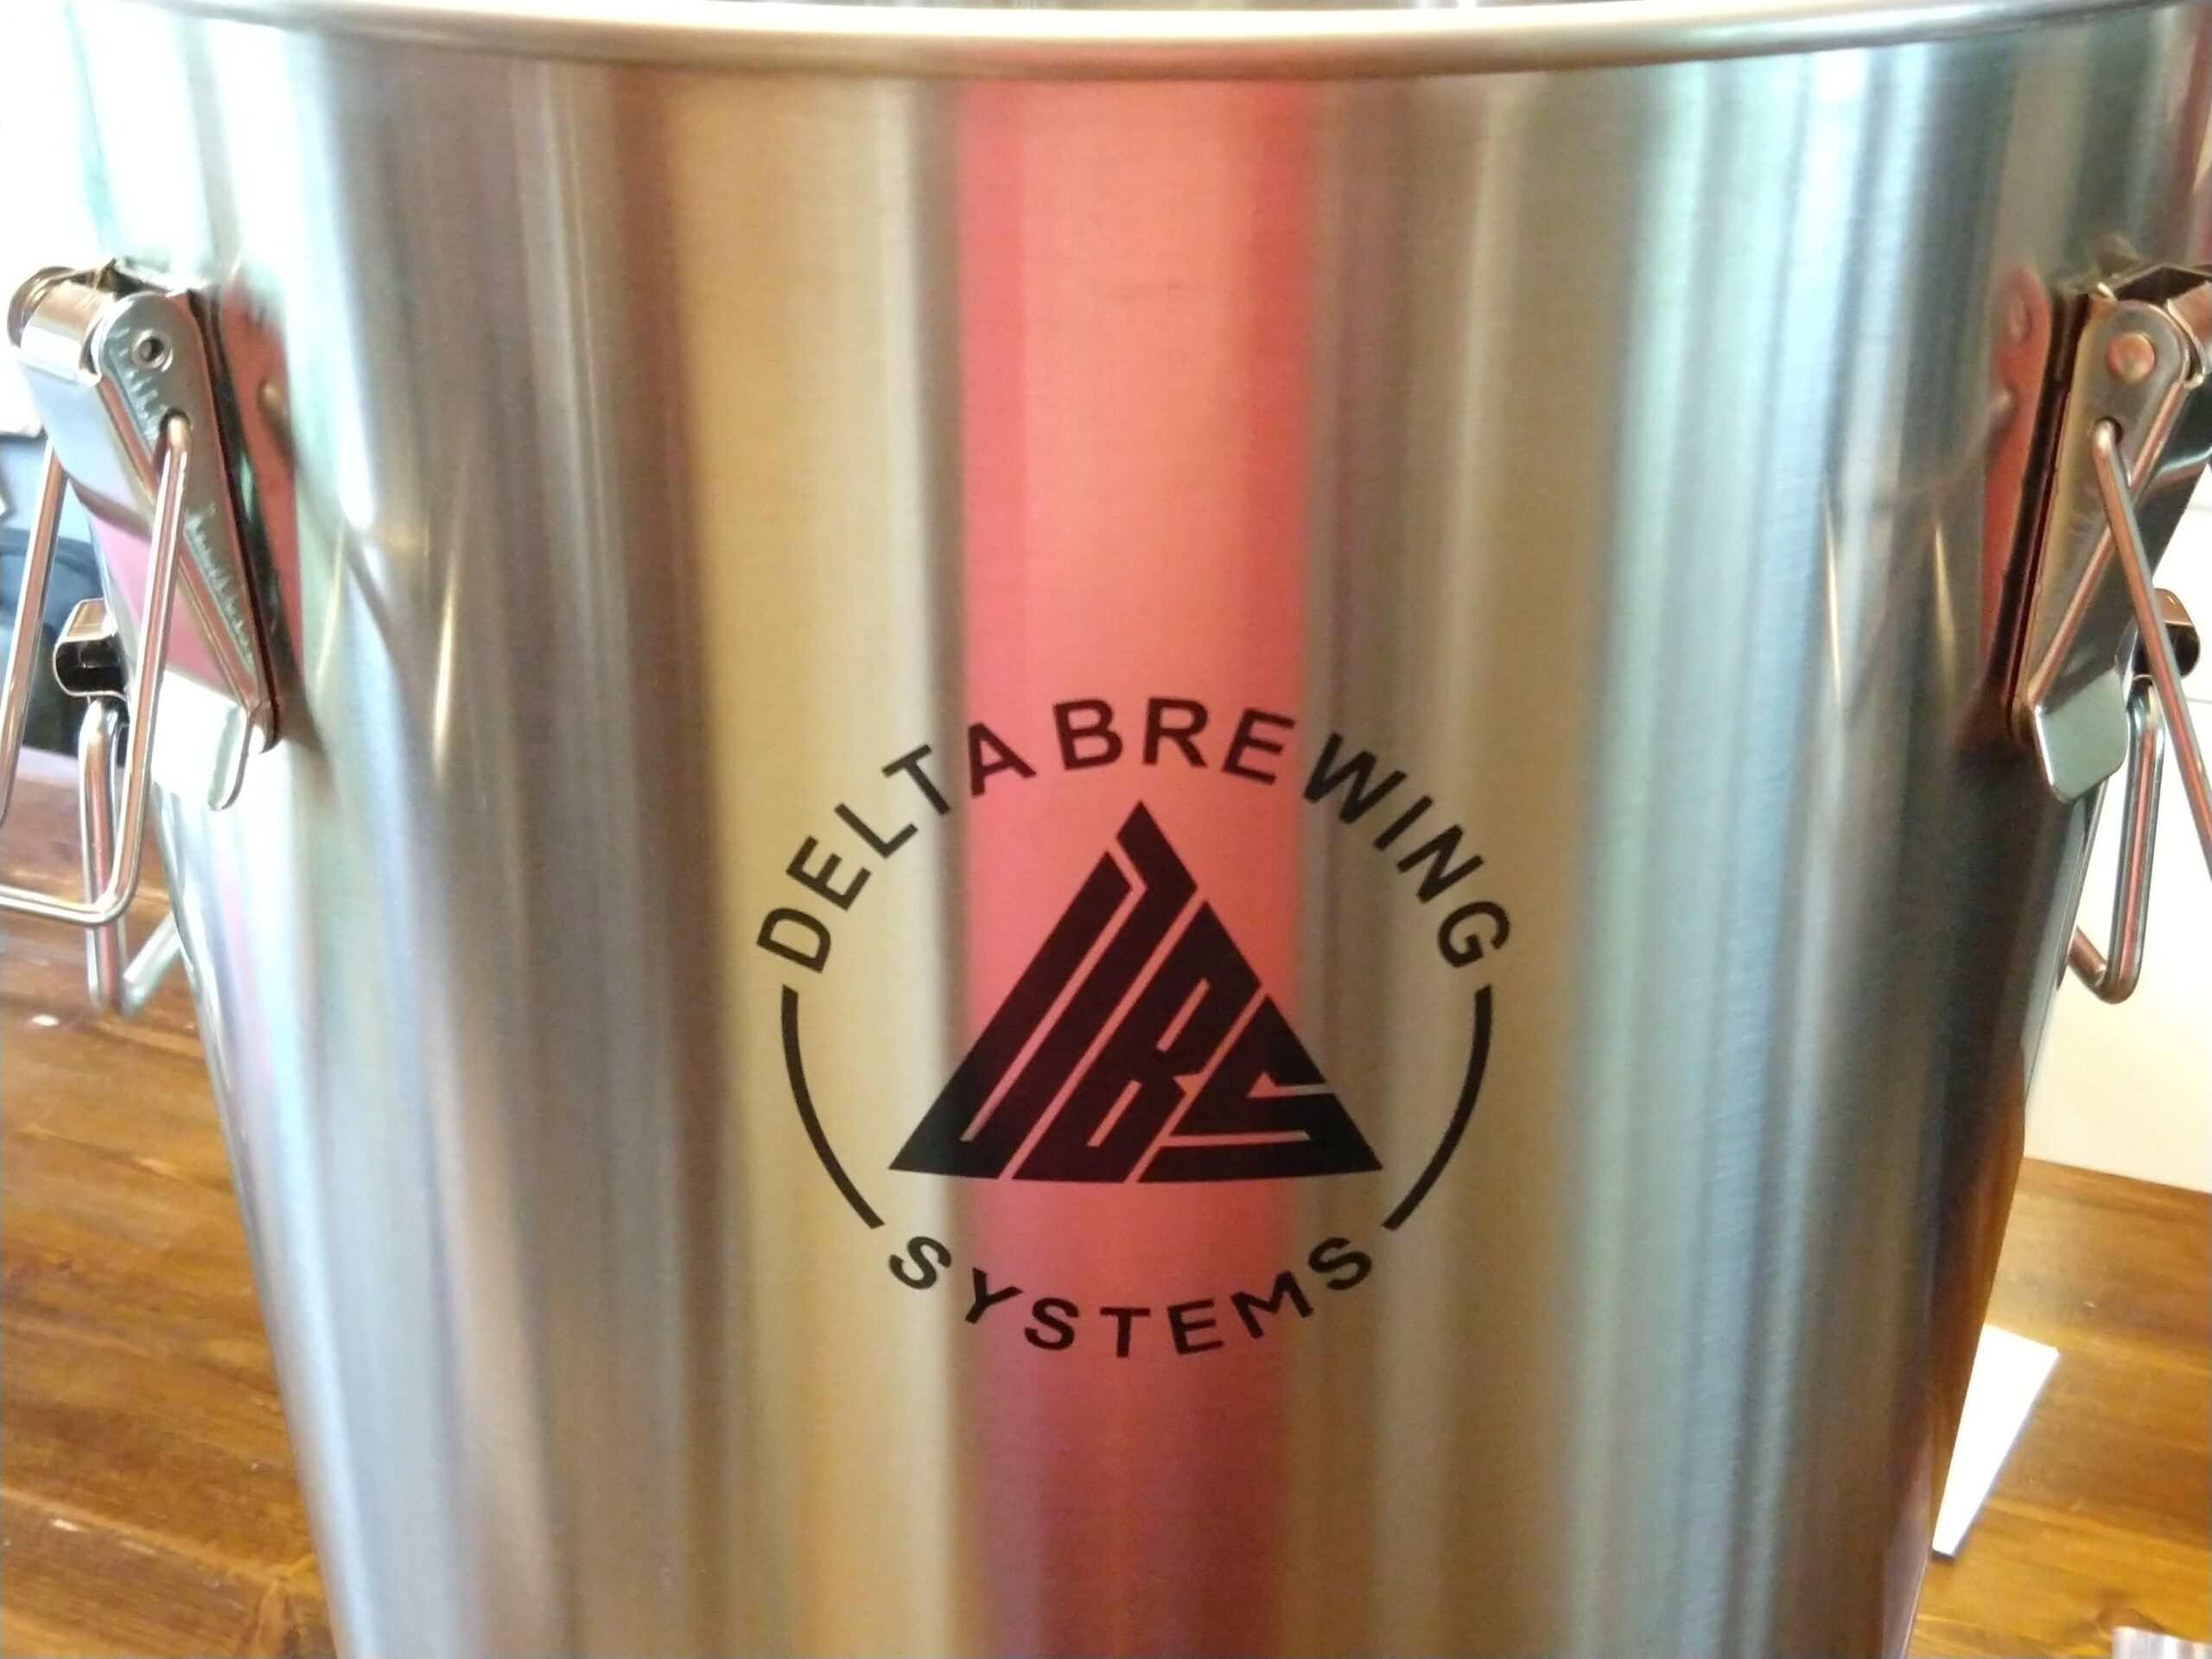
Delta Brewing Fermtank
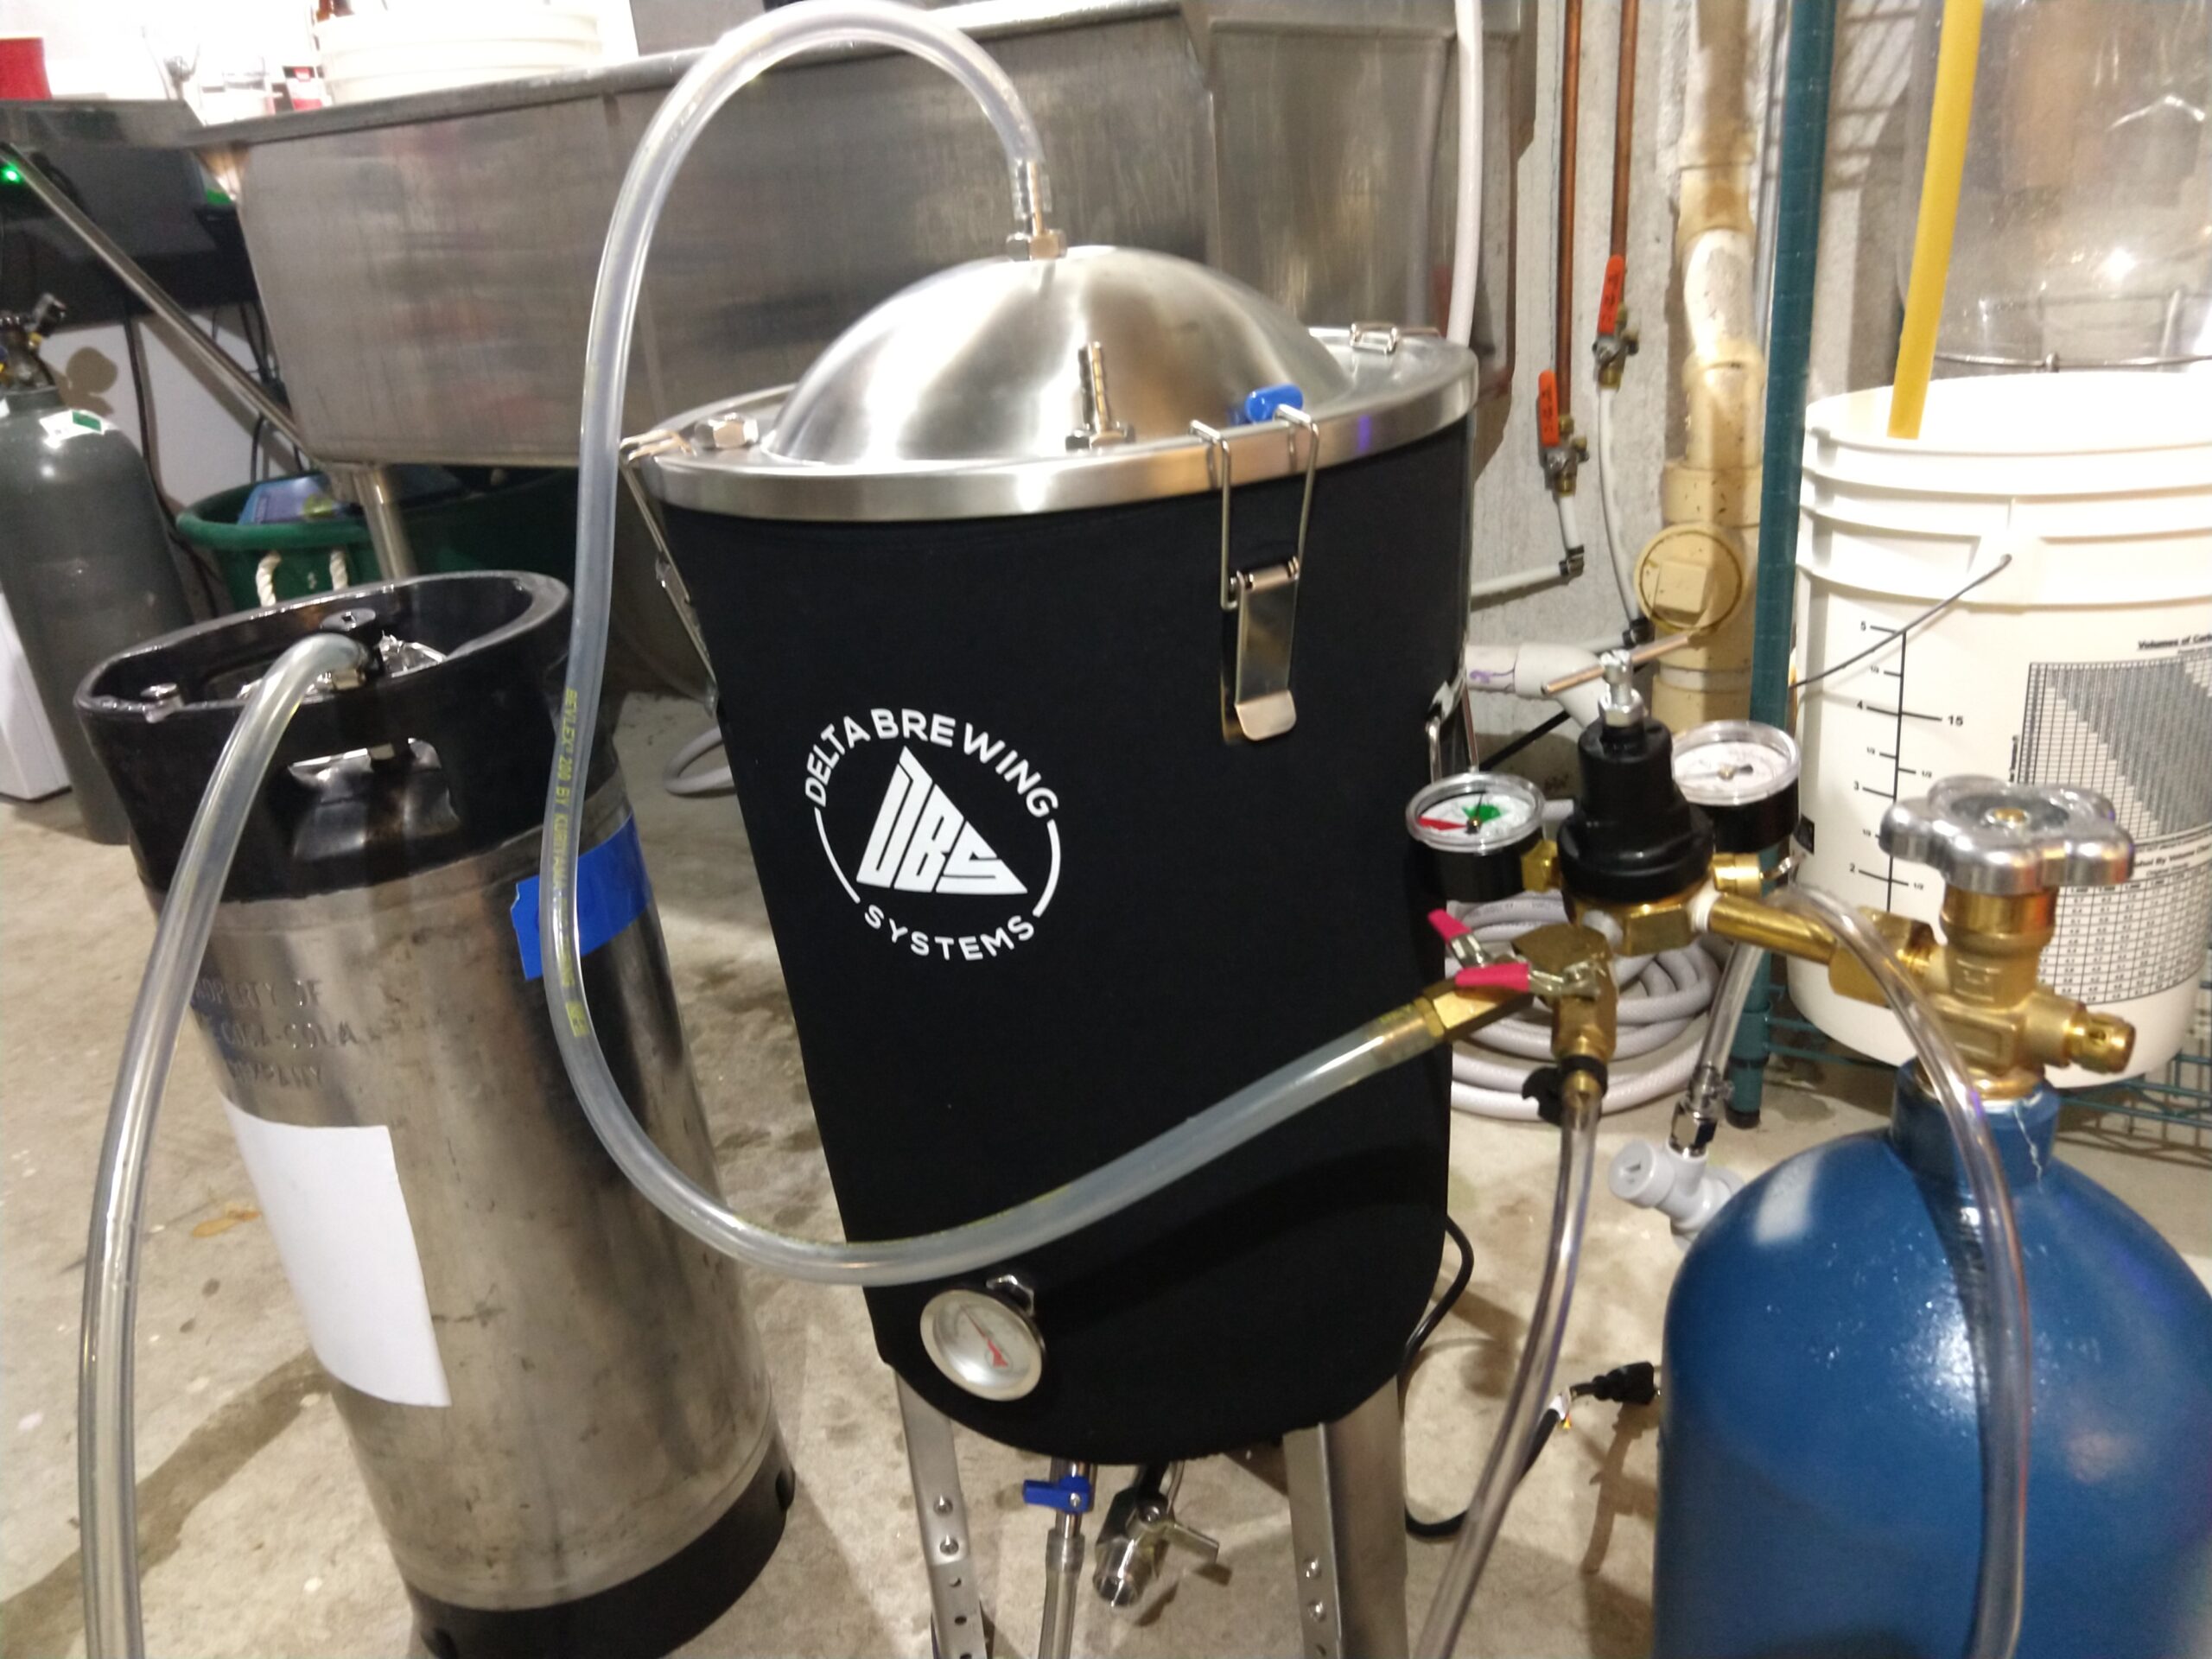
The world of fermentors is fairly expansive. On one end of the spectrum, you have the food grade plastic buckets, and at the other you have stainless conicals up on their stilts. In the middle between these two sits stainless bucket fermentors. They’re more expensive than plastic buckets, to be sure. But they have most of the function and features of the full-sized conicals without the full price tag. Delta Brewing Systems Fermtank is a stainless steel bucket fermentor.
 Brushed Stainless Exterior and Lid Clasps
Check Current Price and Availability, Review Continues Below:
Related: Hands on Review: Delta Brewing Systems Fermtank TC
This article contains affiliate links. We may make a small percentage if you use our links to make a purchase. You won’t pay more and you’ll be supporting Homebrew Finds and more content like this. Thank you for your support!
Delta Industries has been in business for 33 years. The main company is an air compressor sales, service, and engineering house. They have worked with various businesses including breweries across the US as well as some overseas, providing clean compressed air and glycol chillers. Delta Brewing Systems is the part of Delta Industries that manages the beer brewing business. They started offering a handful of homebrew products in July of 2019, and have started steadily expanding their portfolio of homebrewing gear throughout 2020.
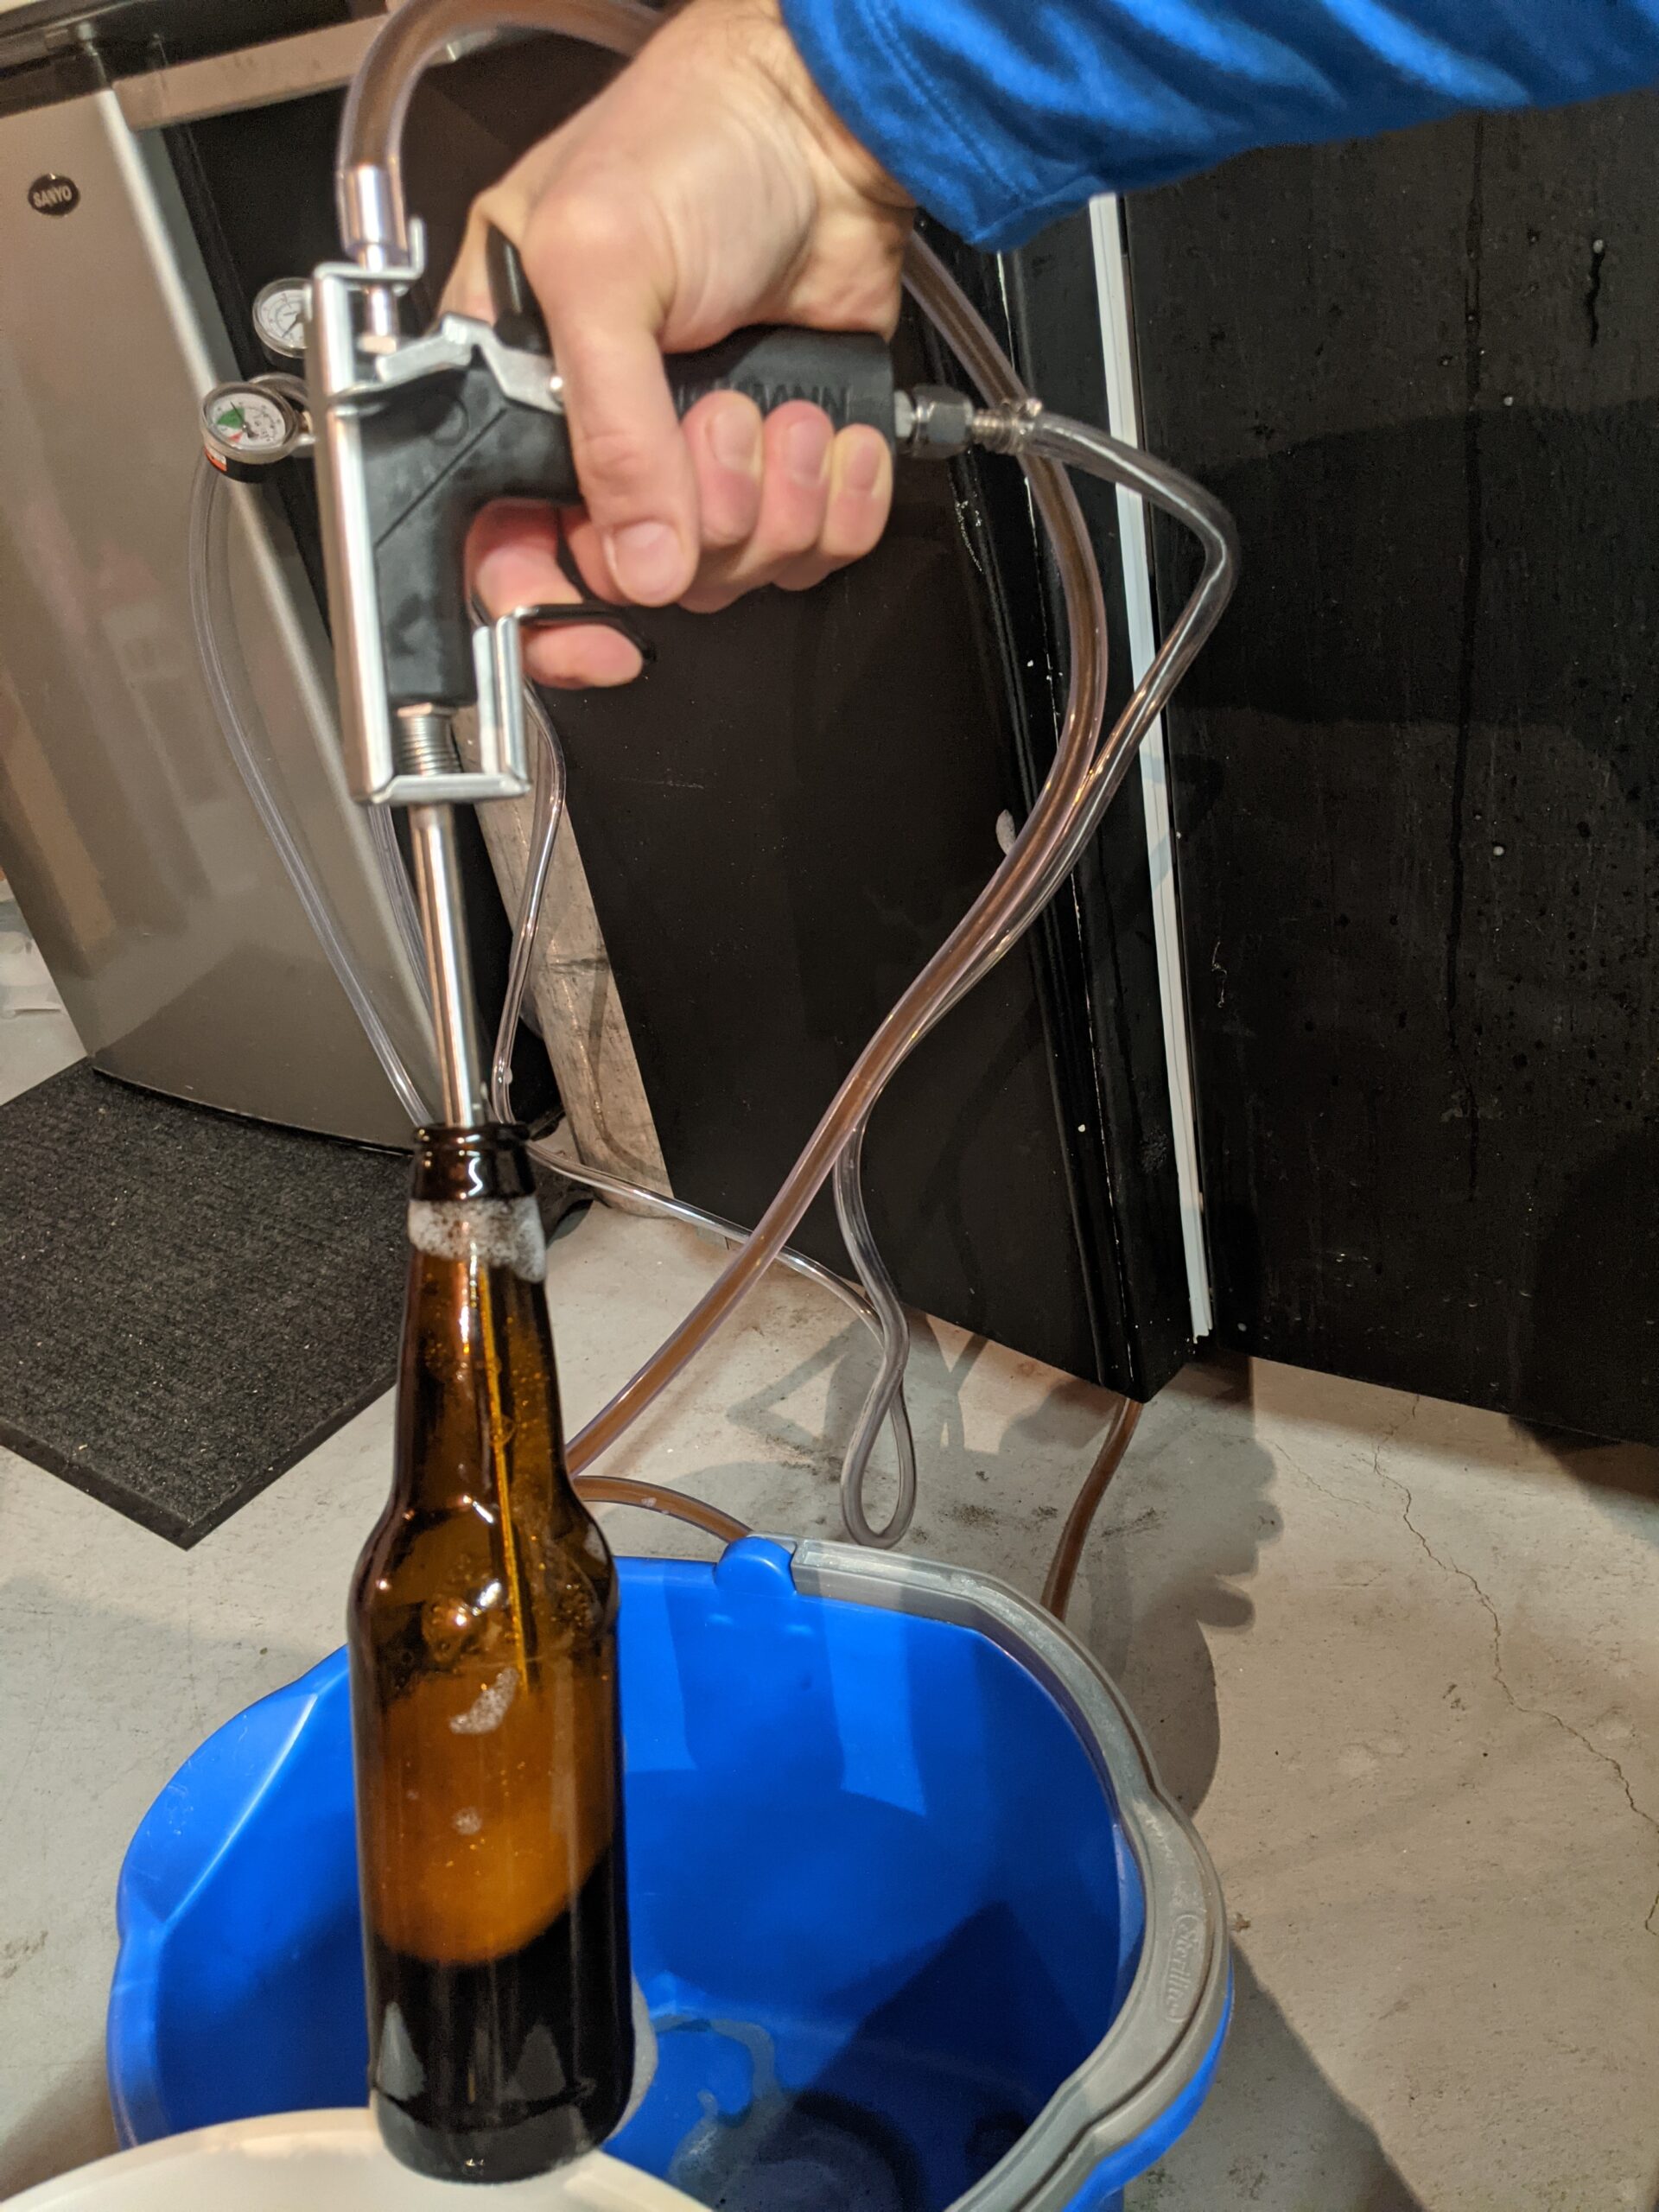
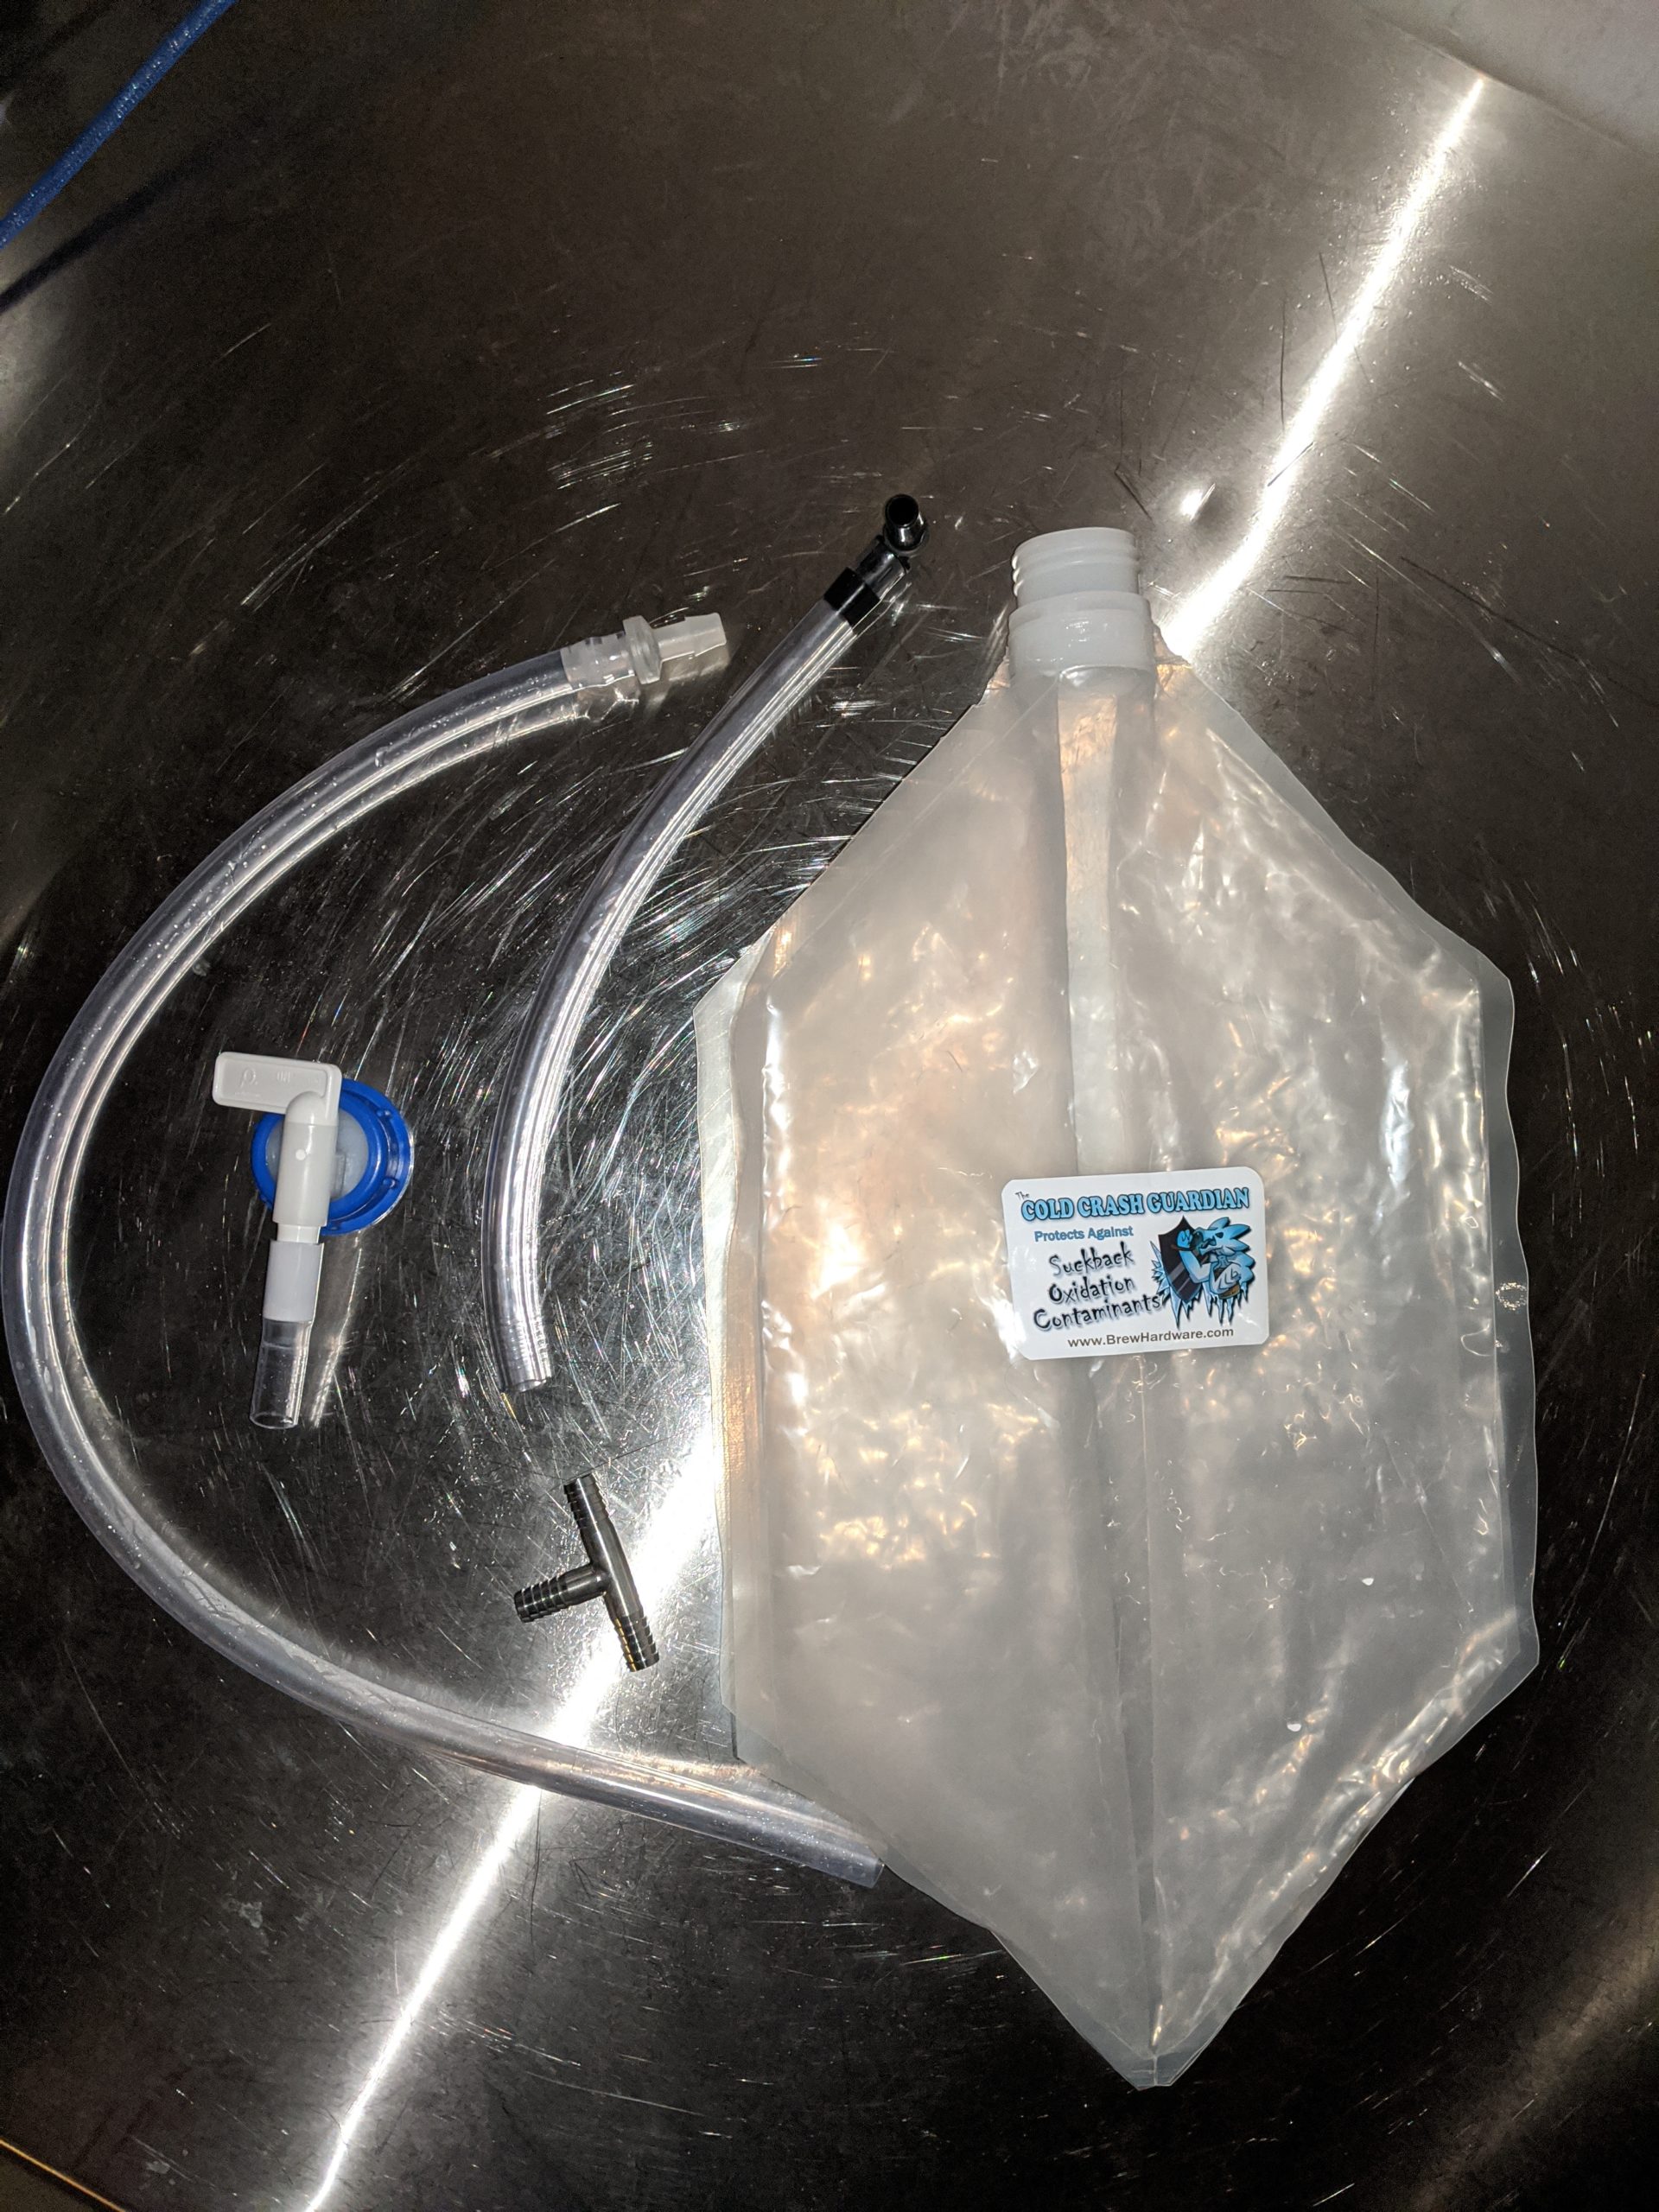
 CO2 Pressure Transfer to Keg!
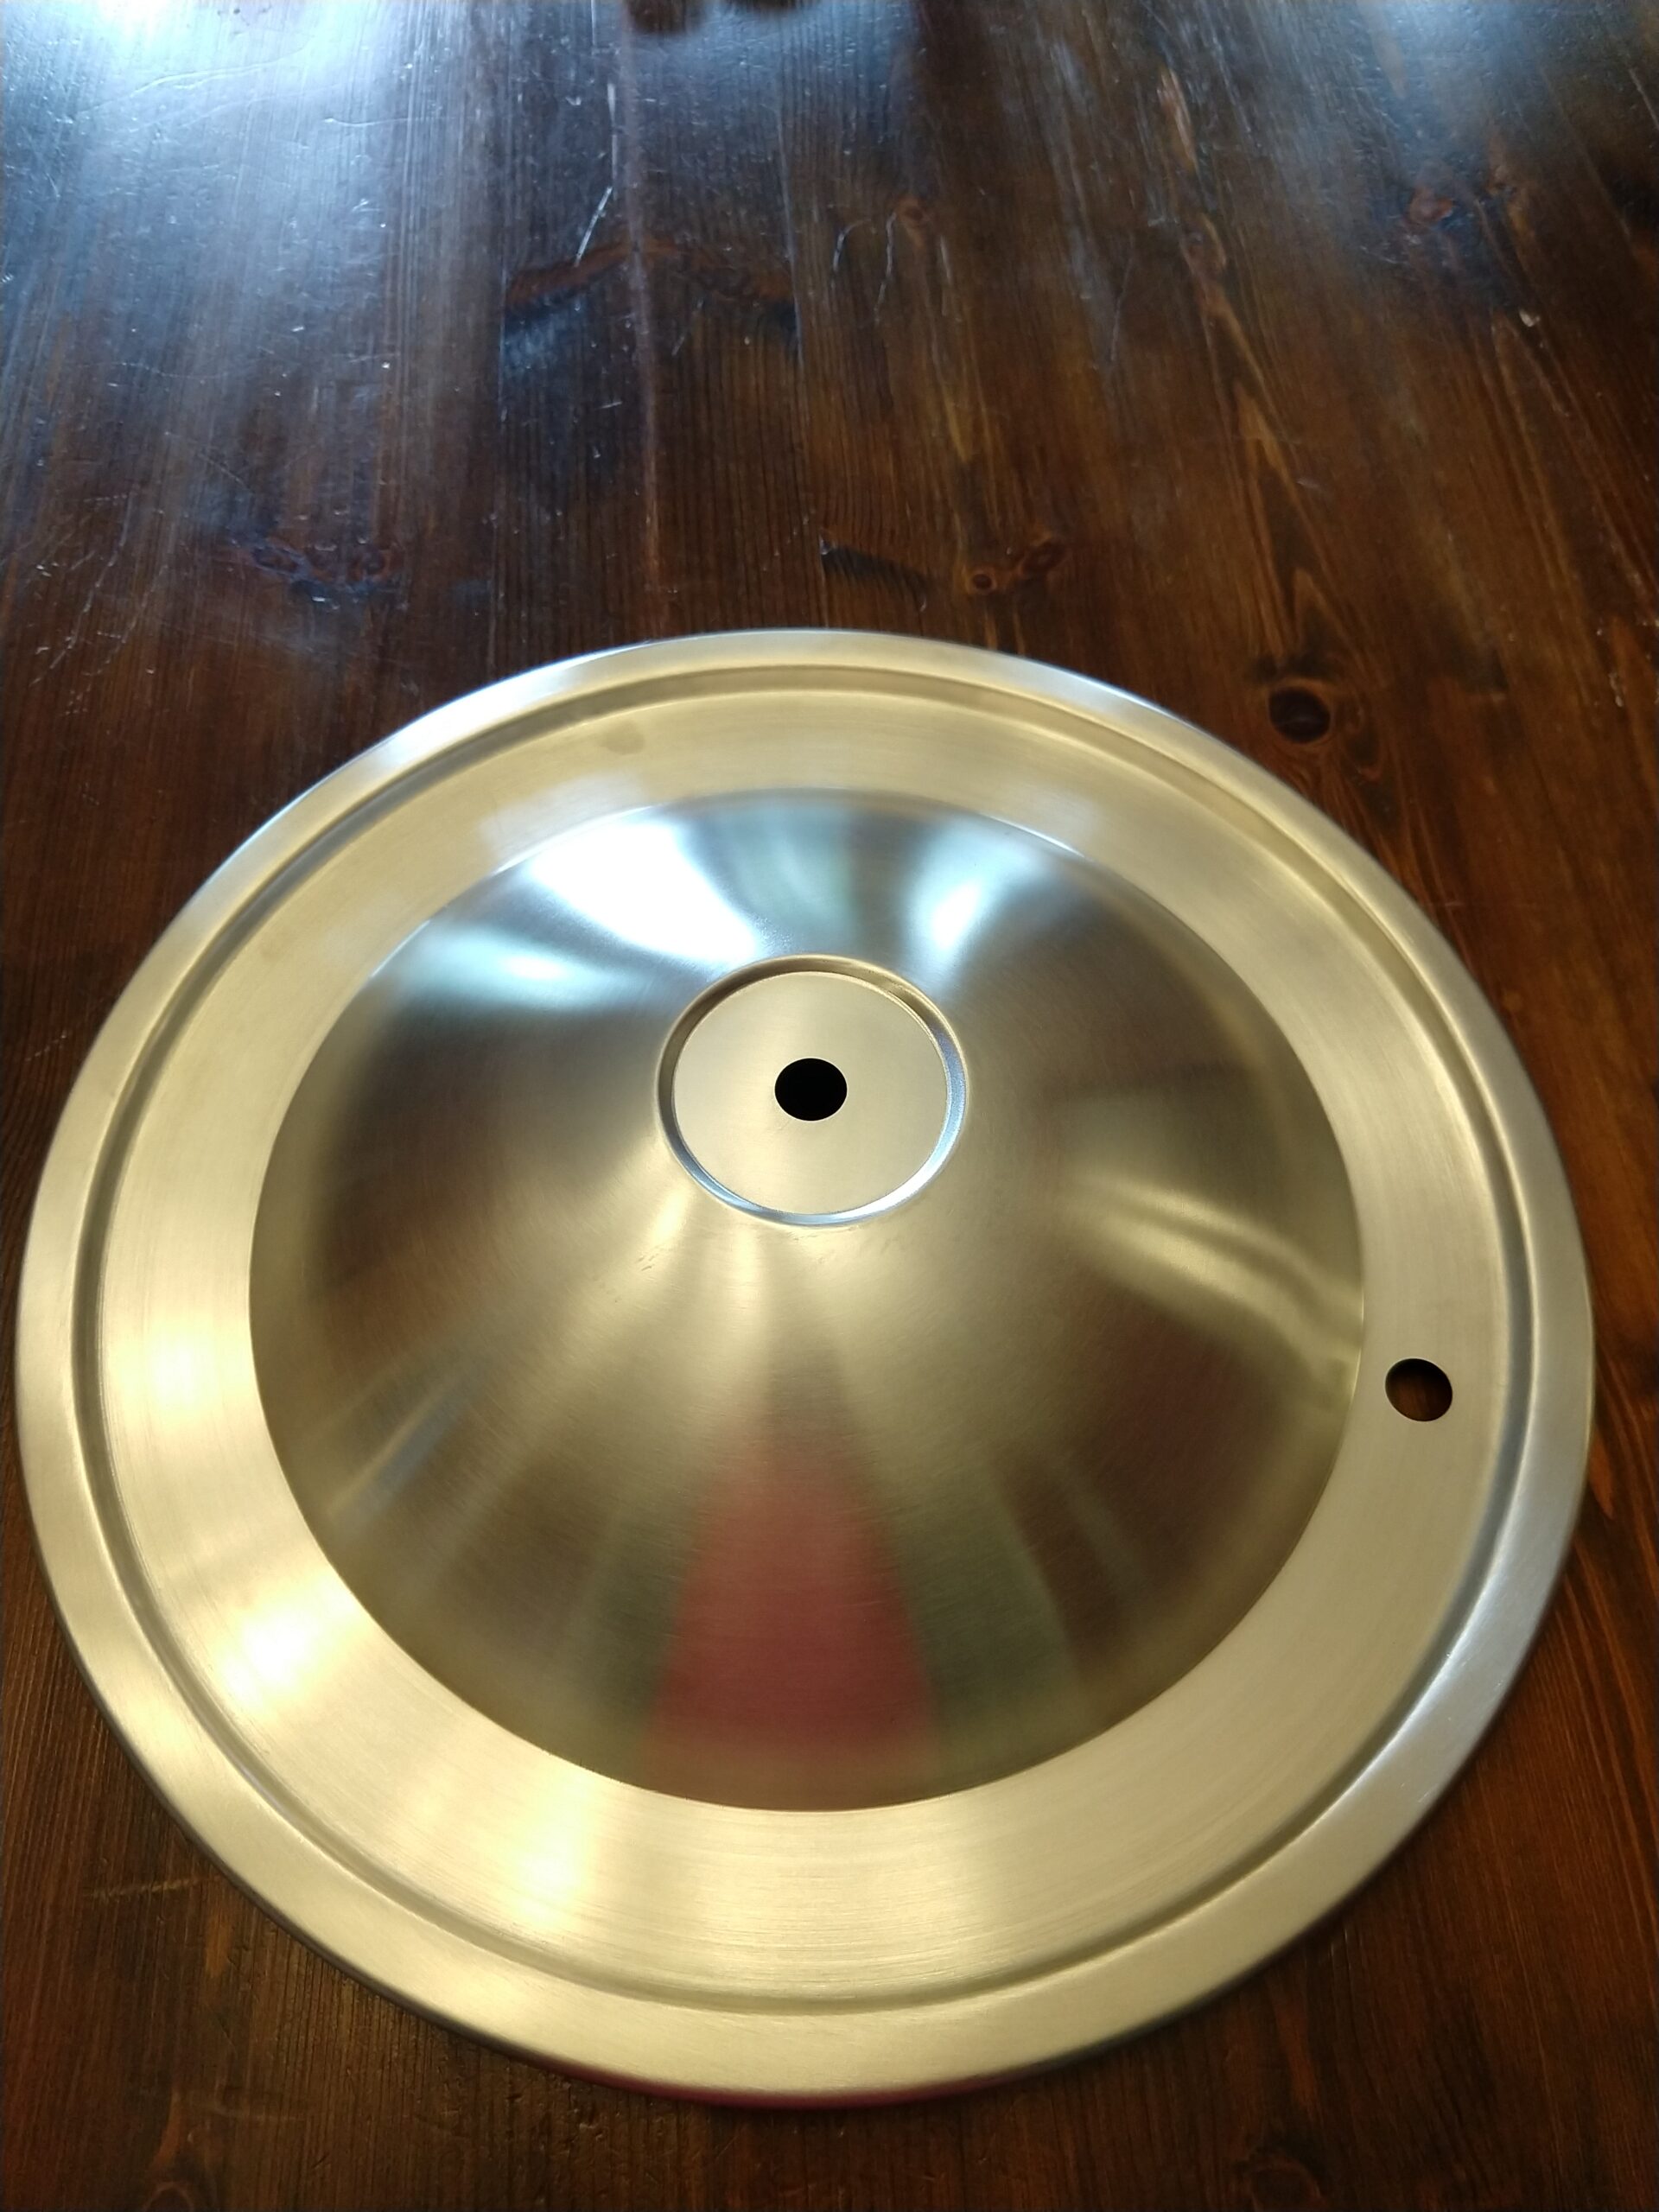
The Fermtank was one of their first homebrew offerings. It is made from 304 Stainless Steel, and is 8 gallons in size. That size allows you to ferment 5.5 – 6 gallon batches while giving plenty of head space for fermentation krausen and dry hop additions without overflowing. There are volume markings stamped in large size in both liters and gallons, starting from 5 gallons and up. It has a domed lid with an engineered seal which allows it to handle up to 4 psi, for fermenting under pressure or doing pressurized CO2 transfers. With the blow-off hose barb sitting at the top of this dome, the fermentor is 27” tall. But it has adjustable height legs with 4 positions, allowing up to an additional 3” of height.
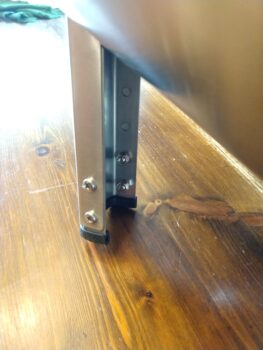 Adjustable Legs on Shortest Setting
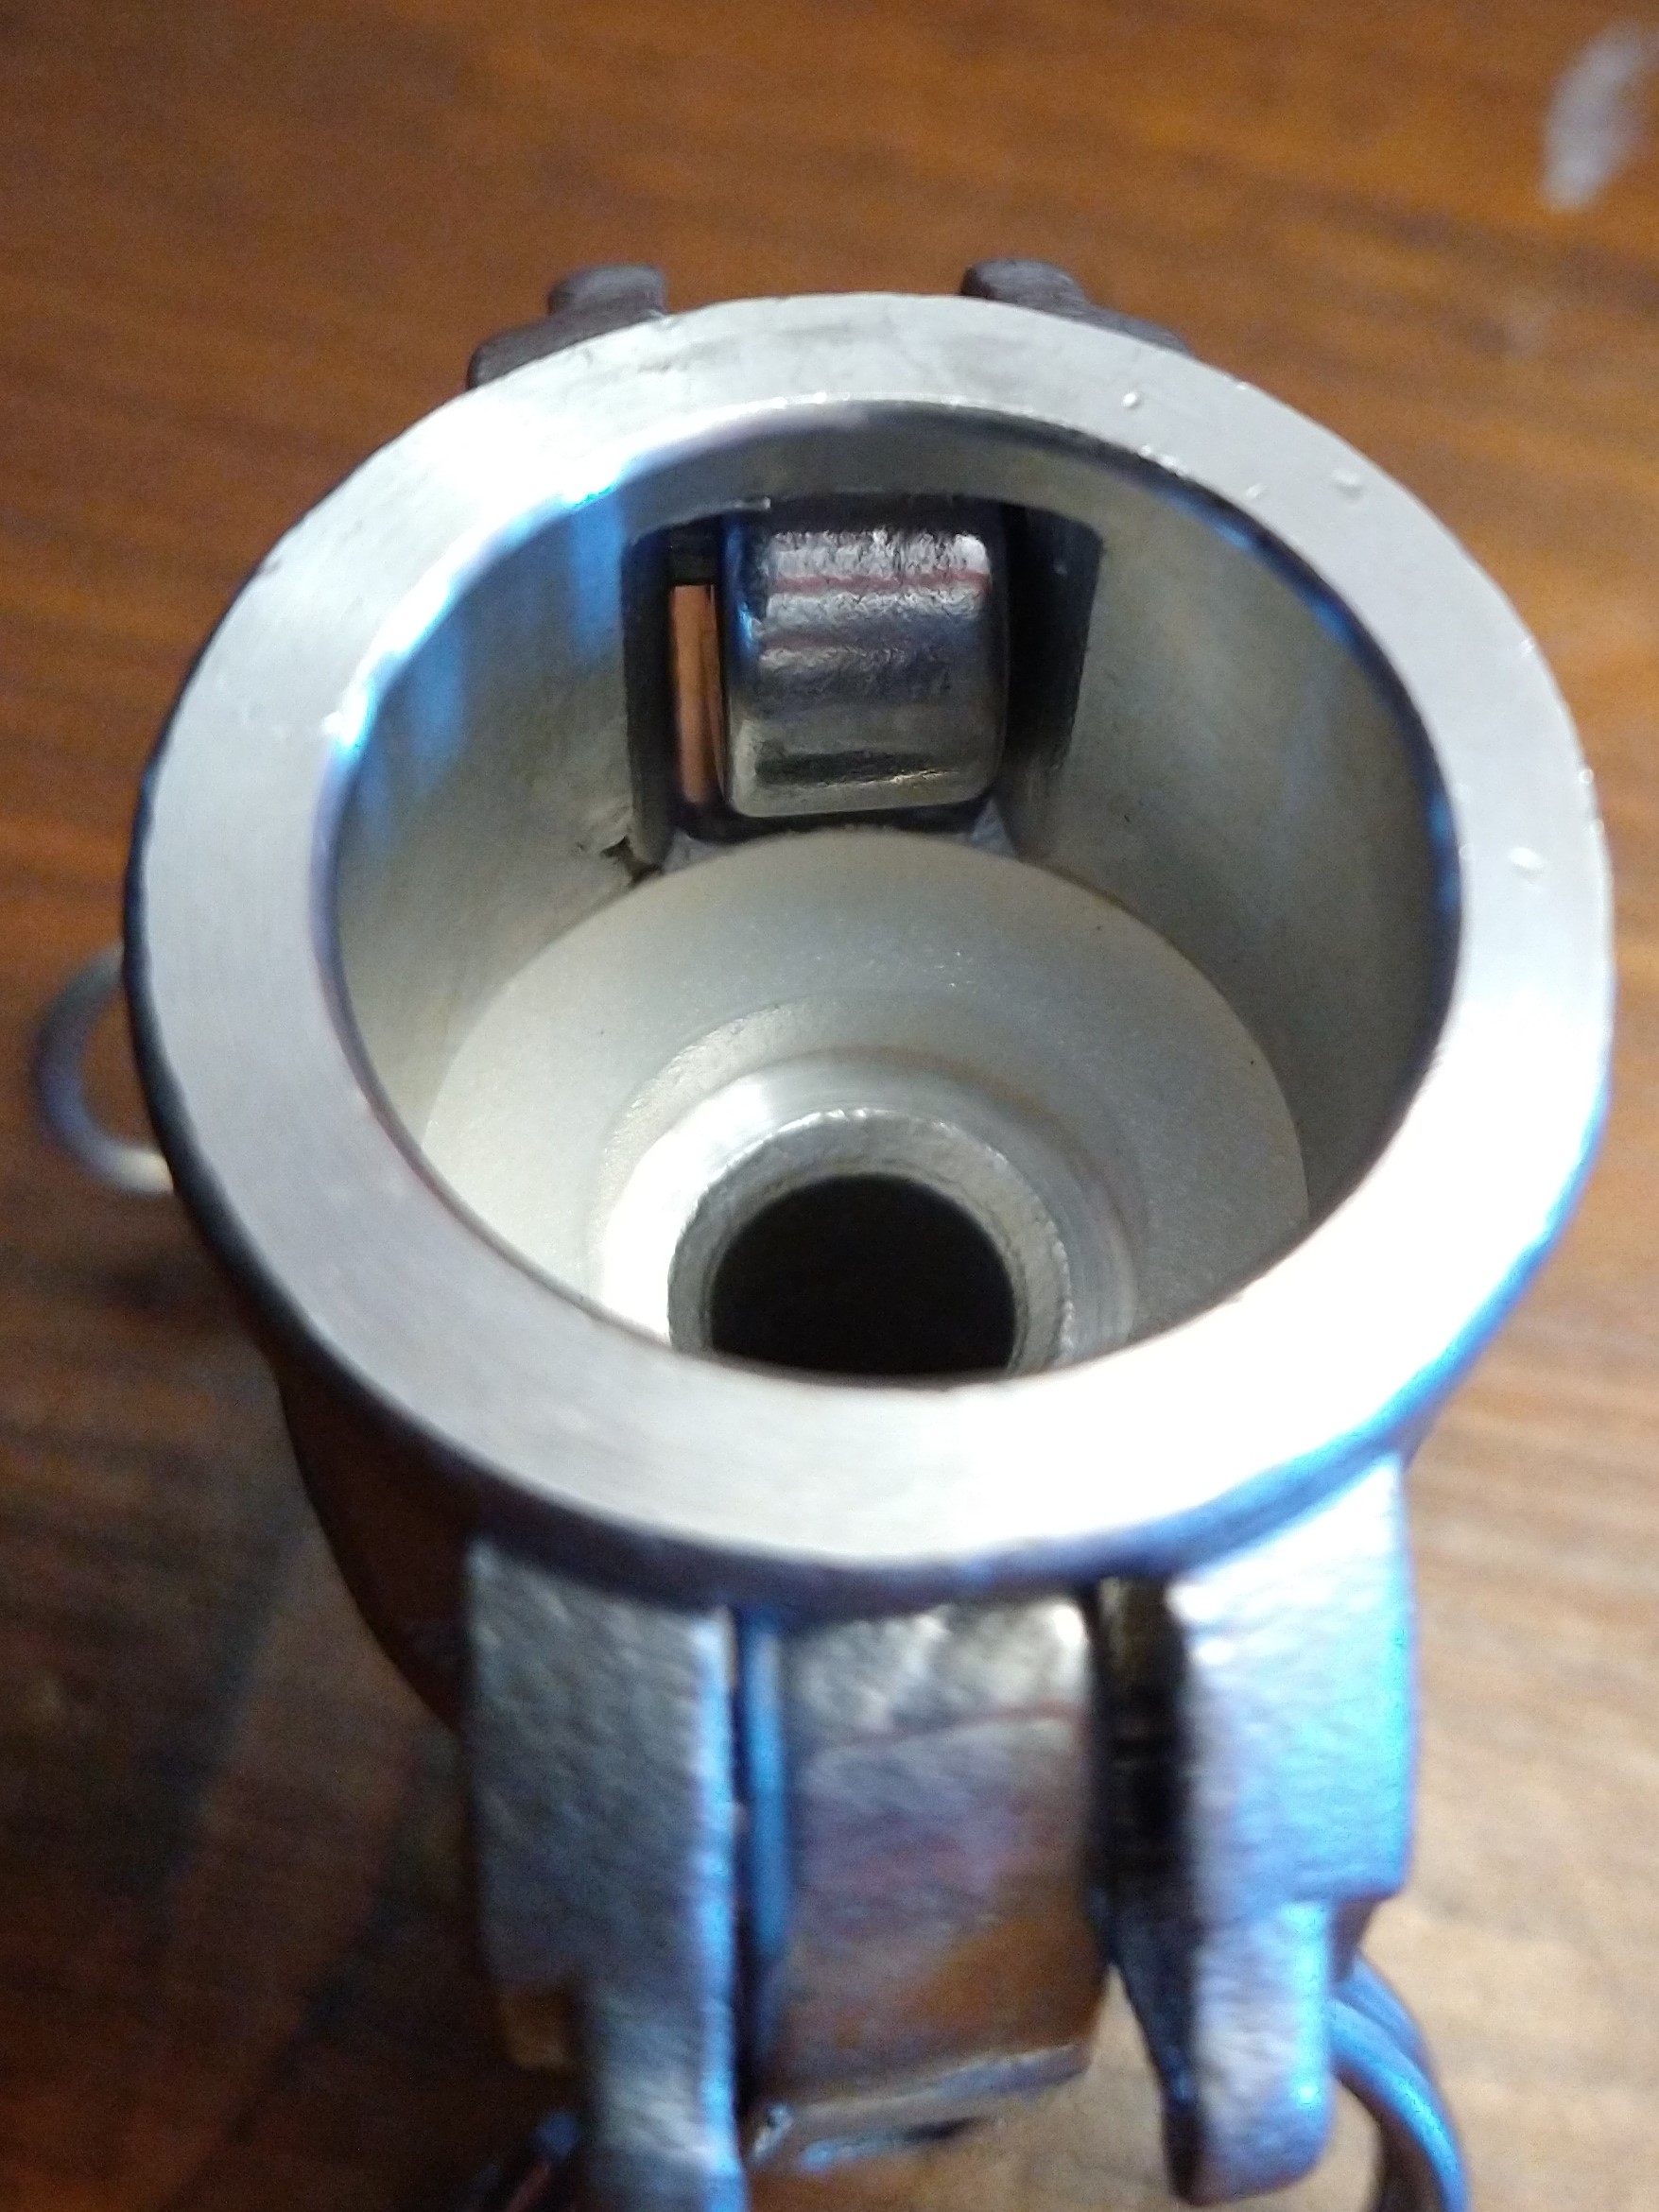
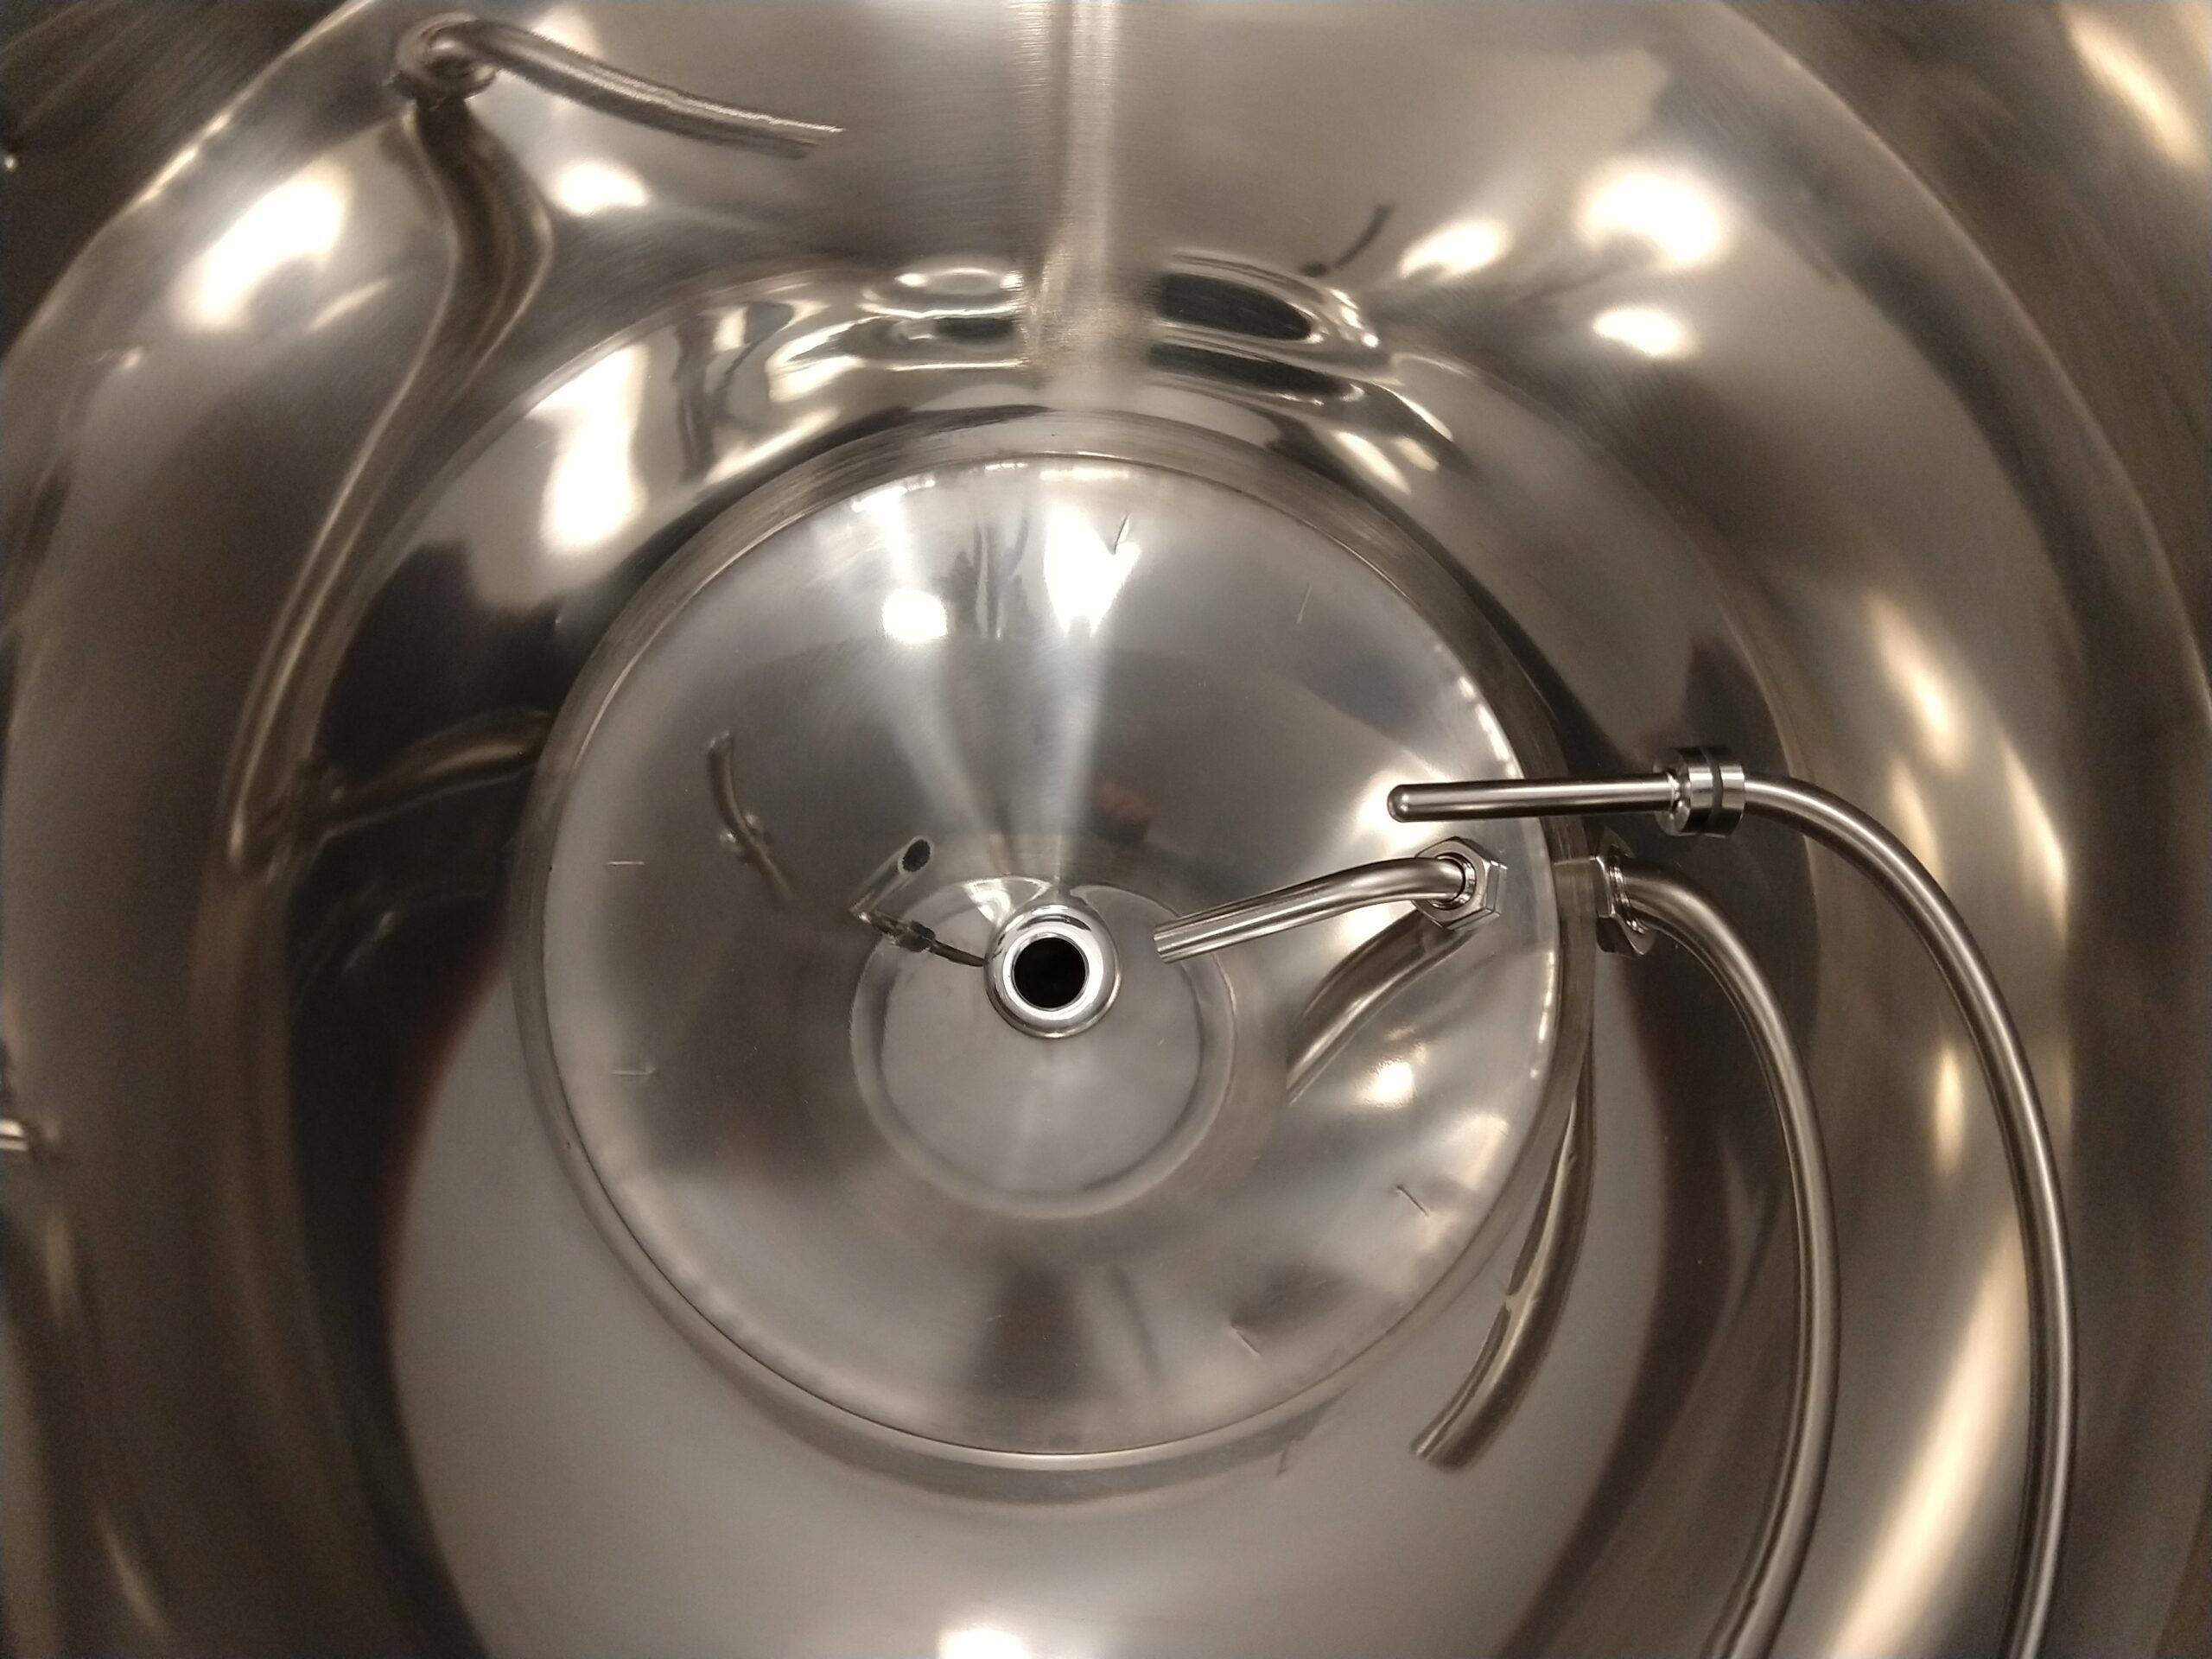
Full-sized conicals in breweries have steeper angles on their cone that allow the harvesting of yeast, or dumping of trub from your fermentation so you can secondary in the same vessel. The angle of the cone on bucket fermentors isn’t steep enough to allow this harvesting or dumping. However, you do get the advantage of the spigot on the fermentor being at the top of the cone. So when you transfer out of your fermentor, you can do this at a level that’s above the fermentation sediment, without leaving behind a lot of beer. The Fermtank’s spigot has an angled pickup tube so it pulls beer from the center of the fermentor, away from any sediment that’s collected on the walls. Although it has a large 3/4″ valve at the very bottom of the cone, its purpose is really for ease of clean-up, rather than the harvesting of yeast.
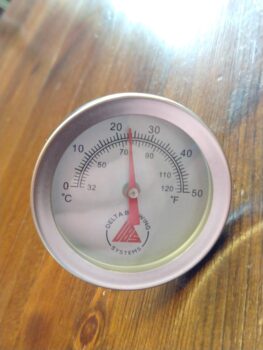 Dial thermometer
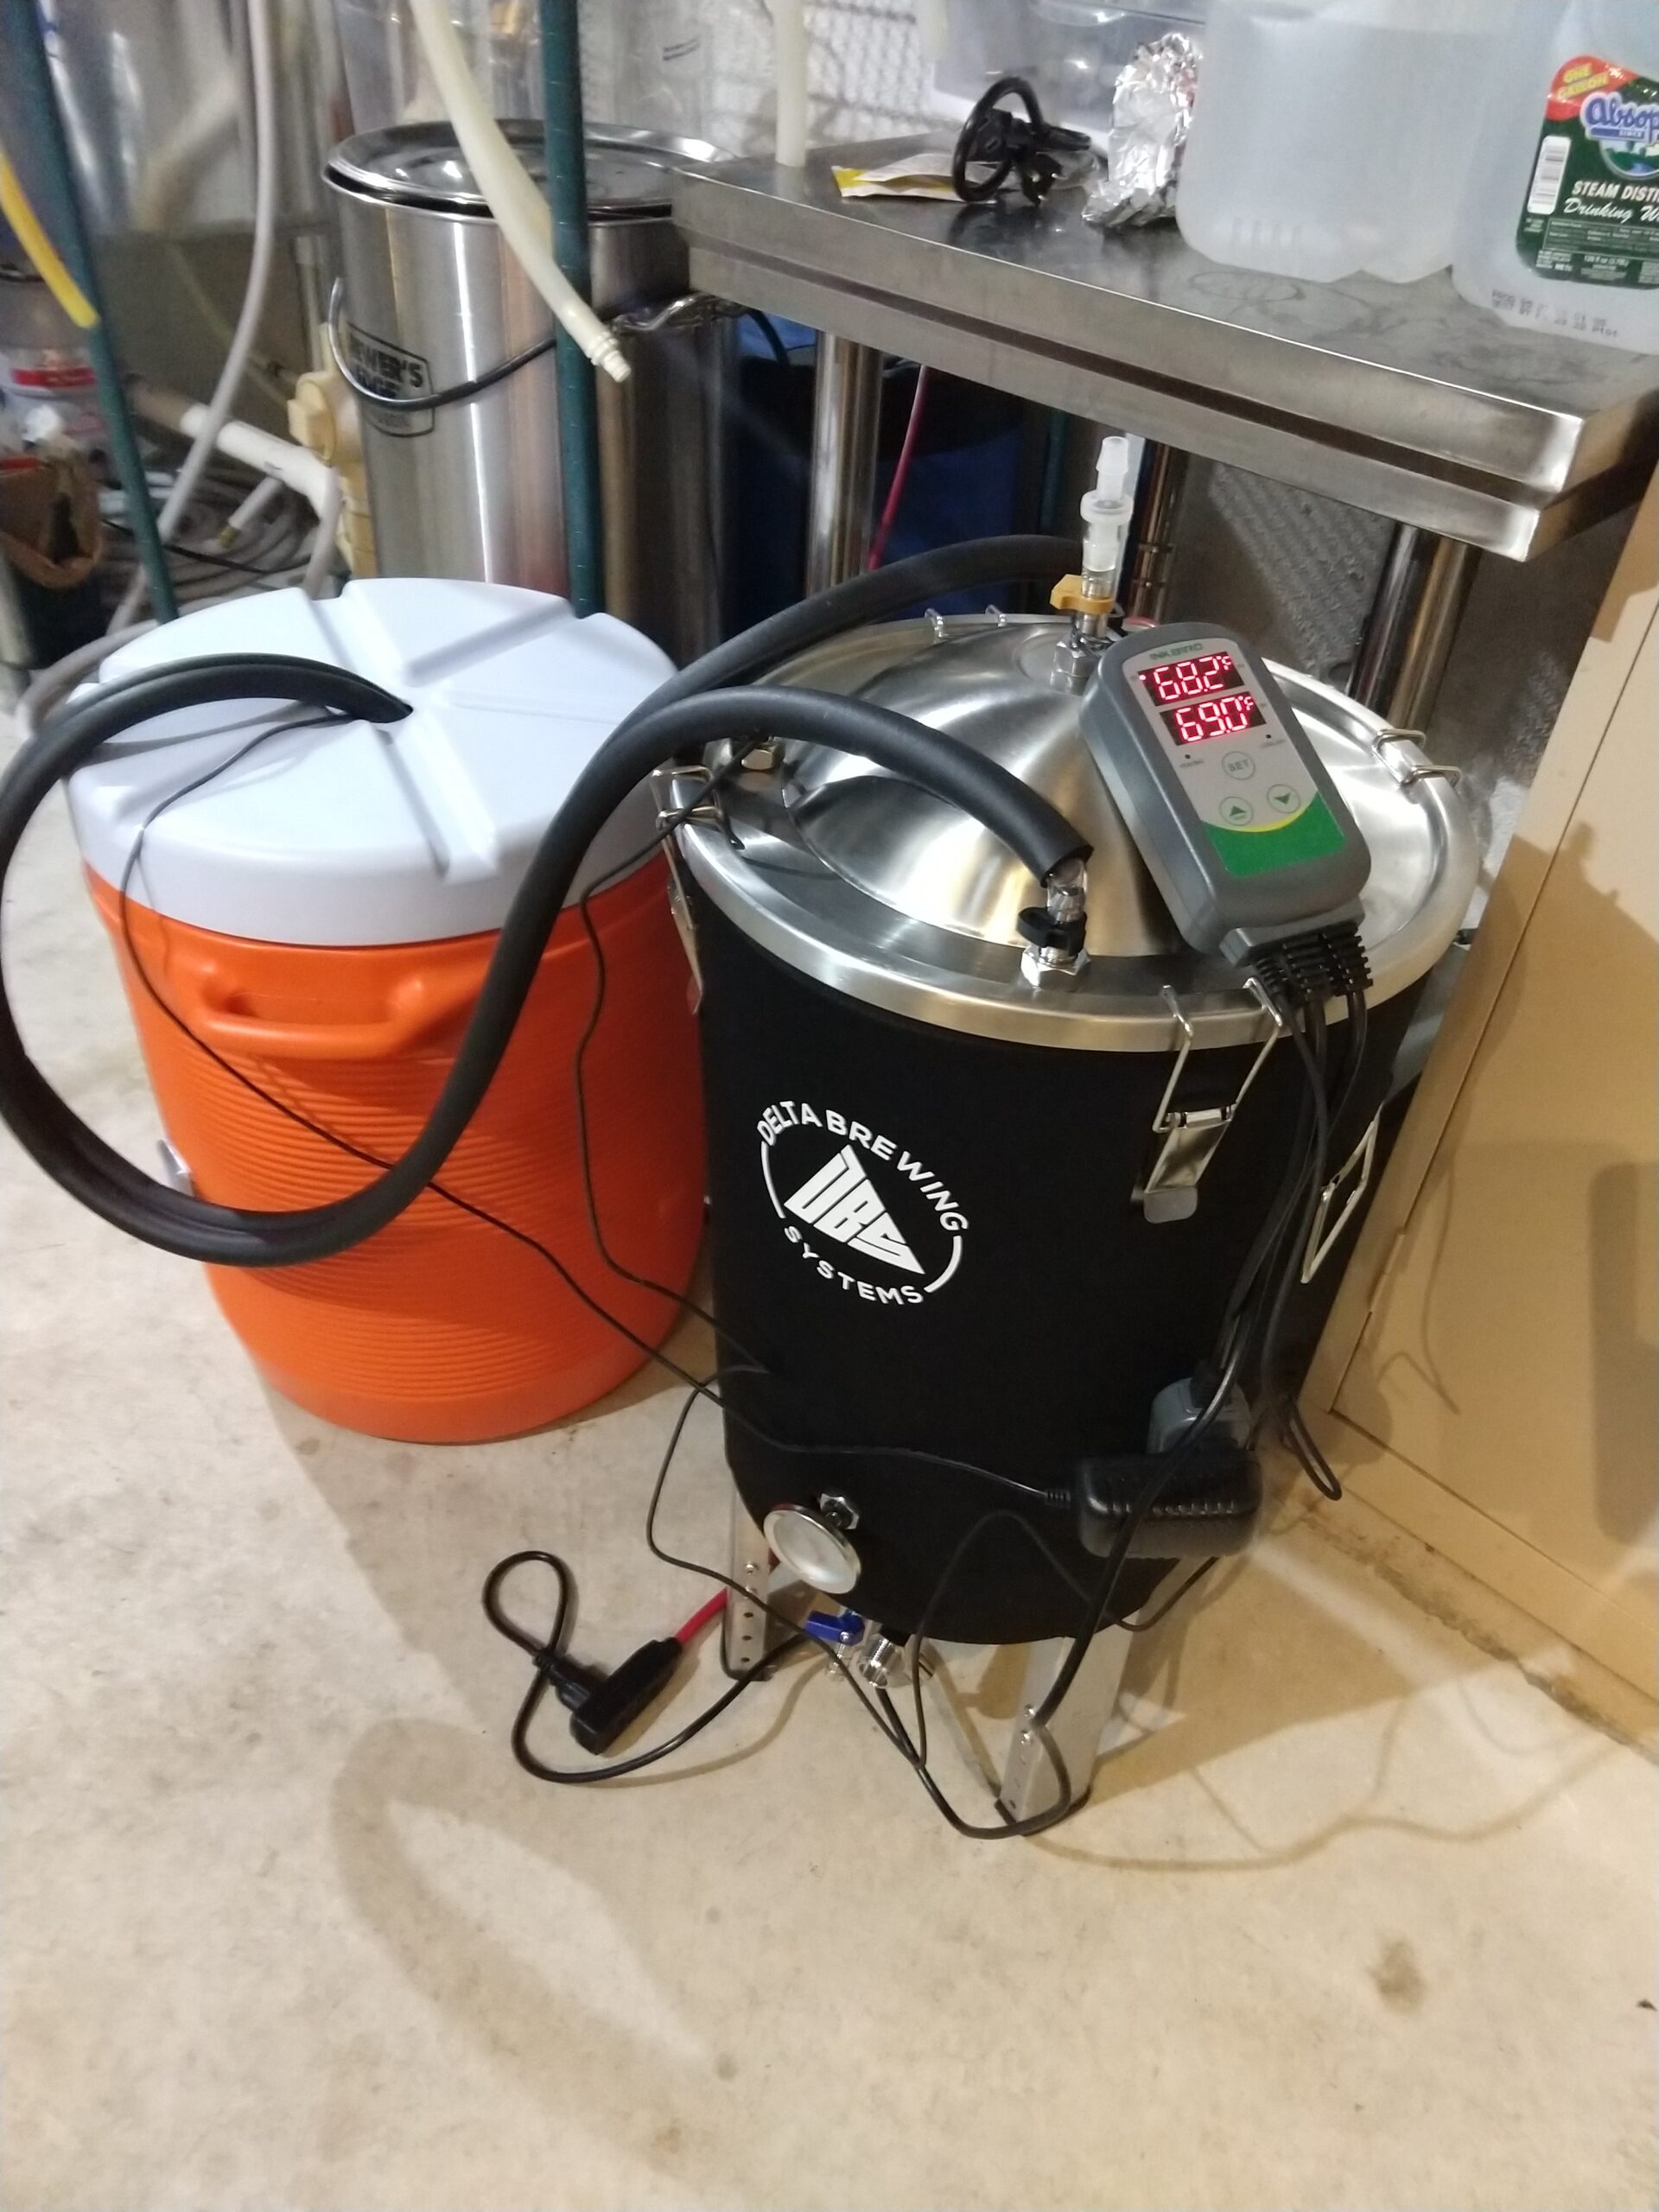
The body of the fermentor has a thermowell, and it comes with a dial thermometer that can be inserted to monitor temperature. The thermowell can also be used to install a digital temperature probe for temperature logging or fermentation control. And for robust fermentation temperature control, Delta offers a Fermtank Heating & Chilling Kit. The kit includes an insulated neoprene jacket form-fitted to the Fermtank, with openings for all of the external hardware bits. For heating, it contains an electric heating belt that wraps around the bottom edge above the cone and attaches with Velcro strips.
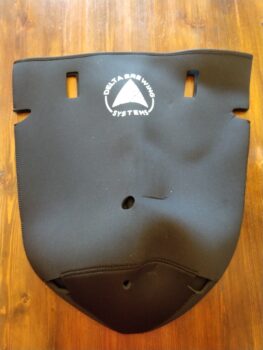 Neoprene Jacket
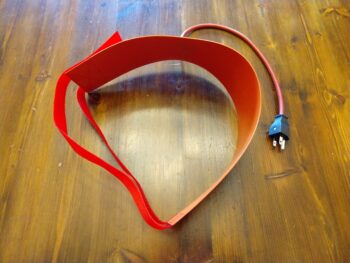 Electric Heating Pad
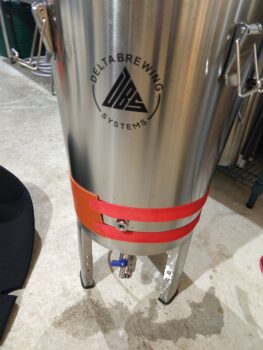 Heat Wrap Attached to Fermentor
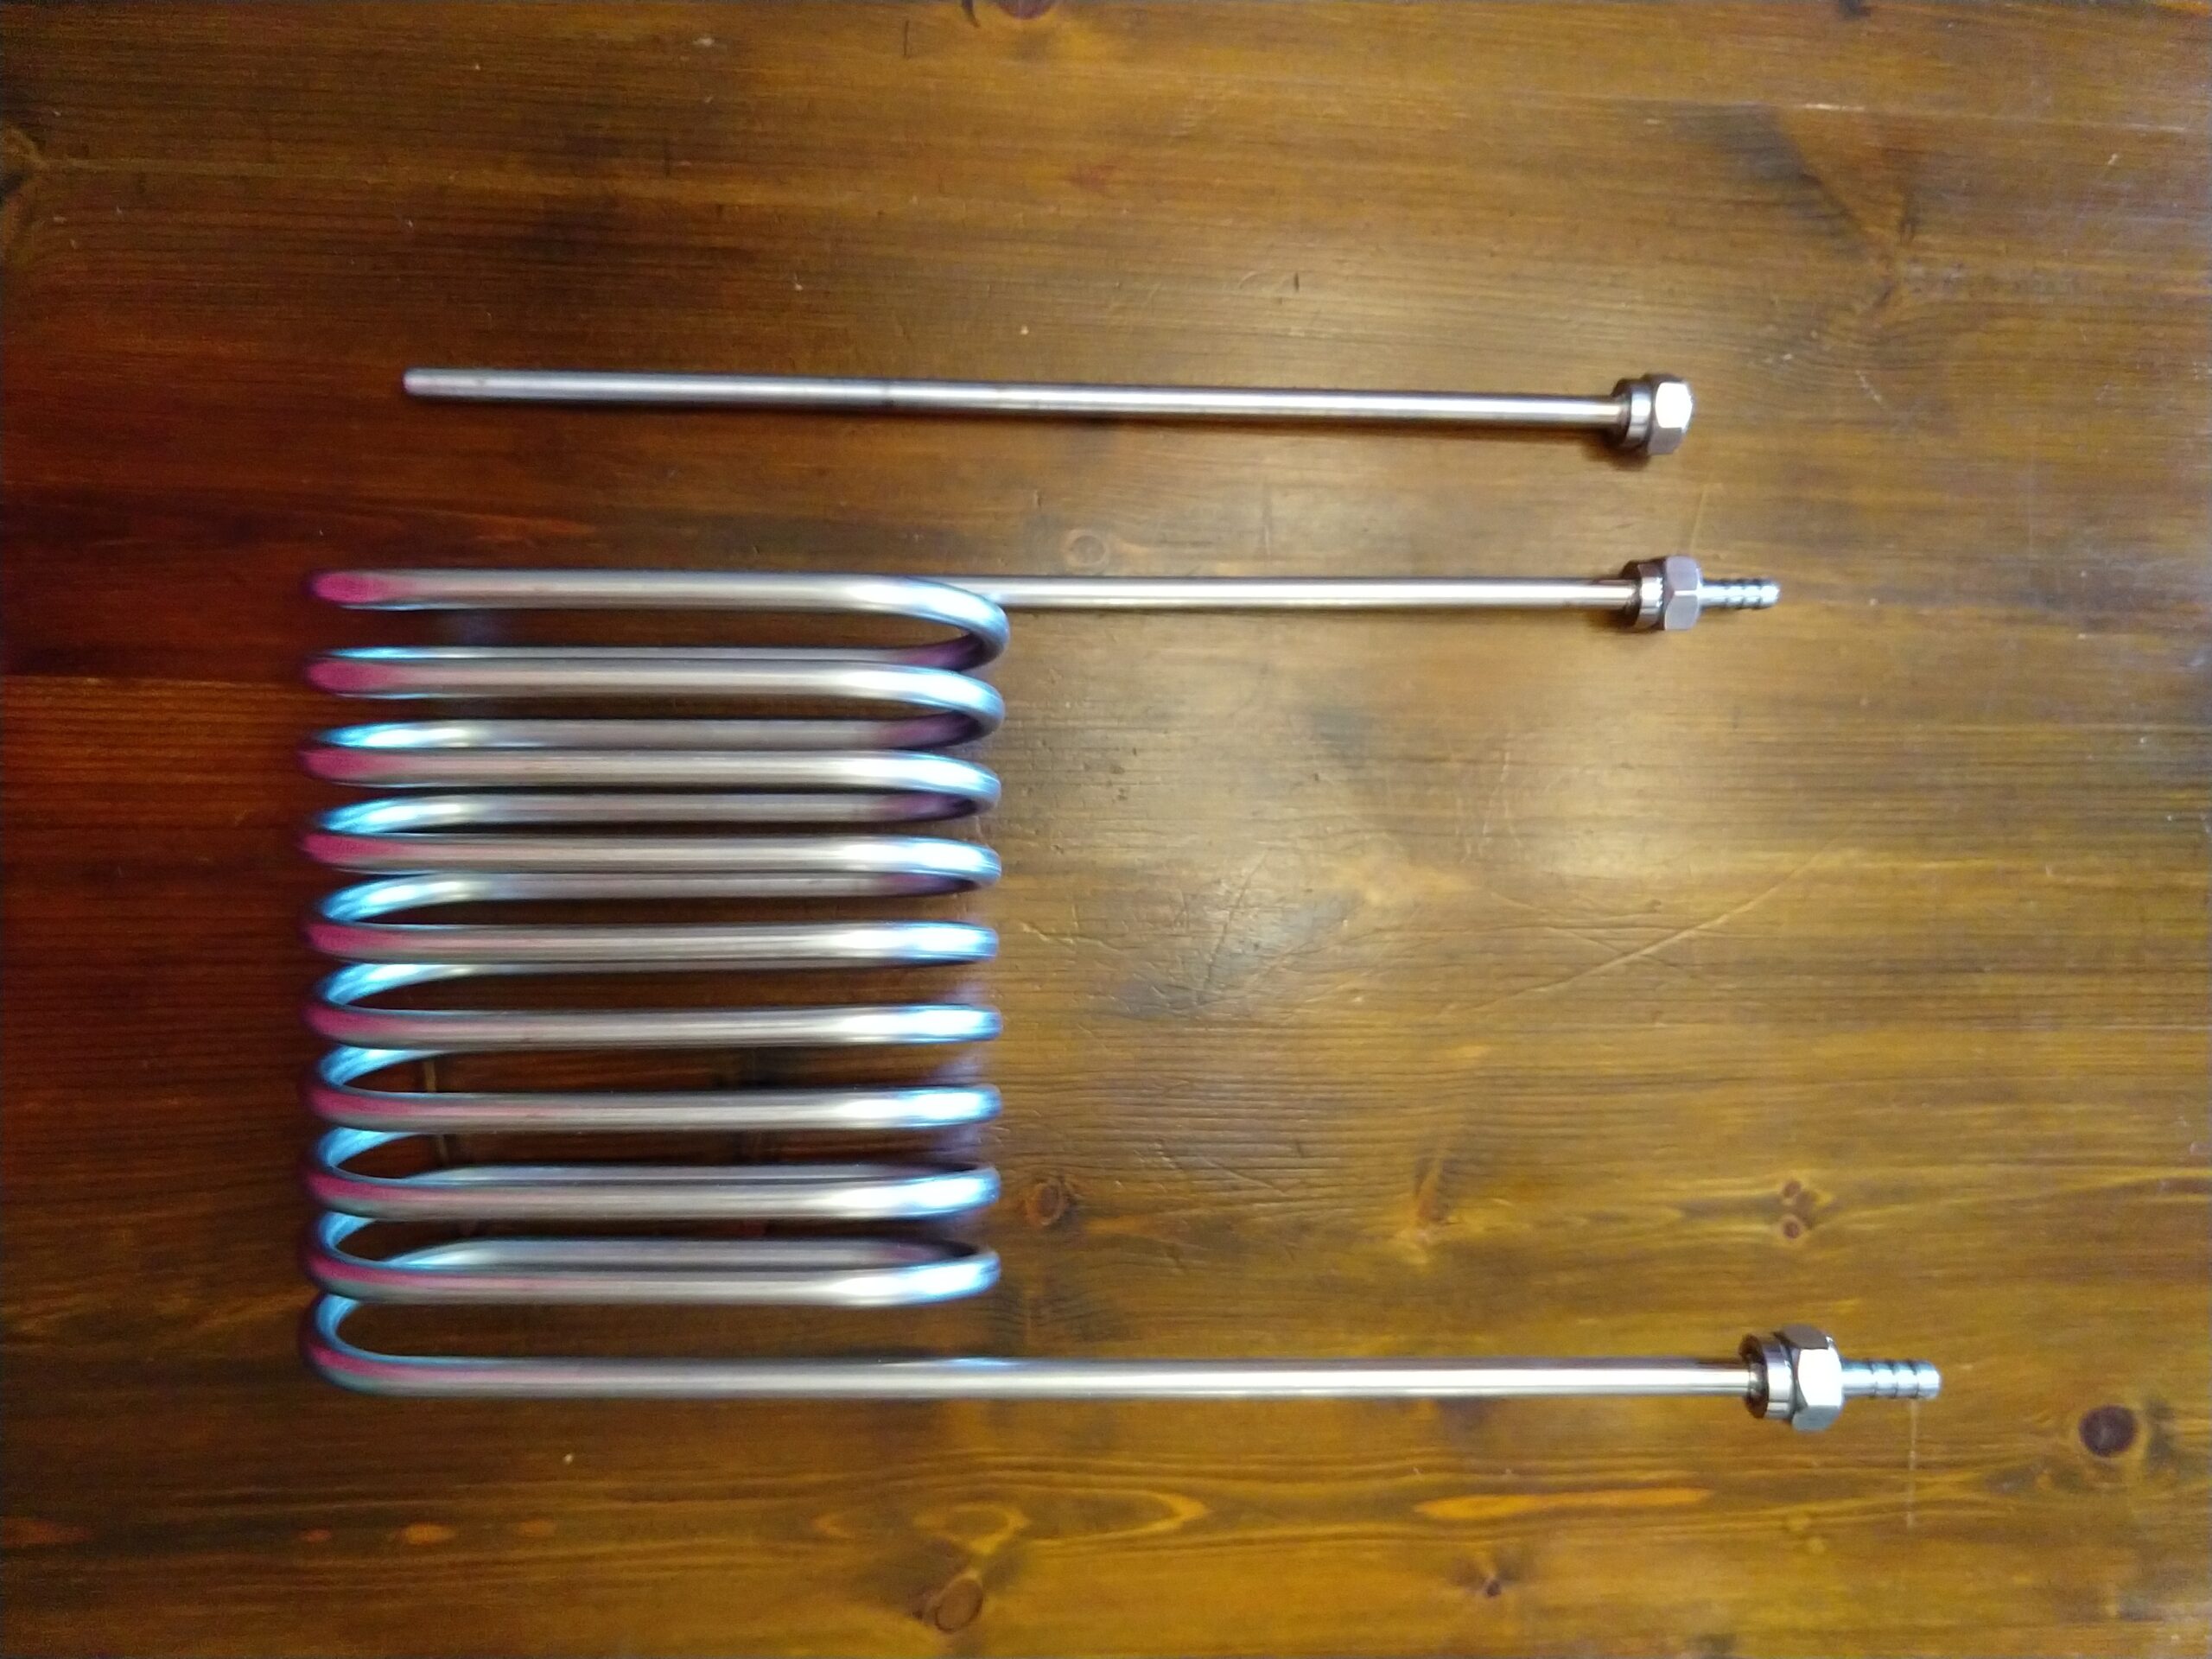
The Heating & Chilling Kit comes Neoprene Insulated Jacket with a lid that has additional holes for some extra hardware. There is a large stainless cooling loop that gets secured through the lid with a tightening nut and O-ring. It has barbed fittings to connect the cooling hoses on the outside while the coils extend down on the inside. There’s also a long thermowell that comes in through the lid and sits down in the beer, keeping some distance from the cooling coils to provide a more average/mixed temperature. The cooling lines attach to a coolant circulation pump, to circulate cooling water from your own source of cold water, or to a glycol chiller if you have one. The control of turning on and off the coolant pump or electric heating belt is done via an Inkbird ITC-308 controller, with its hardwired temperature probe.
Hands on Review
The Fermtank was similar to other stainless bucket fermentors I’d used, but had several unique features I was interested to try out. Overall, the build quality was very good- smooth welds, nice finishes, no sharp edges, and smooth functioning moving parts. The inside of the fermentor was shiny and well-polished. Beyond the bling factor, that actually made clean-up much easier, as fermentation crud came off with notably less effort.
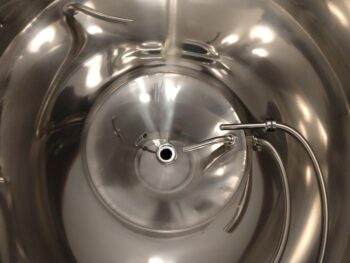 Highly Polished Interior
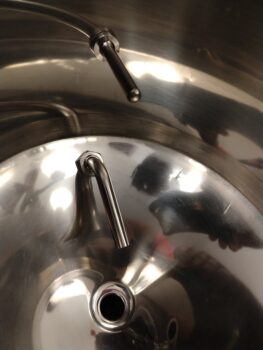 Racking Arm
The 8 gallon size was nice. Other fermentors go for a 6 or 7 gallon volume, and I get yeast krausen pushing its way out through a blow-off tube on very active fermentations. I fermented a few batches in the Fermtank with high activity yeasts, and only ever had CO2 gas coming out of the blow-off. That extra gallon of space was nice at keeping things clean in my brew basement.
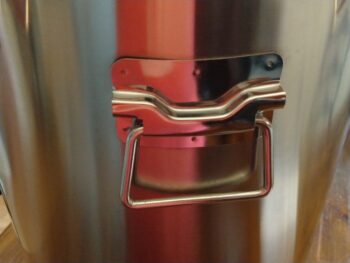 Robust Handles for Empty or Full Fermentor
At first, the little adjustable leg extensions seemed tedious as I used a screwdriver and set of pliers to remove two sets of screws and nuts on each leg, and then reinstall at the fully extended 3” of extra height. However, that small boost meant the transfer spigot was easier to access for wort samples or hooking up my transfer hose. And the lid at a higher height meant less bending over when filling the fermentor or adding dry hops. I wouldn’t say it was a “game changer” or anything revolutionary like that, it just made the overall process a bit nicer.
 Fermentation with Chilled Water Connected
The Heating & Chilling Kit worked great for keeping temperature controlled during fermentation. The cooling coils arrived slightly compressed, with the loops of tubes close together. I had to stretch it by gently pulling on the coils at either end until it lined up with the holes on opposite sides of the lid. I used a 10-gallon Igloo cooler filled with 4 gallons of water and 5 frozen 2-Liter bottles of ice to put the cooling pump in. With all of the loops and length of the cooling coils, it was super effective at chilling the wort quickly. I actually found I could stop cooling the wort in my brew kettle a few minutes early to save water, and the cooling coils in the fermentor would bring it down to the final yeast pitch temperature easily.
A tip I would pass along is to install the spigot (O-ring on the outside, tightening nut on the inside) before you put the neoprene jacket on. I wasn’t sure if I could properly stretch it over the spigot to get the hole lined up properly, so I tried installing the spigot after the jacket was on. As a result, I didn’t get it tightened properly, and I had a slight amount of beer weep out on one batch. It only amounted to about 2 drops on the floor, but it did get the neoprene jacket dirty. Luckily, this cleaned very easily. I then learned I could install the spigot and its tightening nut first, and stretch the neoprene jacket over it afterwards without any issue.
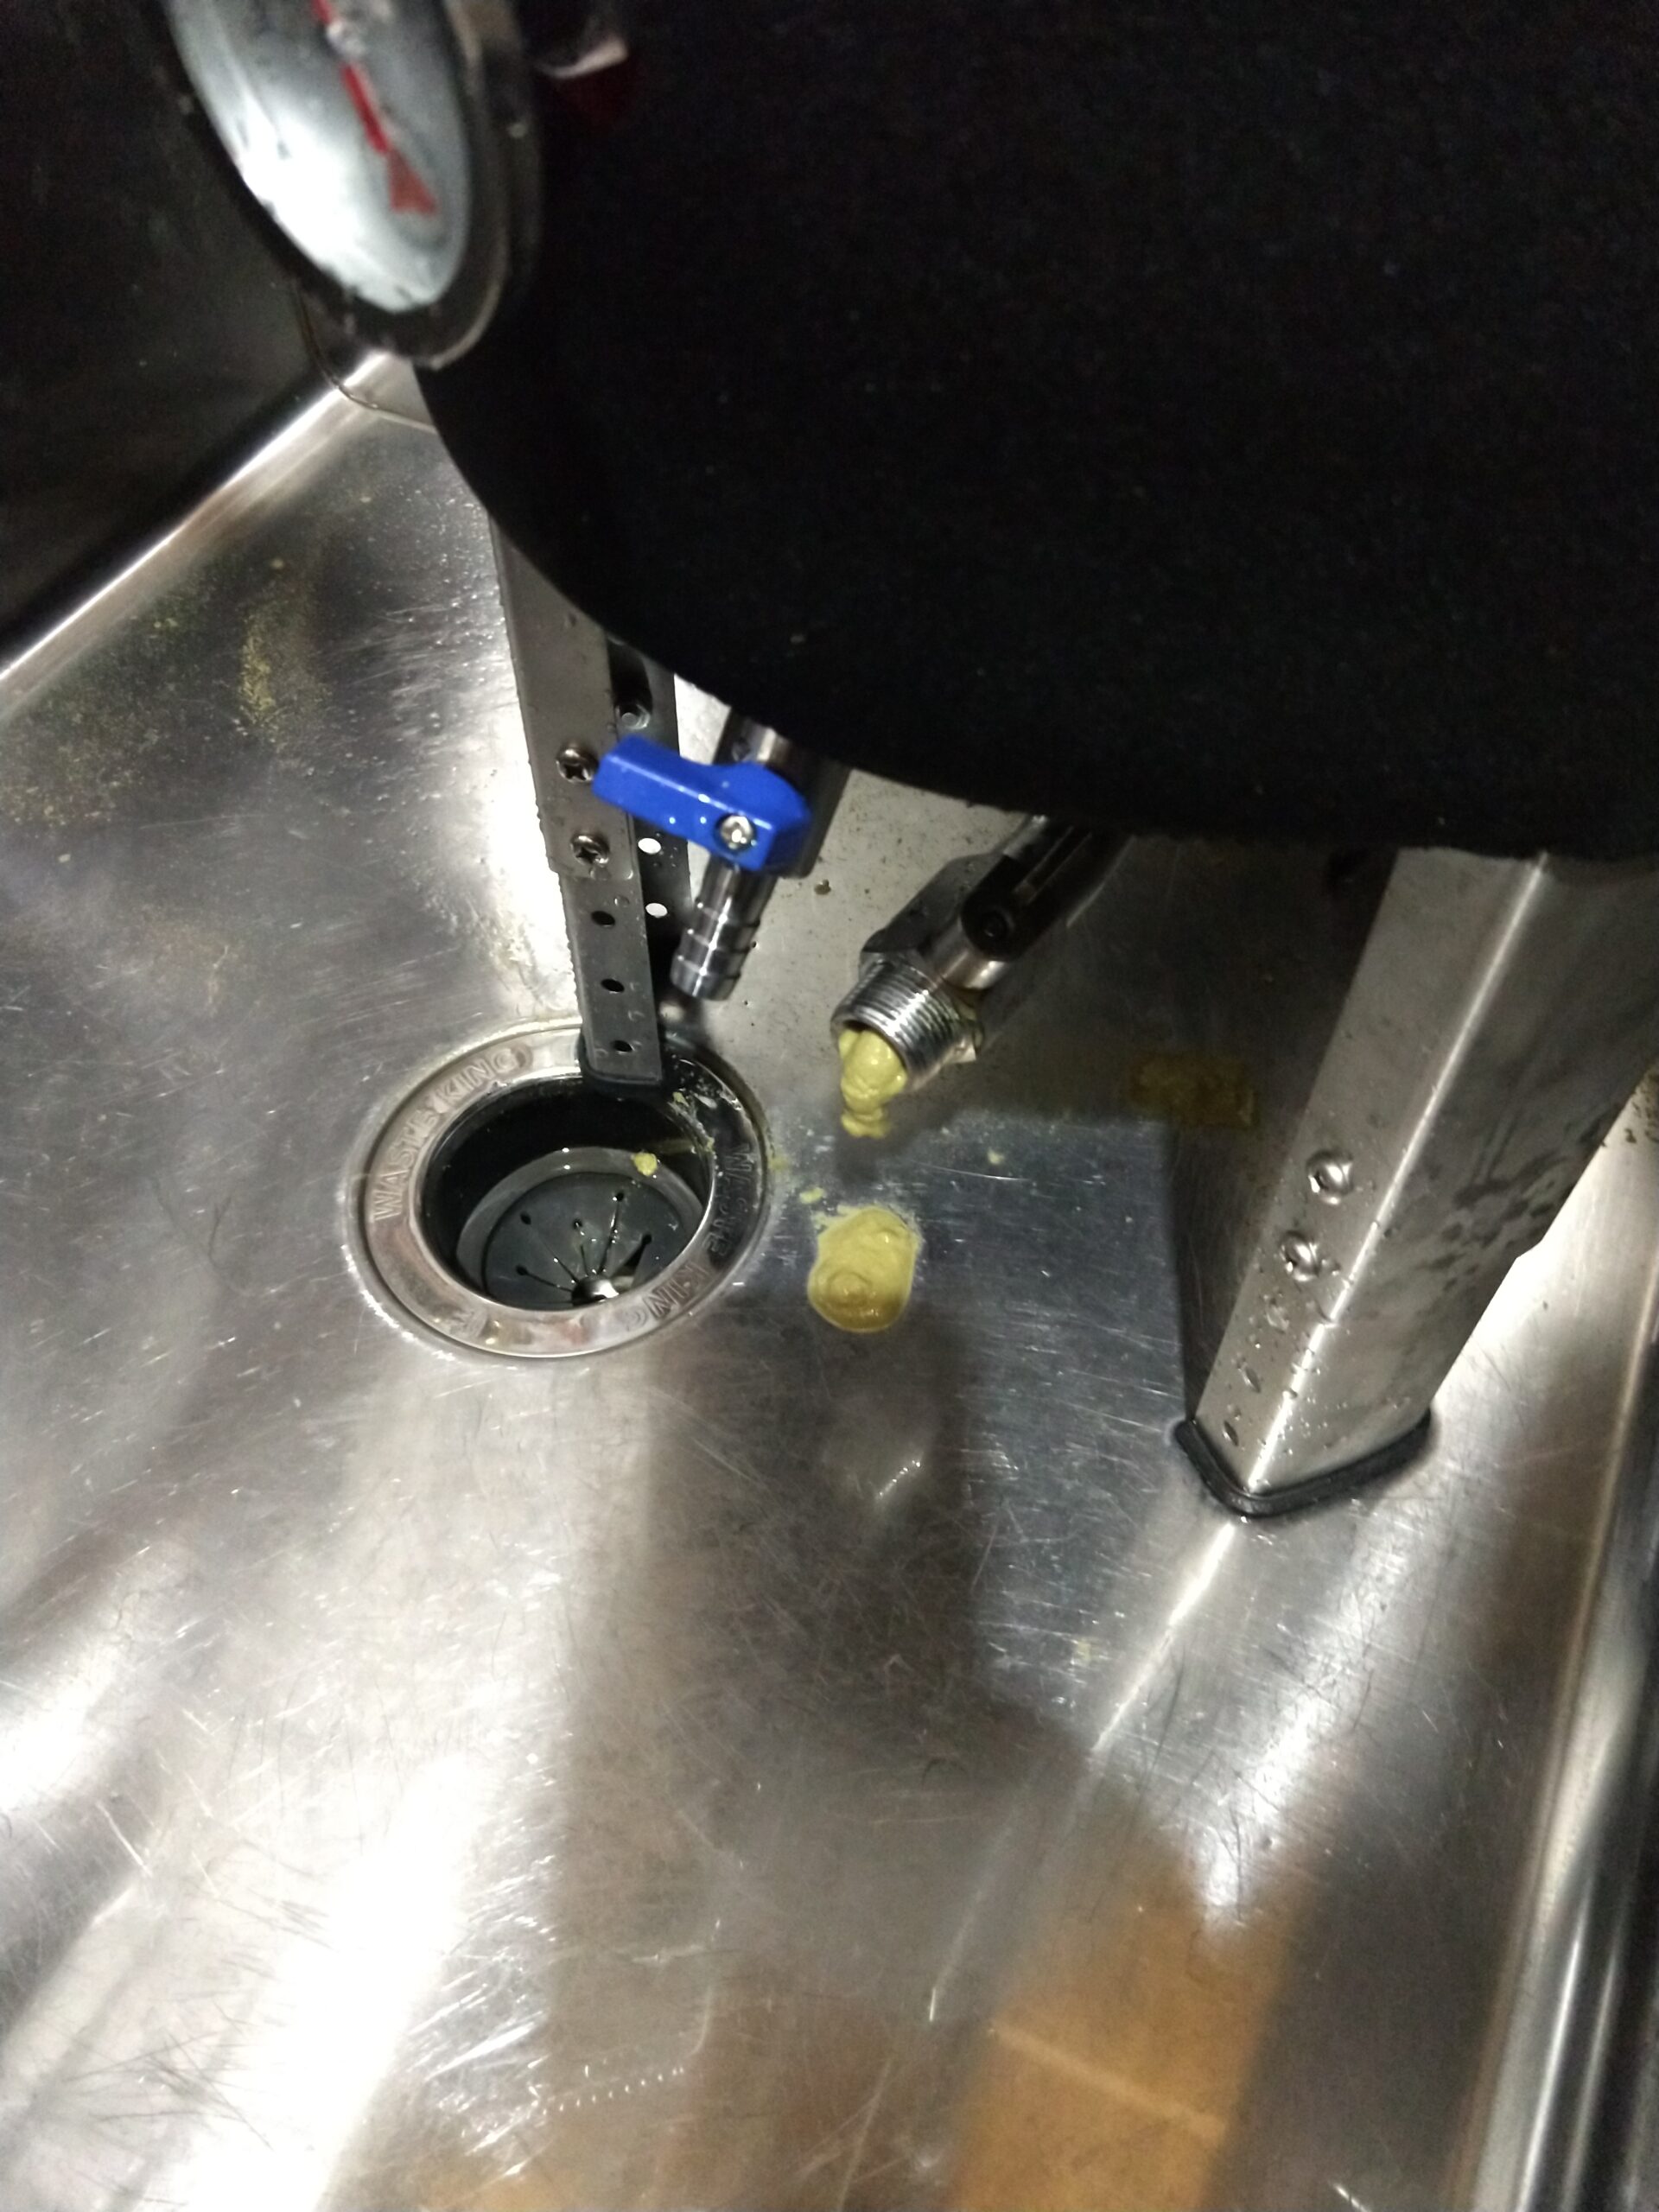
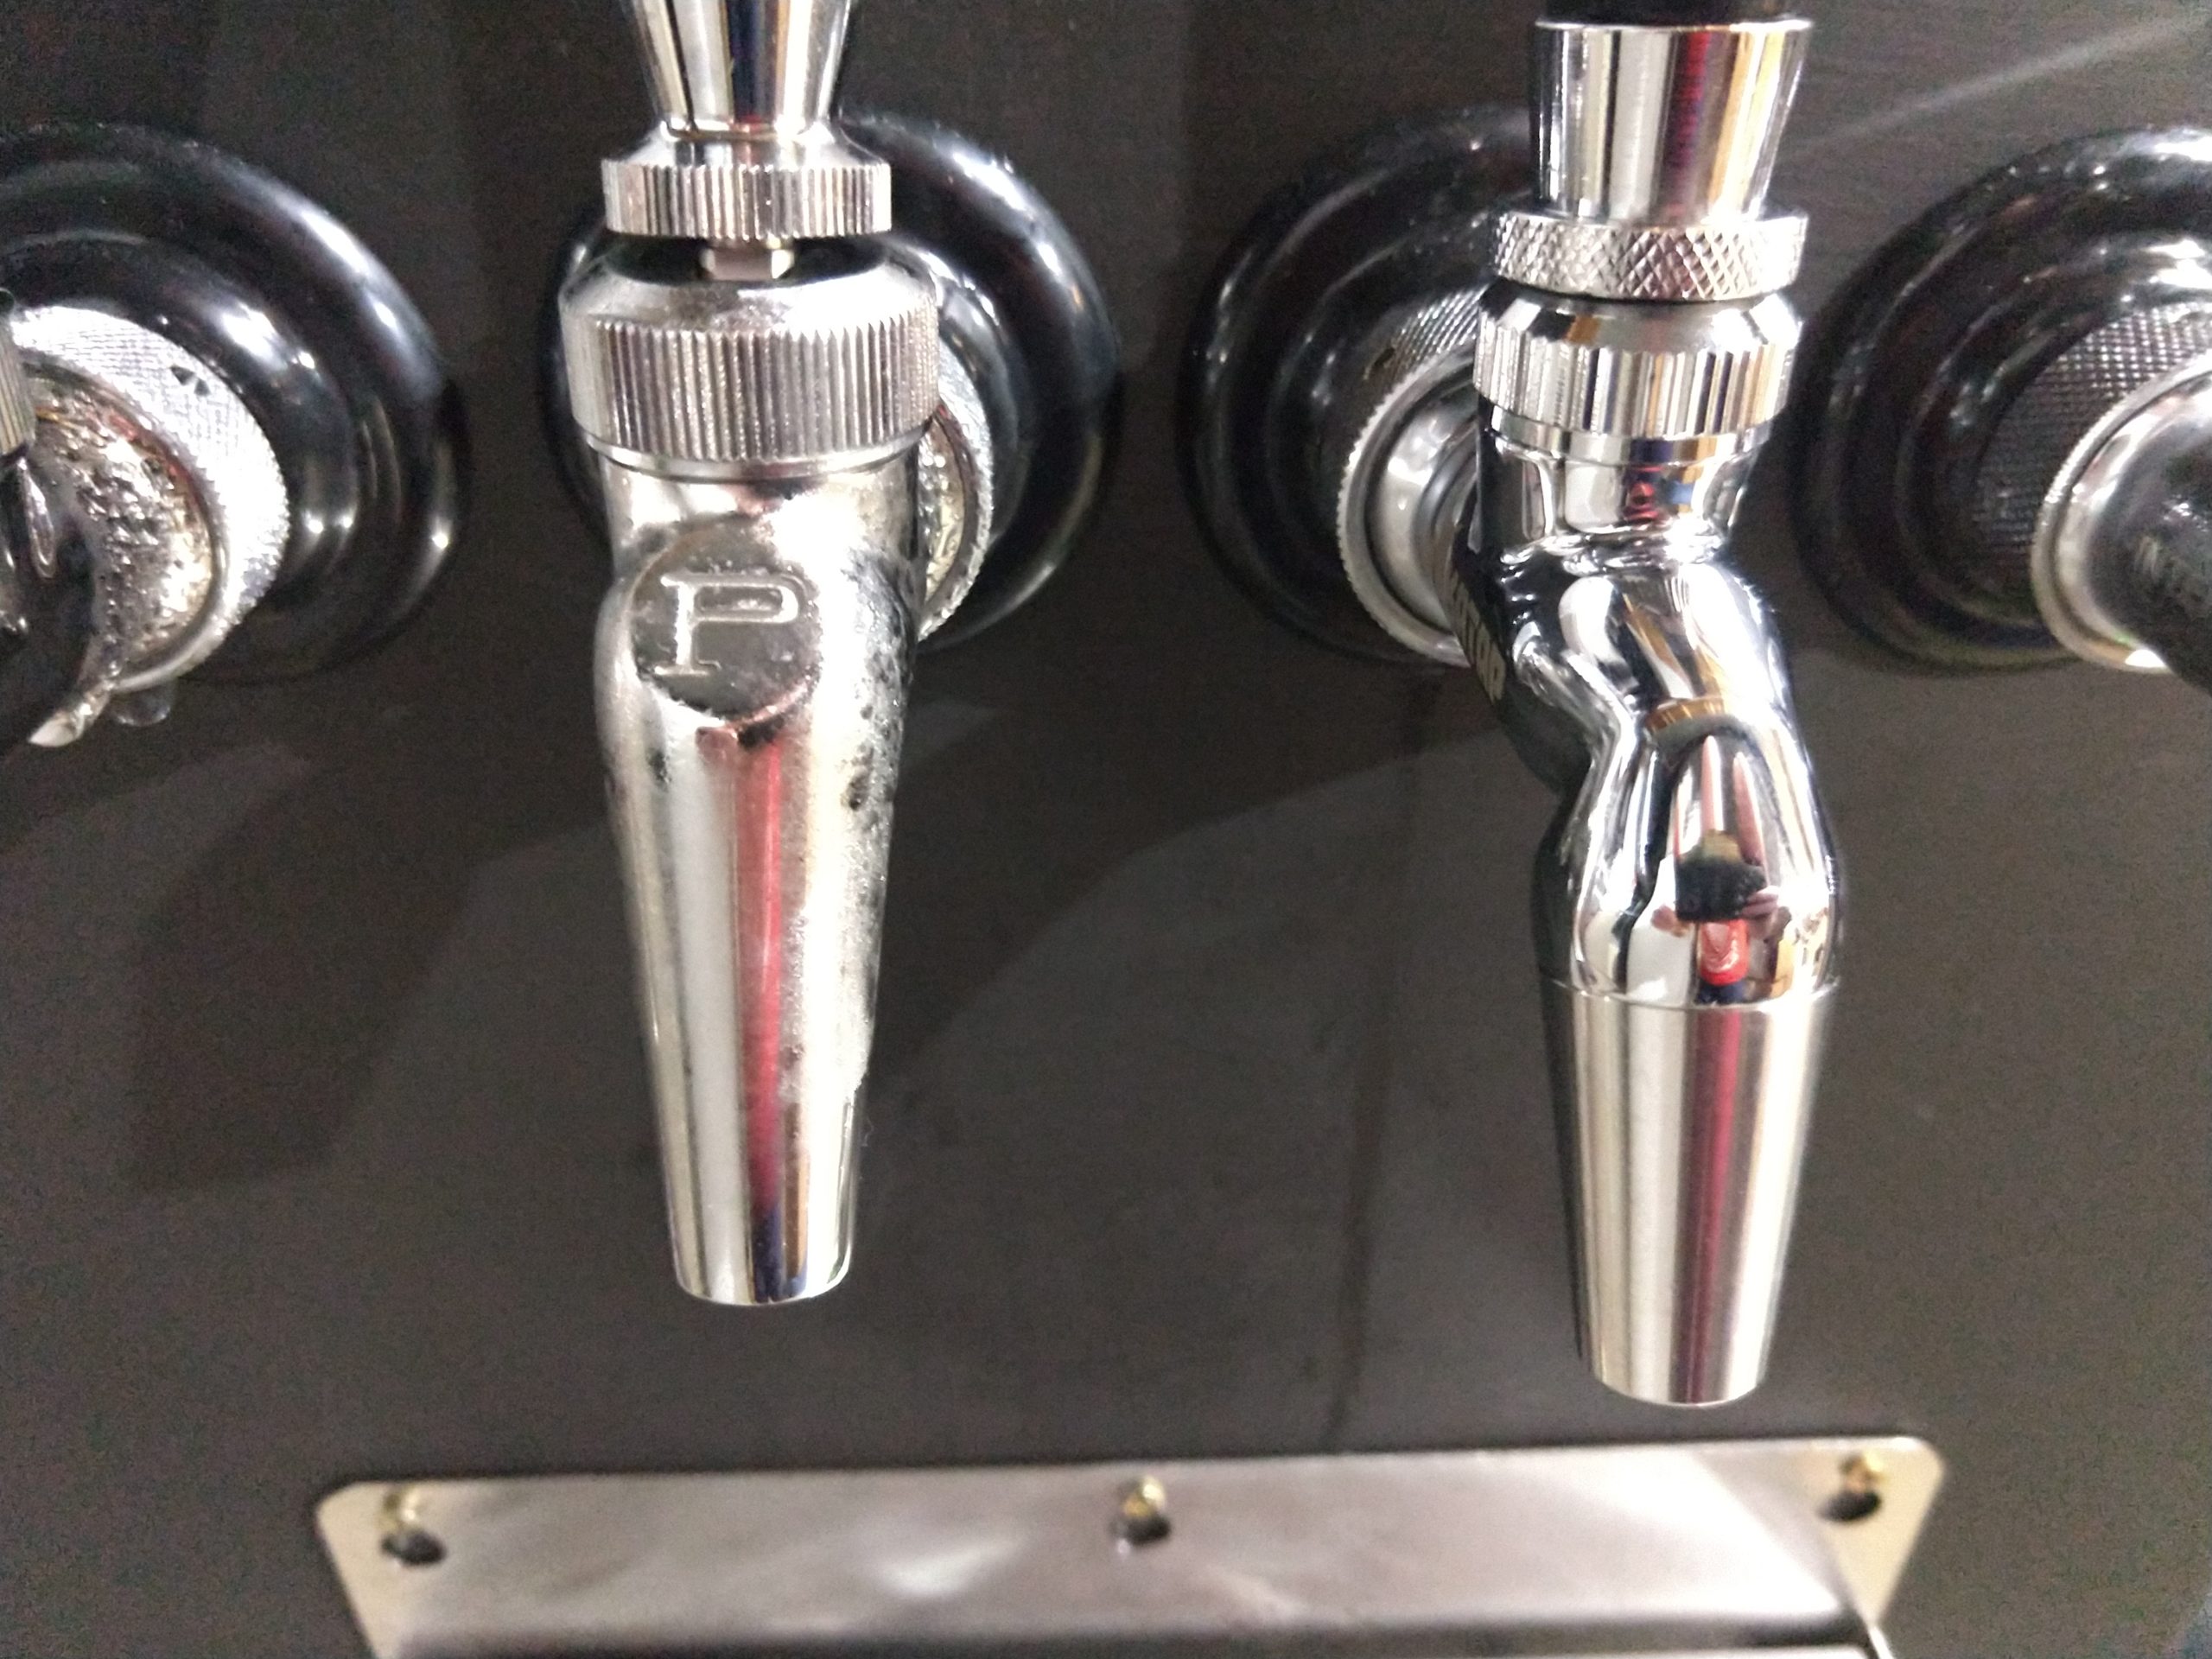
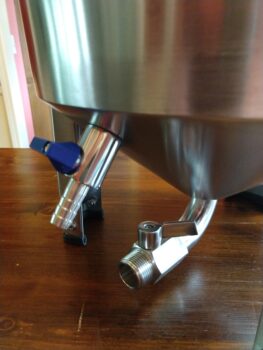 Spigot and Dump Valve
The last unique feature on the Fermtank was the dump valve on the bottom of the fermentor. This helped the Fermtank excel in its list of things that made cleanup easy. Ease of clean-up is not something you get excited about when looking at a product page on a website, but being the one task I’m certain all brewers enjoy least, the benefits to an easy clean-up are widely appreciated. The drain/dump valve at the bottom was great for clean-up. With my other fermentors, my usual process is to dump all the contents in the sink and go through repeated rinse & dump cycles until it gets mostly clean. Then a repeated version of this with cleaning solution. But with the Fermtank, I just set it in the sink and opened the drain valve. I went through all of those processes without having to do any tipping or dumping- it just ran out the open valve. It sounds like a simple benefit, but it was great. The highly-polished inside made all the yeast & hop scum clean off easily and require very little scrubbing to be spotless again. By leaving the drain valve open after cleaning, any remnants of water would simply run out rather than collect in a little pond in the bottom of the fermentor. If you currently ferment in carboys or anything with a smaller lid, you’ll definitely appreciate the wide opening for easy cleaning without requiring any funky angle bent into your scrubbing brush.
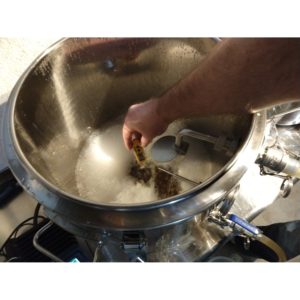
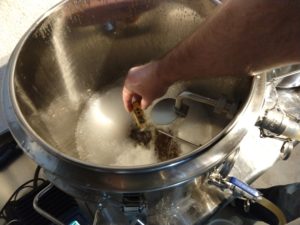
 Transfer from Kettle to Fermentor
Conclusions
Overall, the Fermtank delivered the typical benefits of a stainless bucket fermentor, as expected. What was unexpected was how beneficial its unique features were. The ease of cleanup was definitely a factor that stood out over other fermentors. And the heating & chilling kit performed great, and is what I would say is an almost mandatory addition. When you’re ready to upgrade your fermenting system, the Fermtank is well worth the investment.
Check Current Price and Availability:
Related: Hands on Review: Delta Brewing Systems Fermtank TC
More Photos
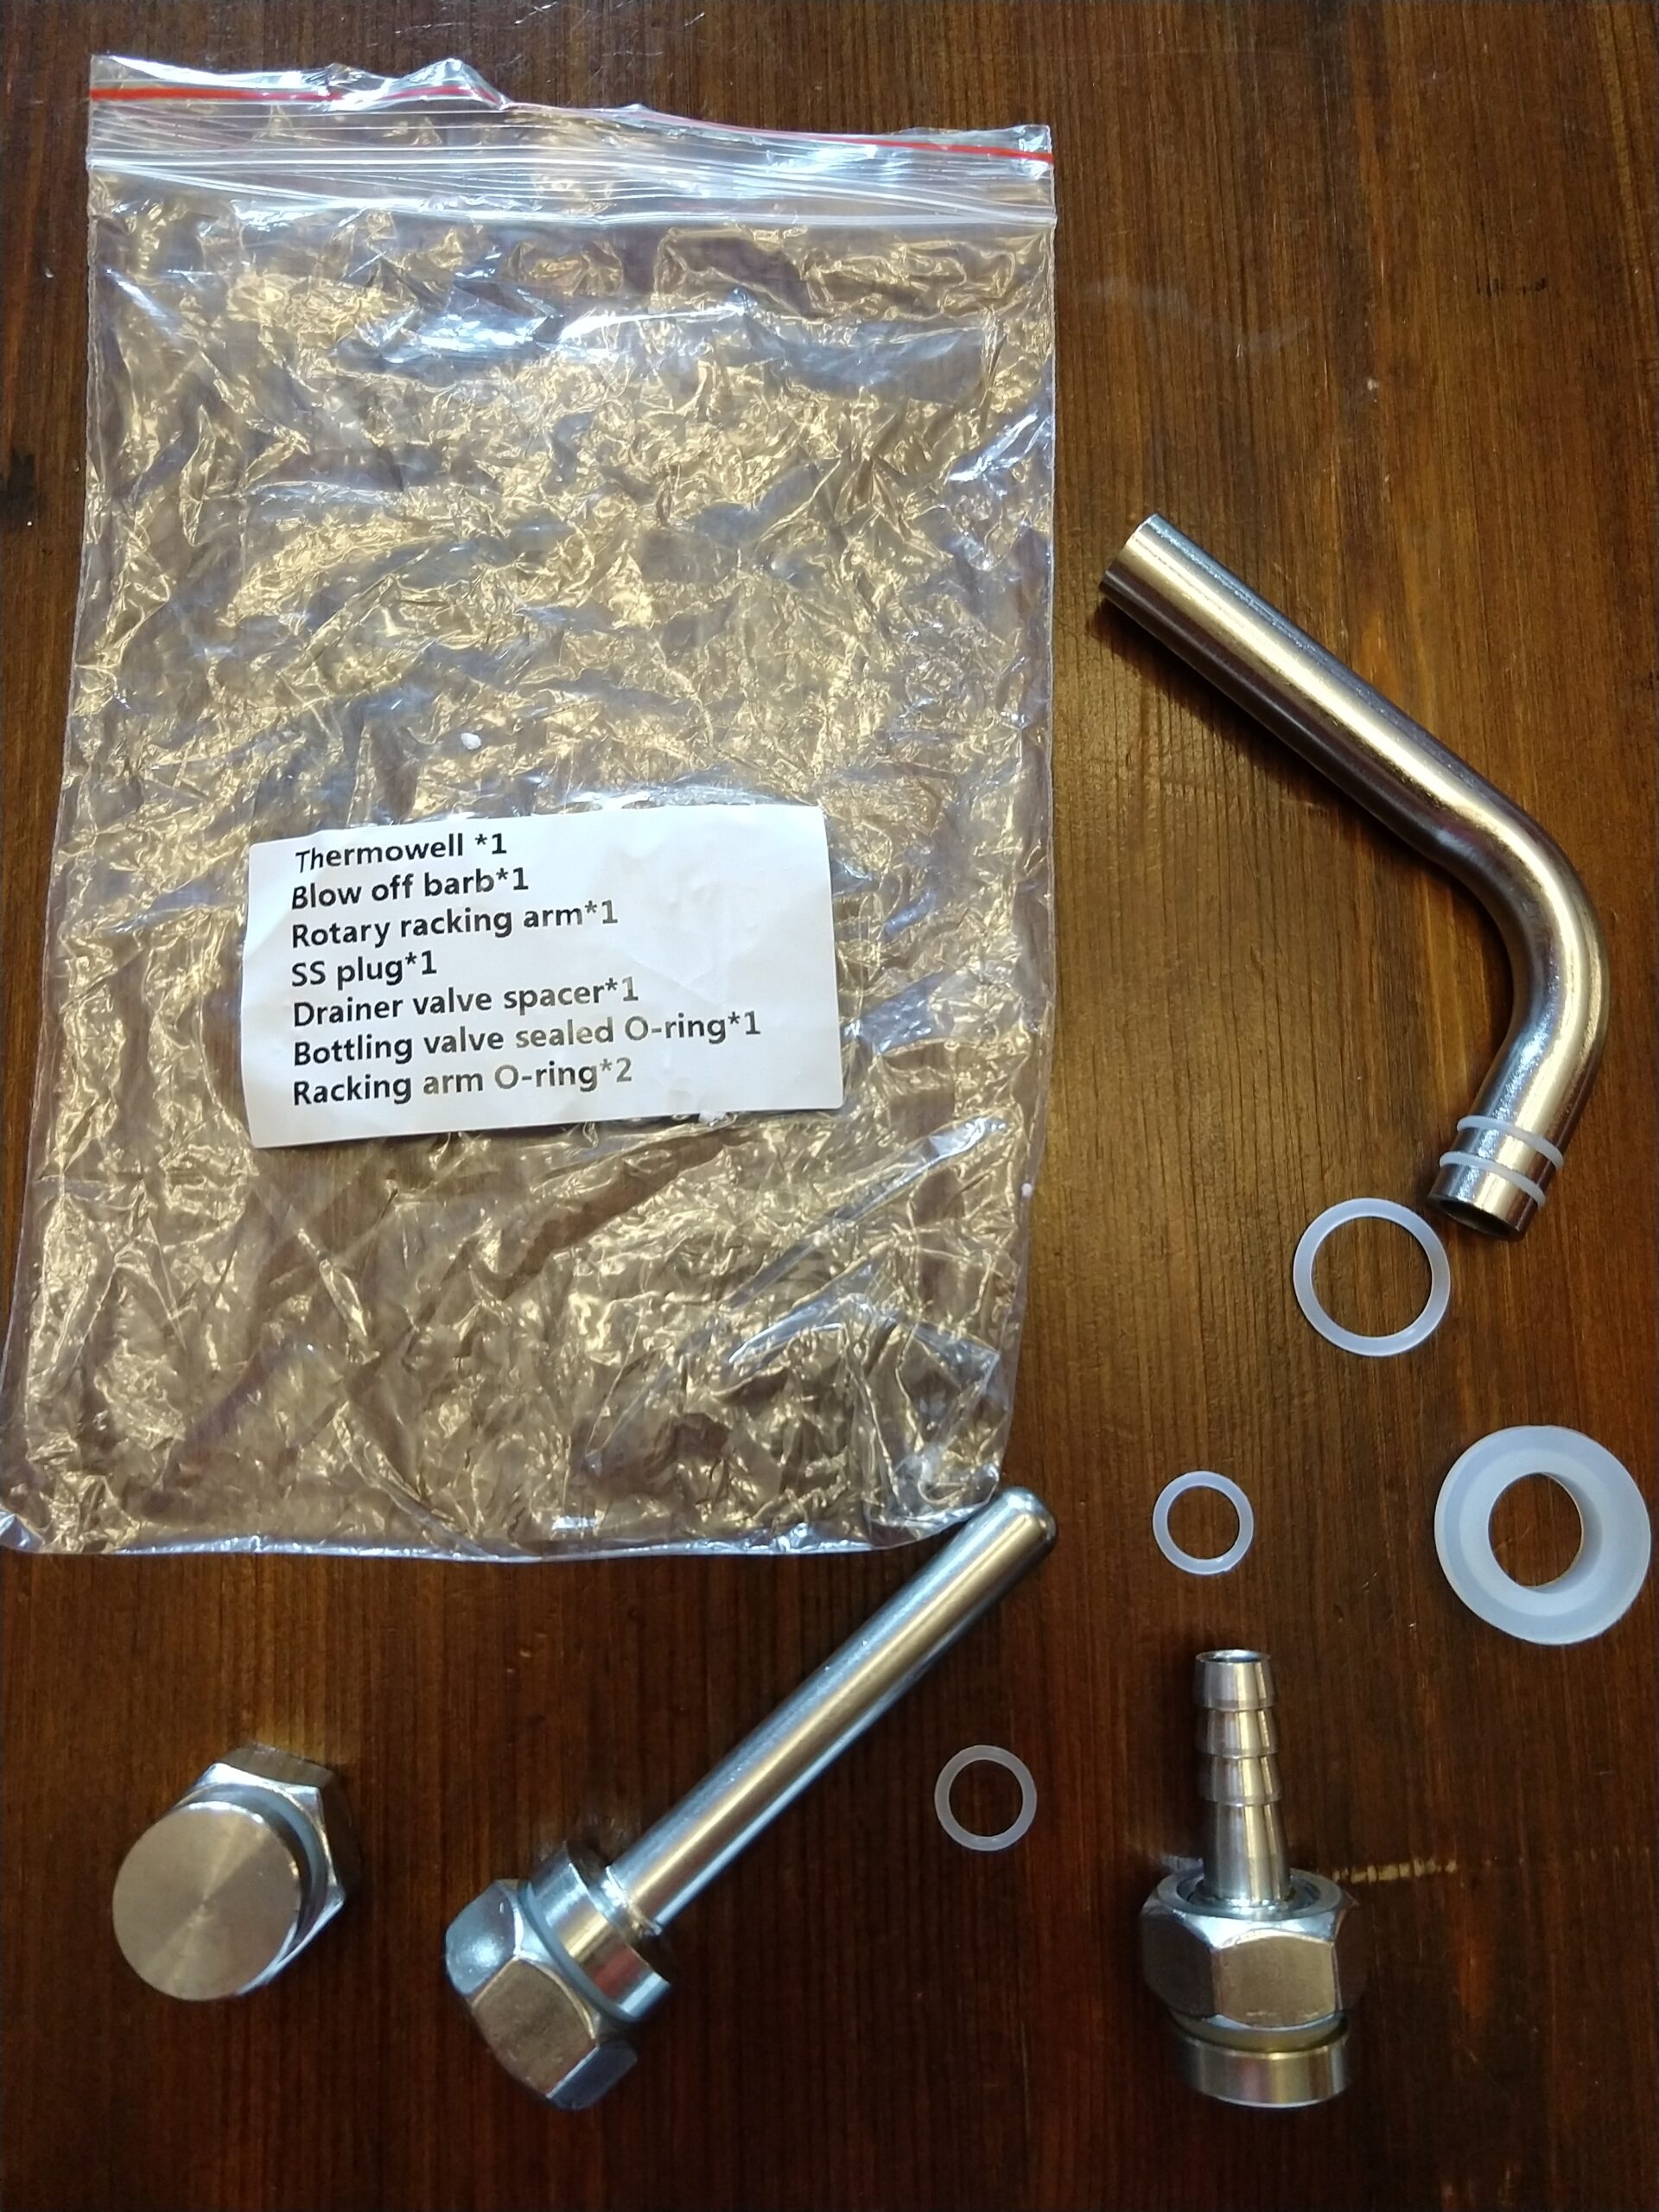
 Accessories Included
 Chilling Coil and Thermowell
 Domed Base Lid
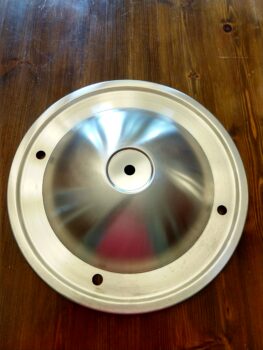 Domed Lid with Extra Holes for Cooling
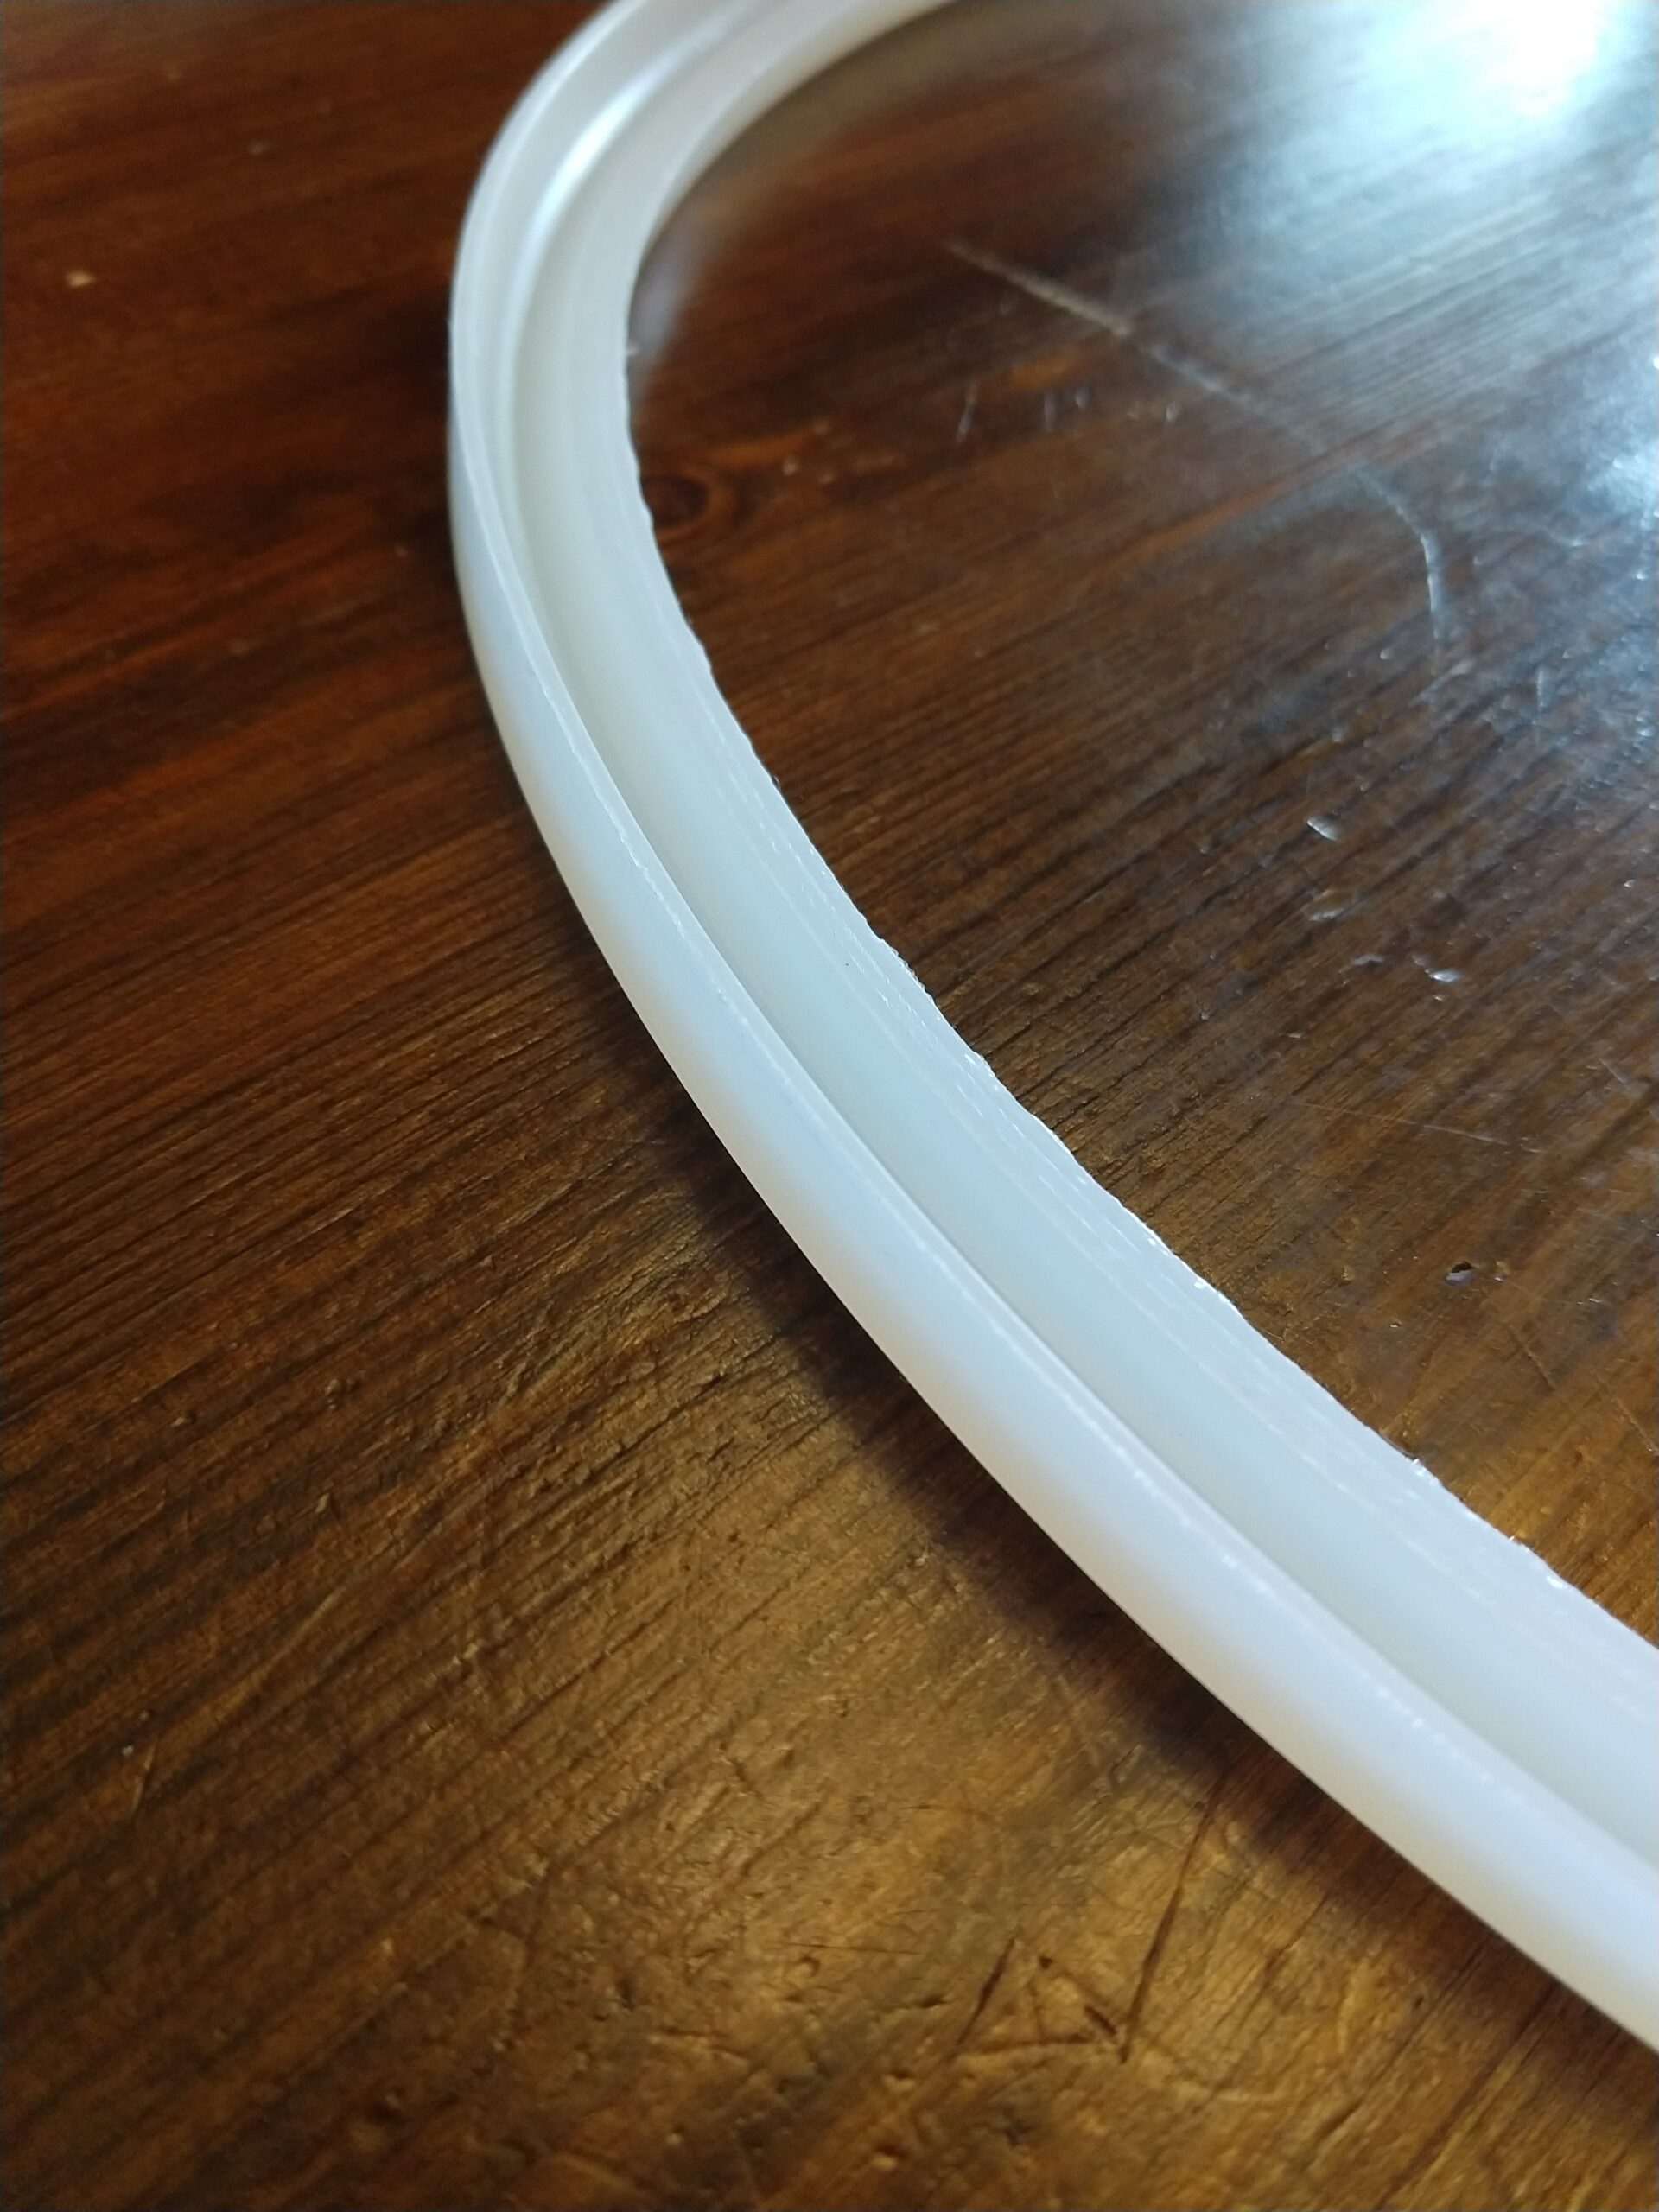
 Silicone Lid Seal
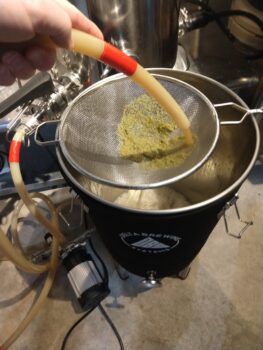
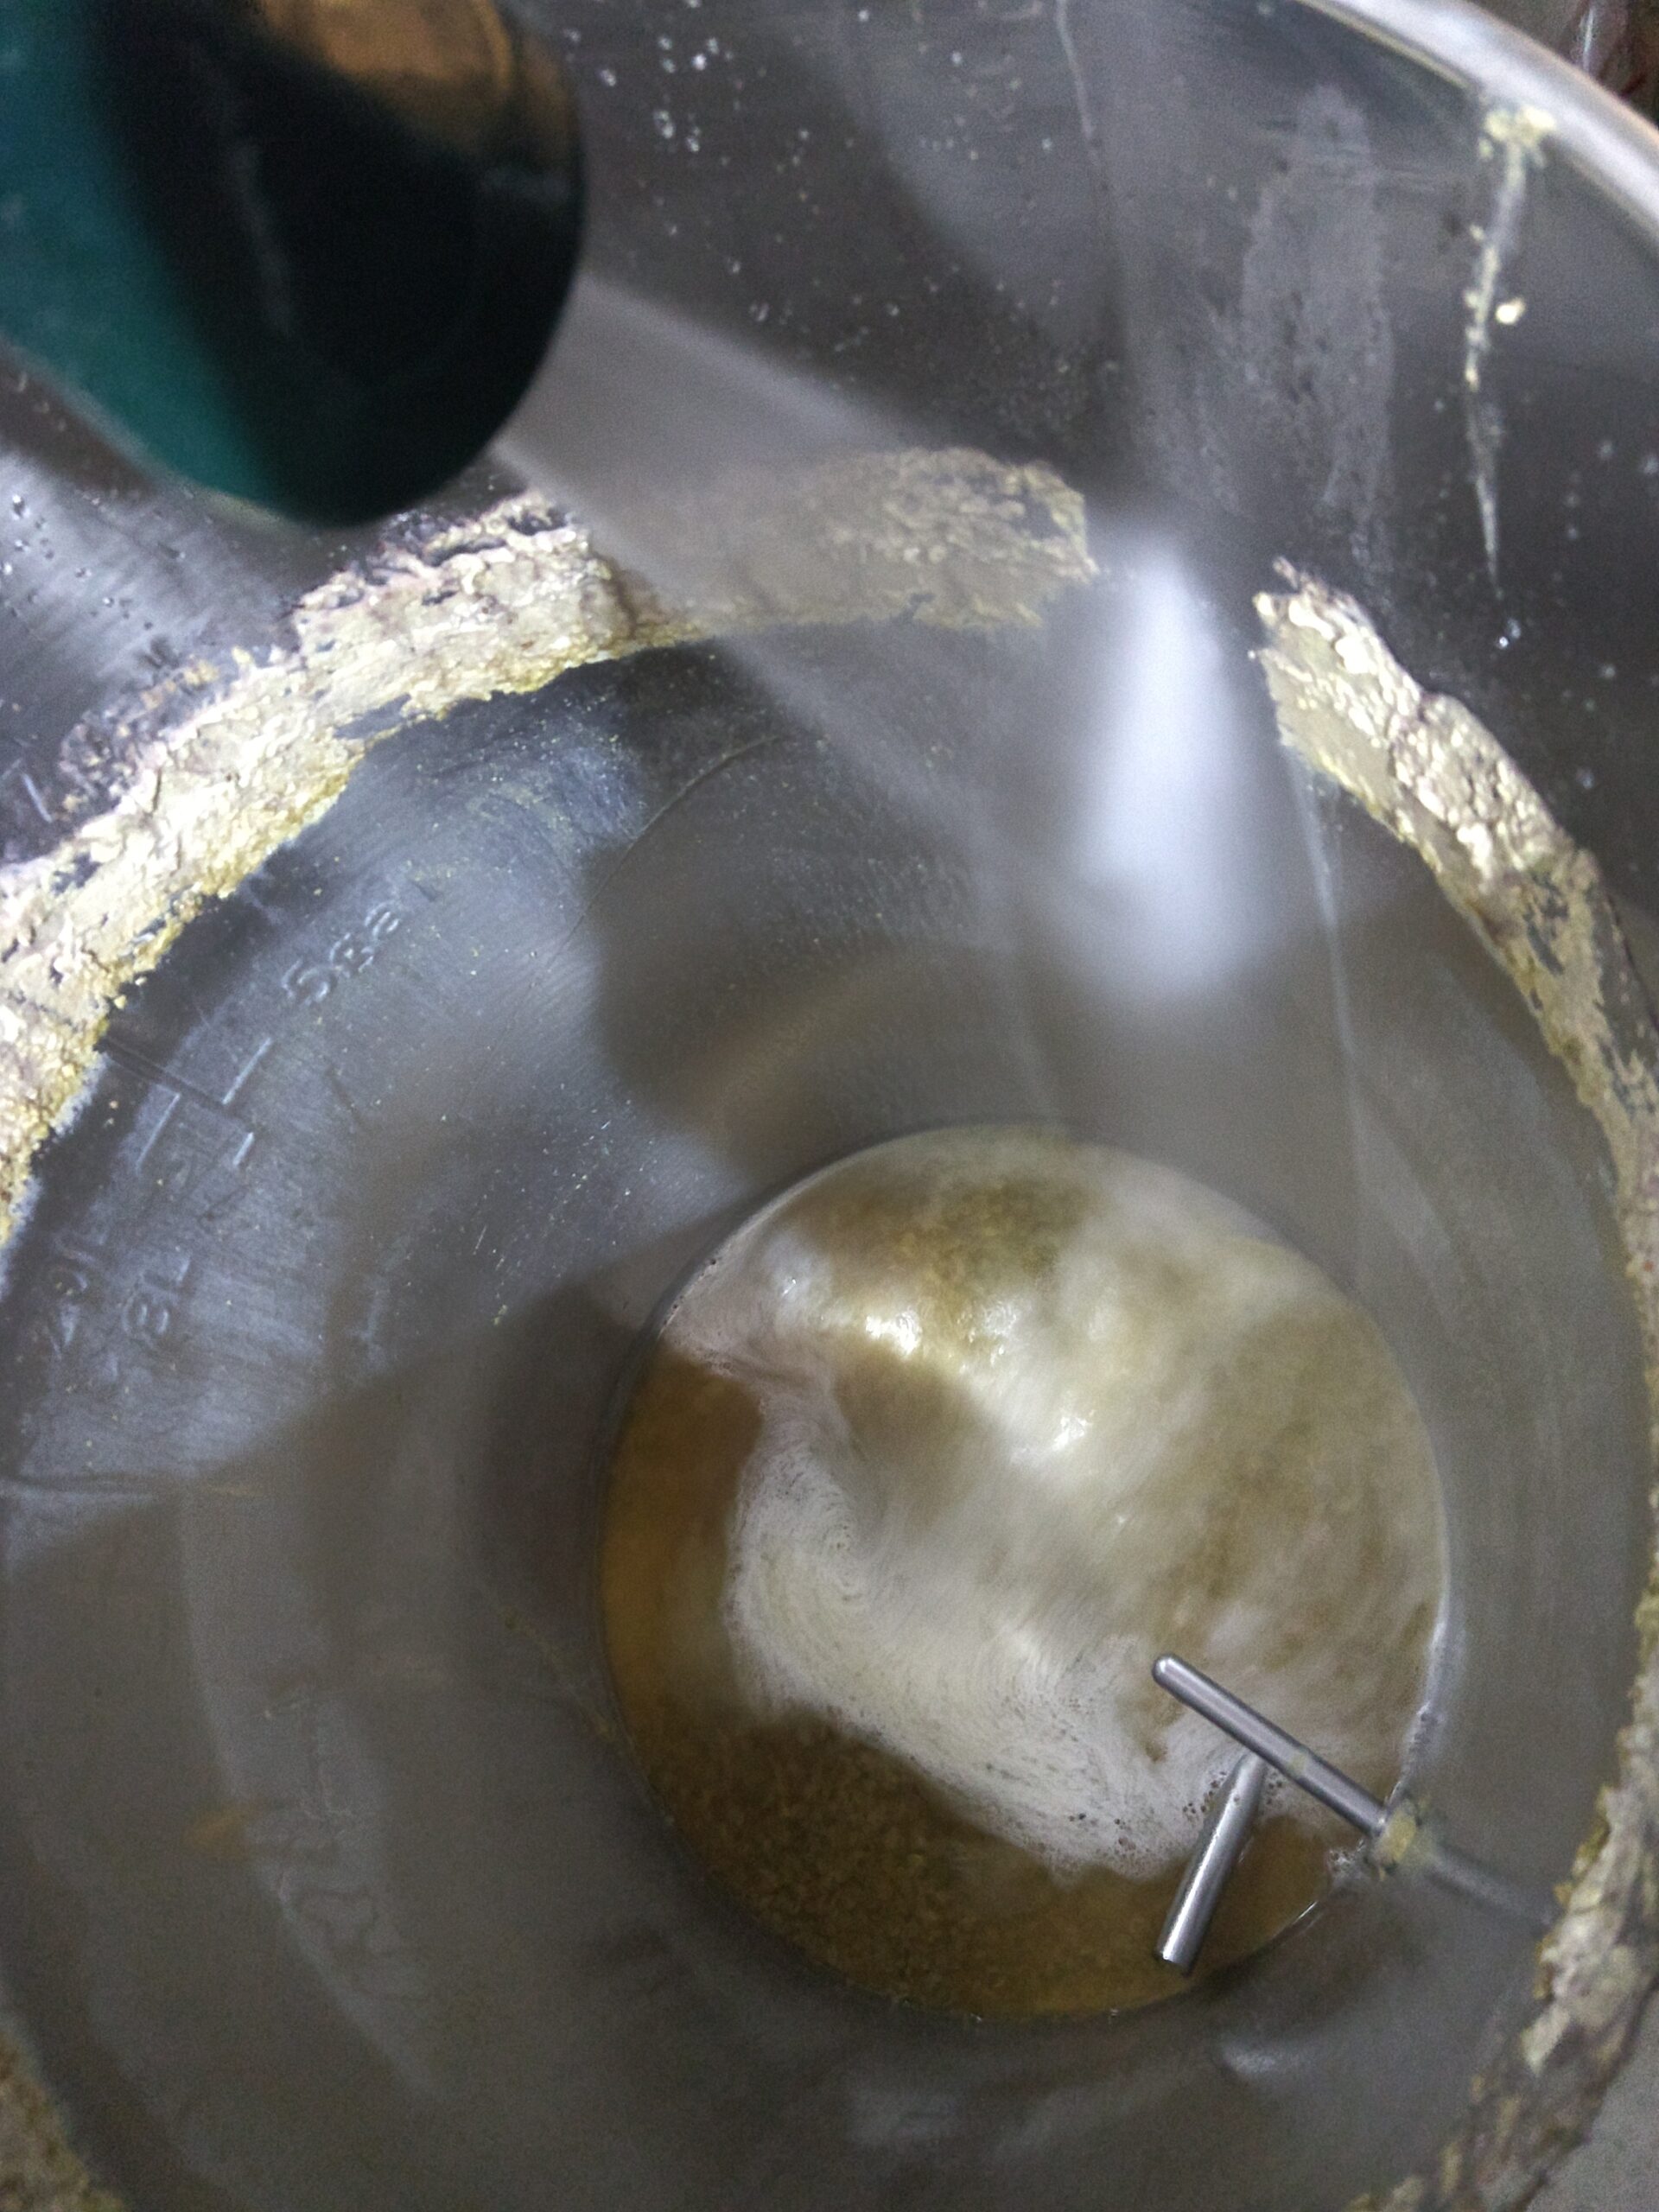
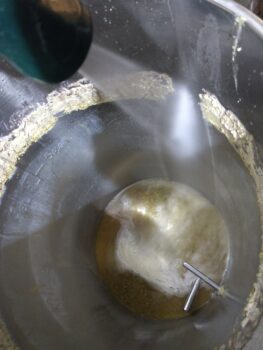 Rinsing Off Hop Residue
 Hop Sludge Being Cleaned Out
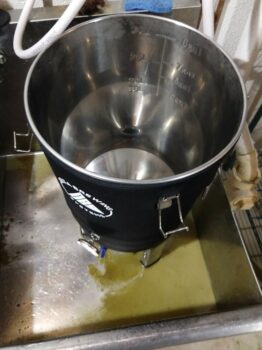 Rinsed Out Fermentor
More Homebrew Finds!
More Fermenter Reviews!

Most Recent Deals

More Fermentation Related!
This post may contain affiliate links. We may make a commission when you use our links. This will never cost you extra. Thank you for supporting Homebrew Finds!
By Brad Probert. Check out Brad’s website – beersnobby.com
Special Thanks to Delta Brewing Systems for providing the unit used for evaluation in this review.
Price, promotions and availability can change quickly. Check the product page for current price, description and availability.
Make sure the components you use are compatible and rated for your intended application. Contact manufacturer with questions about suitability or a specific application. Always read and follow manufacturer directions. tag:lnksfxd review:dbsfermtank tag:tpr

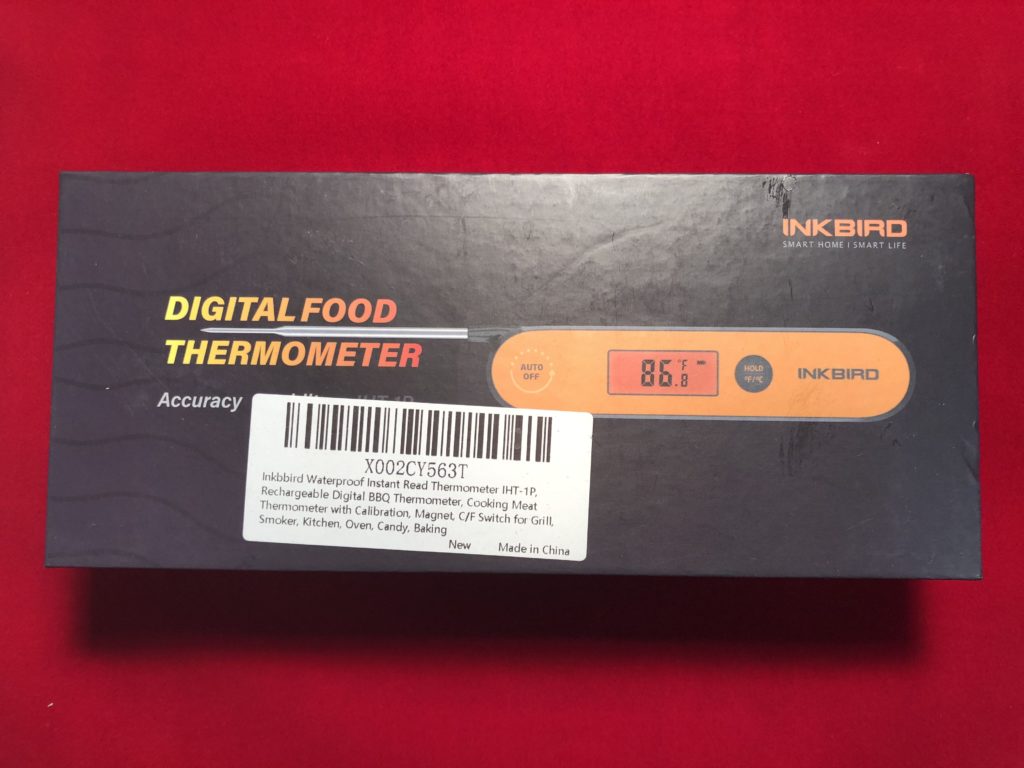
 IBS-M1 in Box
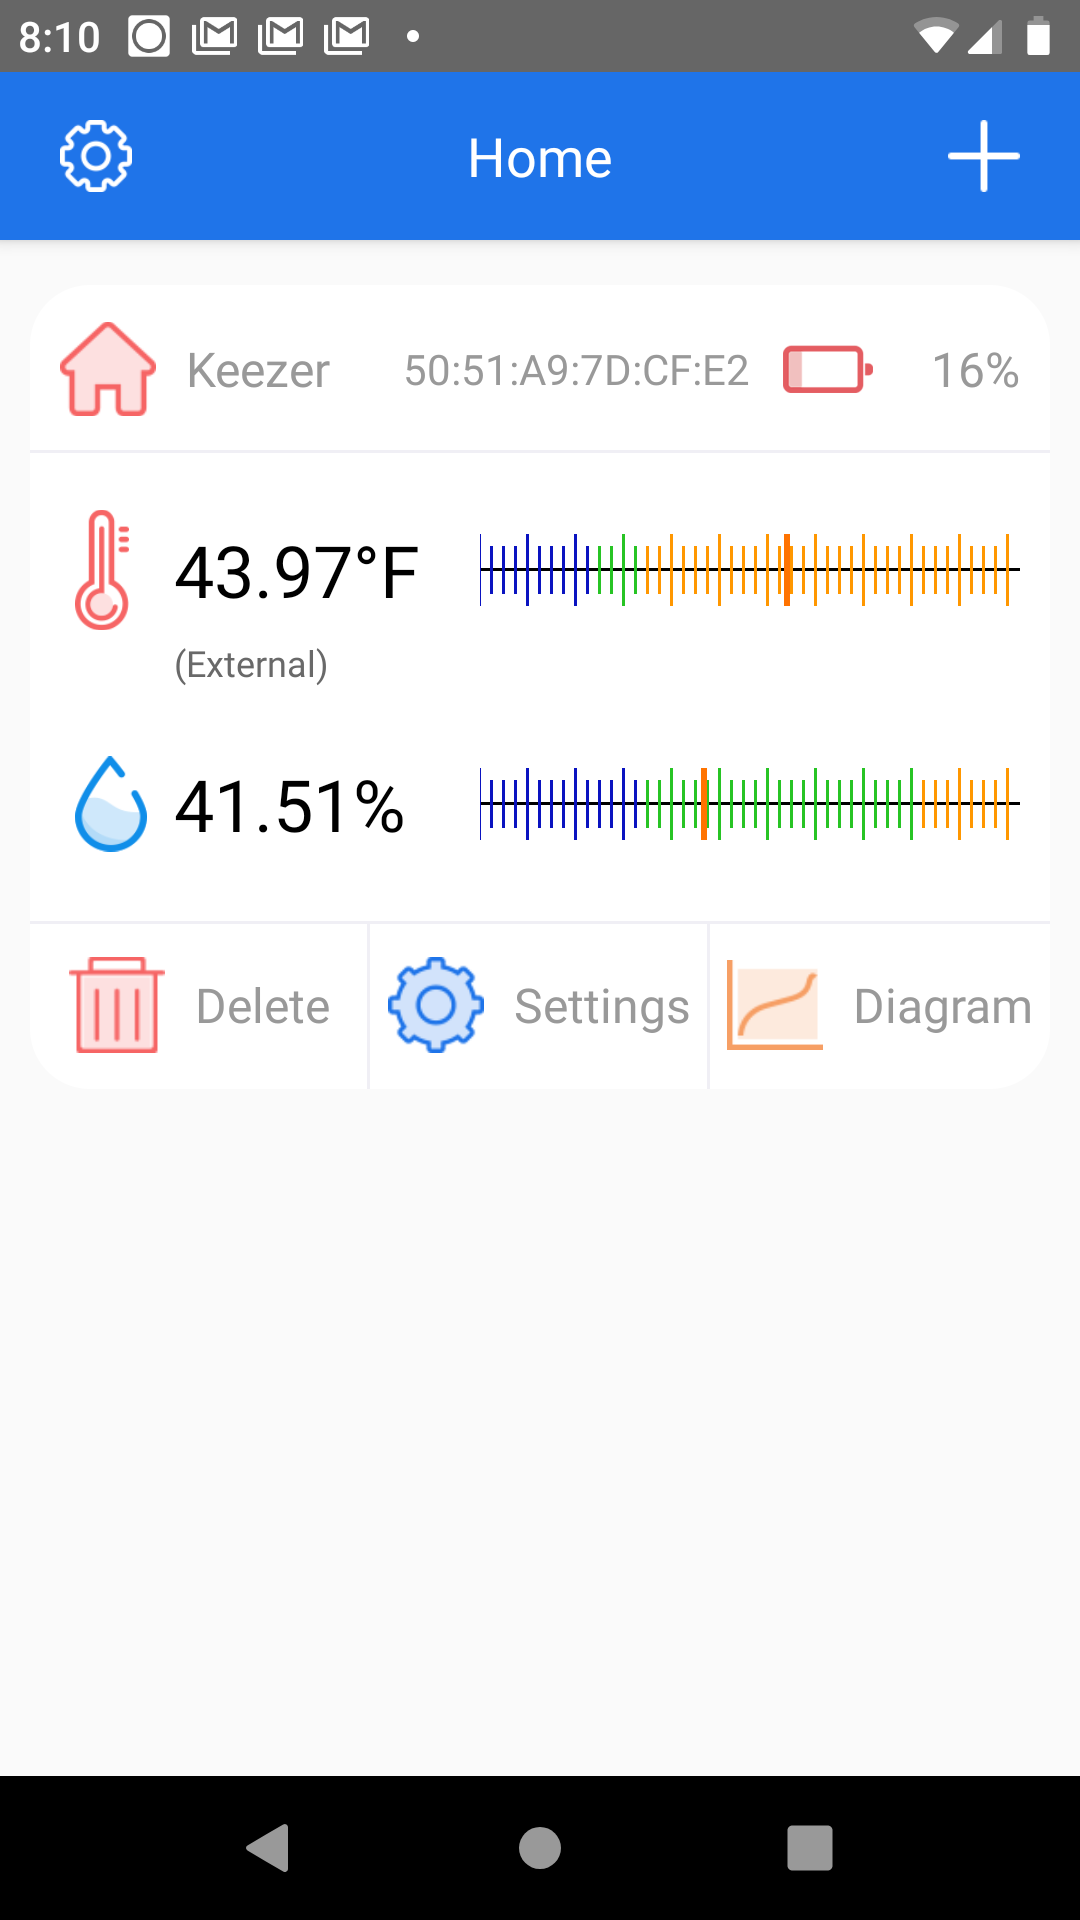 App Home Screen
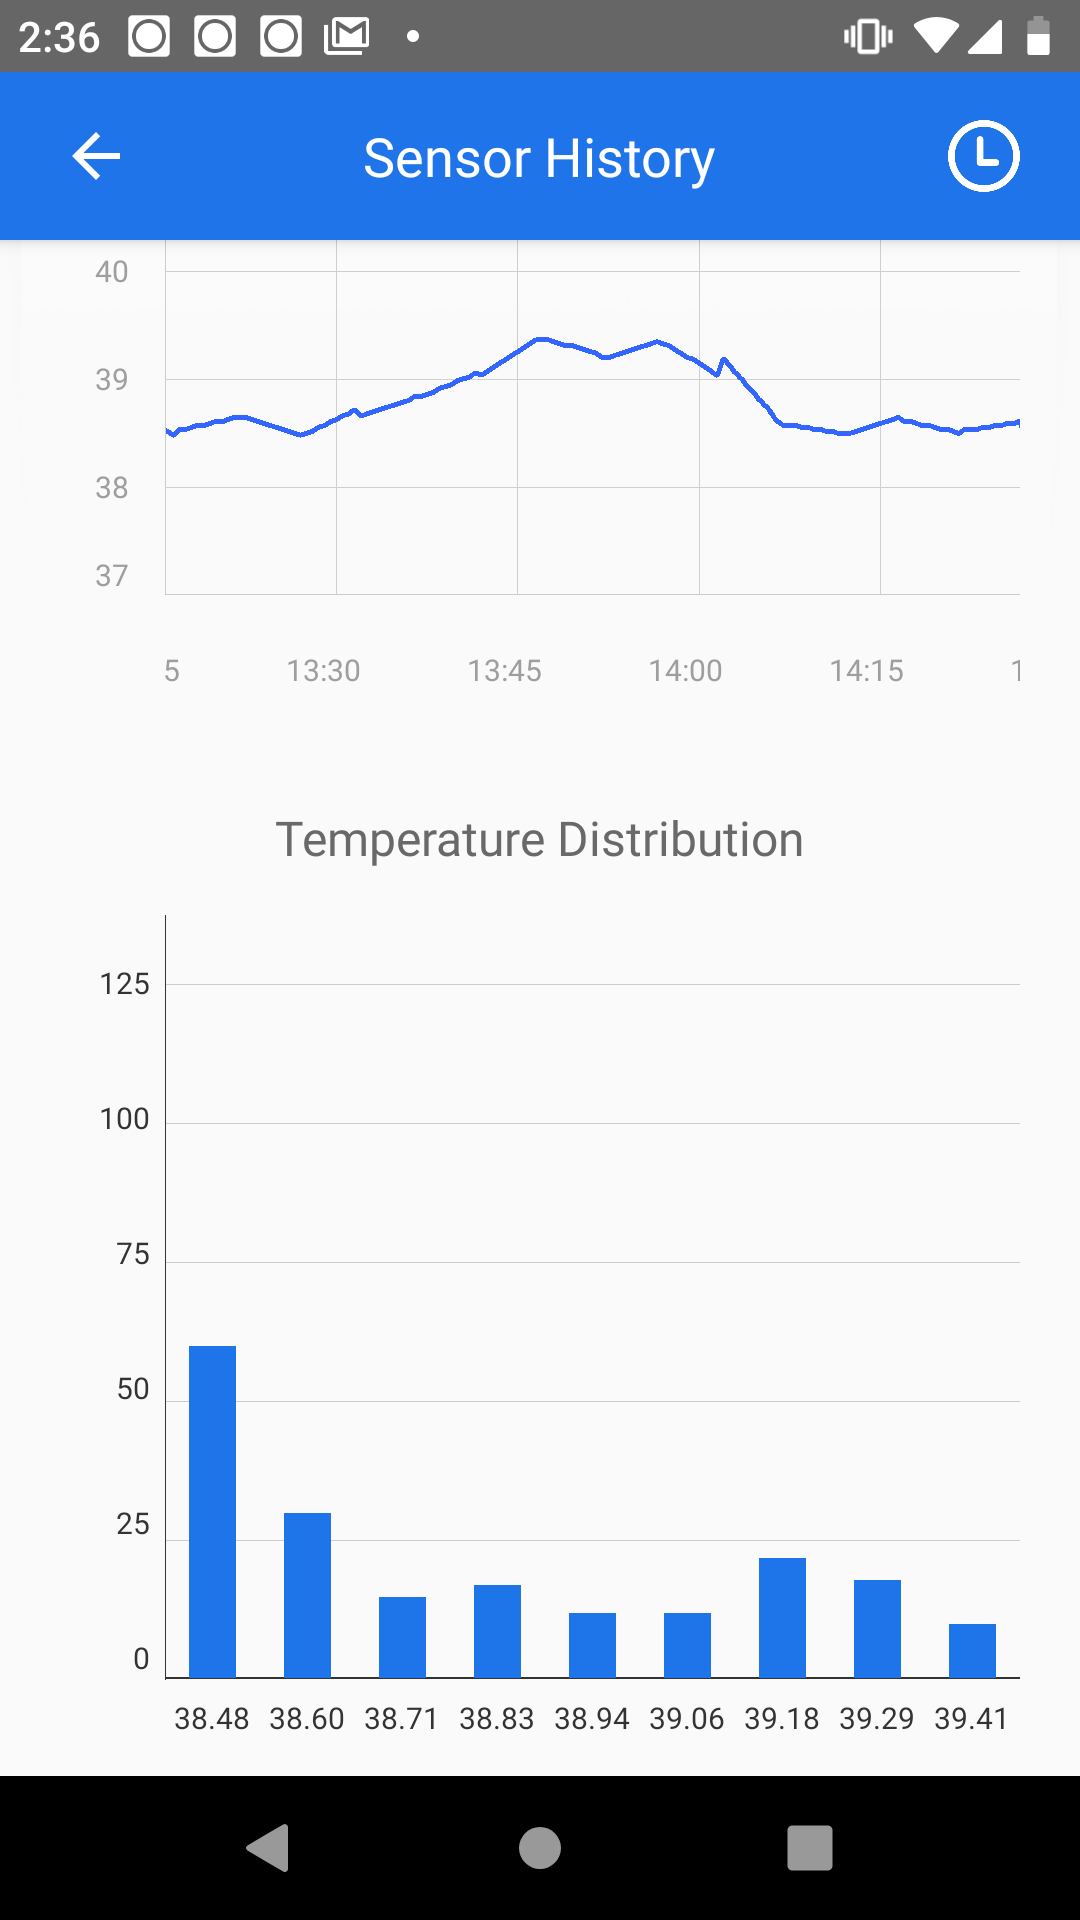 Temperature HIstorgram


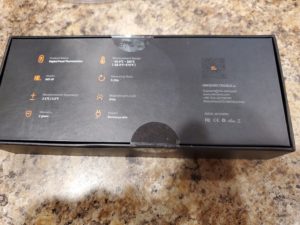

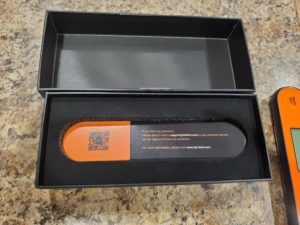 What’s under the thermometer
 And the back side of the card they include calibration instructions
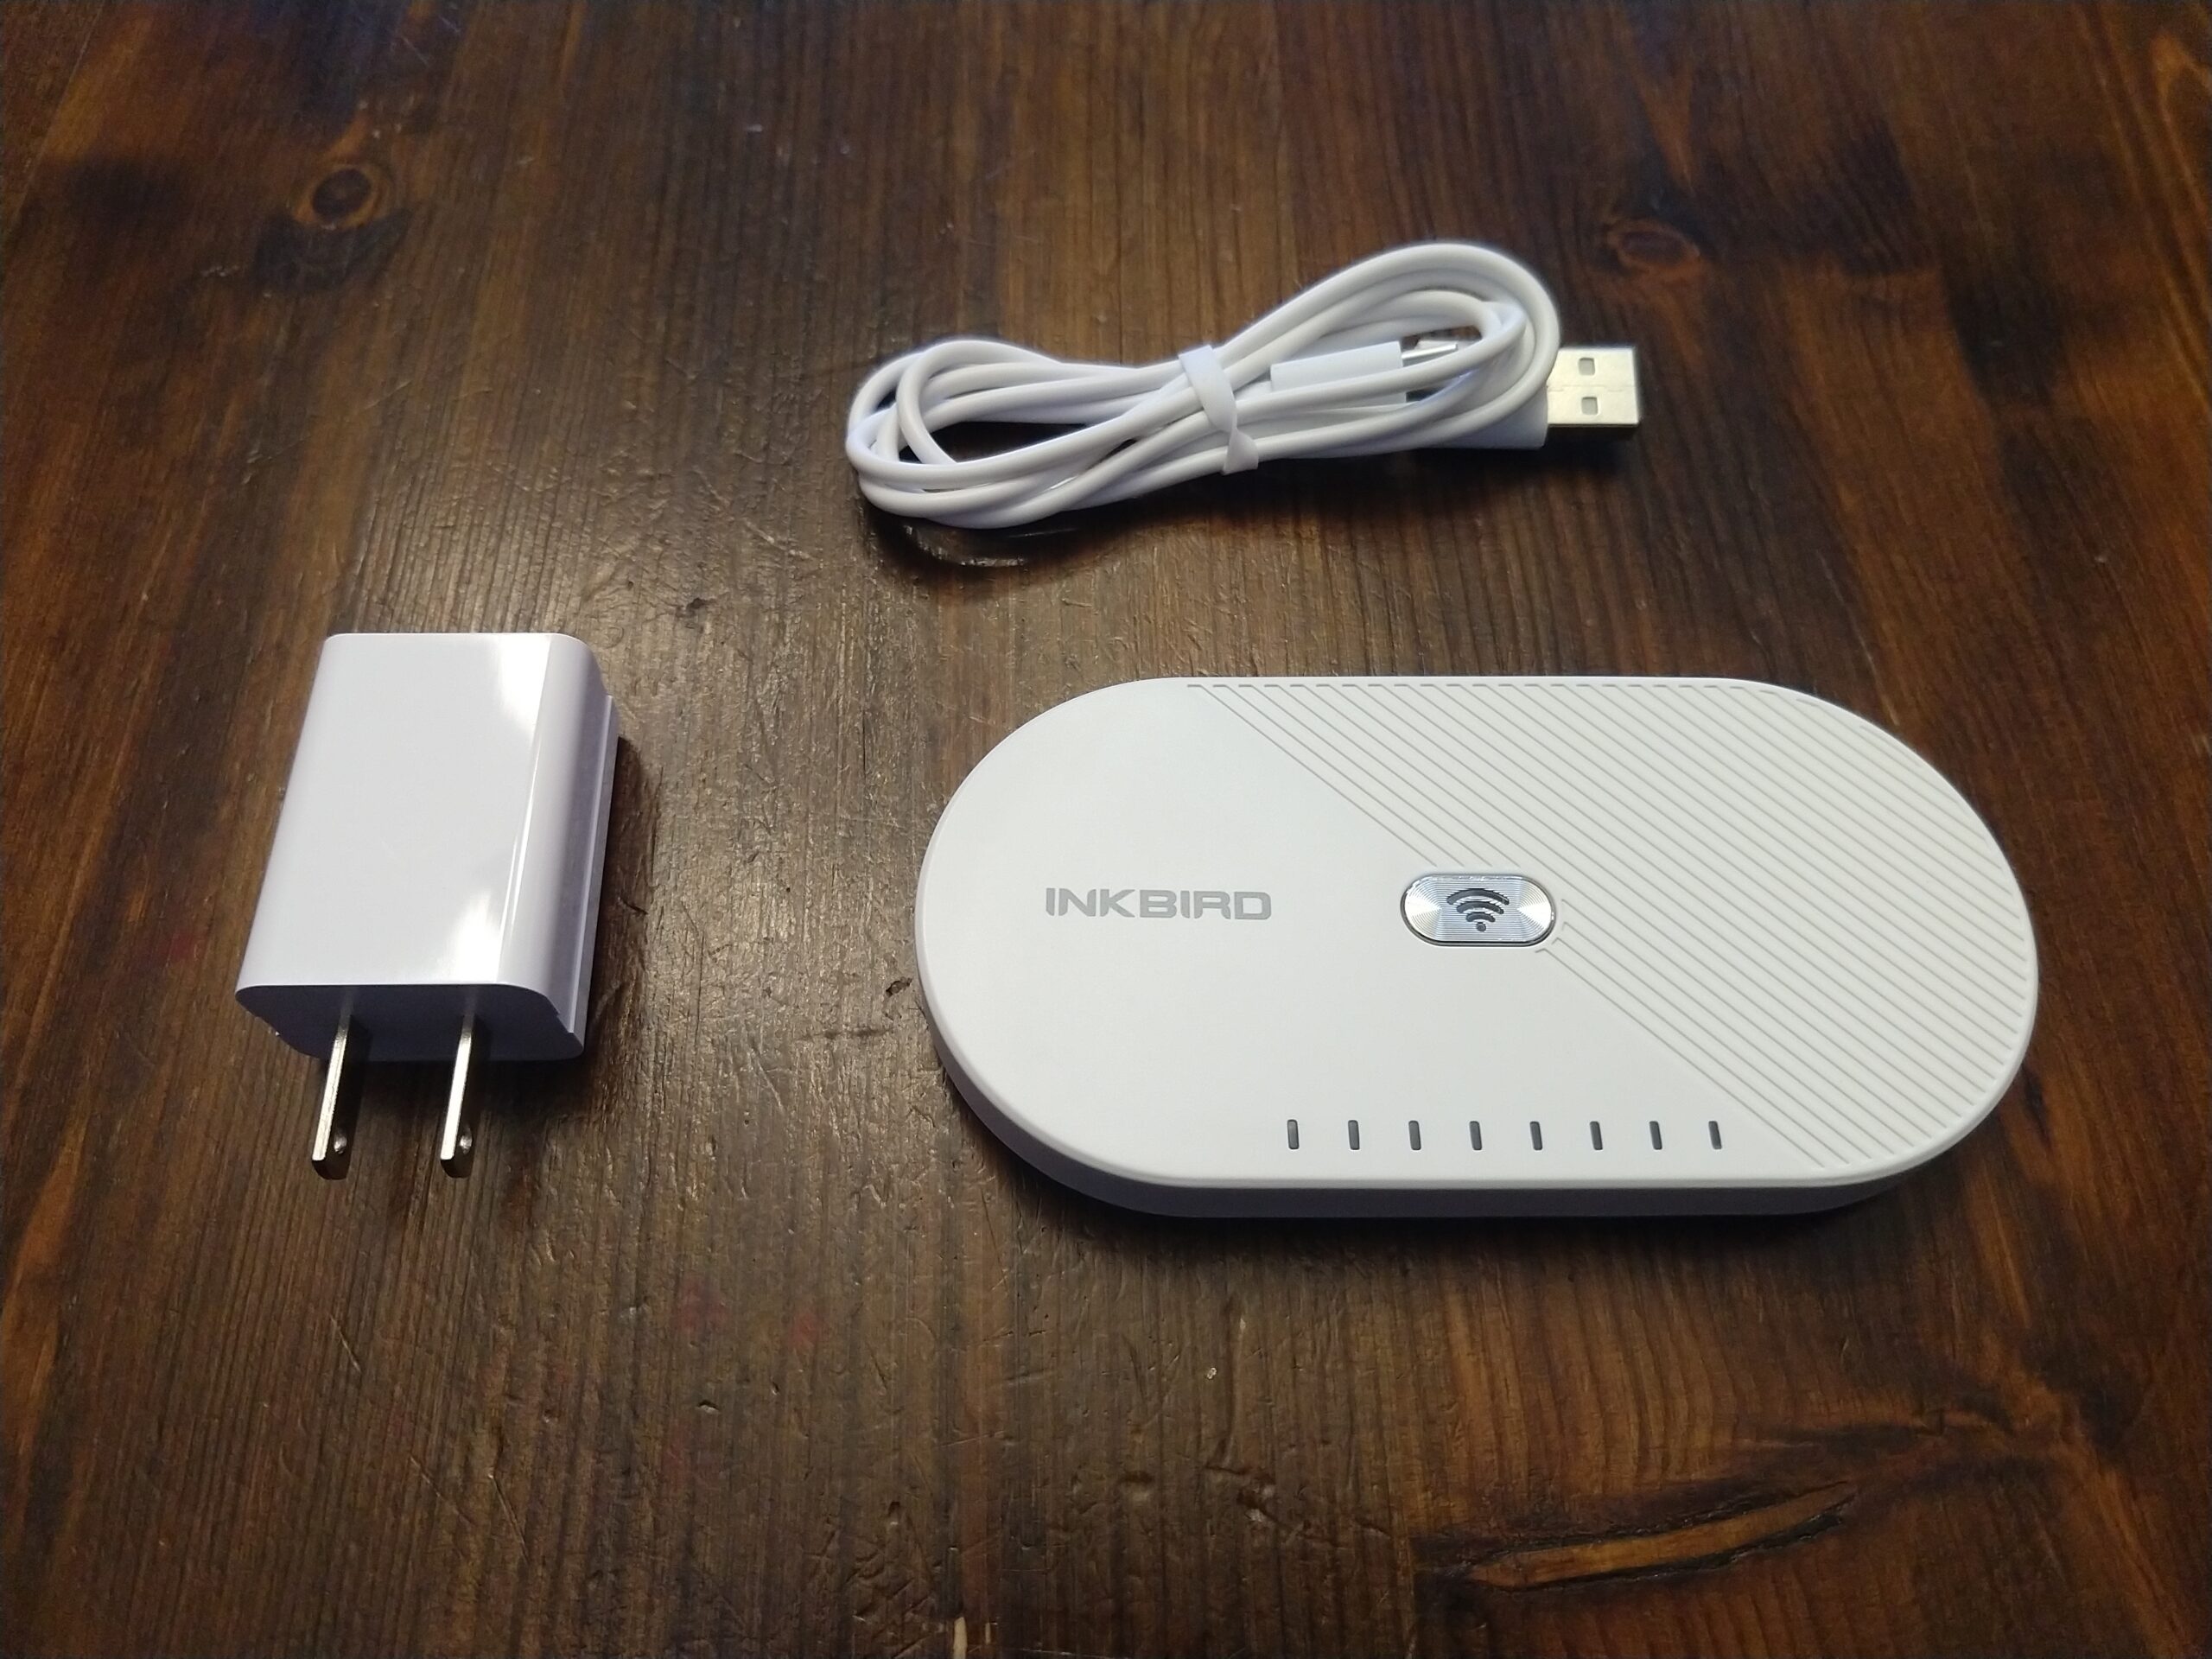
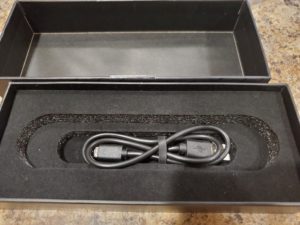 The included USB charging cable
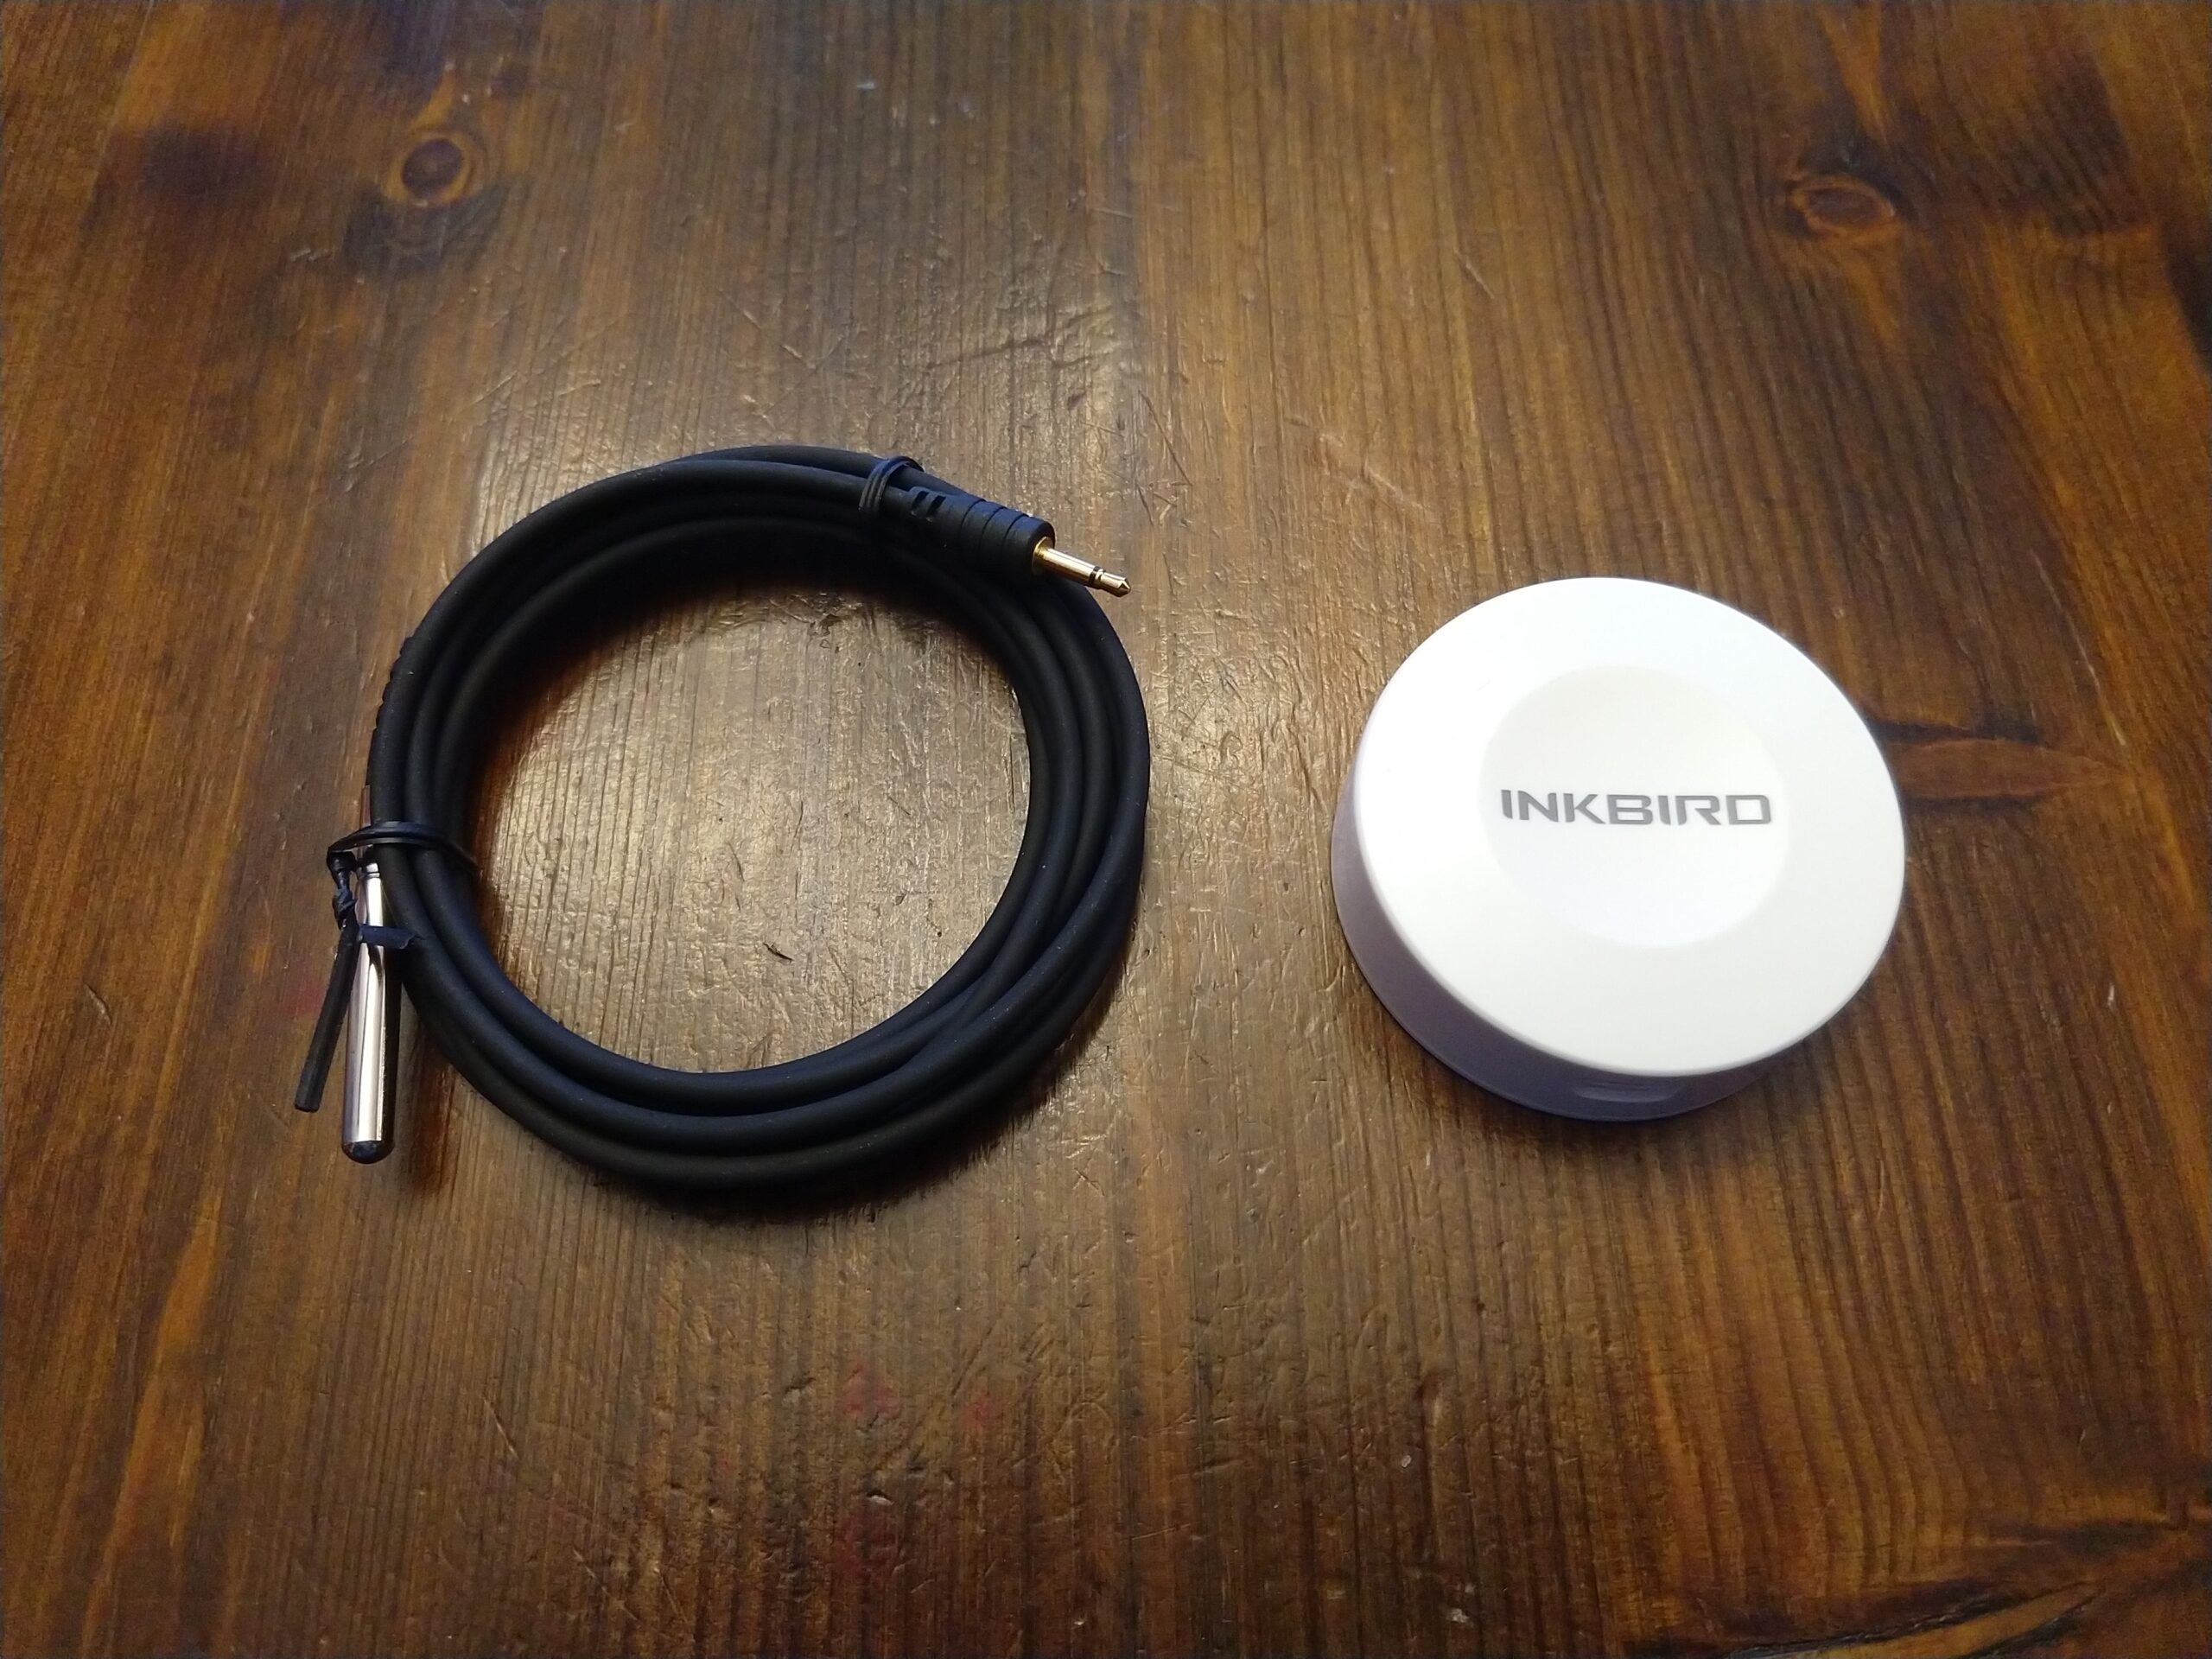
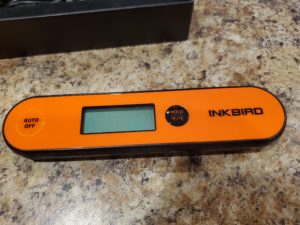 The thermometer itself
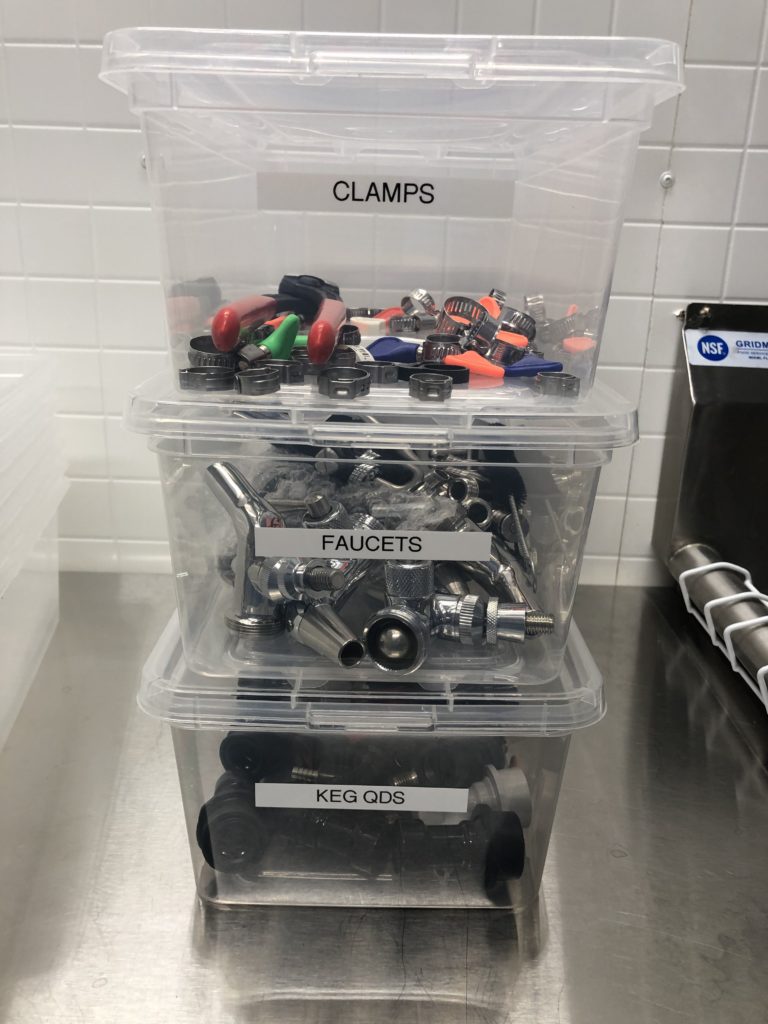
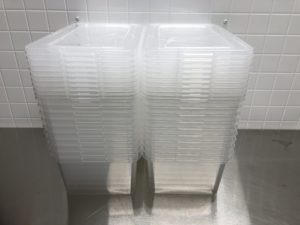 The 20 boxes and lids that I received. These stack for efficient storage when not in use.
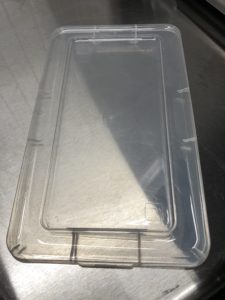 A look at the lid, these easily snap on and off. They are clear, which is an improvement compared the other style that I use.


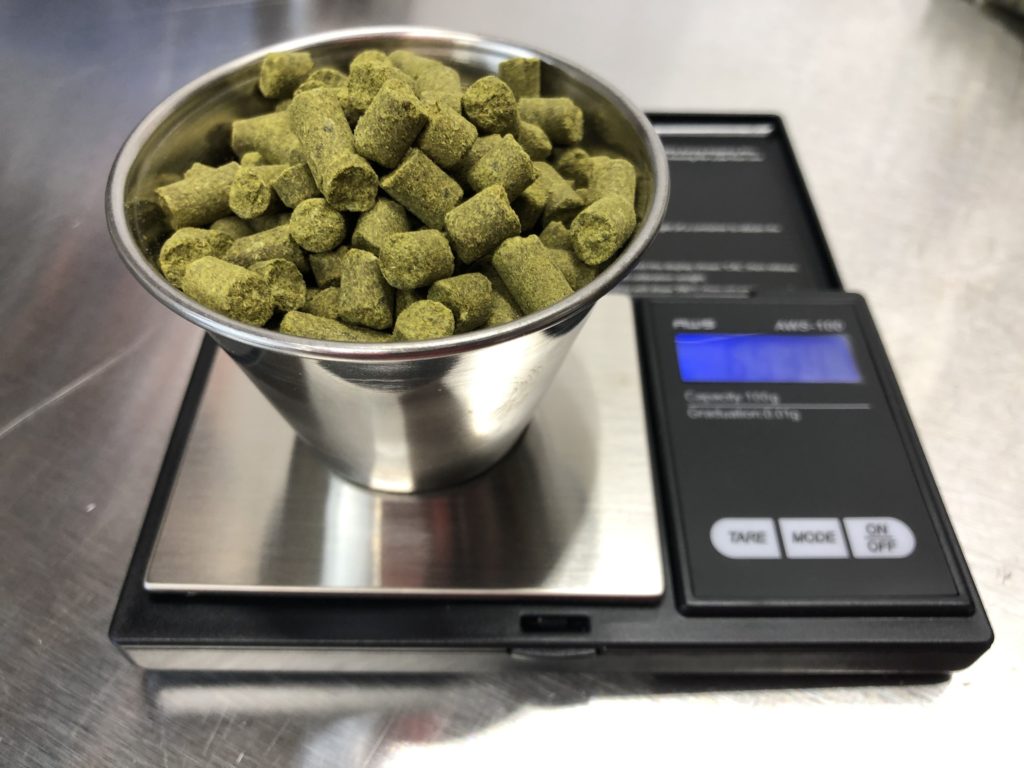 I’ve long been an advocate of using these sorts of portion cups for homebrew-related tasks. I’ve kept small (2 to 2.5 ounce) portion cups in my
 Measuring Mash Temperature
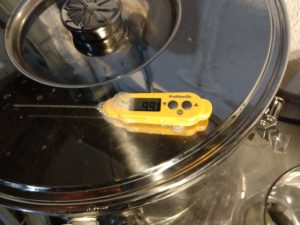 Confirming Mash Temp Using Max Function
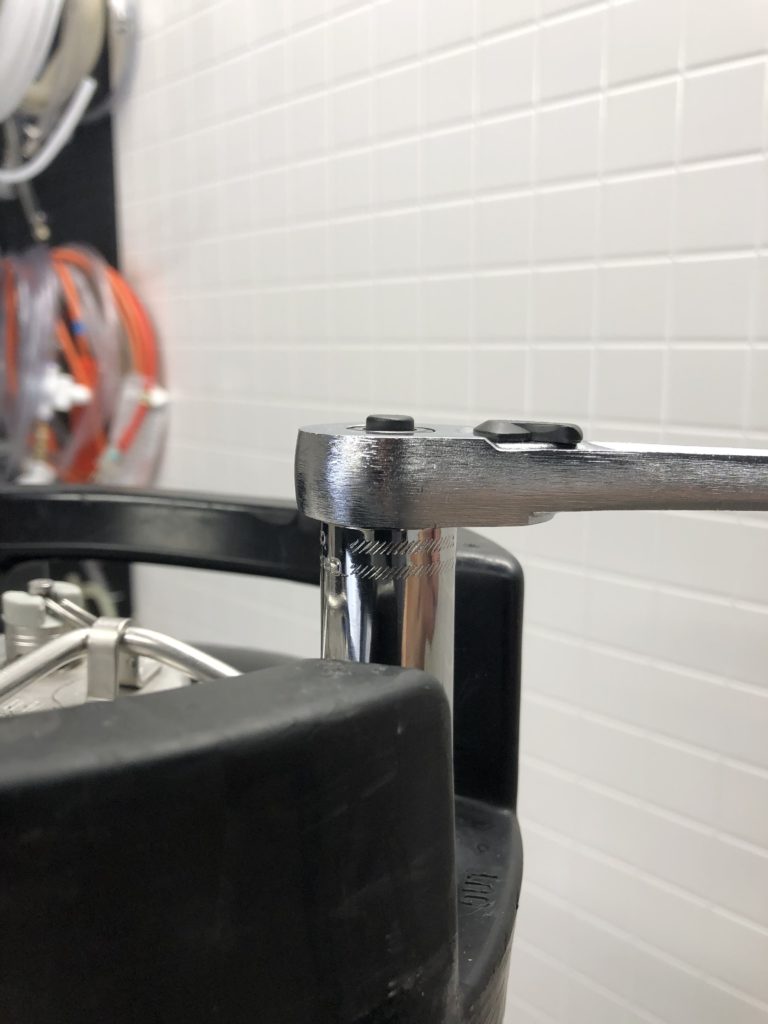


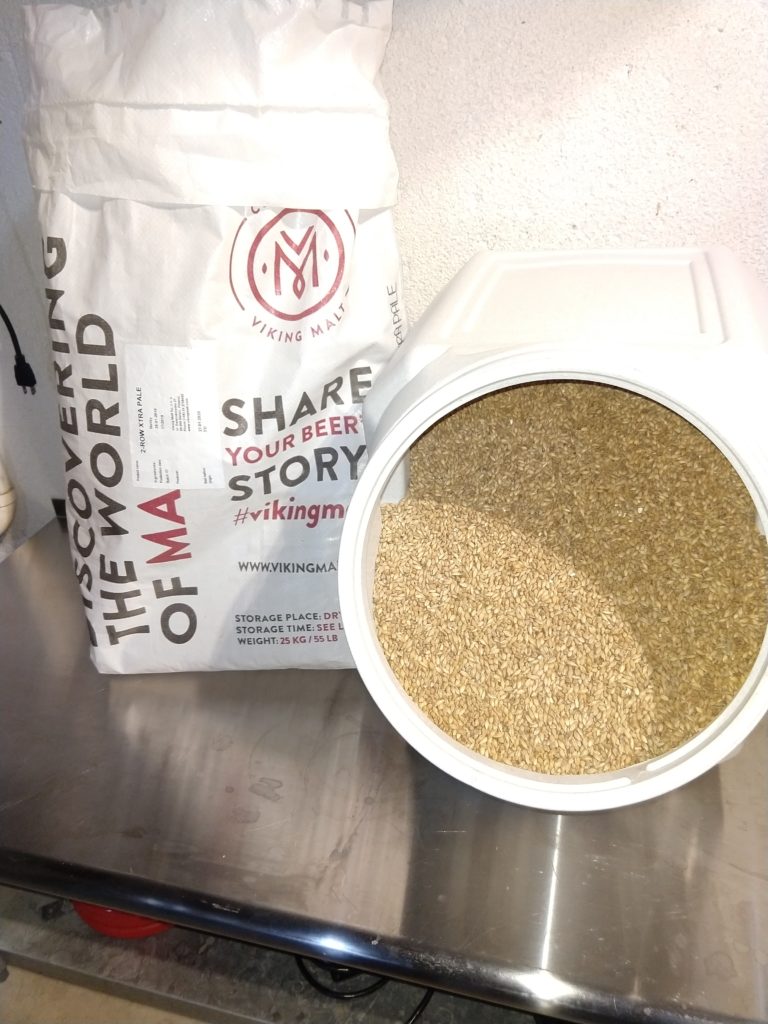 Viking Xtra Pale Malt in a Vittles Vault Container –