Tip: Filling a quick bottle or growler from your kegerator faucet + an OUTSTANDING Deal on GrowlerWerks Growlers
Part of Our Homebrew Tips and Tricks Series. Check out the complete list – Homebrewing Tips, Tricks & Shortcuts!
Part of Our Homebrew Tips and Tricks Series. Check out the complete list – Homebrewing Tips, Tricks & Shortcuts!
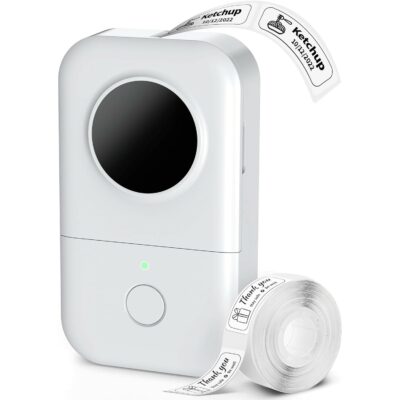
Label keg lines, kegs, manifolds, storage bins and more around your home brewery.
10/24 10 AM Central: This is on sale for $19.19 as an Amazon Lightning Deal. Some items are available in multiple variations, check each for Lightning Deal eligibility and pricing. Lightning Deals are limited time and quantity deals and can change quickly. Check product page for current info – More About Prices
A stacking $3 off coupon is available on the product page making this just $16.19 at checkout while the deal lasts.
Phomemo D30 Label Printer, Bluetooth Wireless Mini Pocket Smartphone Label Maker Machine with Tape, Direct Thermal Printer Rechargeable Labeler Compatible with iPhone/Android, for Home Office – affiliate link, note that multiple variations of this product may be available, as such a different version may appear at this link
This post contains affiliate links. We may make a commission when you use our Amazon links. This will never cost you extra. Thank you for supporting Homebrew Finds!
pinned amazon Pictured: 3 lbs Briess Golden Light Dry Malt Extract (DME) via Amazon
This is a quick and simple tip… Dry Malt Extract dissolves more easily into cold water than it does into hot water. That seems a little counter-intuitive to me, but I’ve found it to be true. It seems to clump up a lot less and just generally dissolve more easily.
Thank you to John Palmer author of How to Brew for this tip
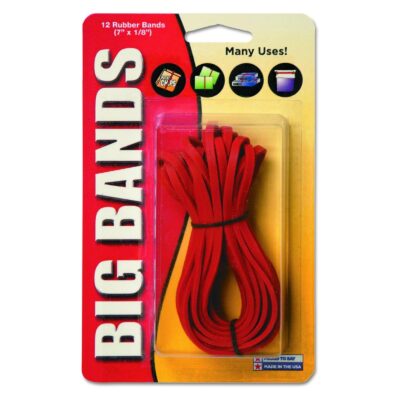 Alliance Rubber Big Rubber Bands 12 Pack 7-Inch X 1/8-Inch Red 00700
More Info
I use these to secure affix my Inkbird temp probe to my fermenter. The 7″ x 1/8″ are large enough to work with my 7.9 and 5.3 gallon sized Speidel fermenters along with my 7 gallon SS Brewtech Brew Bucket. I like these vs using something like duct tape because i don’t like the adhesive that’s left behind with tape. I would guess these will work with many sizes and types of fermenters, but I can’t give you a conclusive list.
10/17 5:30 AM Central: These are selling for just $2.10. Shipping is also free to many US addresses with Prime Membership [Try Prime for Free] or a qualifying order. Prices and availability can change quickly. Check product page for current info – More About Prices
Alliance Rubber Big Rubber Bands 12 Pack 7-Inch X 1/8-Inch Red 00700 – affiliate link, note that multiple variations of this product may be available, as such a different version may appear at this link
Also:

This post contains affiliate links. We may make a commission when you use our Amazon links. This will never cost you extra. Thank you for supporting Homebrew Finds!
pinned
amazon
Filling a growler or small draft dispenser from your draft setup is an easy and straightforward process. Here are some tips and tools for making this as easy and efficient as possible.
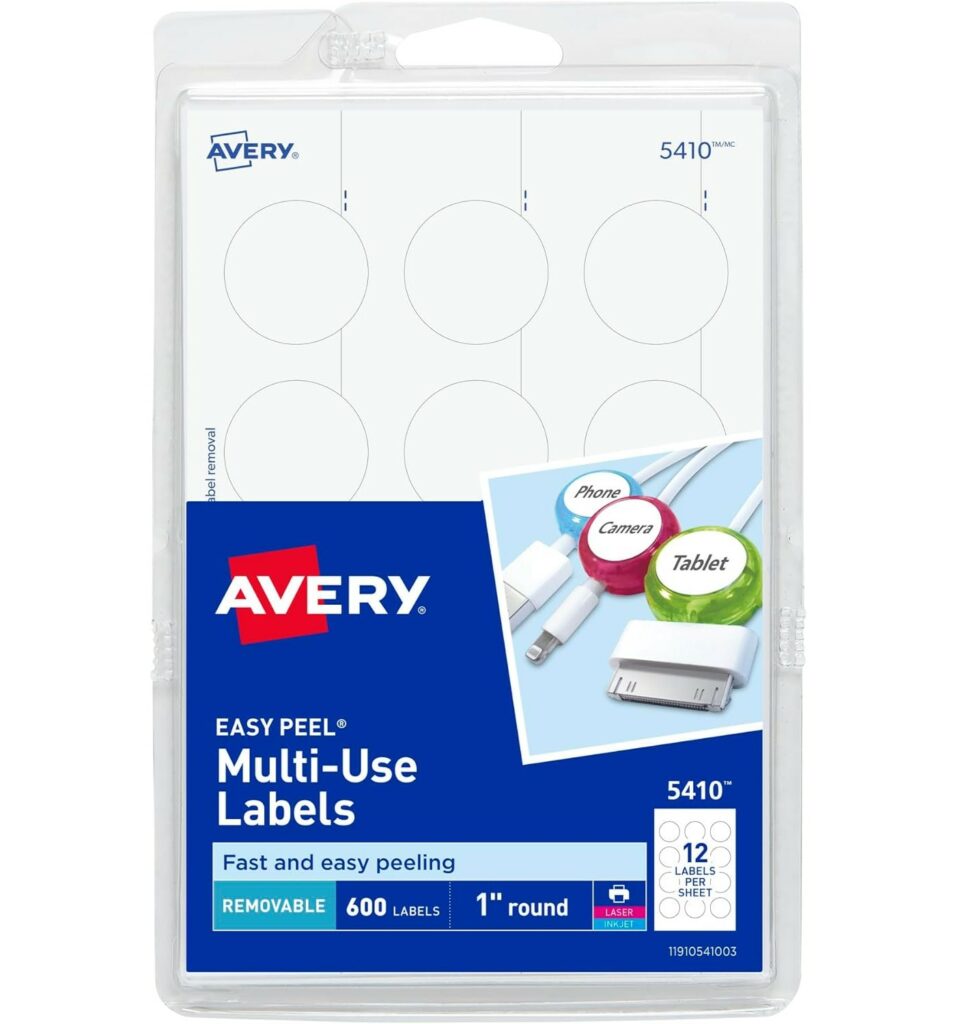
Avery 1″ Round Multi Use Labels. 600 total labels.
More Info
1″ round labels work really well for labeling beer caps. Labeling caps works especially well if you’re planning to reuse the bottle. There is no work involved in removing old labels before next use.
What are others saying? Search this product’s Amazon reviews for “caps” – affiliate link, note that multiple variations of this product may be available, as such a different version may appear at this link
These are printable labels so you can create some nice looking labels. Avery offers free templates for popular software including Microsoft Word as well as free online design and print tool.
Avery Self-Adhesive Removable Labels, 1-Inch Diameter, White, Pack of 600 (5410) – affiliate link, note that multiple variations of this product may be available, as such a different version may appear at this link
Also: GrogTag Deals and Coupons – GrogTag prints your design onto professionally printed, reusable labels
This post contains affiliate links. We may make a commission when you use our Amazon links. This will never cost you extra. Thank you for supporting Homebrew Finds!
pinned
amazonPrice, promotions and availability can change quickly. Check the product page for current price, description and availability. rp:averyround
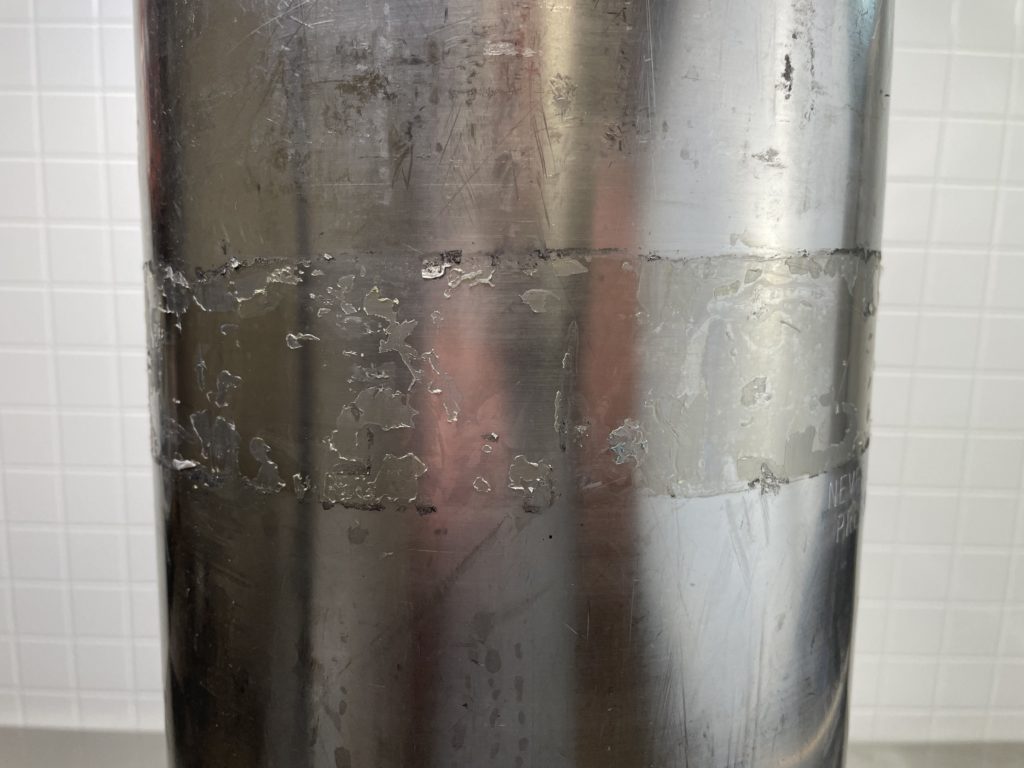 Used Kegs often have old stickers. After removing these we’re often left with sticky, hard to remove adhesive. Goo Gone to the rescue!
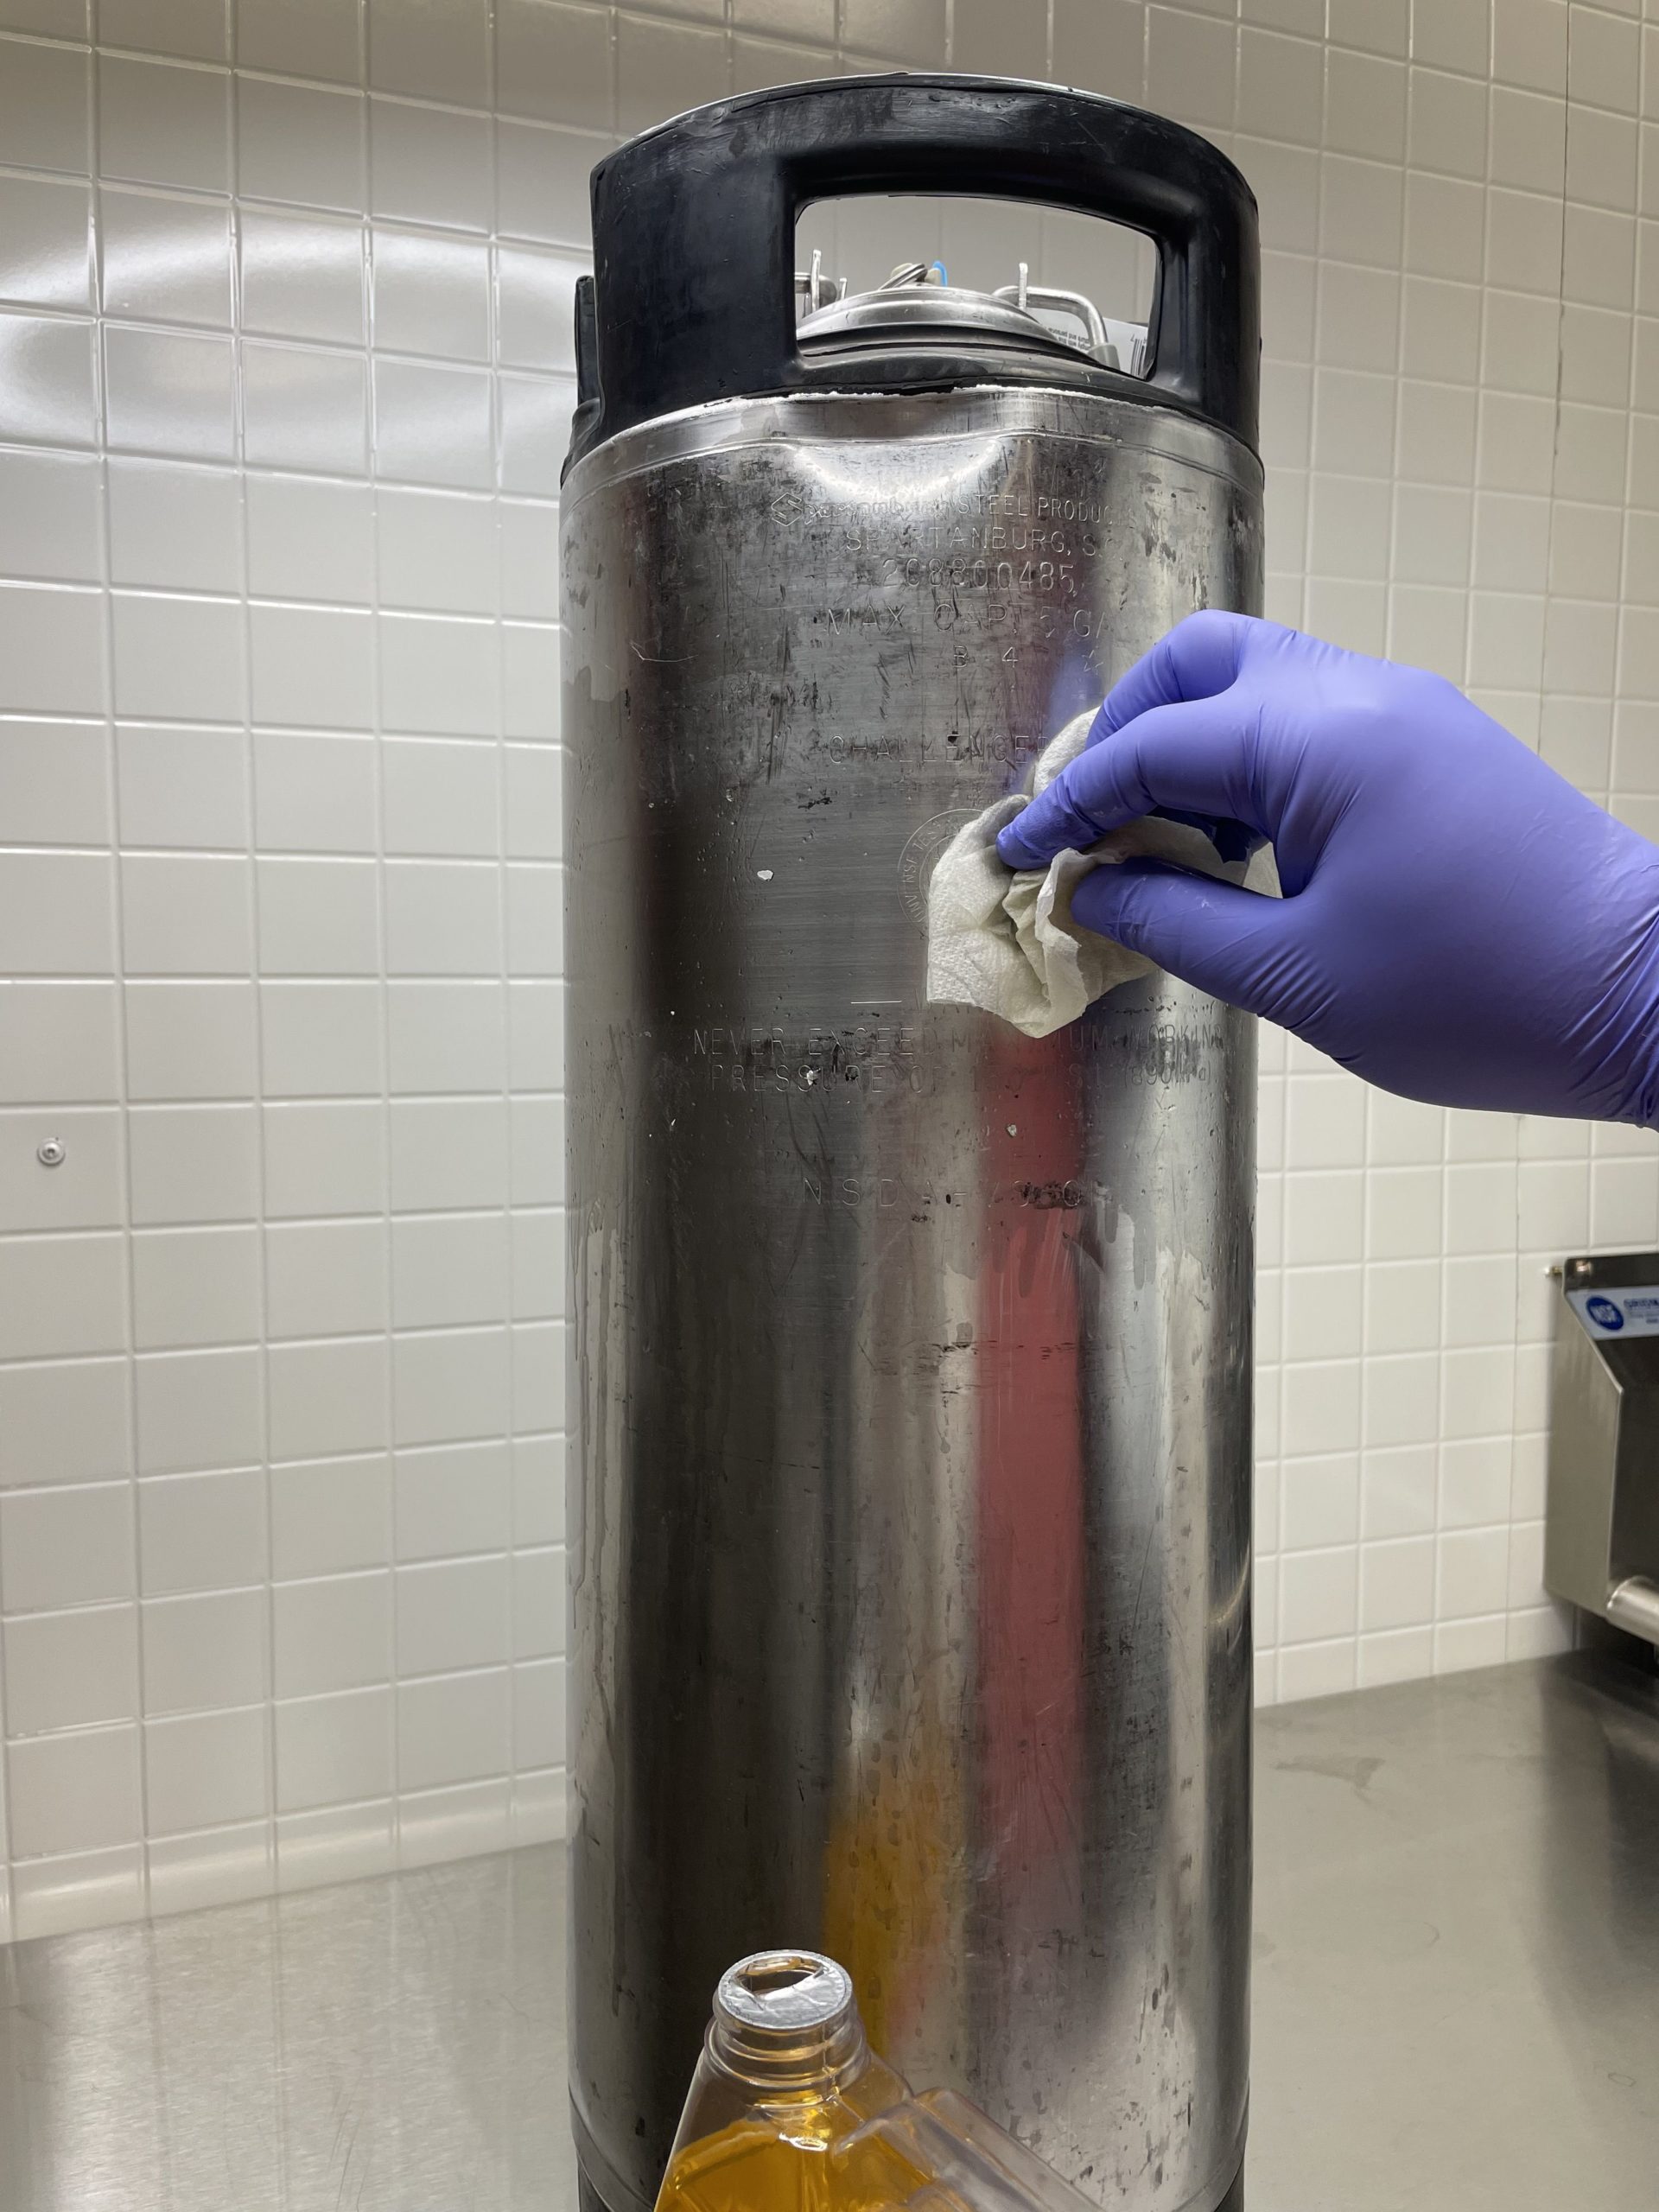 In my experience, Goo Gone is harsh on my skin so I’m using nitrile gloves. Glove are… handy. Did you see what I did there? 🙂 I just work my way around the keg a few times. That gives the Goo Gone a chance to chemically break down the adhesive while I provide some periodic agitation. In this case the adhesive dissolved pretty quickly and the small pieces of sticker that were left came right off. TIP: I recommend using Goo Gone sparingly. You really don’t need that much and you certainly WOULD NOT want to use enough that it gets on the handle or base of your keg. Goo Gone acts as a solvent for many adhesives. It could potentially loosen up rubber handles or bases. Then you’d need to use our Fixing Loose Handles Tip. So, just put a little on a paper towel or rag and add a little more if you need to.
 A look at the used paper towel with dirt, adhesive residue and small bits of stickers on it. Whammo!
Search Amazon for “Goo Gone” to shop around for available options
This write-up is part of my post on rebuilding kegs – Jump To This Section – If you look through the post you’ll see just how good the keg looks at the end.

Time can be a big factor when it comes to homebrewing. Sure, it may be nice to spend sunrise until sunset carefully hand crafting a batch (or batches) of beer, but the practicalities of life can and do factor in when we’re deciding if we can brew a batch of beer. For your stage of life, time may not be a factor. If so, that’s awesome. For others, time saving tips and techniques could help you brew more often.
With those thoughts in mind, I put the call out to the HBF community [8 Ways to Connect with HBF] to get some time saving tips and tricks. A selection of those along with some of my own thoughts follows. Thanks to all who participated! A full list of contributors is at the end of this post.

From MoreBeer:
Introducing MoreBeer!’s Flash Brewing Kits! Designed for both novice and seasoned homebrewers, these innovative recipe kits allow you to simply mix the ingredients with water and add yeast for fermentation. This streamlined process not only saves you valuable time but also simplifies brewing without sacrificing flavor. Say hello to a faster, easier way to craft exceptional beer at home.
Typically, brewing requires you to boil your malt and hops for one hour, followed by another hour for cooling. Flash Brewing eliminates the need to boil. Our Flash Brewing Malt recipes have been boiled and whirlpooled before they are dried. We then use a HopBite™ shot for bitterness combined with a mix of traditional hop pellets and extracts for flavor. Flash Yeast™ starts quickly and consistently produces clean beer that lets the malt and hops shine. The result is a high-quality beer that will absolutely surprise you.
Learn More About Flash Brewing!
For a limited time MoreBeer is discounting Flash Brewing Kits by 15% when you use coupon code 15FLASH
Flash Brewing Kit Sale! – remember promo code 15FLASH
Part of Our Homebrew Tips and Tricks Series. Check out the complete list – Homebrewing Tips, Tricks & Shortcuts! This is a Top Post! See: All Top Posts
Tubing! Homebrewers use a variety of sizes and styles of tubing for siphoning, beer transfer, wort and water transfer on brew day, keg to keg transfers, kegerator beer and gas lines and more.
After using (depending on what I’ve used the tubing for), I’ll give the tubing a rinse to get the majority of stuff off and to keep my cleaning solution as clean as possible. Next is a soak in hot PBW solution. I’d say 5 to 10 minutes is typical for me. Followed by a thorough rinse.
If you have a problem with water spots on your tubing, make your last step a rinse in a diluted mixture of Star San. Not only will you get some sanitizing benefits, the Star San acts as a surfactant that helps fight water spots.
Time can be a big factor when it comes to homebrewing. Sure, it may be nice to spend sunrise until sunset carefully hand crafting a batch (or batches) of beer, but the practicalities of life can and do factor in when we’re deciding if we can brew a batch of beer. For your stage of life, time may not be a factor. If so, that’s awesome. For others, time saving tips and techniques could help you brew more often.
With those thoughts in mind, I put the call out to the HBF community [8 Ways to Connect with HBF] to get some time saving tips and tricks. A selection of those along with some of my own thoughts follows. Thanks to all who participated! A full list of contributors is at the end of this post.
 Pictured: Zinsser 98030 30-Inch Wallpaper Prep Tray – affiliate link, note that multiple variations of this product may be available, as such a different version may appear at this link
Updated: 5/22/2024
Part of Our Homebrew Tips and Tricks Series. Check out the complete list – Homebrewing Tips, Tricks & Shortcuts! This is a Top Post! See: All Top Posts
I use a wallpaper try to clean and sanitize longer items like racking canes, auto-siphons, spoons, tubing and beverage out dip tubes. It works great.
These also work well for storing longer items. If you’re going to store things in these, I would recommend stacking a couple together to give them some extra strength.
What are Other’s Saying? Search this product’s Amazon reviews for “brew” – affiliate link, note that multiple variations of this product may be available, as such a different version may appear at this link
Another similar option are planter boxes. They are generally sturdier than wallpaper prep trays and they’re about the same length. Since you can get away with one your total cost may end up being less.
Zinsser 98030 30-Inch Wallpaper Prep Tray – affiliate link, note that multiple variations of this product may be available, as such a different version may appear at this link
Also:
Related Resources and Categories
Five Star recommends limited contact time with ALL plastics. See: Star San Tips – Materials Compatibility + Do Not Soak.

pinned
This post may contain affiliate links. We may make a commission when you use our links. This will never cost you extra. Thank you for supporting Homebrew Finds!
greatdealsMake sure the components you use are compatible and rated for your intended application. Contact manufacturer with questions about suitability or a specific application. Always read and follow manufacturer directions. tag:lnksfxd 12.20.10 toppost:wptray rp:tips#32 tag:tpr
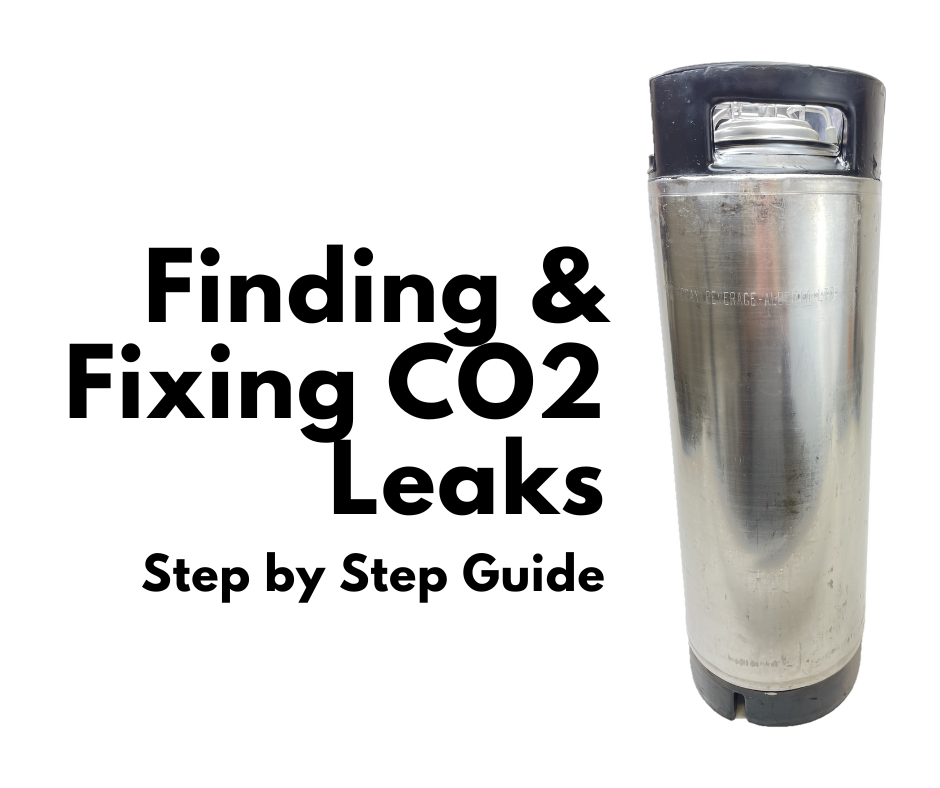
A leaky keg can be an issue, a big issue. That nice, full CO2 tank can go away in short order. It’s frustrating, costly and inconvenient. This post should help you them and fix them.
 Pictured: Oetiker 16700010 Stepless Ear Clamp via Amazon
Updated: July 30, 2024
Part of Our Homebrew Tips and Tricks Series. Check out the complete list – Homebrewing Tips, Tricks & Shortcuts! This is a Top Post! See: All Top Posts
Time can be a big factor when it comes to homebrewing. Sure, it may be nice to spend sunrise until sunset carefully hand crafting a batch (or batches) of beer, but the practicalities of life can and do factor in when we’re deciding if we can brew a batch of beer. For your stage of life, time may not be a factor. If so, that’s awesome. For others, time saving tips and techniques could help you brew more often.
With those thoughts in mind, I put the call out to the HBF community [8 Ways to Connect with HBF] to get some time saving tips and tricks. A selection of those along with some of my own thoughts follows. Thanks to all who participated! A full list of contributors is at the end of this post.
From MoreBeer:
Introducing MoreBeer!’s Flash Brewing Kits! Designed for both novice and seasoned homebrewers, these innovative recipe kits allow you to simply mix the ingredients with water and add yeast for fermentation. This streamlined process not only saves you valuable time but also simplifies brewing without sacrificing flavor. Say hello to a faster, easier way to craft exceptional beer at home.
Typically, brewing requires you to boil your malt and hops for one hour, followed by another hour for cooling. Flash Brewing eliminates the need to boil. Our Flash Brewing Malt recipes have been boiled and whirlpooled before they are dried. We then use a HopBite™ shot for bitterness combined with a mix of traditional hop pellets and extracts for flavor. Flash Yeast™ starts quickly and consistently produces clean beer that lets the malt and hops shine. The result is a high-quality beer that will absolutely surprise you.
Learn More About Flash Brewing!
For a limited time MoreBeer is discounting Flash Brewing Kits by 15% when you use coupon code 15FLASH
Flash Brewing Kit Sale! – remember promo code 15FLASH
Time can be a big factor when it comes to homebrewing. Sure, it may be nice to spend sunrise until sunset carefully hand crafting a batch (or batches) of beer, but the practicalities of life can and do factor in when we’re deciding if we can brew a batch of beer. For your stage of life, time may not be a factor. If so, that’s awesome. For others, time saving tips and techniques could help you brew more often.
With those thoughts in mind, I put the call out to the HBF community [8 Ways to Connect with HBF] to get some time saving tips and tricks. A selection of those along with some of my own thoughts follows. Thanks to all who participated! A full list of contributors is at the end of this post.
Label keg lines, kegs, manifolds, storage bins and more around your home brewery.
Phomemo D30 Label Printer, Bluetooth Wireless Mini Pocket Smartphone Label Maker Machine with Tape, Direct Thermal Printer Rechargeable Labeler Compatible with iPhone/Android, for Home Office – affiliate link, note that multiple variations of this product may be available, as such a different version may appear at this link
This post contains affiliate links. We may make a commission when you use our Amazon links. This will never cost you extra. Thank you for supporting Homebrew Finds!
pinned
amazon
Part of Our Homebrew Tips and Tricks Series. Check out the complete list – Homebrewing Tips, Tricks & Shortcuts!
Refill vs swap: The capacity of the standard 20 lb propane tank is, well.. around 20 lbs. Several years ago, some swap services started to underfill tanks. For example, it’s my understanding that Blue Rhino fills to 15 lbs and Heritage Propane fills to 17 lbs.
For me, refilling a tank to 20 lbs is actually less expensive than swapping it out. For the purpose of comparison, let’s say that refilling and swapping are the same… $20 to swap and $20 to refill. The fill costs you $1/lb. If you’re refilling with a vendor that fills to 15 lbs, you’re paying $1.33/lb or 33% more.
When you refill your tank – You’re, generally, saving money, You’re supporting a local business and saving yourself time because you don’t have to get propane as often.
Extra tanks: I suggest having an extra tank (or two) of propane on hand. Running out of propane mid brew is a bummer. It is inconvenient and you can end up with a different beer than you intended because of the delay. This can also be a money saving thing too if your refiller charges by the tank. Since you don’t want to run out of propane on brew day, you may be more likely to swap or refill a tank that still have propane left in it.
Larger tanks: Another approach to saving trips for propane is to get a larger 30 Pound or 40 Pound tank.
Search Amazon for “Propane Tank” – offerings vary


pinned
This post may contain affiliate links. We may make a commission when you use our links. This will never cost you extra. Thank you for supporting Homebrew Finds!
greatdealsMake sure the components you use are compatible and rated for your intended application. Contact manufacturer with questions about suitability or a specific application. Always read and follow manufacturer directions. tag:lnksfxd toppost:propanetips rp:tips4 tag:tpru
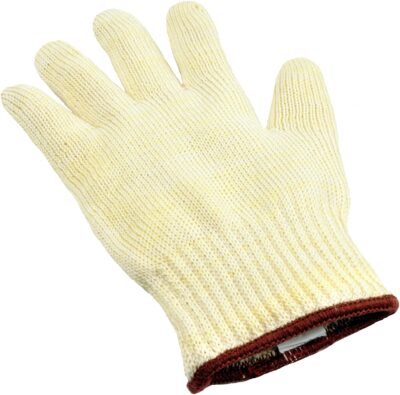
Pictured: G & F Heat Resistant Oven Glove via Amazon
Part of Our Homebrew Tips and Tricks Series. Check out the complete list – Homebrewing Tips, Tricks & Shortcuts! This is a Top Post! See: All Top Posts


pinned
This post may contain affiliate links. We may make a commission when you use our links. This will never cost you extra. Thank you for supporting Homebrew Finds!
greatdealsMake sure the components you use are compatible and rated for your intended application. Contact manufacturer with questions about suitability or a specific application. Always read and follow manufacturer directions. tag:lnksfxd toppost:oveglove rp:tips#31 tag:tpru
Part of Our Homebrew Tips and Tricks Series. Check out the complete list – Homebrewing Tips, Tricks & Shortcuts! This is a Top Post! See: All Top Posts
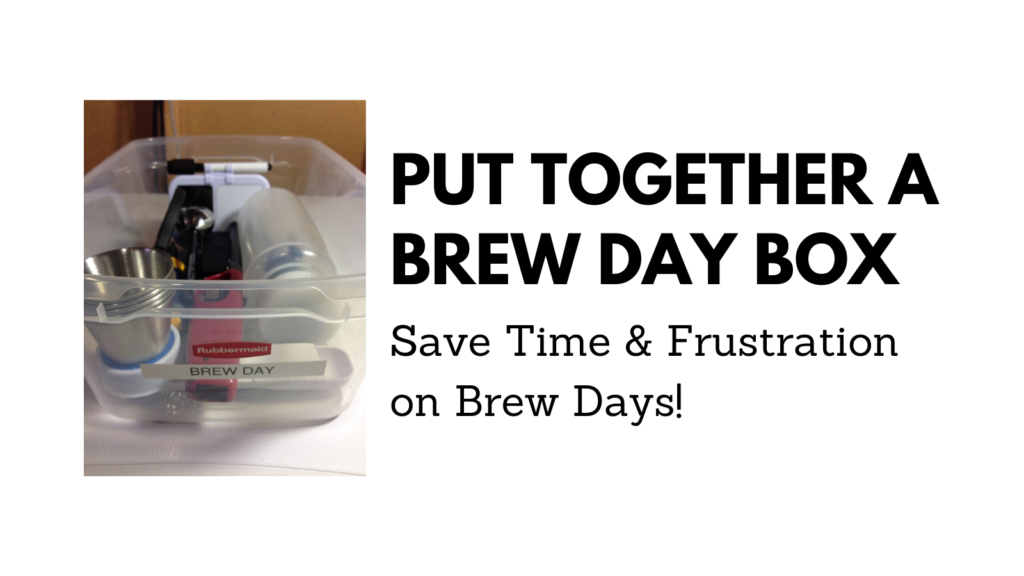
Over the years I’ve homebrewed, I’ve utilized a number of storage and organization strategies. Some could be defined less as strategies and more as “piles”. These strategies have ranged from, cardboard boxes, to big totes that I threw everything under the sun into to using smaller shoe box size containers and breaking everything out into categories. The shoe box size organization method has worked well and other than a few large totes for bigger items, it’s what I’ve settled on. At some point after going to that, I realized that when brew day rolled around, I had to collect items from a number of these containers. I usually forgot something and had to look around, multiple times per brew day trying to find whatever I needed. That evolved into putting together a container just for brew days. I cleverly 🙂 call that my “Brew Day Box”. This container houses nearly all the small odds and ends that I use when brewing. I’ve also tried to make sure those things don’t really need removed at other times. For example I use a refractometer regularly, not just on brew day, so… I bought another refractometer. Everything that’s in my Brew Day Box generally… stay in my Brew Day Box. This keeps everything in one place and I’m not wasting time trying to find stuff when I should be brewing.
For the most part, checking for keg liquid and CO2 leaks is pretty straightforward. Is beer leaking? Then you’ve got a liquid leak. Is there six inches of beer in your kegerator? That one’s really easy to spot. If beer is shooting out like a geyser, you’ve got a… fast leak. 🙂
For kegerator CO2 leaks, it’s a generally a little more work, but still pretty easy… spray everything with Star San solution (diluted of course) and look for bubbles.
Related: Step by Step: Finding and Fixing Keg CO2 Leaks