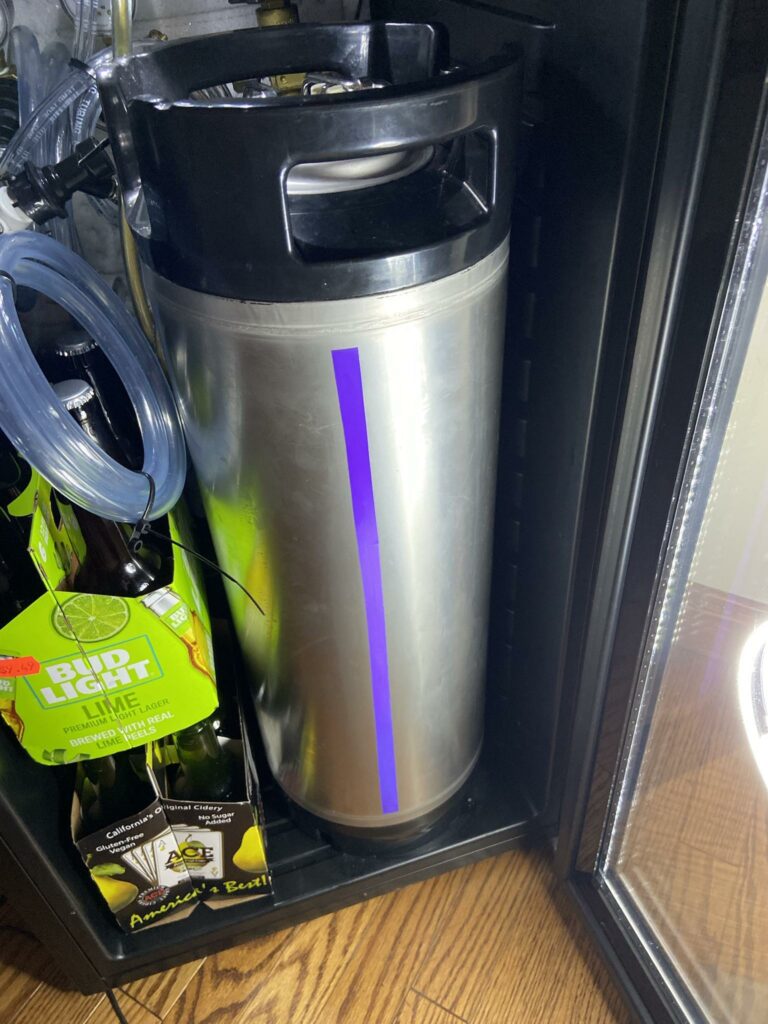
How To: Step by Step Making a Magnetic Drip Tray
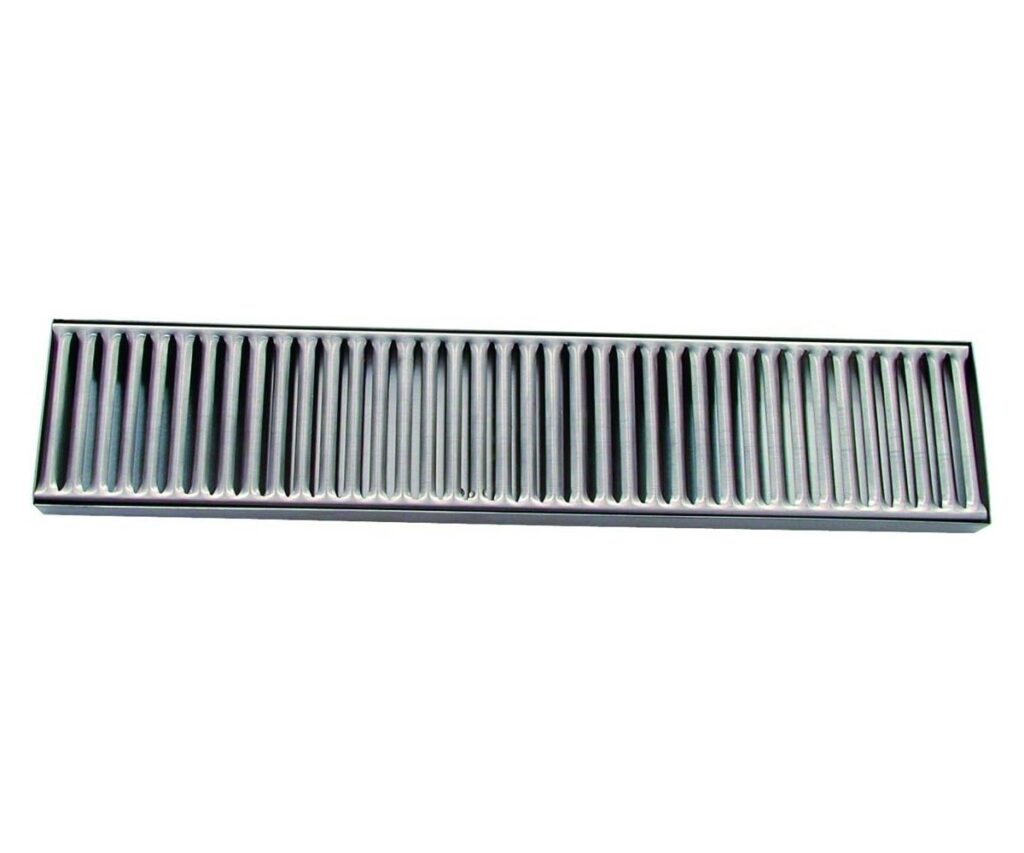 Pictured: Update International (DTS-419) 4″ x 19″ Rectangular Drip Tray, Stainless Steel – affiliate link, note that multiple variations of this product may be available, as such a different version may appear at this link
Step by Step instructions for making a magnetic drip try for your Kegerator or Keezer.
This is a project that requires materials and tools. Operate power tools carefully. Make sure the components you use are compatible and rated for your intended application. Contact manufacturer with questions about suitability or a specific application. Always read and follow manufacturer directions.
By: HBF Reader Andrew Cunje
Materials:
- Update International (DTS-419) 4″ x 19″ Rectangular Drip Tray, Stainless Steel – affiliate link, note that multiple variations of this product may be available, as such a different version may appear at this link
- Alternate: DasMarine 19″ Length 4″ Width Rectangular Stainless Steel Beer Surface Mount Drip Tray
- 4′ of 6x.5 Poplar Wood (actual width is 5.5″)
- 1’4″ of 6×1 Poplar Wood (actual width is 5.5″) Note: A thicker wood will suffice for this…remember the longer the wood extends down from the joint, the less likely the magnetic bond will break from the leverage applied to the edge of the drip tray.)
- 4-5ft of Decorative Trim of your choice (Sold in lengths of 8′)
- MUST BE 1.25-1.5 inch trim. I used 1.5 which I highly recommend.
- 3/4″ mounting screws (for magnets) or Epoxy/Gorilla Glue
- 1″ wood screws
- Brad/Finishing Nails
- 1 large old school hard drive magnets (Bigger with Mounting Holes than newer drives) (Alternative: rare earth neodymium magnets that are .5″ thick (Approximately 8); these can be stacked if you can only find .25″ magnets)
- Wood Glue
- Wood Putty (Optional)
- Wood Stain (Optional)
- Tennis Racket Grip Tap (Or an old yellow rubber glove). Anything rubbery and tacky to increase friction against the fridge.