
Review: Barebottle Brewing Company Torcido Lager – Homebrew Recipe Kit
Updated: July 10, 2024
This review is by Homebrew Finds Contributor Brad Probert. Brad is an engineer, expert homebrewer and experienced reviewer. Grab a link to Brad’s website at the end of this review.
Torcido Lager is a Mexican Lager. Sort of. I don’t know much about the style definition of a Mexican Lager, but MoreBeer’s site describes the recipe creation from Barebottle Brewing (San Francisco, CA) as non-traditional. Apparently, Barebottle likes mixing things up, so they describe this beer as a Mexican Pilsner with a German Helles twist. For Barebottle, this beer scored a Gold in the 2019 GABF, so crazy description aside, I figured the beer had some cred behind it.
Limited Time DEAL:
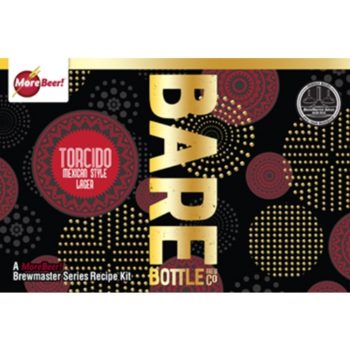
Barebottle Brewing Companys Torcido Mexican Style Lager from MoreBeer:
The most compelling stories always have a twist. Barebottle’s award-winning Torcido is a Mexican pilsner with a German Helles twist. Combining these styles results in a light and refreshing lager that would make even M. Night Shyamalan do a double take. Originally developed by Barebottle brewer John “Magic” Montes, Torcido took gold in the 2019 Great American Beer Fest and in turn became the inaugural inductee into the Viking Malt Hall of Fame. Brewed with Viking Pilsner, flaked corn, a dash of Carahell®, and hopped with two additions of Crystal and Saaz.
Barebottle Brewing Company was born in San Francisco, CA with the idea that craft brewing shouldn’t adhere to the strict guidelines of established beer styles. Founded by a trio of friends and former classmates, they continue to pay homage to their homebrewing roots by printing a scaled down version of their recipe on every label. If you ever see one of their creations out in the wild, we highly recommend that your buy it, drink it, and then brew it!
Check out this week’s Kit of the Week! – remember coupon code KOTW
- Barebottle Brewing Companys Torcido Mexican Style Lager – All Grain Beer Brewing Kit
- Barebottle Brewing Companys Torcido Mexican Style Lager – Extract Beer Brewing Kit
- MoreBeer Clone Recipe Kits – Heady Topper, Sculpin, Zombie Dust & LOTS More
Get Pricing & Check Availability, Review Continues Below:
- Barebottle Brewing Companys Torcido Mexican Style Lager – All Grain Beer Brewing Kit
- Barebottle Brewing Companys Torcido Mexican Style Lager – Extract Beer Brewing Kit
- MoreBeer Clone Recipe Kits – Heady Topper, Sculpin, Zombie Dust & LOTS More
MoreBeer Recipe Kit Deals!

This article contains affiliate links. We may make a small percentage if you use our links to make a purchase. You won’t pay more and you’ll be supporting Homebrew Finds and more content like this. Thank you for your support!
Unboxing and Kit Inventory
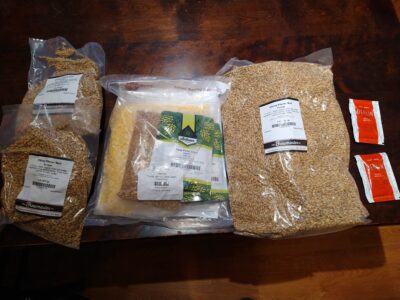
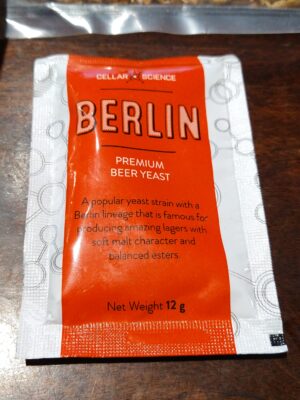
I ordered un-milled grains, as I like to have control of the grain crush. The malts were packaged in pre-measured bags, with Viking Pilsner Malt, Weyerman CaraHell, and some flaked maize. The hops came in light-proof, thick bags, where the hops were nitrogen flushed before bagging. In addition to the pellet hops, there was a Kick Carrageenan tablet- a clarifier used in the boil kettle. The recipe kits from MoreBeer don’t come with a specific yeast, instead they give you a list of yeast recommendations from some of the different yeast vendors they carry (White Labs, Wyeast, Omega, and Fermentis Dry). Following the style-bucking trend of the recipe creator, MoreBeer suggested I try a Cellar Science dry yeast called Berlin. In addition to the ingredients, there was a recipe card with basic brewing directions, a cut-out shape to go with the MoreBeer custom tap handle, and a sheet of basic brewing process tips.
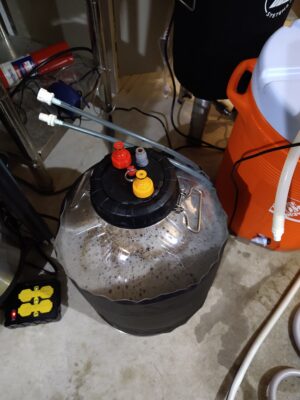
As I had plans to do a fermentation side-by-side experiment, I actually brewed this with two recipe kits combined into one batch to make a single ~11-gallon batch to split between two fermentors. This was easily managed in my 15-gallon kettles
Related: Tips for Brewing Mexican Lager, Review Continues Below:
Brew Day
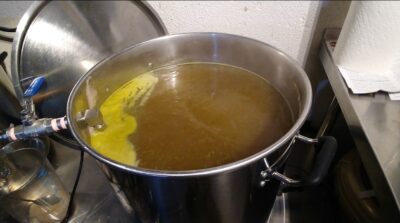 Full Kettle Rolling Boil
The recipe directions were very general. For example, they gave mash temperature, but didn’t specify a mash time. For seasoned brewers, this is a welcome flexibility, since we all have our particular opinions on certain process details. For newbies, this might mean a little outside research is required, which could be a good learning experience anyway. The recipe called for a 148F mash. My previous experience led me to mash for 75 minutes at that lower mash temperature, and I always finish every mash with a 10-minute rest at 168F. I adjusted water with brewing salts to match Brewfather’s “Pilsen (Light Lager)” water profile and lactic acid to adjust the pH. I ended up with a measured pH of 5.57 in the mash, higher than the 5.3 I was targeting. I then did a 60-minute boil, where I added the hops as per the schedule. I added the Kick Carrageenan tablet with 5 minutes left in the boil. Same as last time I used this clarifying tablet, long strings of things formed in the kettle that I don’t normally see with my Irish Moss. I hit an Original Gravity of 1.044, with a slightly higher mash efficiency than I expected.
Fermentation
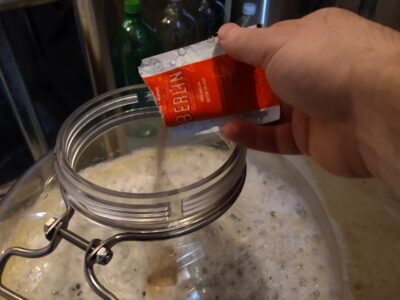 Direct Pitching the Dry Yeast
After the wort was chilled post-boil, I filled two FermZilla All Rounder fermentors – Hands on Review, alternating the flow back and forth between the two fermentors until they were both at equal volume of about 5.4 gallons in each. I’ve only fermented with dry yeast one other time over several years of brewing. I’ve read about the ideal process of rehydrating the yeast before pitching. But digging into the details of this, that was a lot more headache than I wanted to entertain, so I just pitched the yeast into each fermentor straight from the pack. I used 2 packs in each fermentor, to ensure I had a good pitch. Since one pack is intended to inoculate a full 5-6 gallon batch, I definitely had sufficient yeast cell count.
 Oxygenating the Wort After Split into Two Fermentors
The first batch I fermented at typical cool lager temperatures using a Cool Zone Brewing stretchy Velcro cooling manifold on the outside of the fermentor. I started this one off at 55F and held there for 5 days, allowing CO2 to escape through a blowoff tube. I then gradually bumped up the temperature by about 2 degrees whenever I saw the SG rate start to slow, as I monitored gravity continually with a Tilt. The gravity drop really slowed after about 12 days but kept slowly dropping so I let it finish out at 64F. It stayed in the fermentor until 20 days, reaching a FG of 1.012 (4.2% ABV), or 72% apparent attenuation. I moved the whole fermentor into my beer fridge to cold crash. After 3 days in the 35F fridge, I pushed it into a purged keg using bottled CO2 for a closed transfer, then hooked it up to CO2 for ‘set it & forget it’ carbonation.
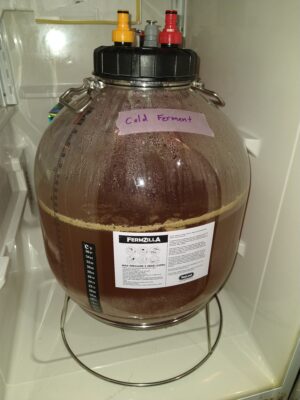 Cold Crashing Fermentor in Fridge
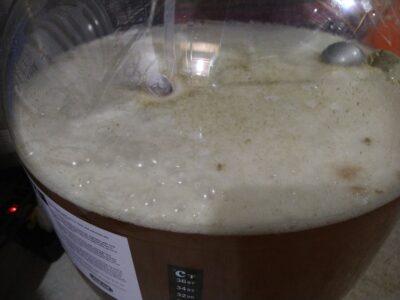
The second fermentor I left sitting in my basement without any temperature control. Out of my counterflow chiller, the wort started at 62F in the fermentor. I left the spunding valve open for the first 24 hours to give the yeast a chance to get started, then I closed down the spunding valve to build pressure. Keeping an eye on the pressure, it climbed about 1.5 psi every hour. Once it reached 14 psi after 10 hours, I adjusted the spunding valve to regulate there. With cool basement temperatures, it stayed at 62F and 14 psi for 3 more days. As gravity drop started to slow, I raised the temperature over the next 3 days until I reached 72F. At that point, I left things at 72F and 14psi as gravity continued to drop very slowly. Finally, 23 days after my initial yeast pitch, gravity had been stable long enough and I moved the whole fermentor into my beer fridge to cold crash. It reached a lower FG than my cold-fermented sample, measuring a FG of 1.009 (4.6% ABV), or 79% apparent attenuation. After 3 days in the 35F fridge, I pushed it into a purged keg using bottled CO2 for a closed transfer, then hooked it up to CO2 for ‘set it & forget it’ carbonation.
Initial Impressions
I’ll first share my impressions about the beer overall, then I’ll get into the comparison of the split batch. The beer came out really well. I wasn’t sure what a German Helles/Mexican Lager would taste like, and I’ll admit I was skeptical about both the flaked maize and dry yeast. But I found the distinct contribution from the flaked maize of a light sweet aroma as well as mild sweetness in the initial taste made it super inviting. And the yeast stayed out of the way from a flavor contribution, other than it maybe tweaked the sweetness a bit, which worked well with the small bite from the Crystal and Saaz hops. It was flavorful and easy drinking. With the ABV 4.2 – 4.6%, it made a great session beer.
Pressure vs Cold
The point of this side by side test was to see how a beer fermented in the recommended cold range and not under pressure, compared to a beer fermented warmer that was under pressure. The concept/question being, can your lager turn out just as good, even if you’re fermenting at room temperature and not messing around with trying to keep it cool during fermentation?
I’d done a bit of online research, plus a few split batch experiments with fermenting under pressure previously, so I knew enough to have a plan for how to handle this batch. I followed my process goal of not doing any wort cooling, but the pressure ferment batch started out pretty cool. I would guess that had I been fermenting under pressure at 72F instead of 62F, I would have gotten different results. But this did meet a recommendation from a yeast manufacturer that for best results on pressurized fermentation you should try to start fermentation at least at the top end of the recommended temperature range (Berlin yeast recommended range of 54-62F). Those disclaimers out of the way, I could detect a notable difference when the beer was very young, after ~1 week in the keg. At that point, the cold fermented beer had a great aroma and sweet taste of the maize, whereas the pressure fermented beer had an astringent aftertaste.
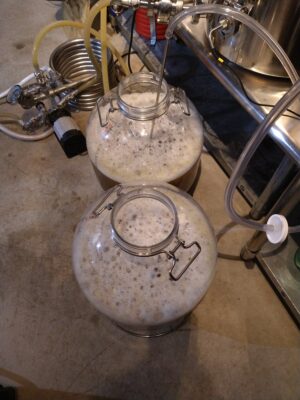
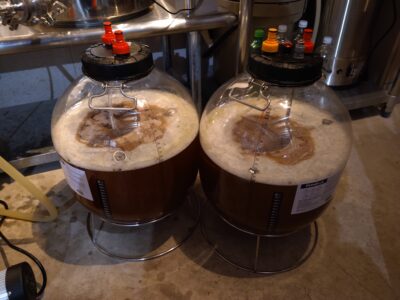 Fermentors Filled and Yeast Pitched
When I tasted again at 4 weeks lagering, I could still detect those flavor trends, but both were less pronounced. In my blind tastings for myself, I was able to distinguish the beers, typically due to the slight astringency in the pressure fermented beer. I poured 2 samples of each into opaque cups, then randomly shuffled the cups and selected 3 of the 4 cups for tasting. I then determined which 2 cups were the same beer, and which was the odd beer out. I also did the same blind tasting process with some neighbors. Altogether, out of the 9 tasters, 6 were able to separate the beers, as summarized below.
 Pressure Ferment After Reaching 14 psi
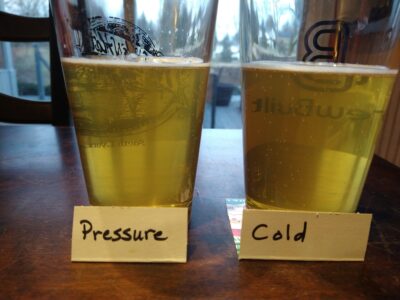 Beers 21 Days After Kegging
Blind Tasting
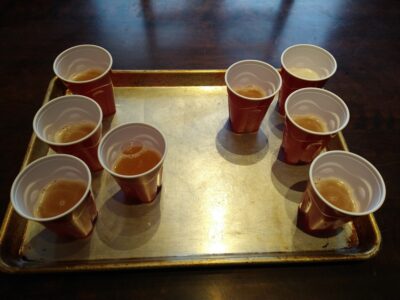
9 Blind Tastings
- 3 Could not identify
- 6 Could identify
- 4 Preferred cold-fermented
- 1 Preferred pressure-fermented
- 1 No preference
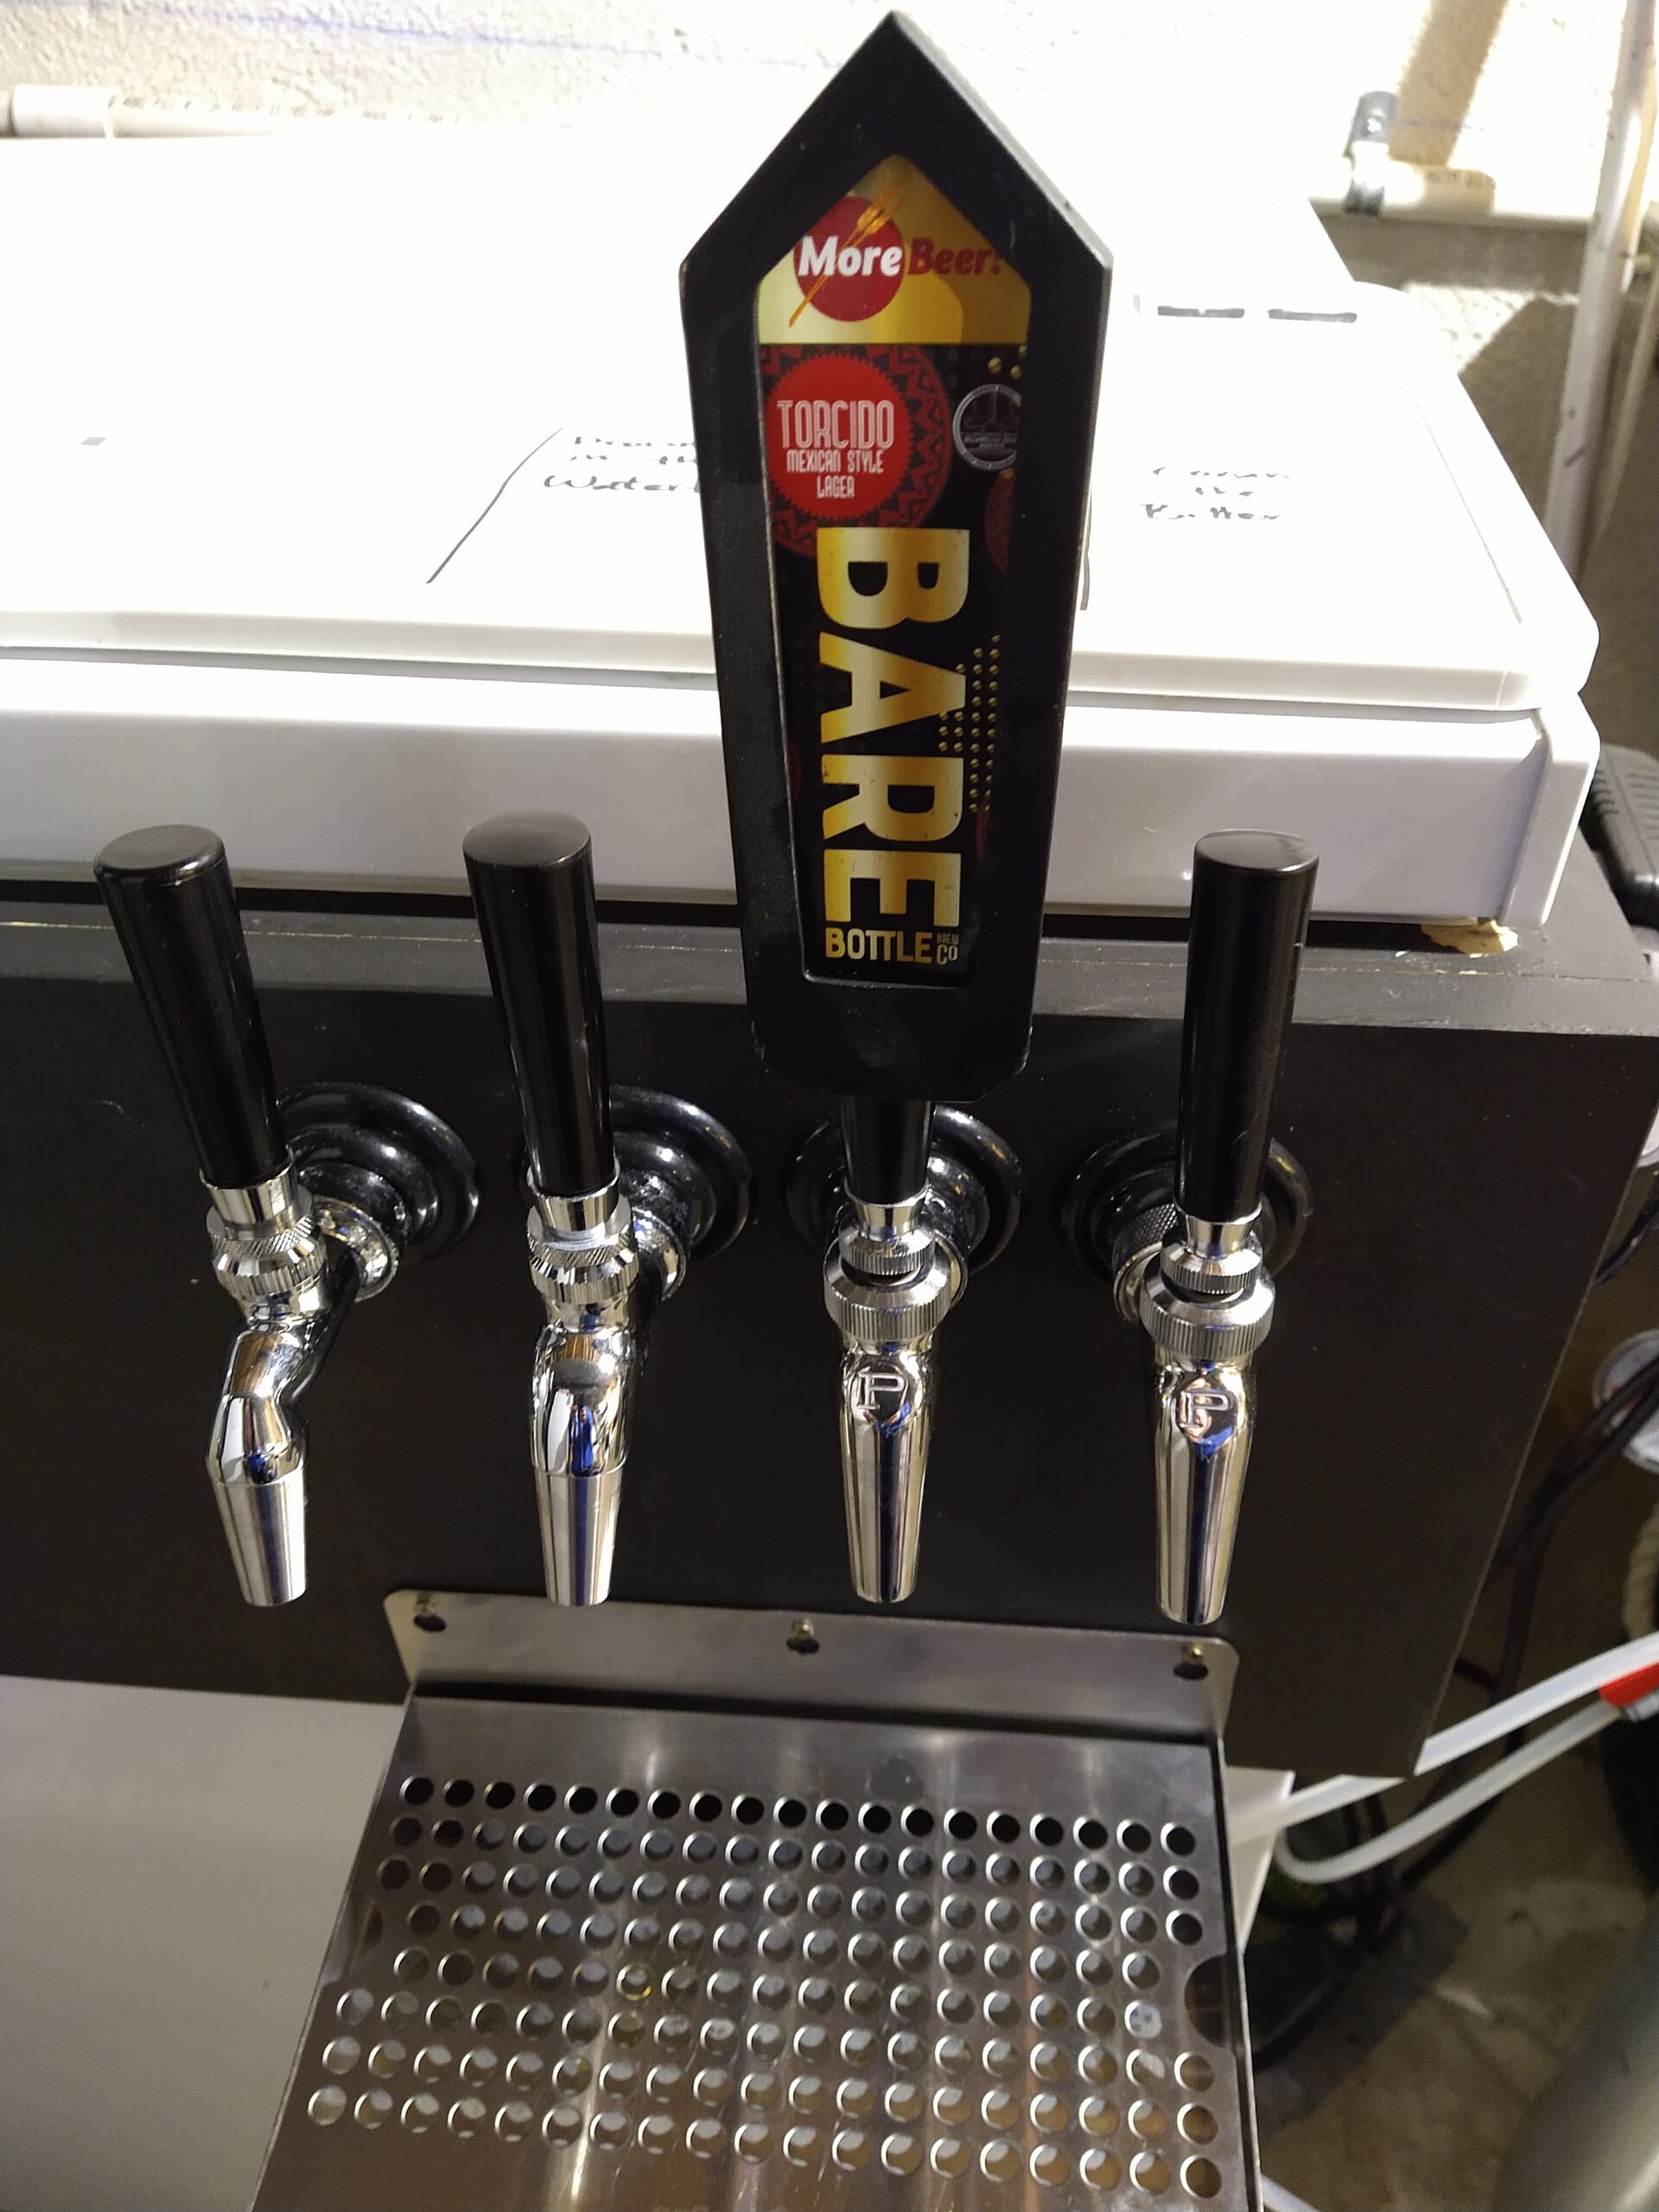
Custom Tap Handle and Included Insert
![]() Custom Tap Handle for Recipe Card Insert or Chalk Writing on Blank Inserts. Note: All MoreBeer recipe kits include a free insert that works with this tap handle.
Custom Tap Handle for Recipe Card Insert or Chalk Writing on Blank Inserts. Note: All MoreBeer recipe kits include a free insert that works with this tap handle.
Tap Handle with Included Professionally designed insert
Conclusions
The recipe kit was made up of good quality ingredients, as the clean taste of the finished lager attested to. I learned that maize could be an ingredient used with intention for flavor and is not just a cheap malt substitute. I also found the Cellar Science Berlin dry yeast to be a clean lager yeast with nice flavor contributions without the baggage of diacetyl or sulphur. And my pressurized fermentation experiment showed me that you can get pretty close in flavor without using fermentation cooling equipment, but cold fermentation still provided a better character overall.
- Barebottle Brewing Companys Torcido Mexican Style Lager – All Grain Beer Brewing Kit
- Barebottle Brewing Companys Torcido Mexican Style Lager – Extract Beer Brewing Kit
- MoreBeer Clone Recipe Kits – Heady Topper, Sculpin, Zombie Dust & LOTS More
MoreBeer Recipe Kit Deals!
Related, Review (LOTS More Info) Continues Below:
- Fermenting Under Pressure!
- Build a Spunding Valve! – How and Why
- MoreBeer!® Tap Handle for Recipe Kits D1282
- CellarScience Berlin Yeast – Complete Selection
- FermZilla All Rounder fermentors – Hands on Review
- KICK Carrageenan Micro-T Tablets
- Hands on Review: Brewfather App – Recipe Formulation, Calculators & Brew Day Tools
Fermentation Data Plots
Fermentation Plots using TILT Bluetooth Hydrometer – Hands on Review
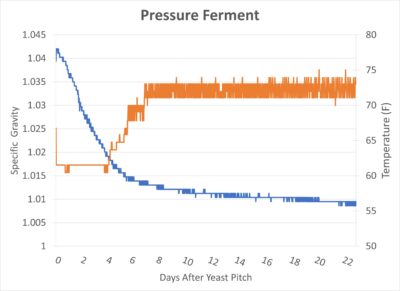 Pressure Ferment Fermentation Plot
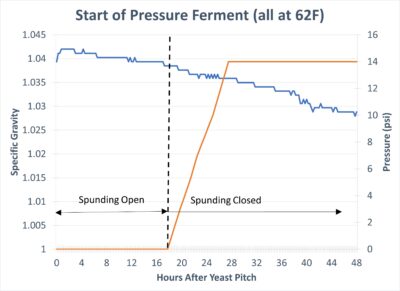 Pressure Build at Start of Pressure Ferment
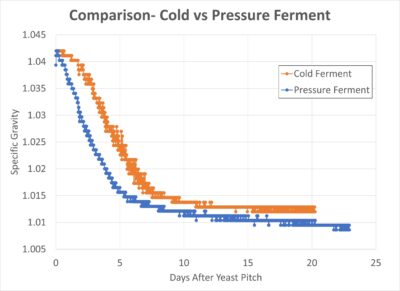 Comparison- Cold vs Pressure Ferment
More Photos
 Cooling Jacket Velcro’d Around One Fermentor
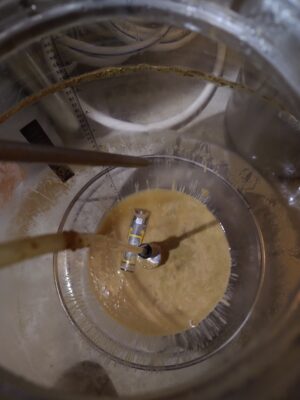 Appx 0.2 Gallons Yeast Sludge After Cold Crash
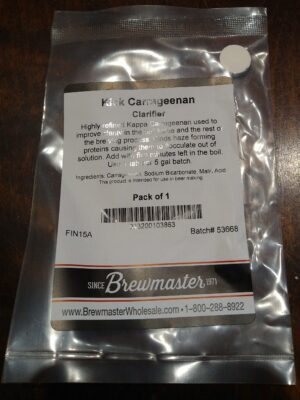 Kick Tablets
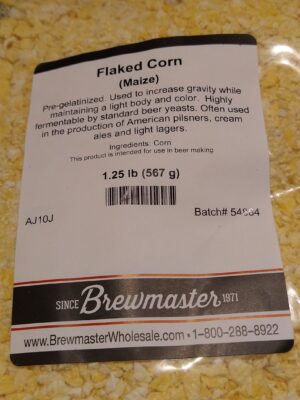 Flaked Corn
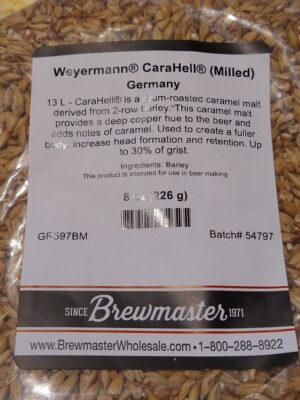 Weyermann CaraHell
 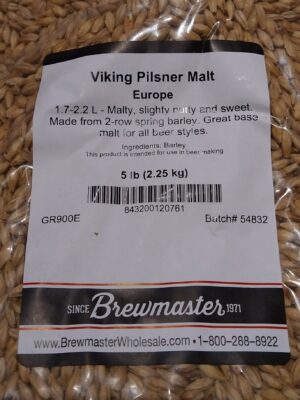 Viking PIlsner Malt
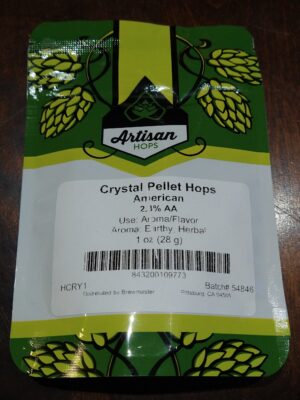 Crystal Hops
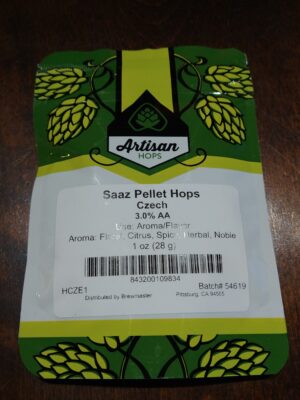 Saaz Hops
Get a Deal on Bulk Grain:

Hop Deals!

Our Spunding Valve Resource Post!

More MoreBeer Reviews+Related:

More Homebrew Finds!
- Last 50 Finds!
- Top Deals – a curated list of the best deals
- Homebrew Reviews – one of the largest libraries of homebrew reviews in existence!
- Our Top Posts – tips, how-tos, resources posts and more
- Let’s be Friends!
Recent Deals!

10 Most Recent Homebrew Resource Posts & How-To’s!

Special Thanks to MoreBeer for providing the kit used for evaluation in this review.
By Brad Probert. Check out Brad’s website – beersnobby.com
pinnedThis post may contain affiliate links. We may make a commission when you use our links. This will never cost you extra. Thank you for supporting Homebrew Finds!
greatdealsPrice, promotions and availability can change quickly. Check the product page for current price, description and availability. tag:lnksfxd review:b3torcido tag:tpr