
Hands on Review: Barley Crusher MaltMill!
This review is by Homebrew Finds Contributor Michael Gom. Read more about Michael below.
Note that this review covers both the 7 and 15 lb Barley Crusher Grain Mill
Hands on Review: The Barley Crusher
Having brewed all-grain for many years, I’ve spent lots of time refining my processes to try and produce predictable results. Things like brewing software make this much easier and do a great job of helping you calculate all your numbers. We can control how much grain we use and how much water, mash thickness, sparge volume, volumes going into fermenters, pitching rates, the list goes on. One thing I hadn’t been controlling, was my grain crush. When I had a local homebrew shop, the owner had no problem with me asking to double mill the grains to help get as fine a grain crush as possible while still not owning a mill. When he closed his shop, I was forced to start ordering my supplies online. Ordering from multiple different locations, having them mill my grain, it was obvious the variable that was changing was the crush size and I felt I was getting inconsistent results. Recently I purchased an all-in-one electric all grain system (Anvil), my brew days got much easier but my efficiency started to really suffer.
Check Current Prices & Availability, Review Continues Below:
7 lb Barley Crusher Mill
- The Barley Crusher MaltMill – via Valuebrew
- The Barley Crusher Grain and Malt Mill MILL500 – via MoreBeer
- Barley Crusher Grain Mill 7LB Hopper – via Adventures in Homebrewing
15 lb Barley Crusher Mill
- The Barley Crusher MaltMill – 15 lb Hopper – via Valuebrew
- The Barley Crusher Grain and Malt Mill w/ 15 lb Hopper MILL509 – via MoreBeer
- Barley Crusher Grain Mill (15 lb Hopper) – via Adventures in Homebrewing
Also: Search Amazon for Barley Crusher Grain Mill – offerings vary
Barley Crusher Motor Kit
- Barley Crusher & Cereal Killer Motor Kit – via Valuebrew
This article contains affiliate links. We may make a small percentage if you use our links to make a purchase. You won’t pay more and you’ll be supporting Homebrew Finds and more content like this. Thank you for your support!
Another benefit to owning a grain mill is the ability to use the freshest possible product. Uncrushed grains keep for longer than crushed grains, being able to mill right before a brew day lets you use fresh grains which is always nice when trying to get the most out of your products.
Unboxing
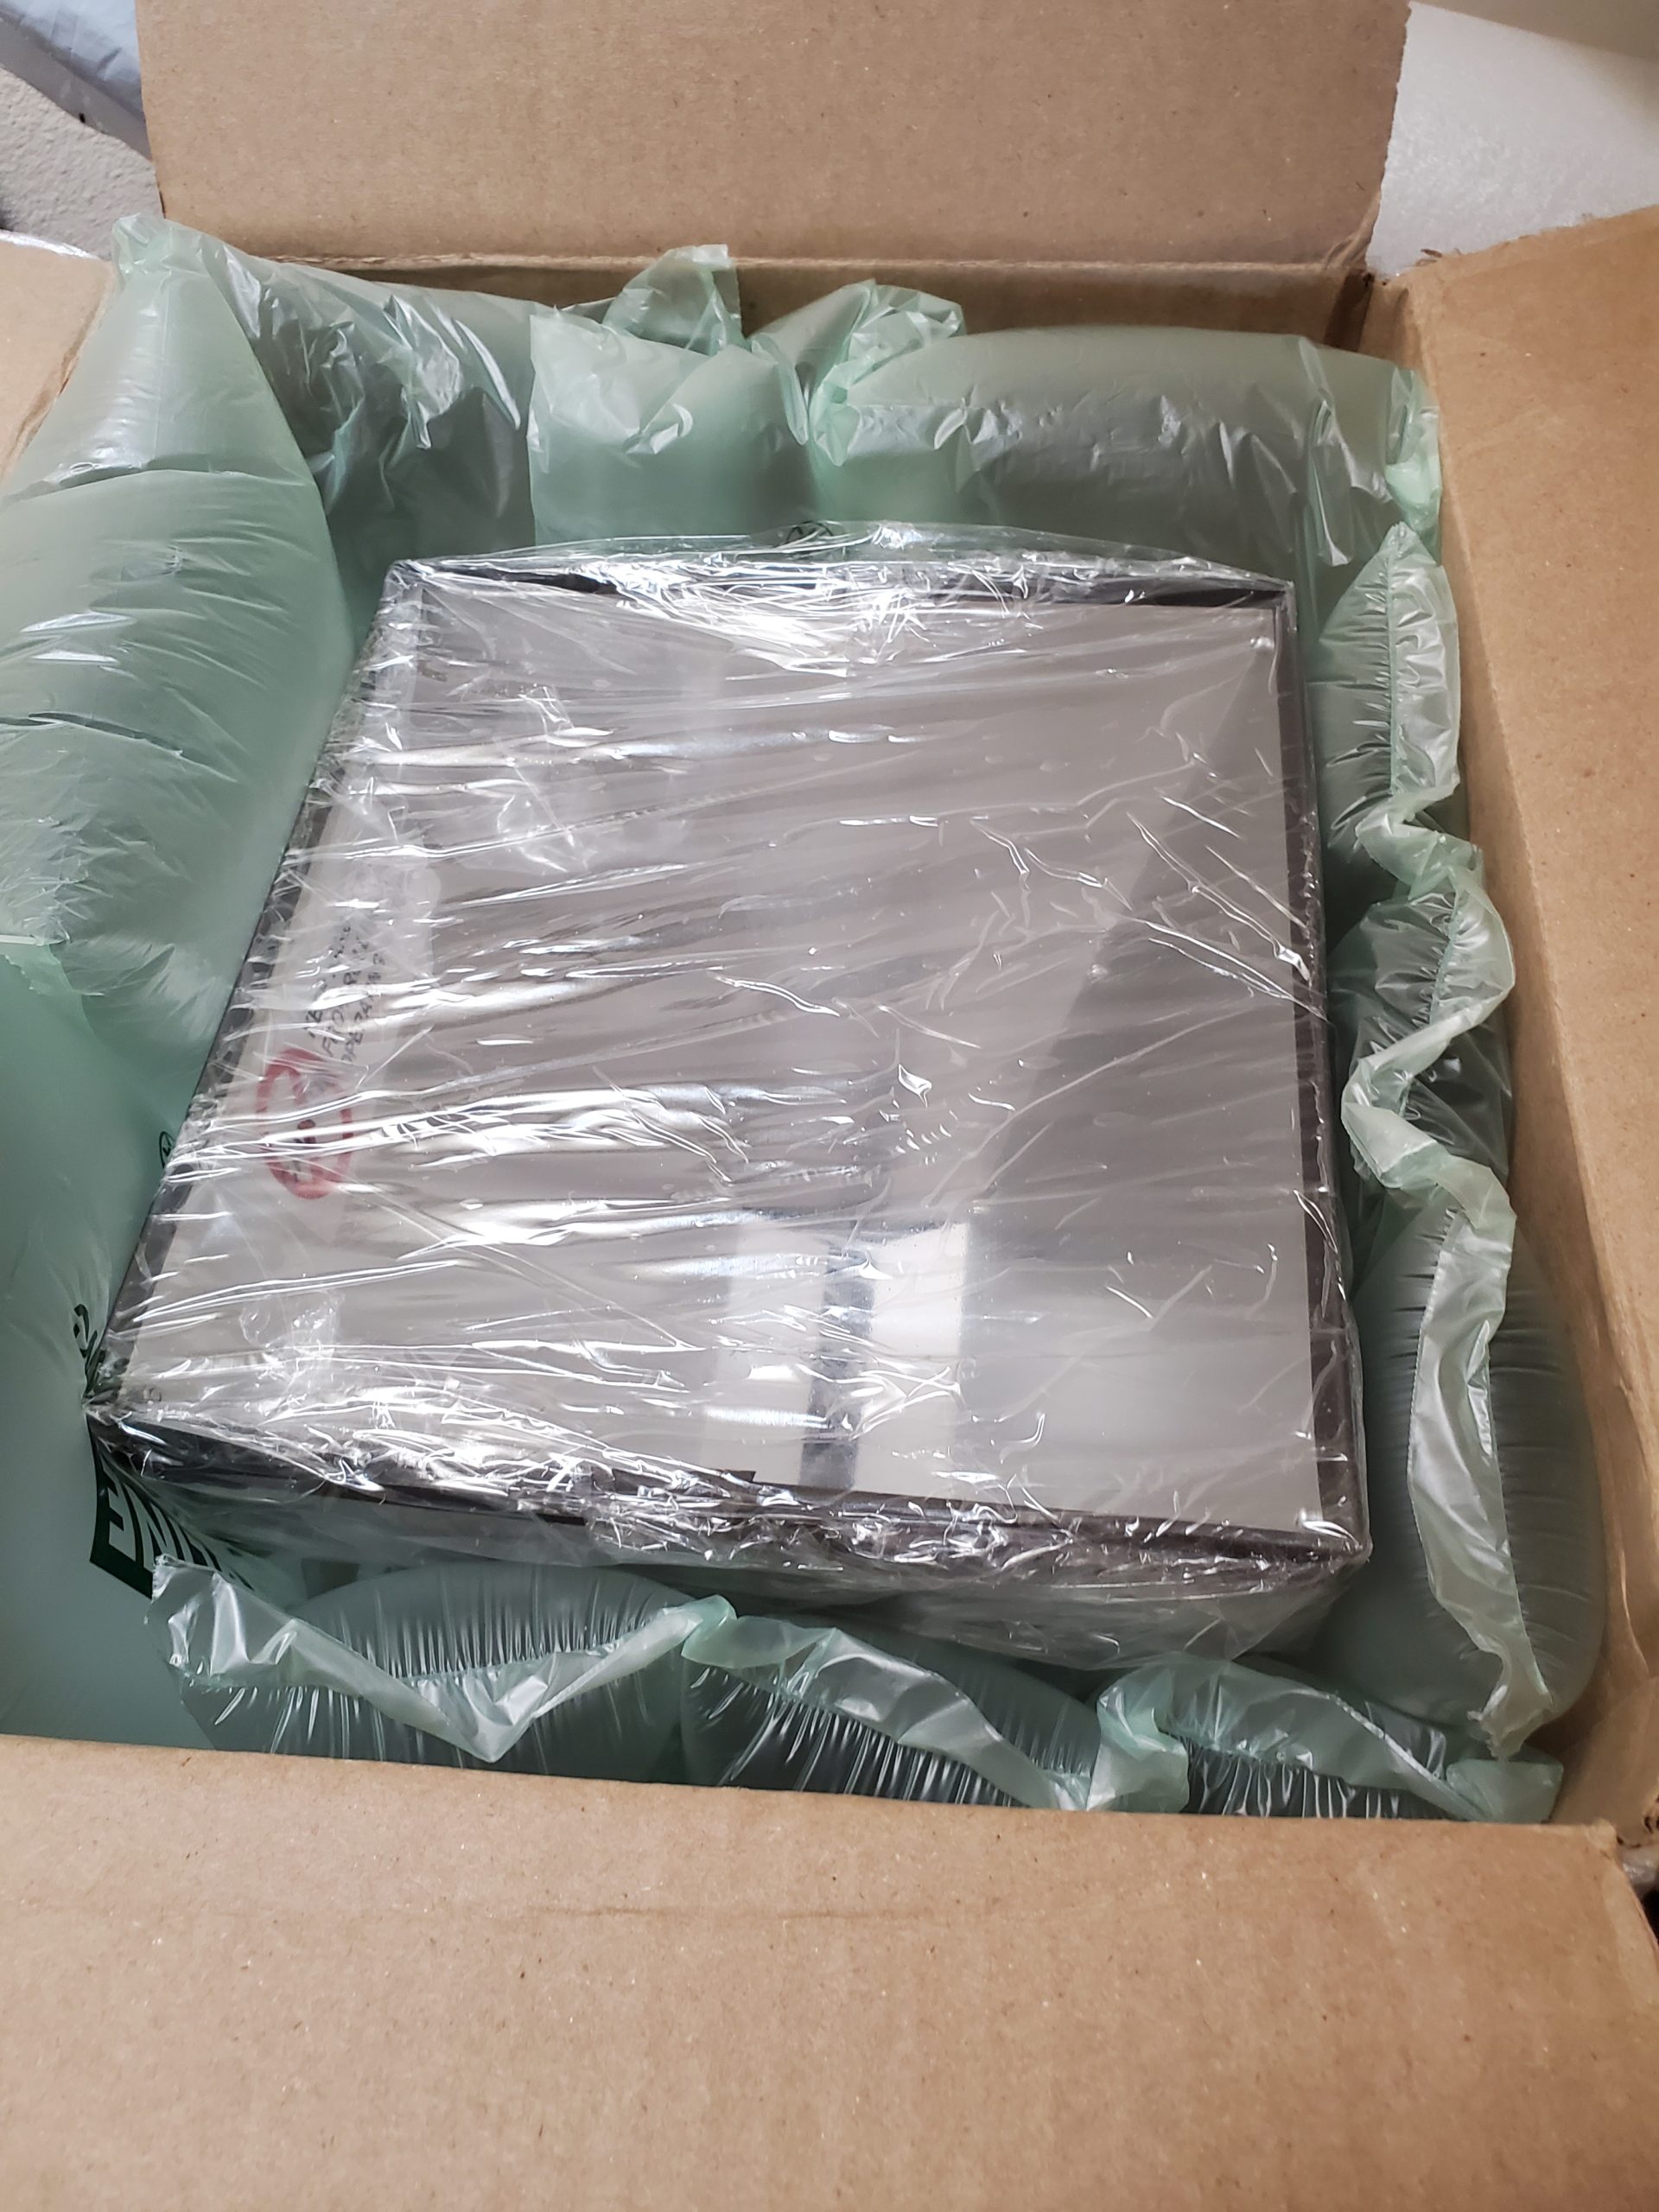 It came tightly packed in a box to help protect it from damage. It was mostly assembled, just the handle needed to be attached.
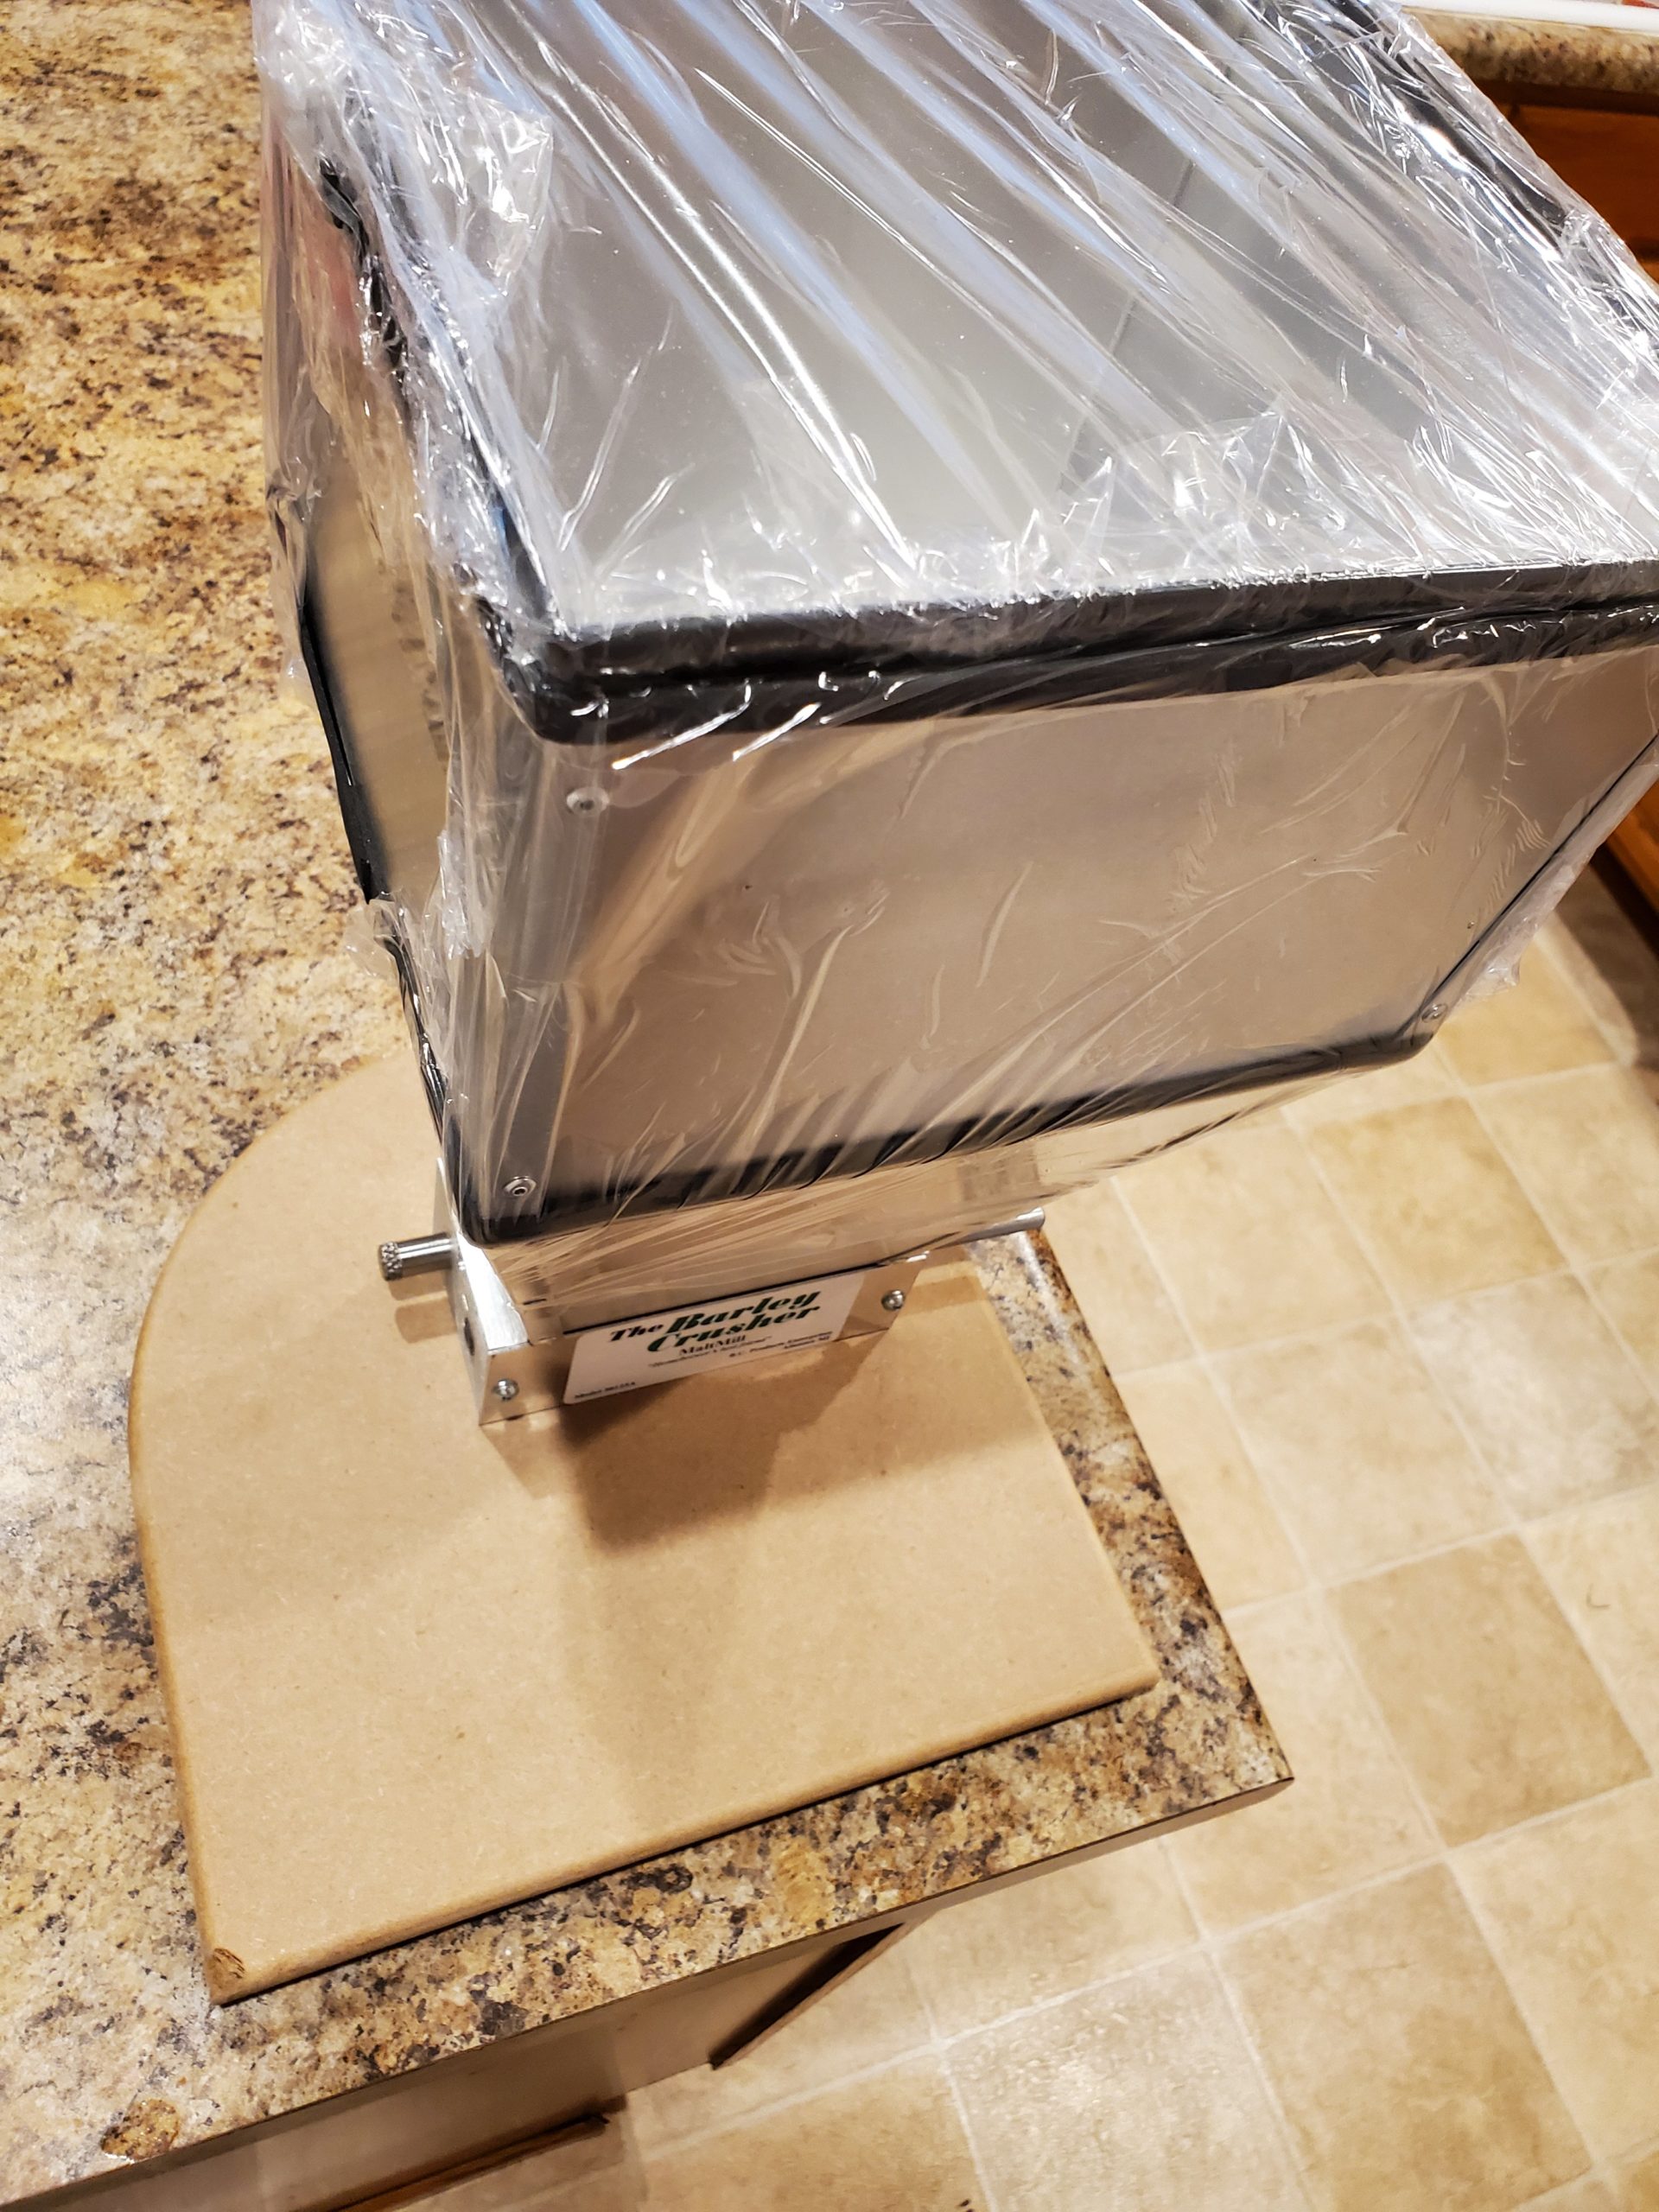 This unit sent to me was sent with the larger 15lb hopper and the smaller 7lb hopper.
 Small amount of damage on the corner of the board. This is some sort of MDF and not hard wood. I couldn’t tell if this damage was from shipping or if it was possibly packed that way but it’s purely cosmetic, not a big deal and wouldn’t affect the performance of the product.
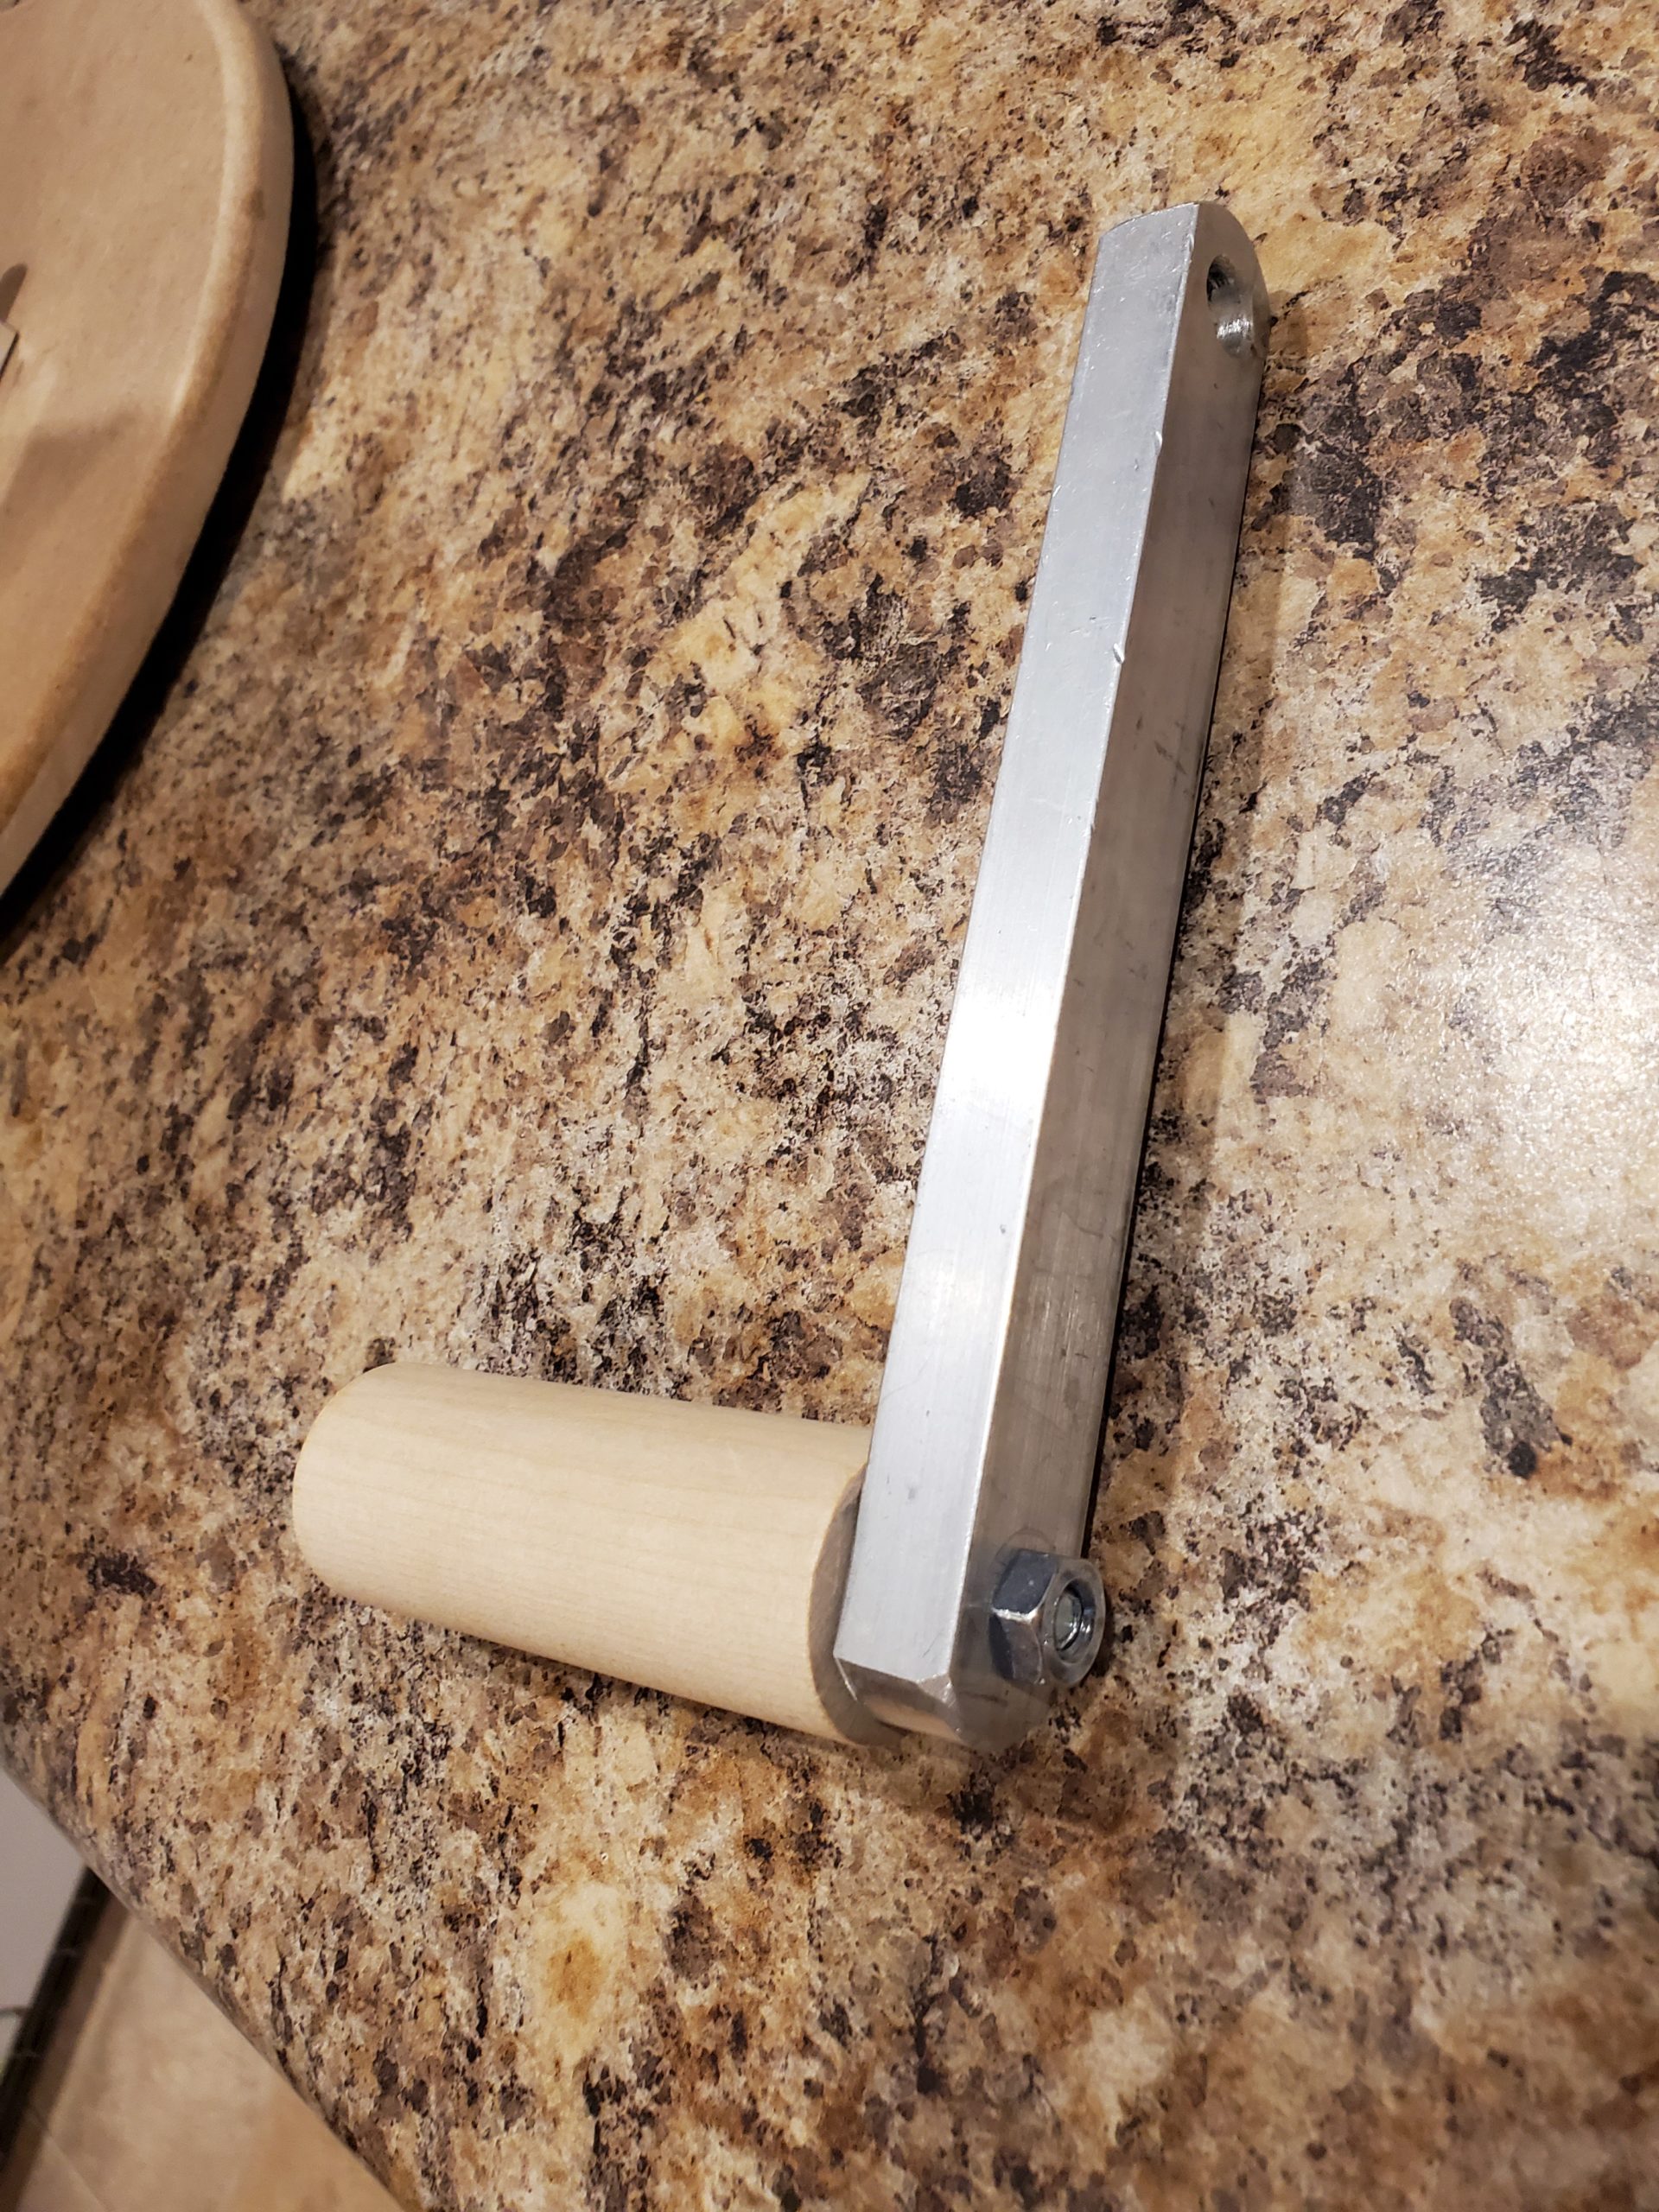 The handle was separate in the box. But what was missing? The set-screw for the handle, I thought I had been sent a unit without one, but after going back and looking around the floor, I found it, it was loose in the box and fell out when I pulled out the rest of the packaging.
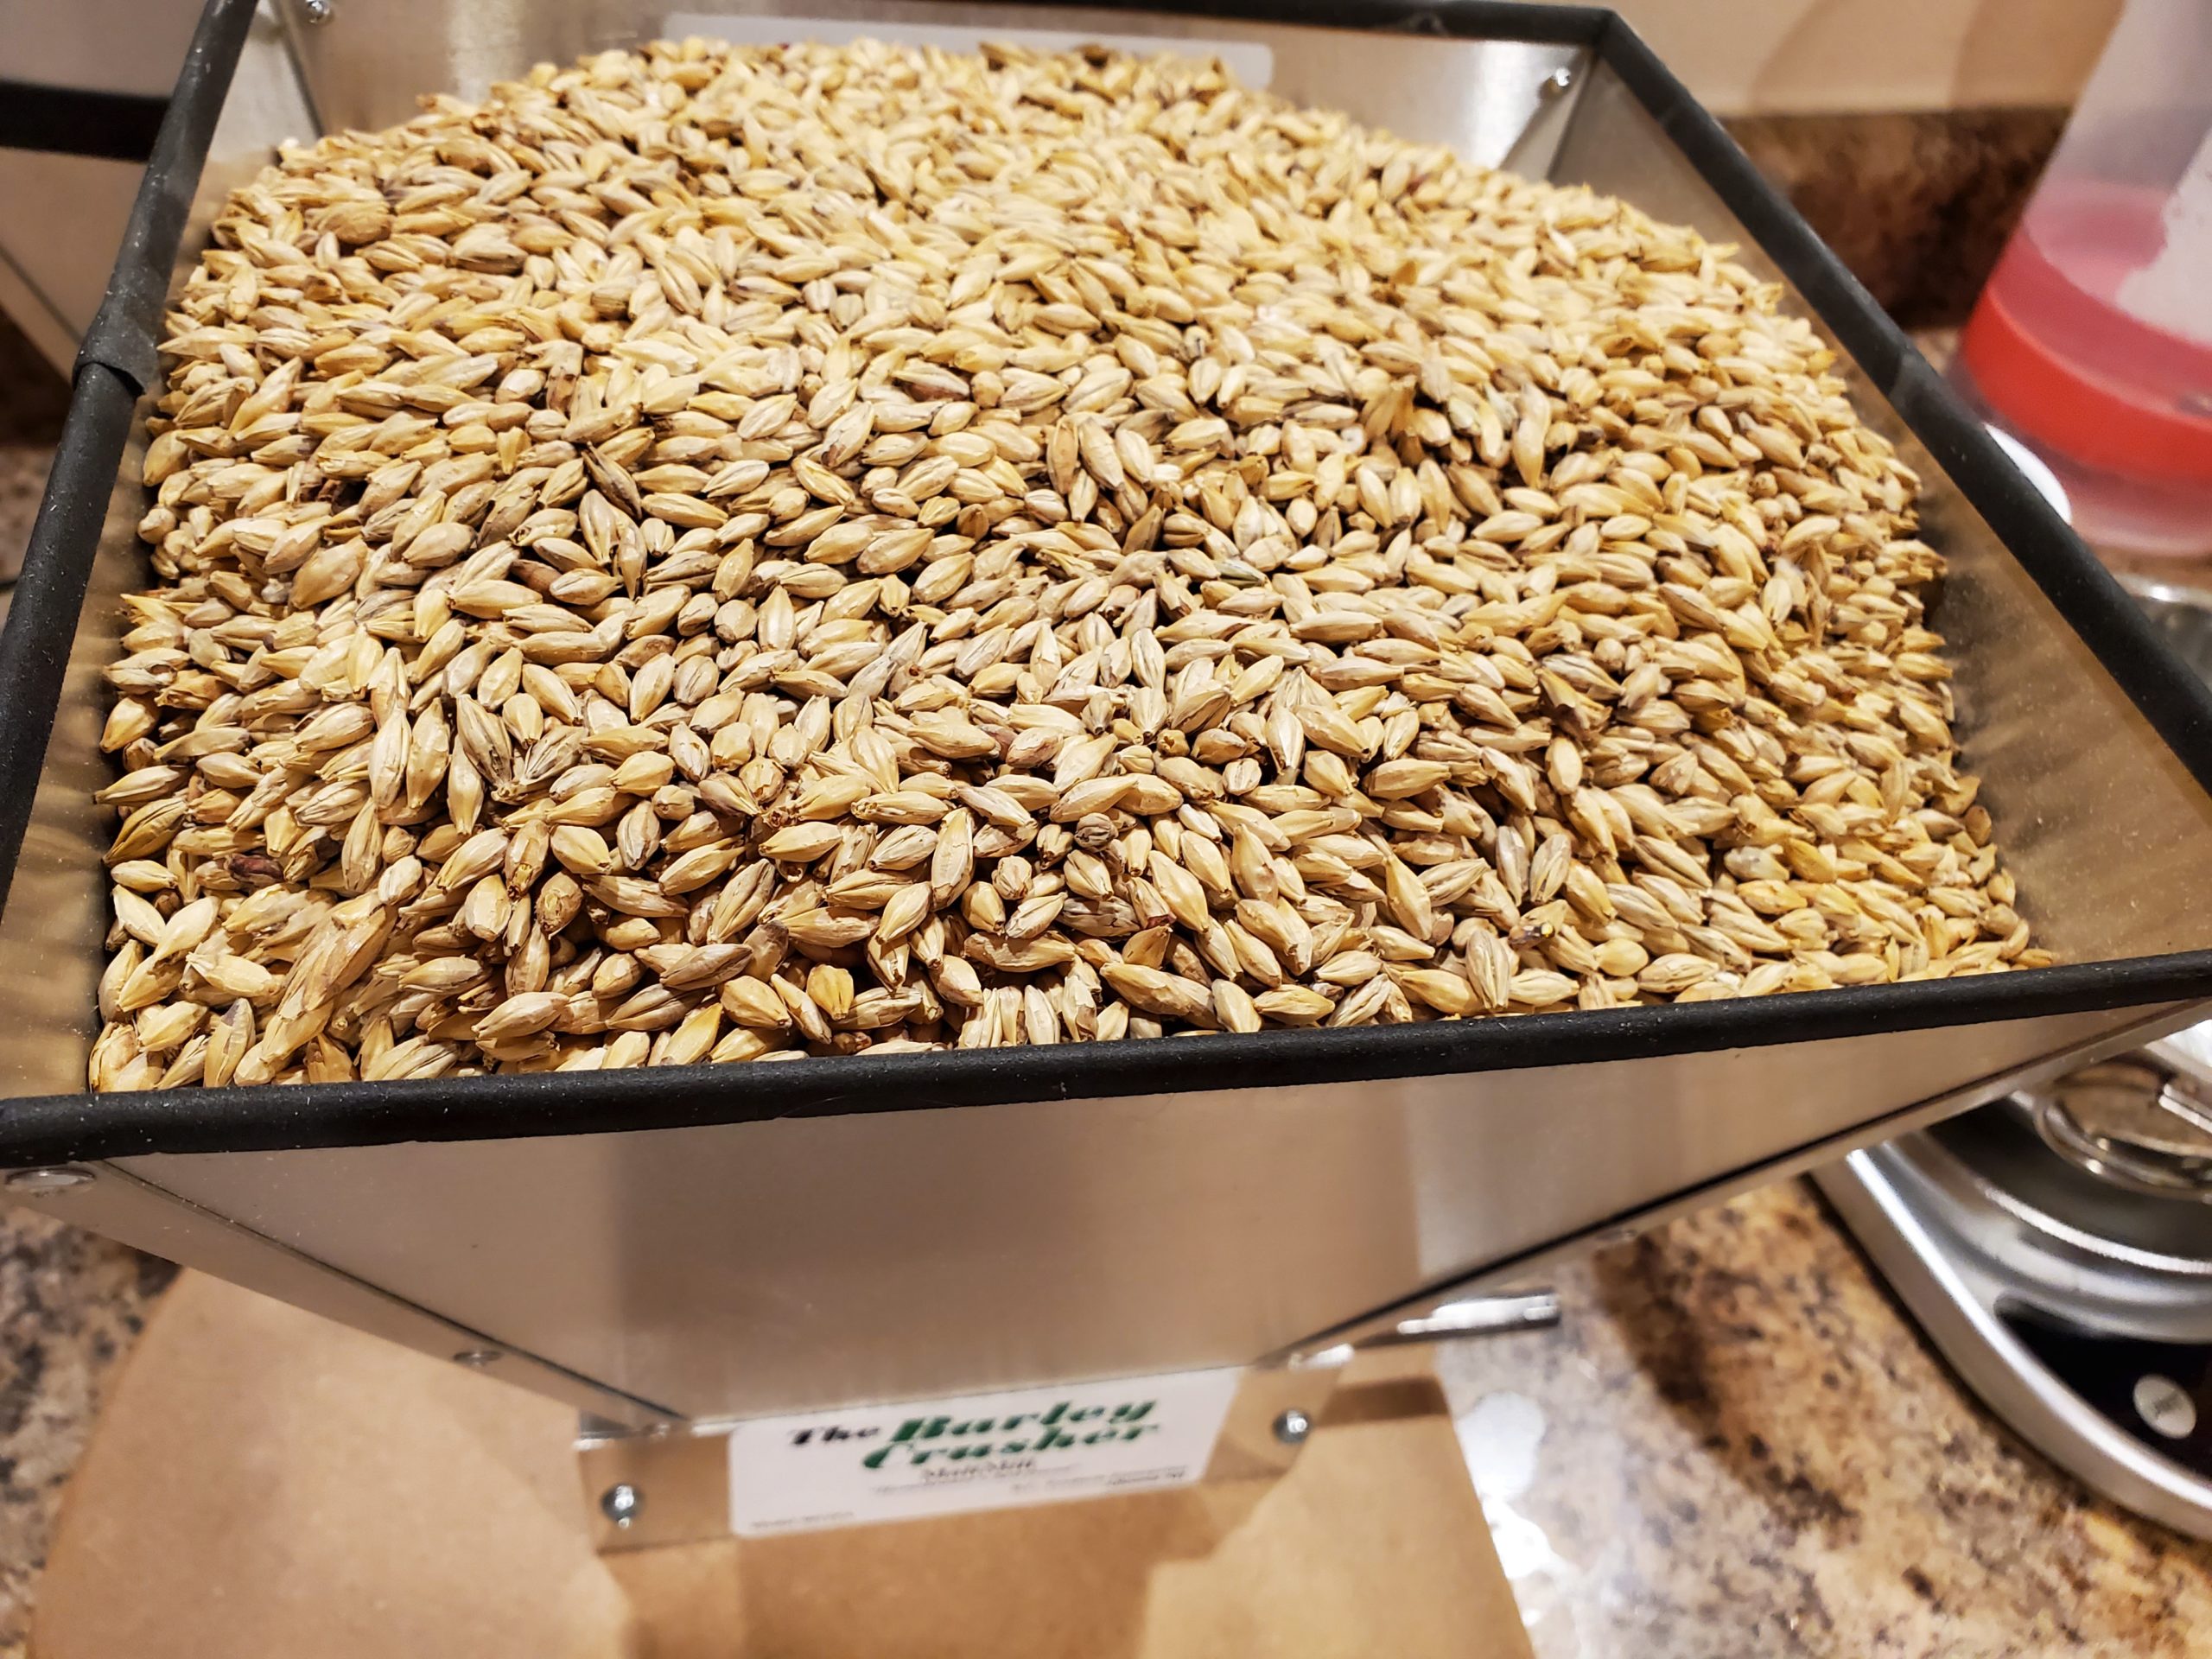
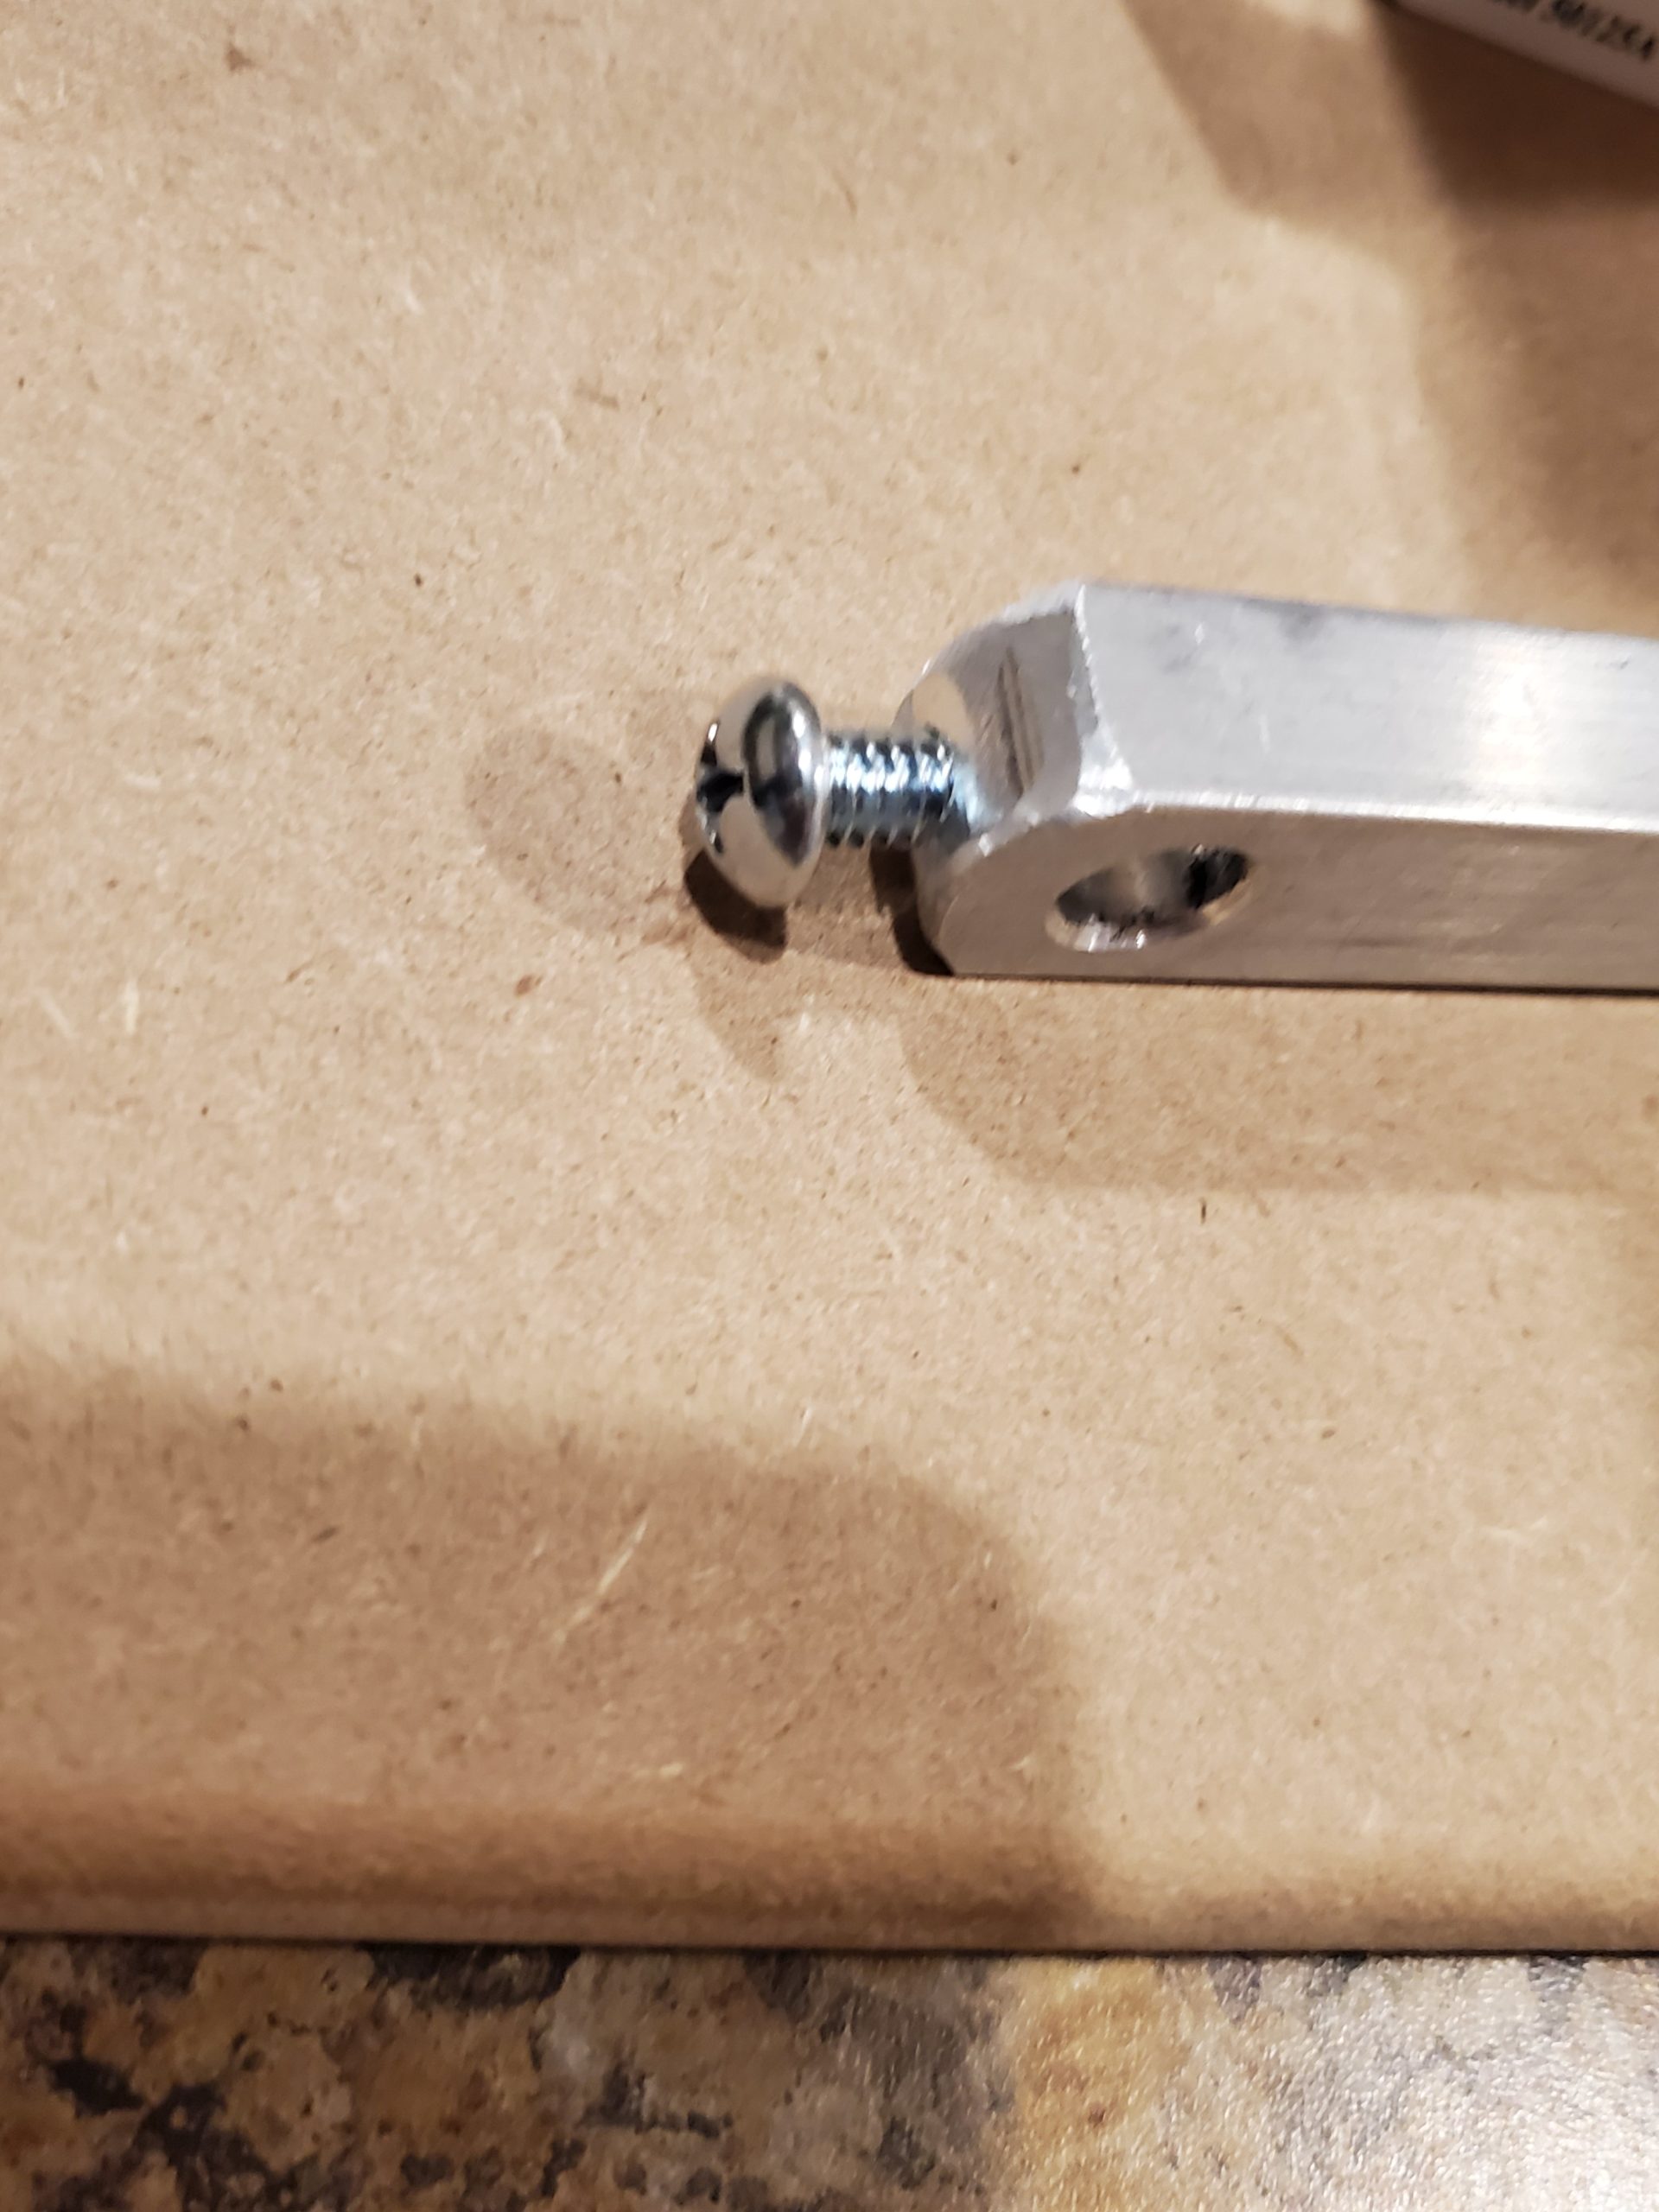 I screwed it into the bottom of the handle for safe keeping so I didn’t lose it. The unit did not come with any kind of instructions or documentation.The unit was sent to me with both a 7lb, and 15lb hopper. This 7lb hopper definitely holds 7lb of barley (picture above is exactly 7lb of 2-row). It also features a rubber gasket around the top sharp edges to help protect you from cuts. This seems to be permanently attached to the unit from the factory.
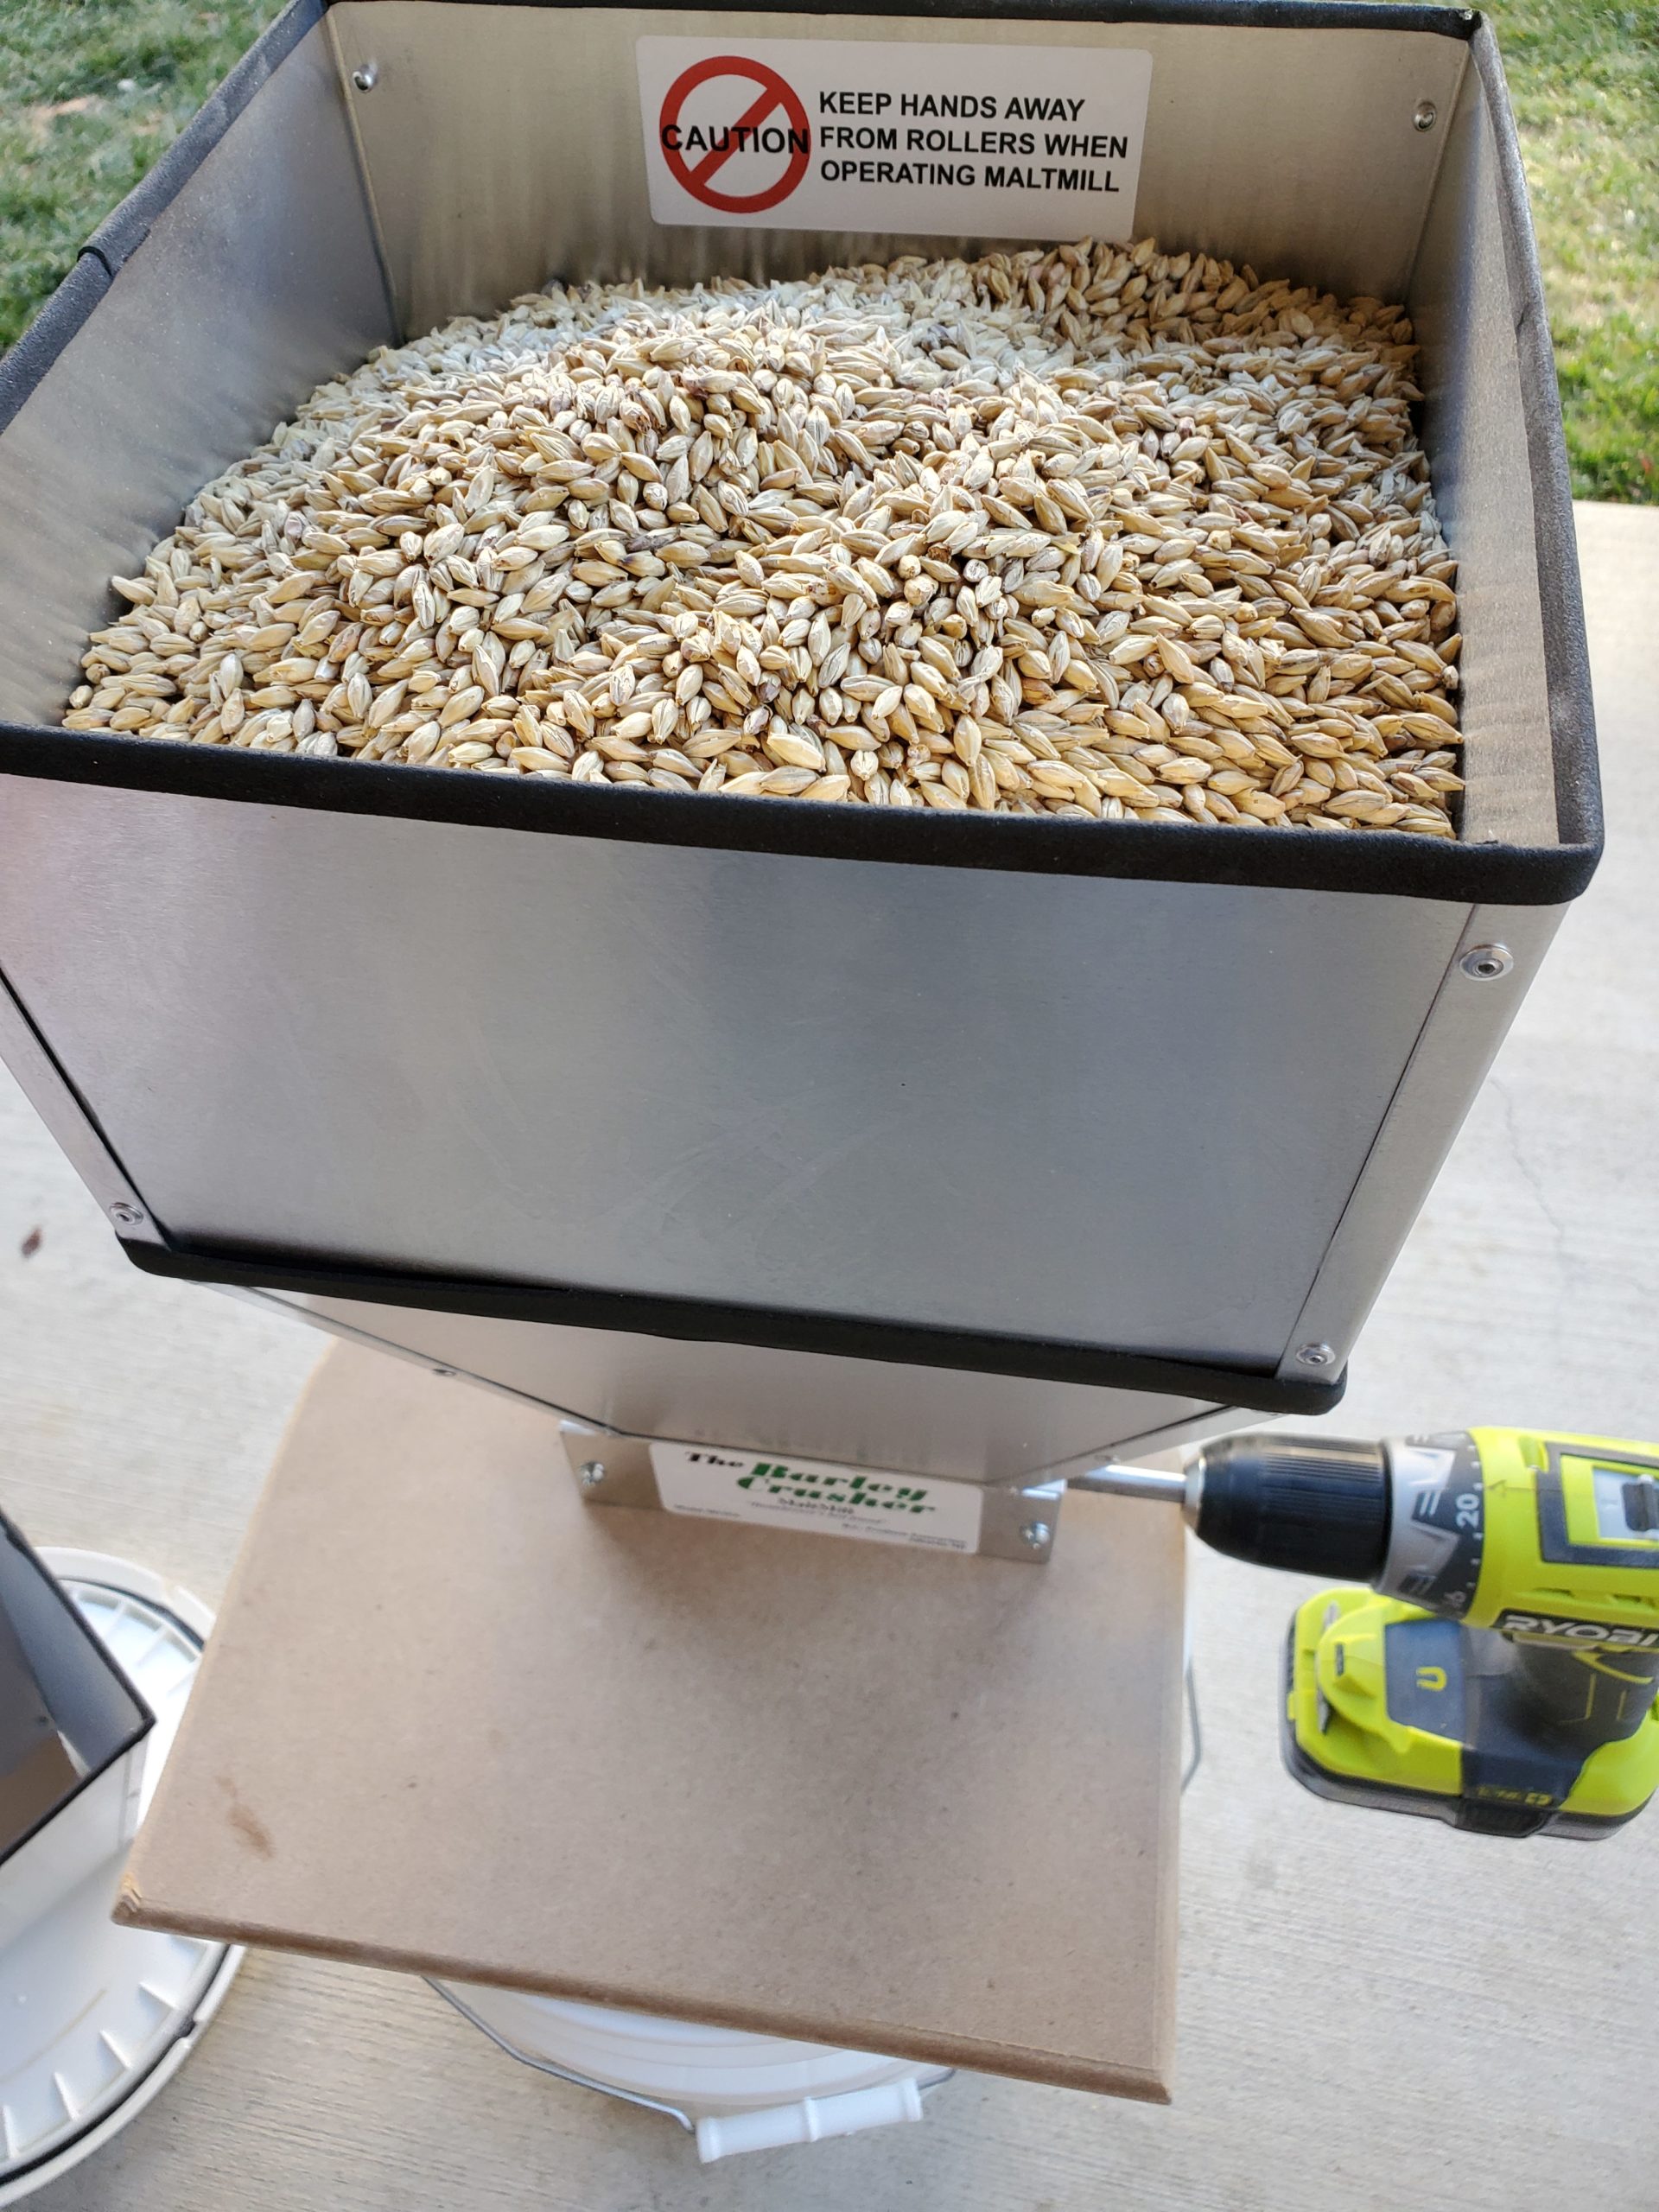 As mentioned, this unit came with both a 7 and 15lb hopper. The 15lb hopper looks like it would hold about 15lbs, pictured above is 13 lbs of grain with plenty of room to spare. Note that the bigger hopper seems to be the 7lb hopper with a larger piece added to the top. And again, there is a gasket pre-attached to the top for safety.If you’re feeling strong and want to tackle grinding 7+ lbs of grain by hand, the unit comes with a metal handle and a wooden grip.
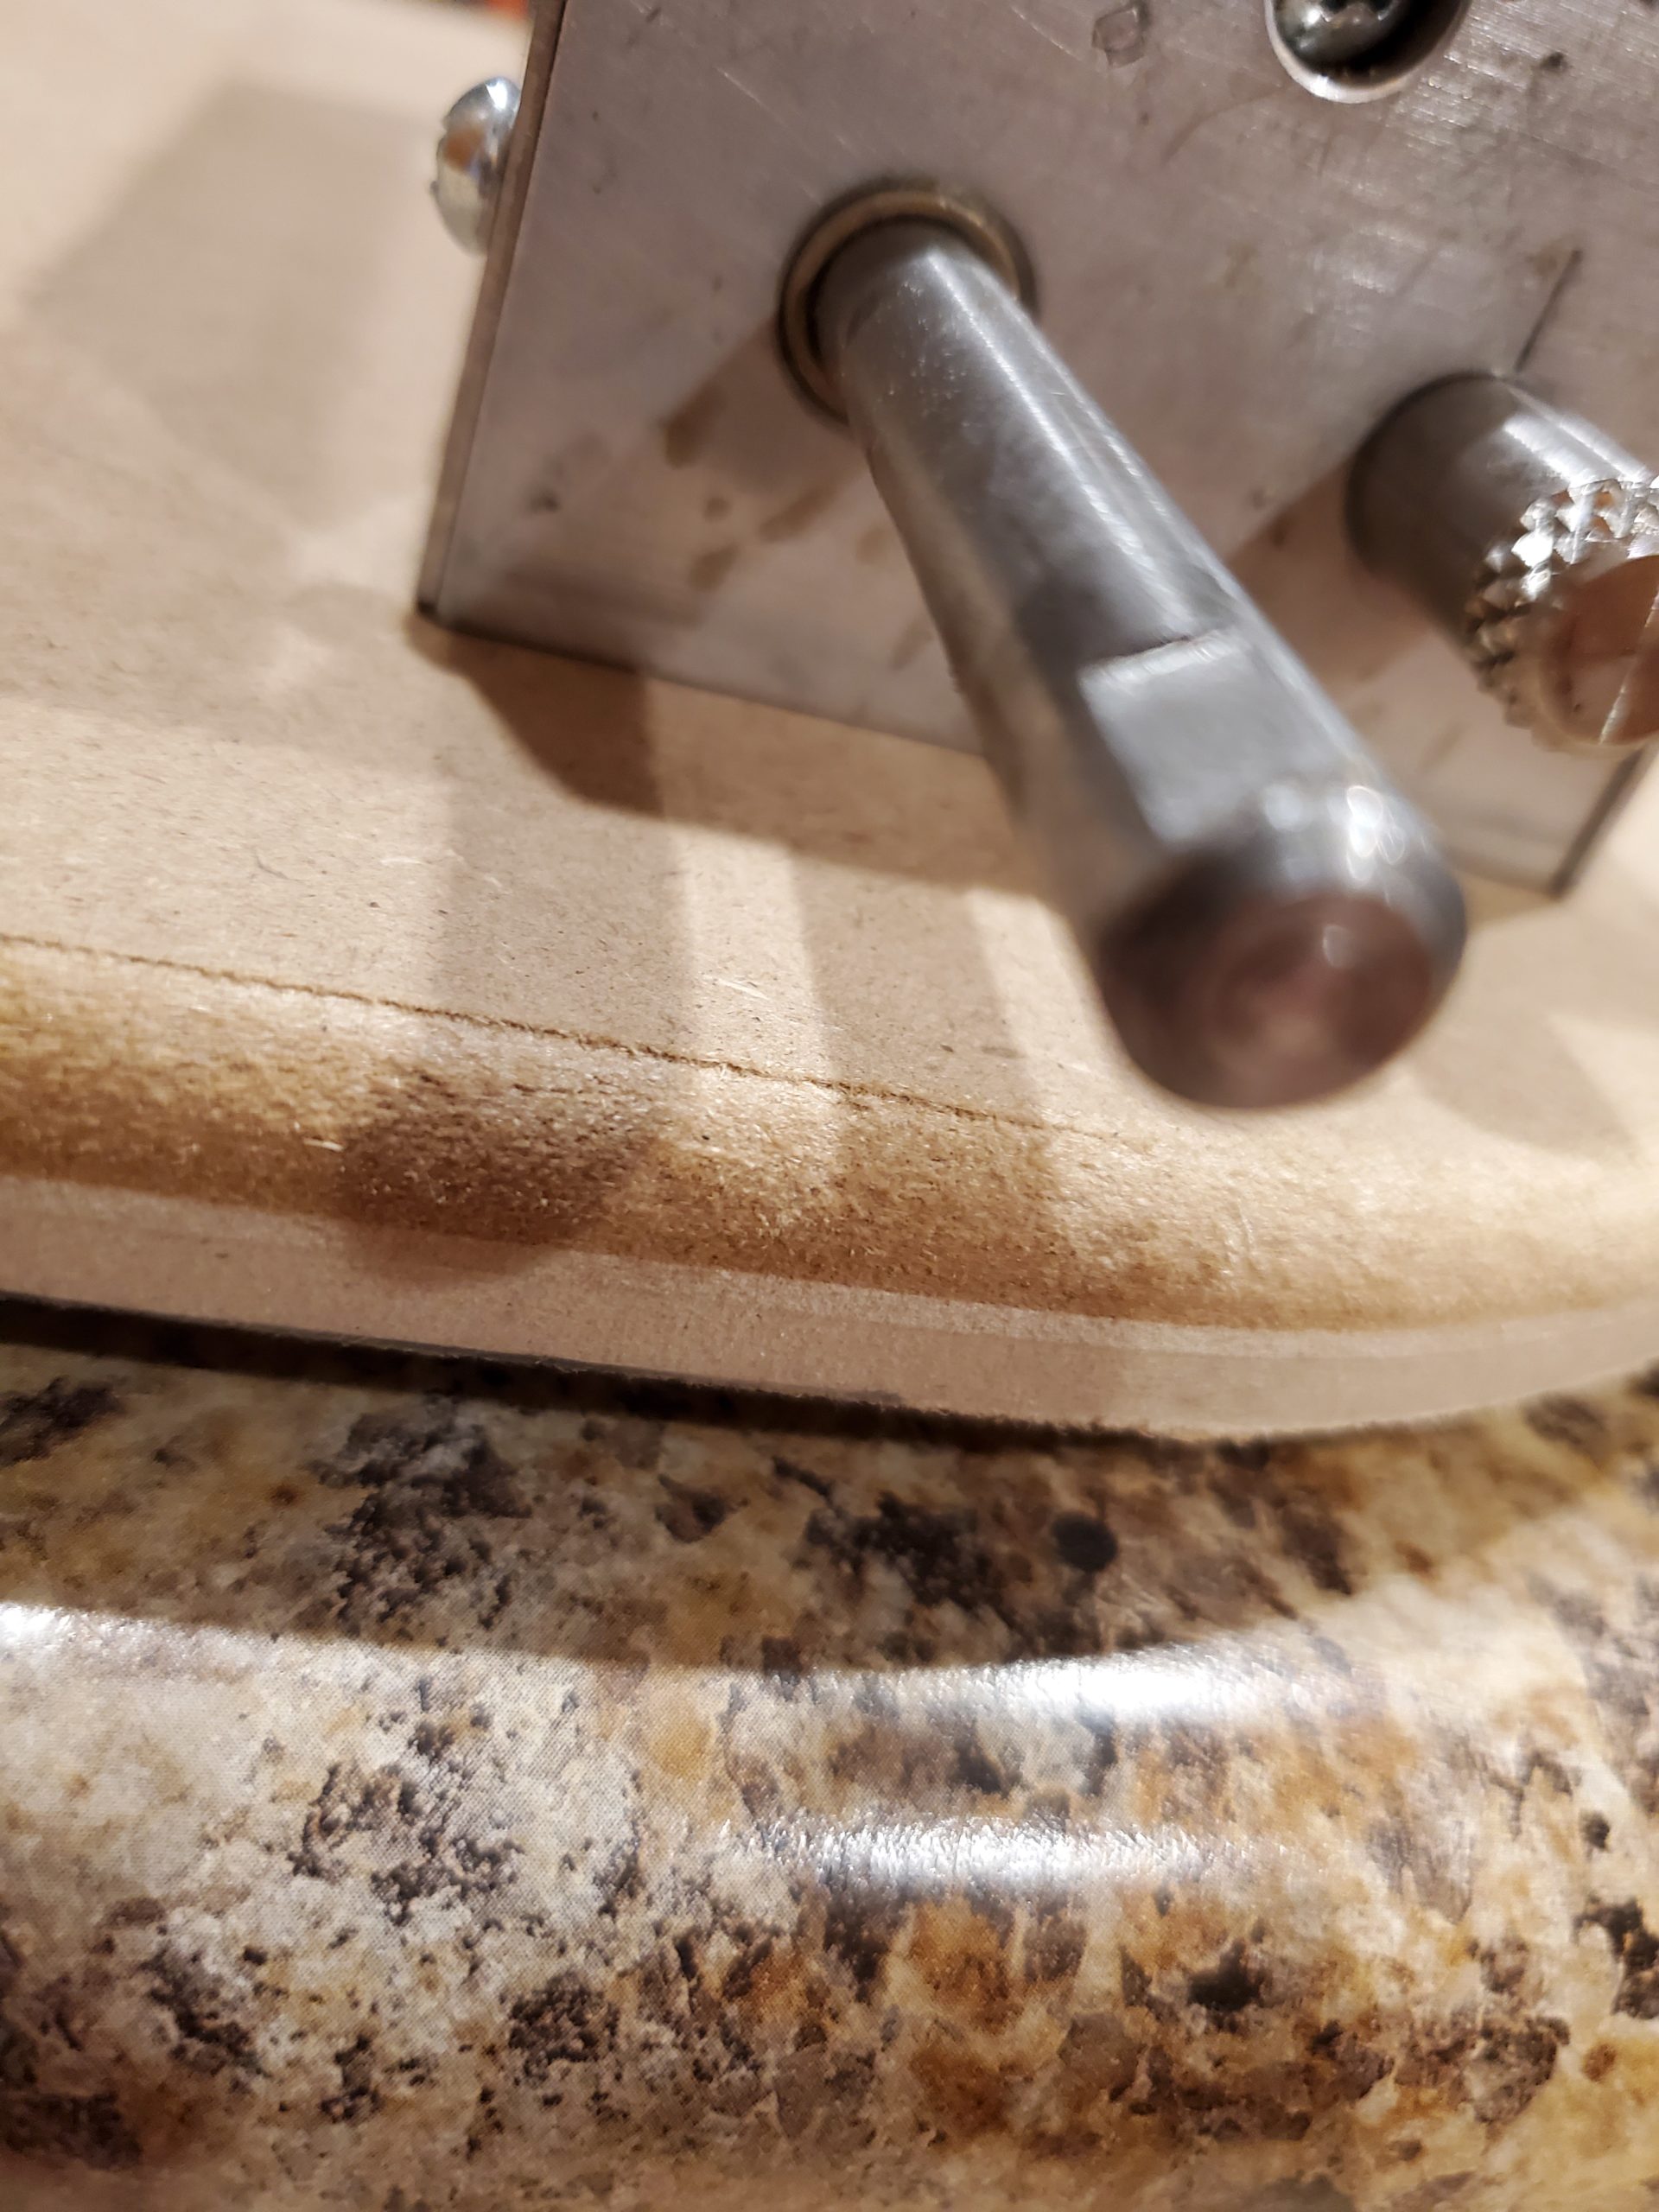 Though it may be difficult to see, the handle roller shaft has a flat spot to keep the handle from slipping while in use.
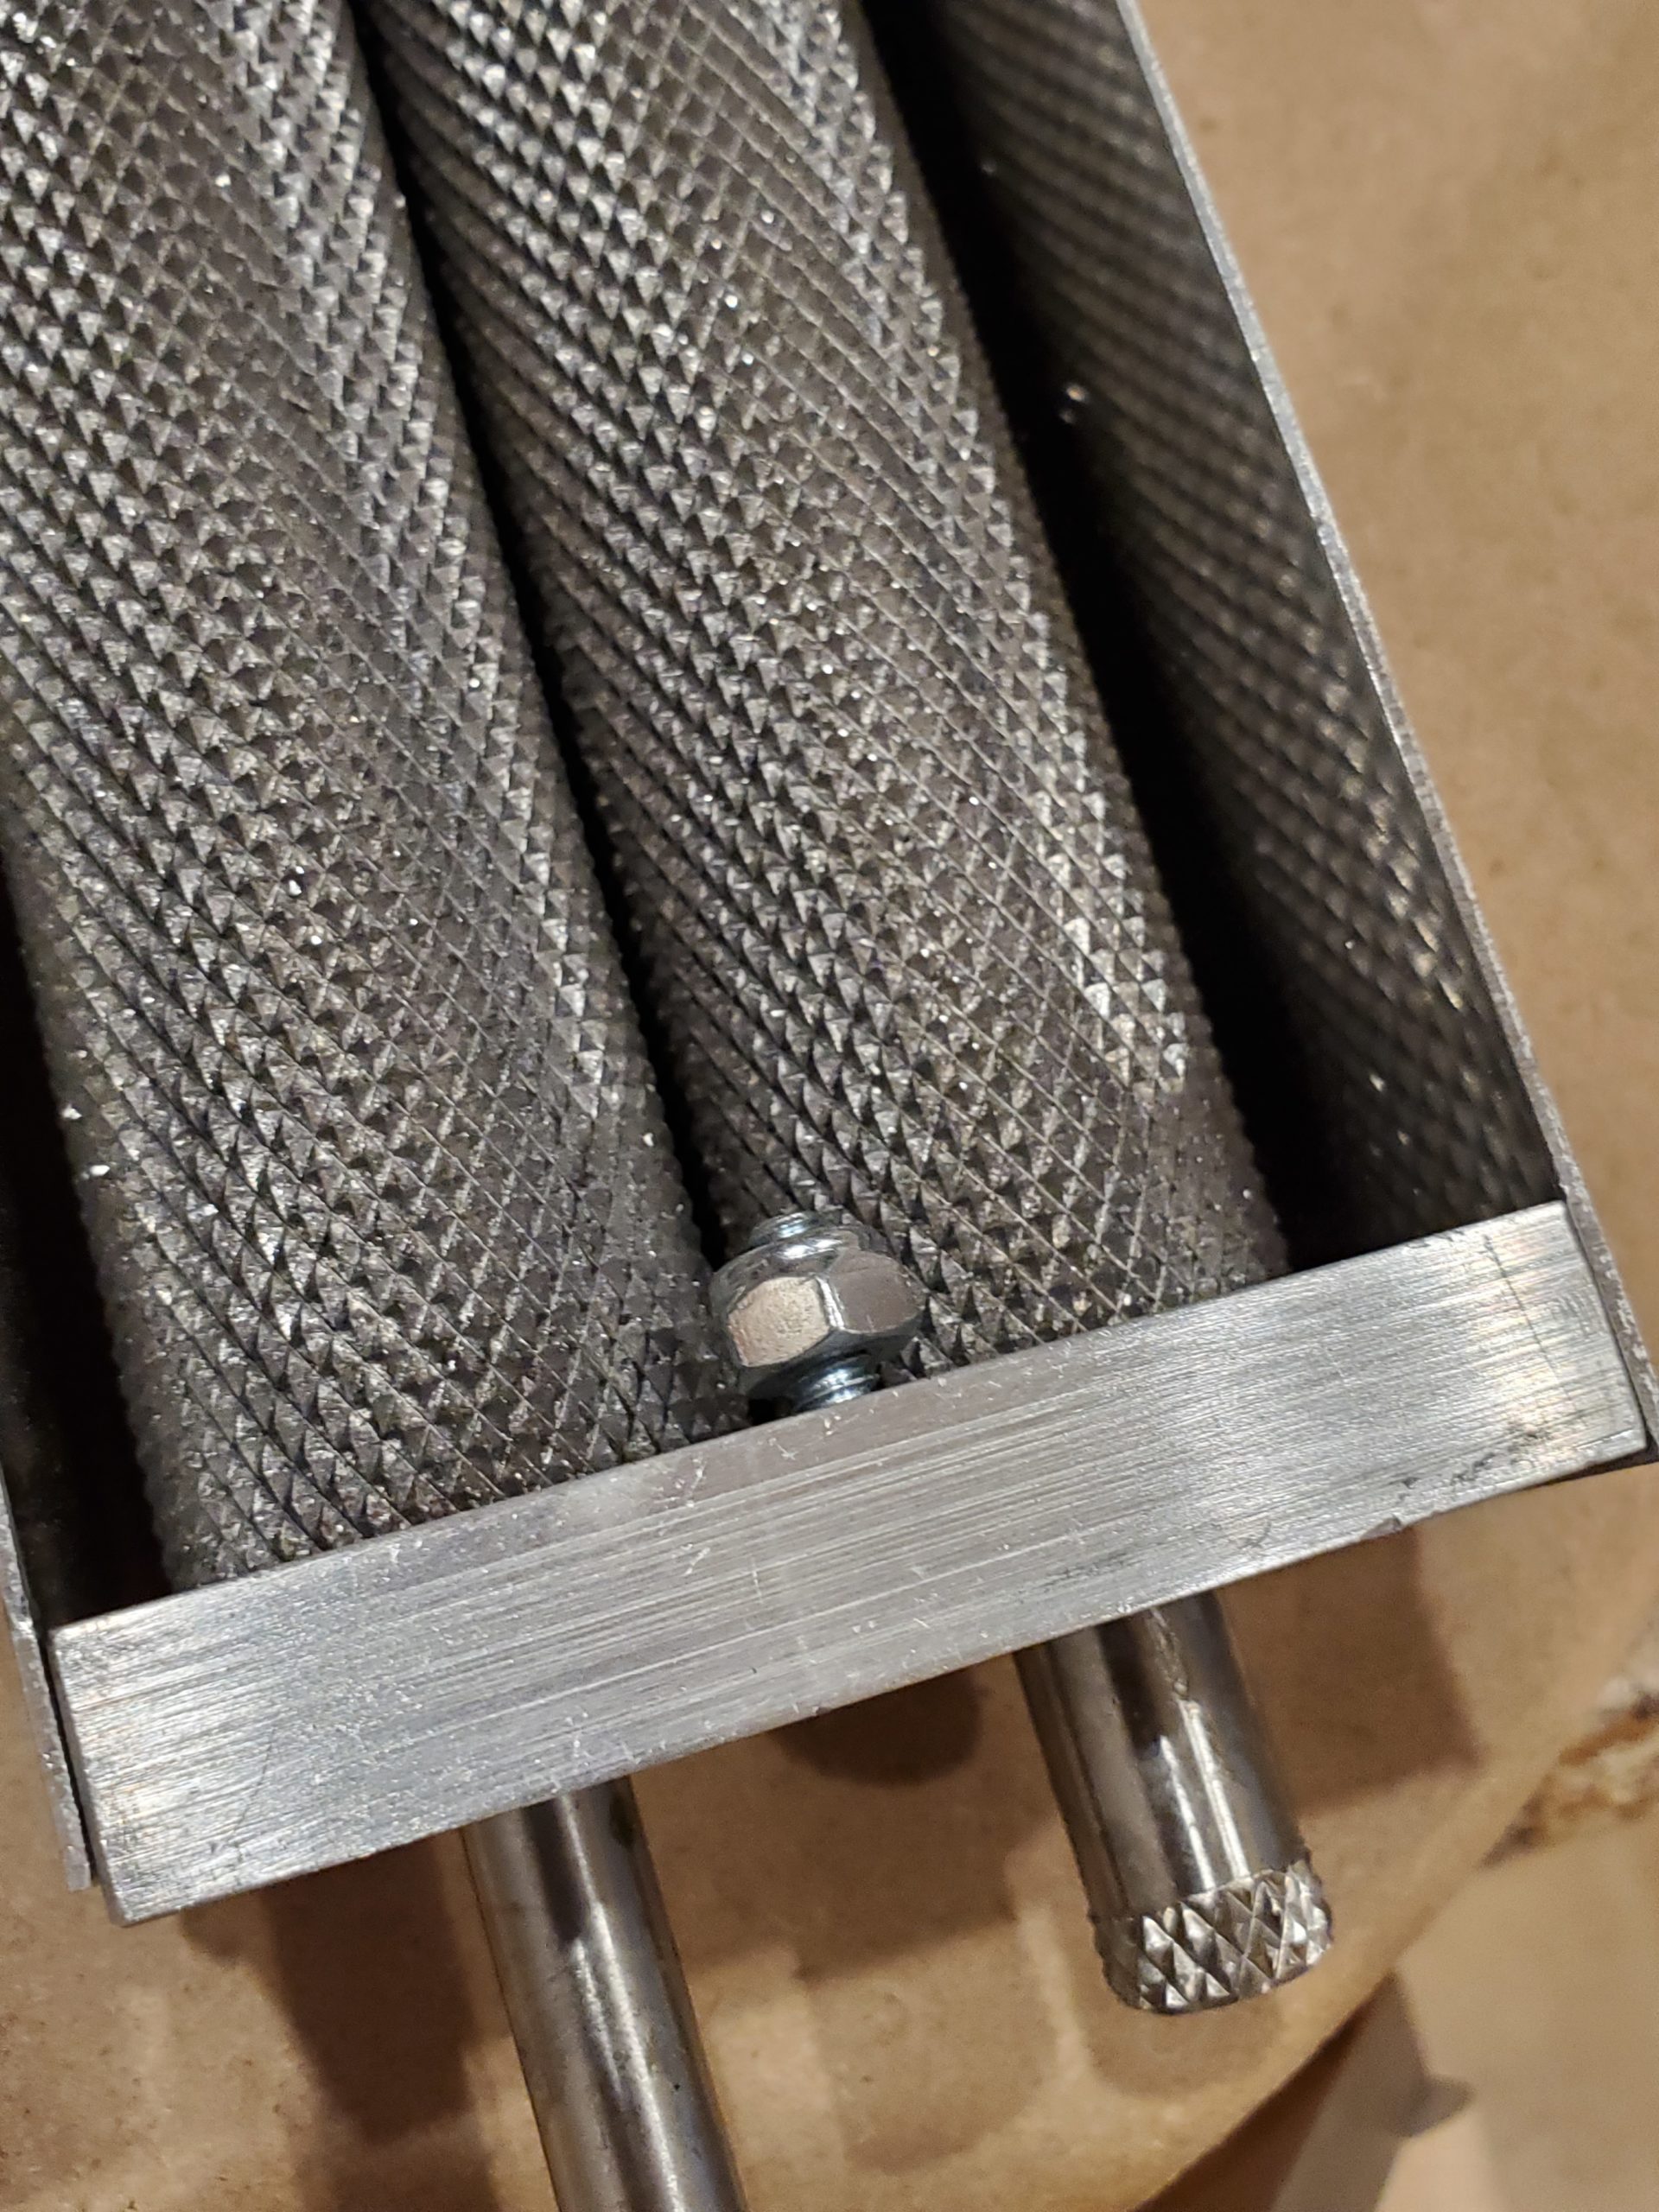
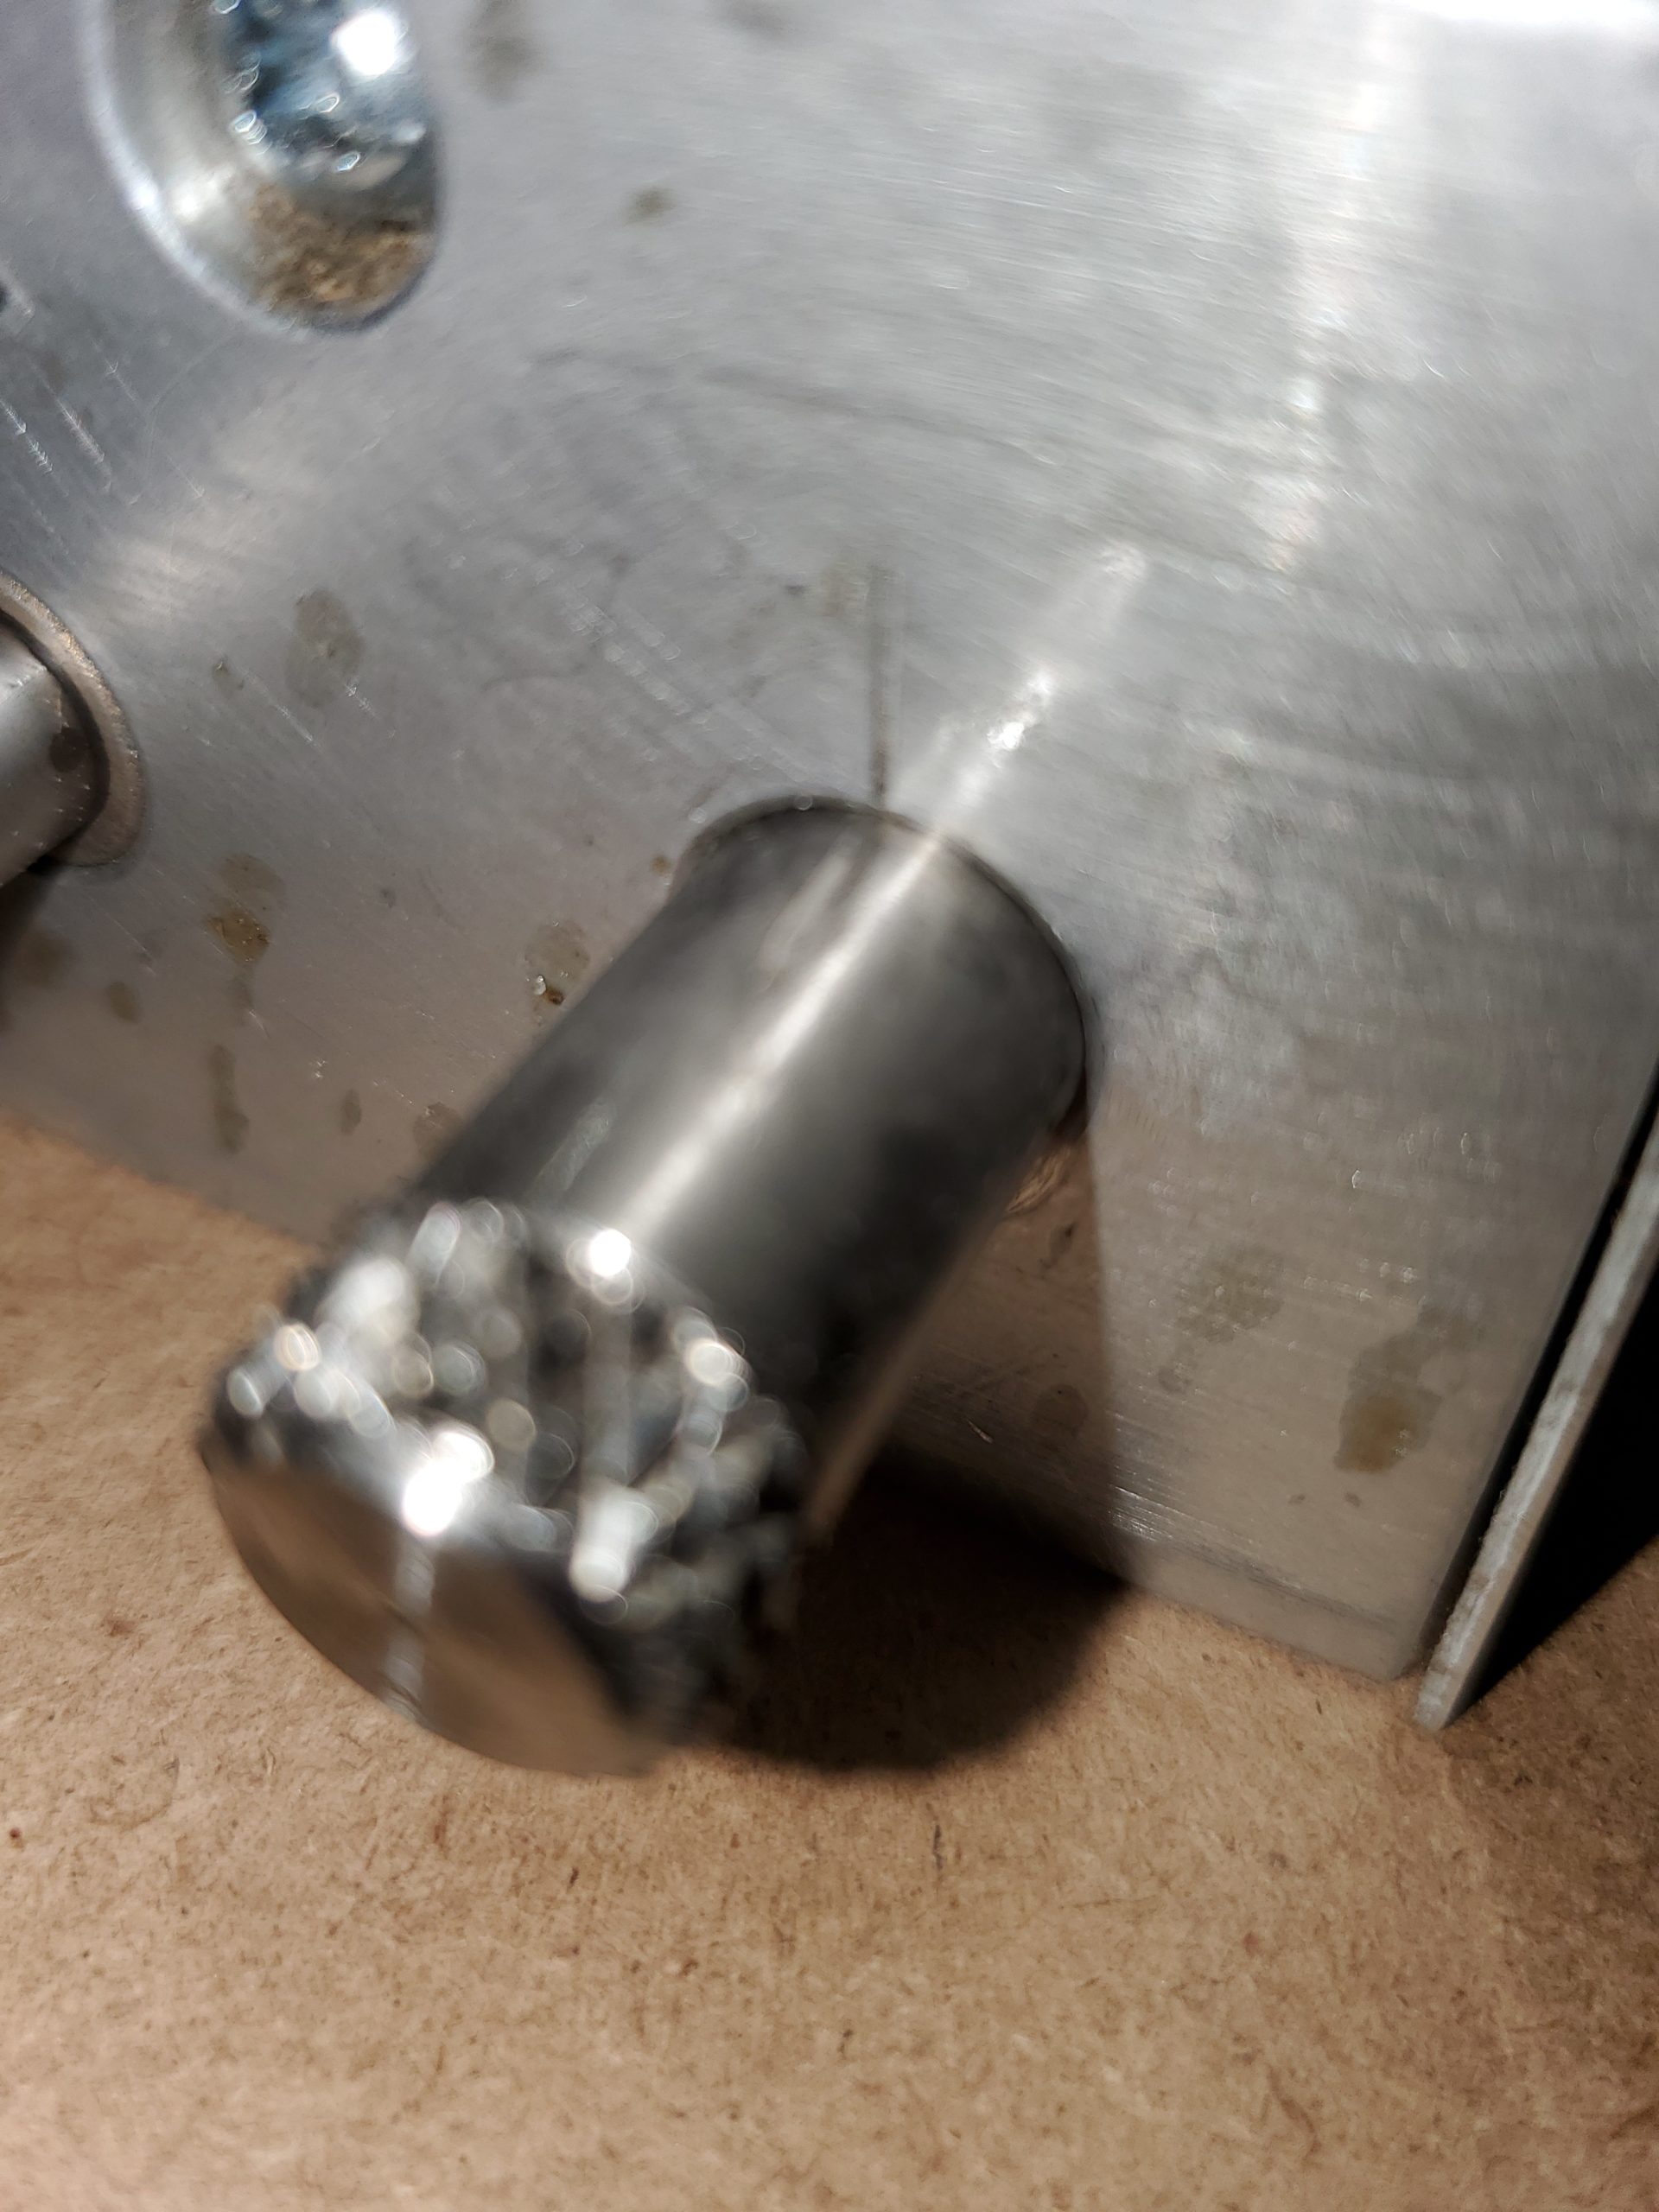 Adjustable: The free-rolling roller can be adjusted either closer or farther away from the drive-roller. It was difficult for me to get a close up of the adjustment knob but you can see there is a scribe mark on both the body of the mill and the shaft. This mark is where it was set from the factory.
The adjustment is quite easy, you loosen the screws on the front of the unit, then you can turn the adjustment knob left or right to close or open the gap. Once you’re happy with the gap you re-tighten the front screws.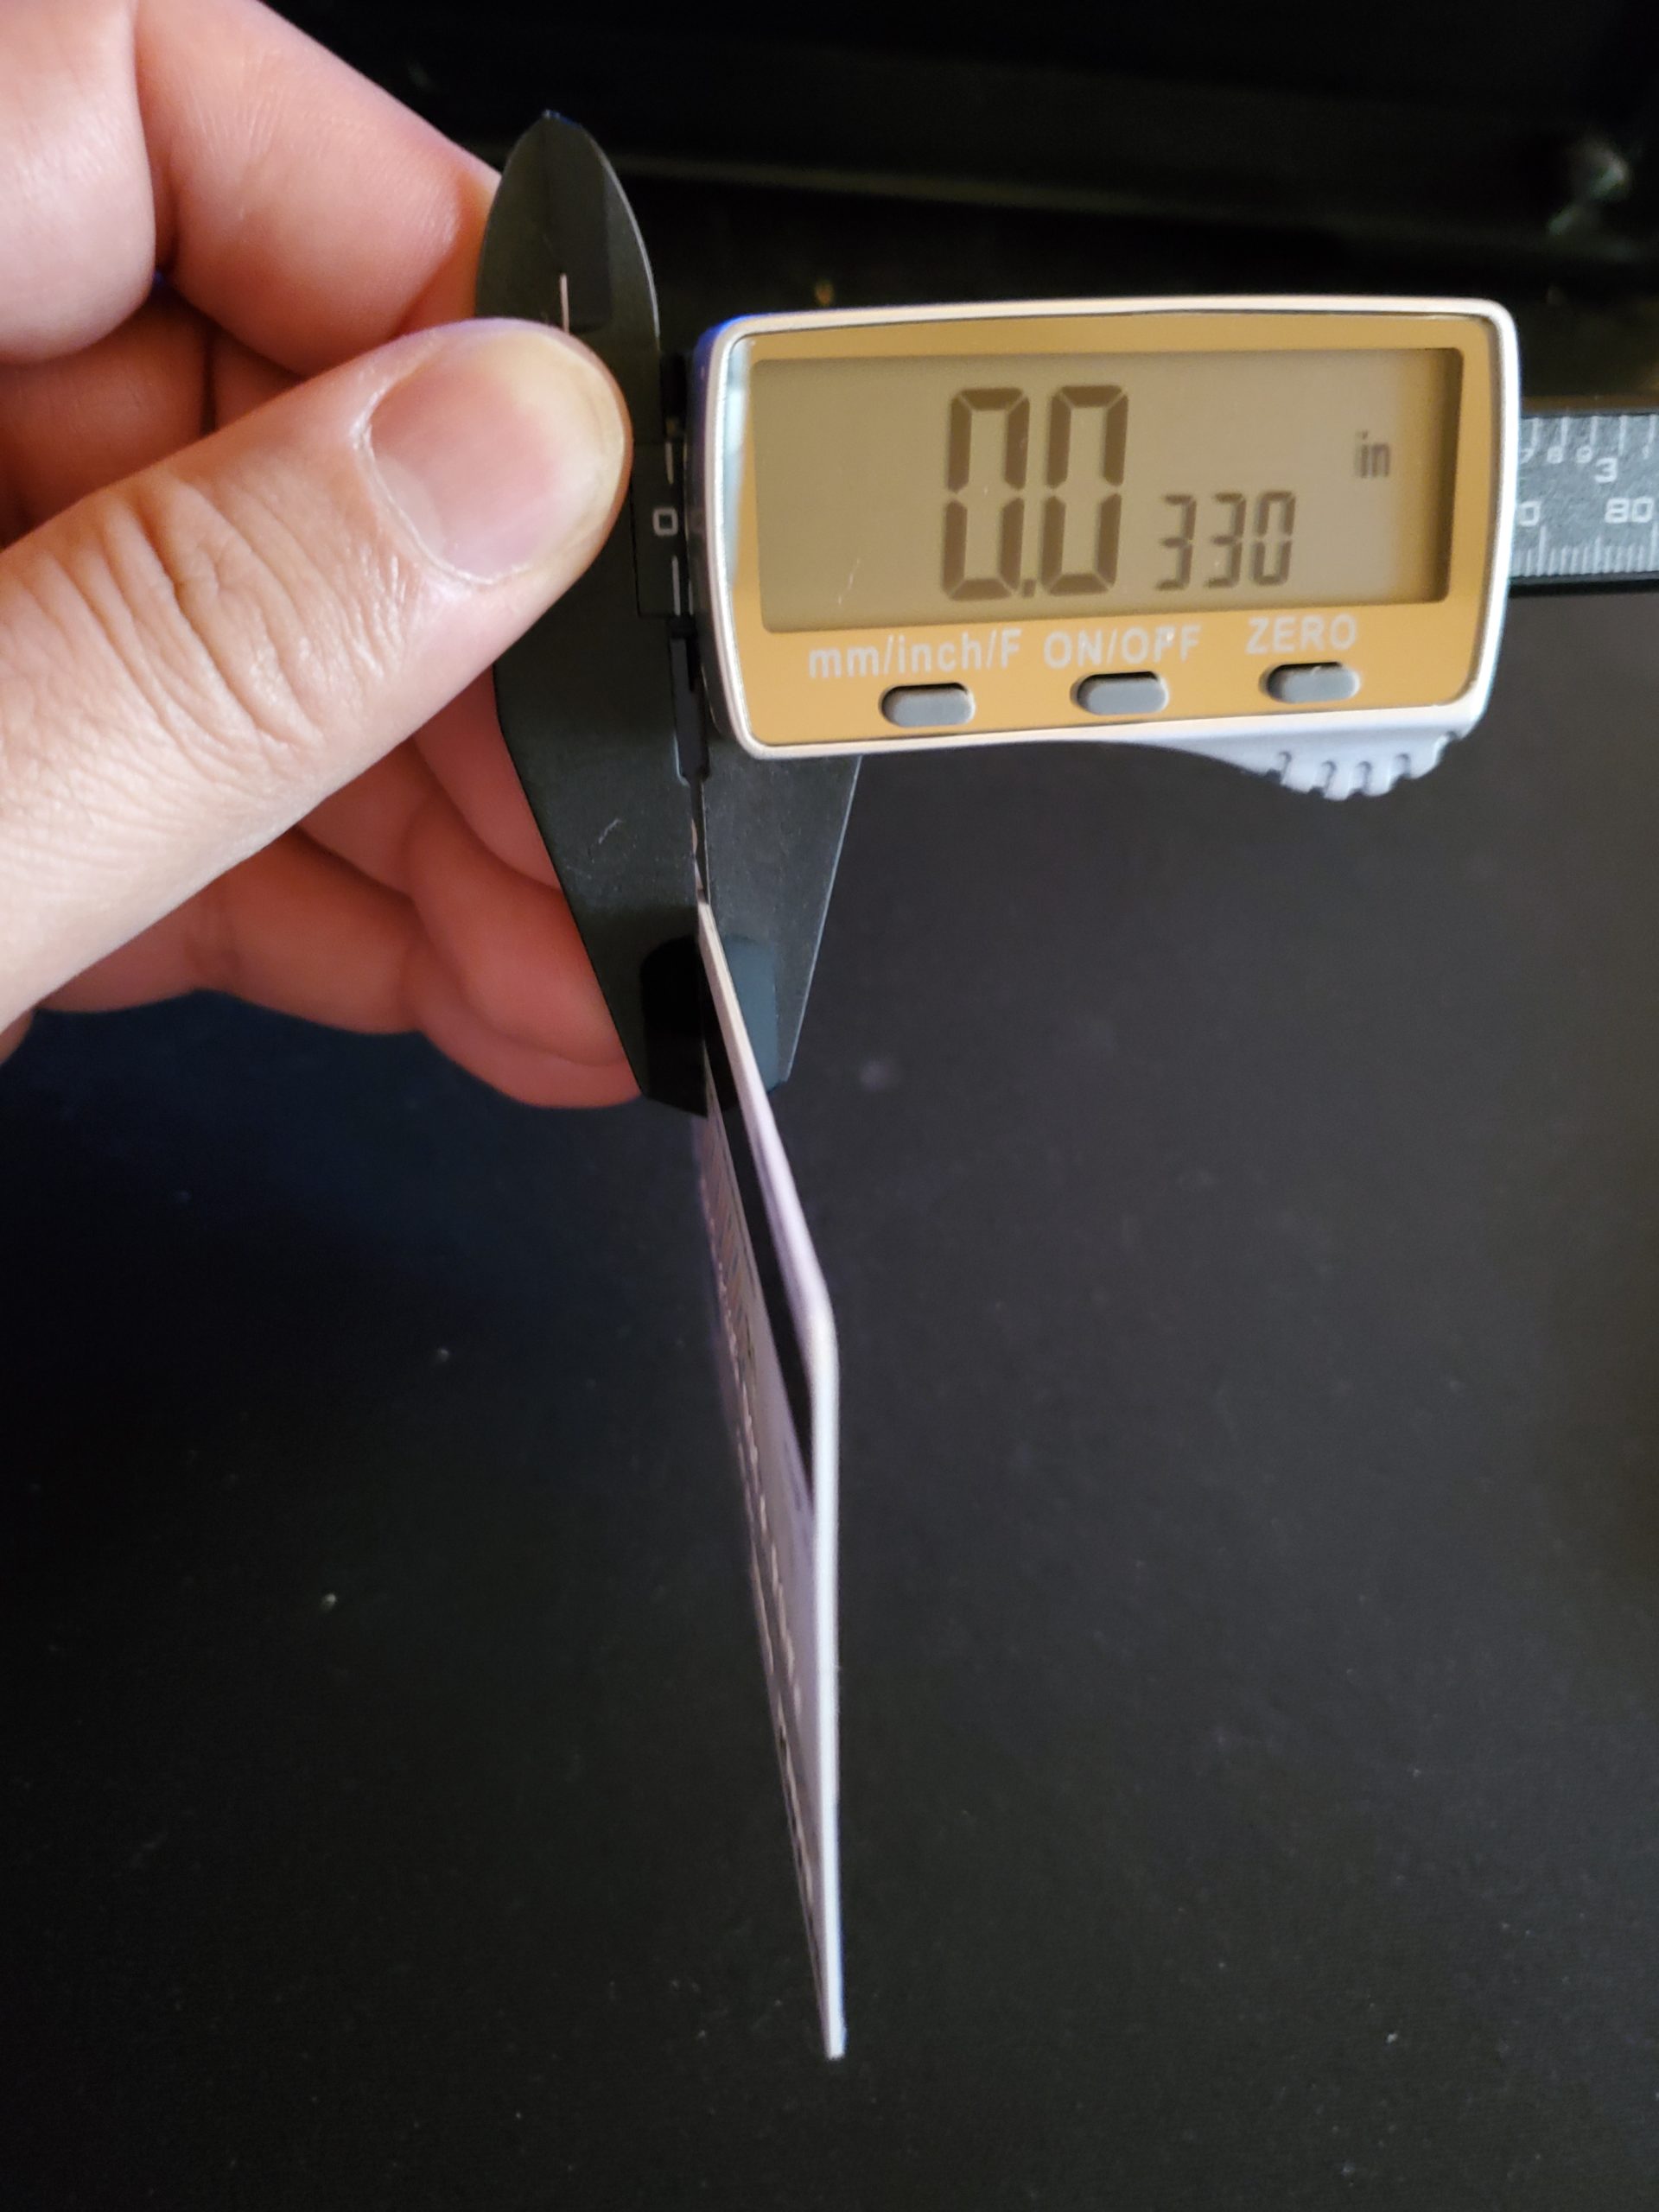 I don’t have a feeler gauge, but the gap is just shy of what my credit card was, like it would just touch but not cause the rollers to actually move when pulled in and out. That credit card measured 0.033” (shown below), I estimate the actual gap is closer to 0.035 or 0.037
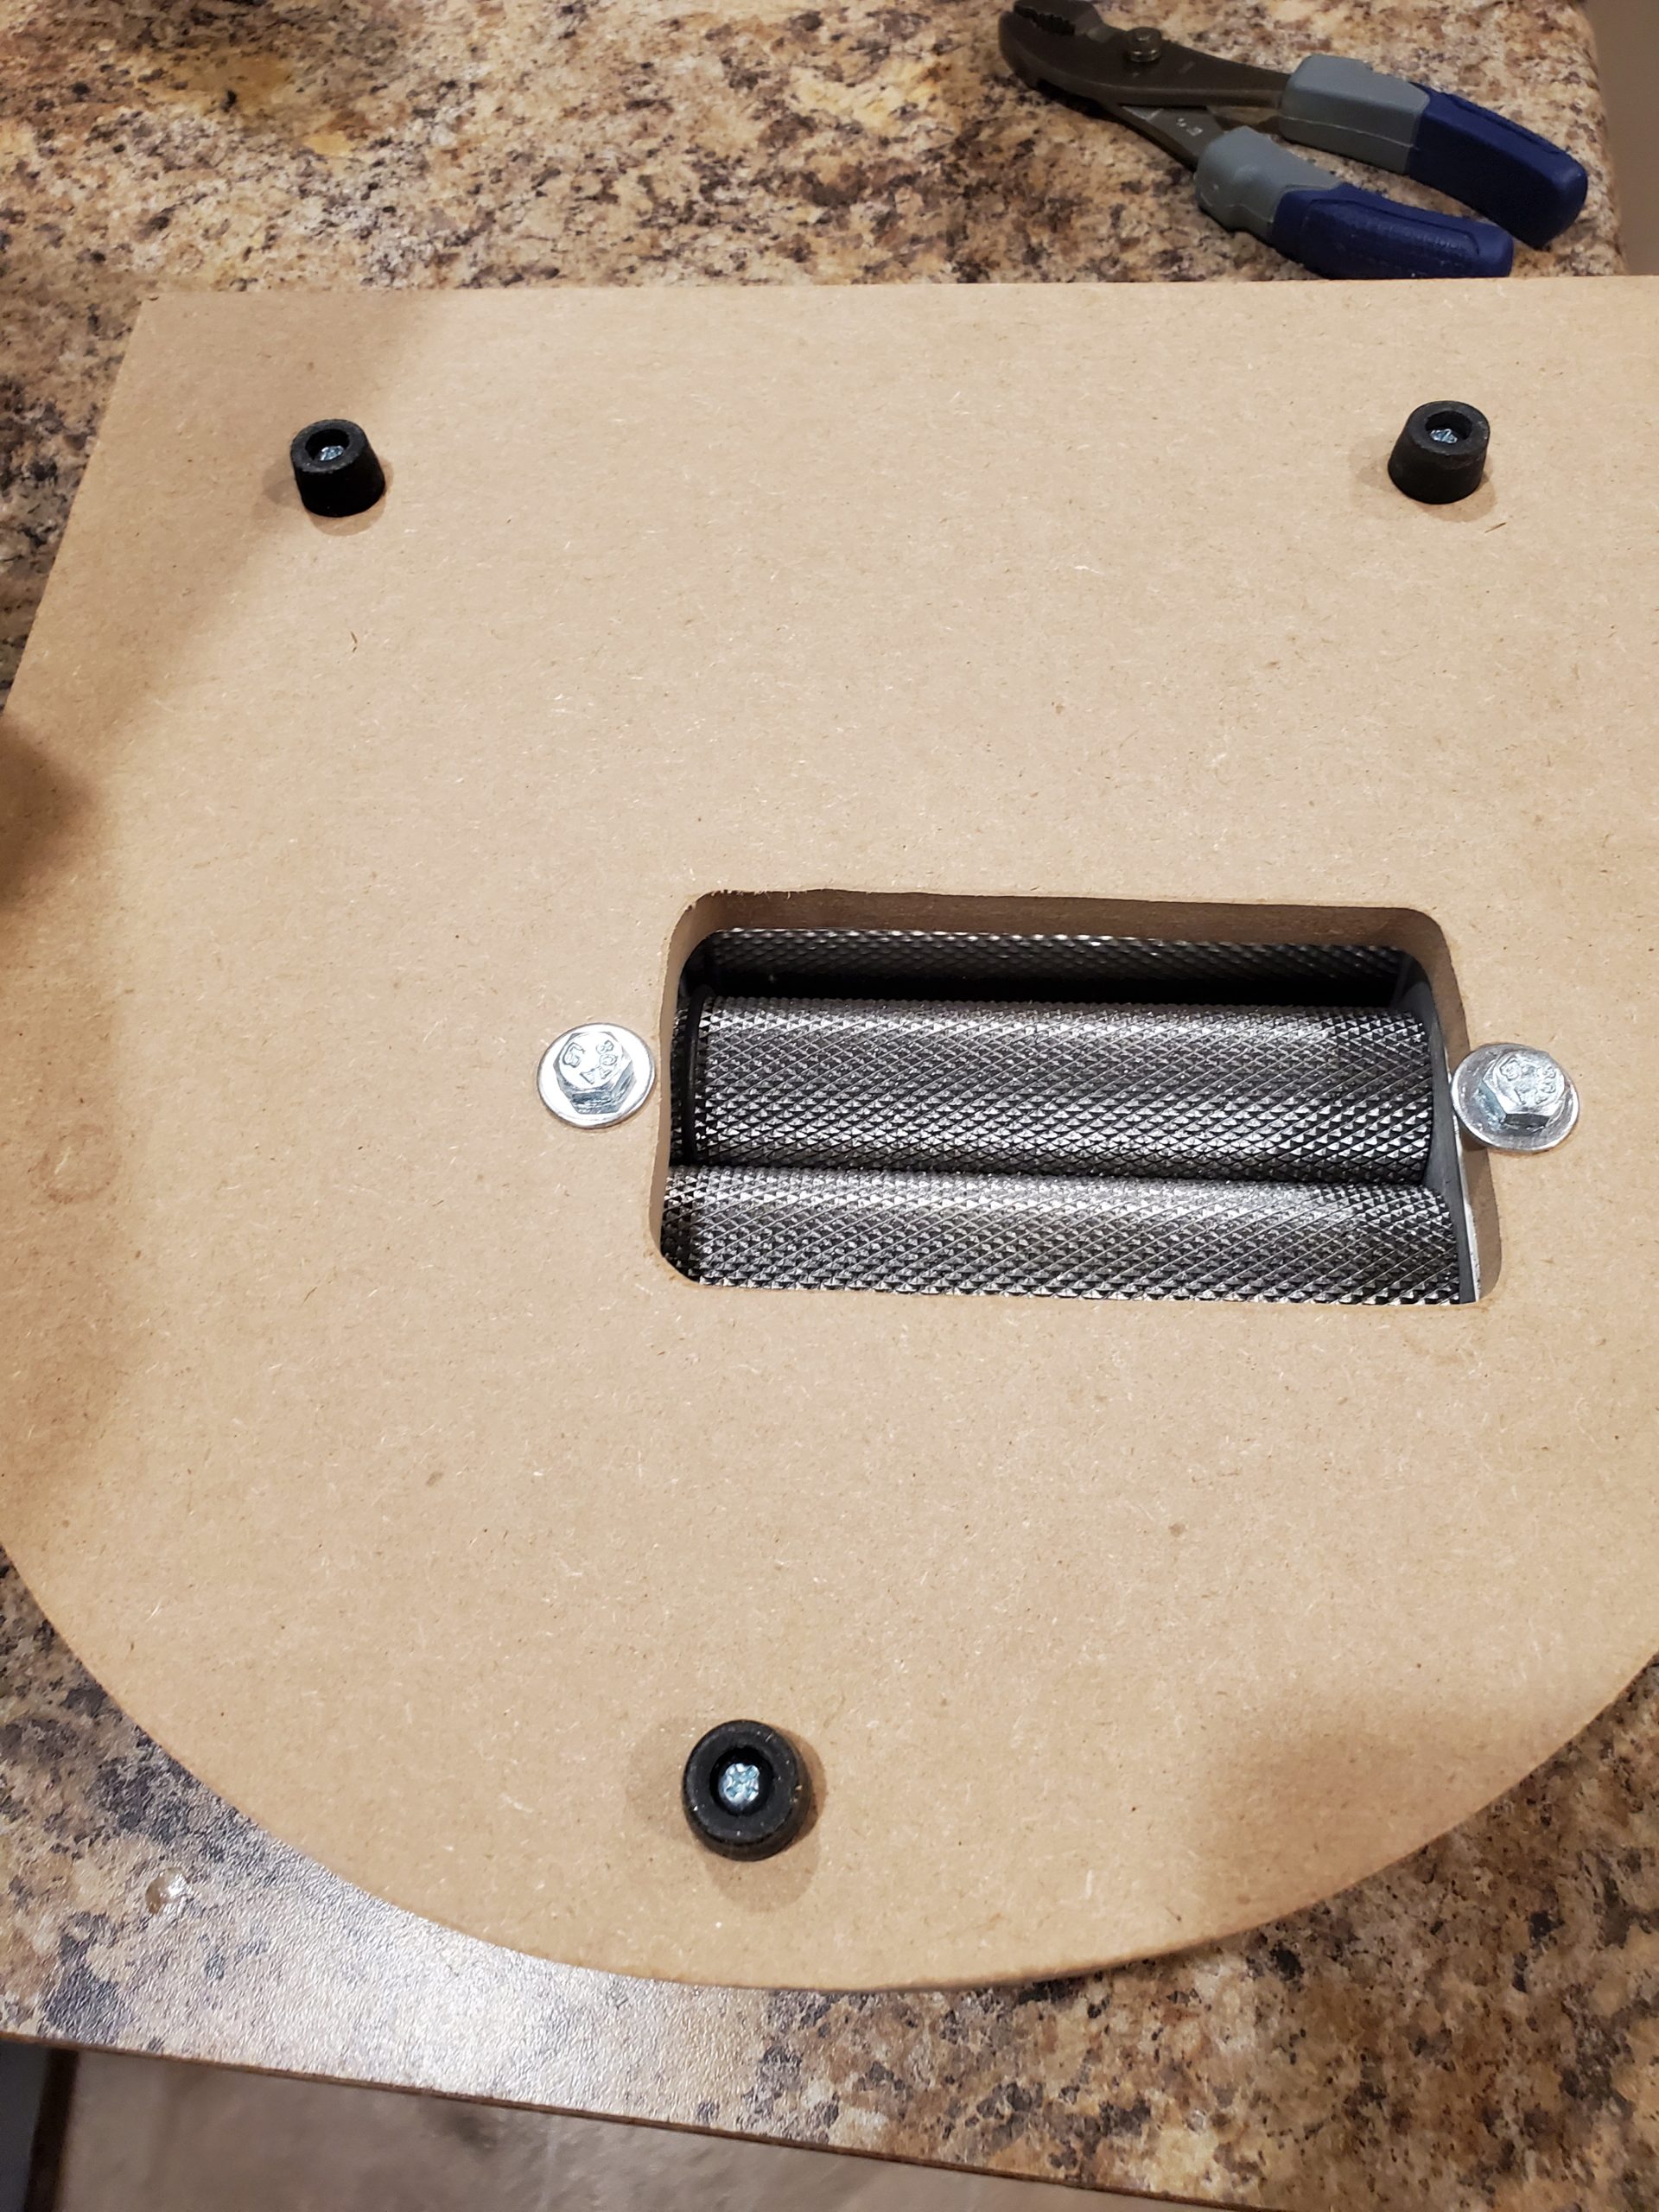

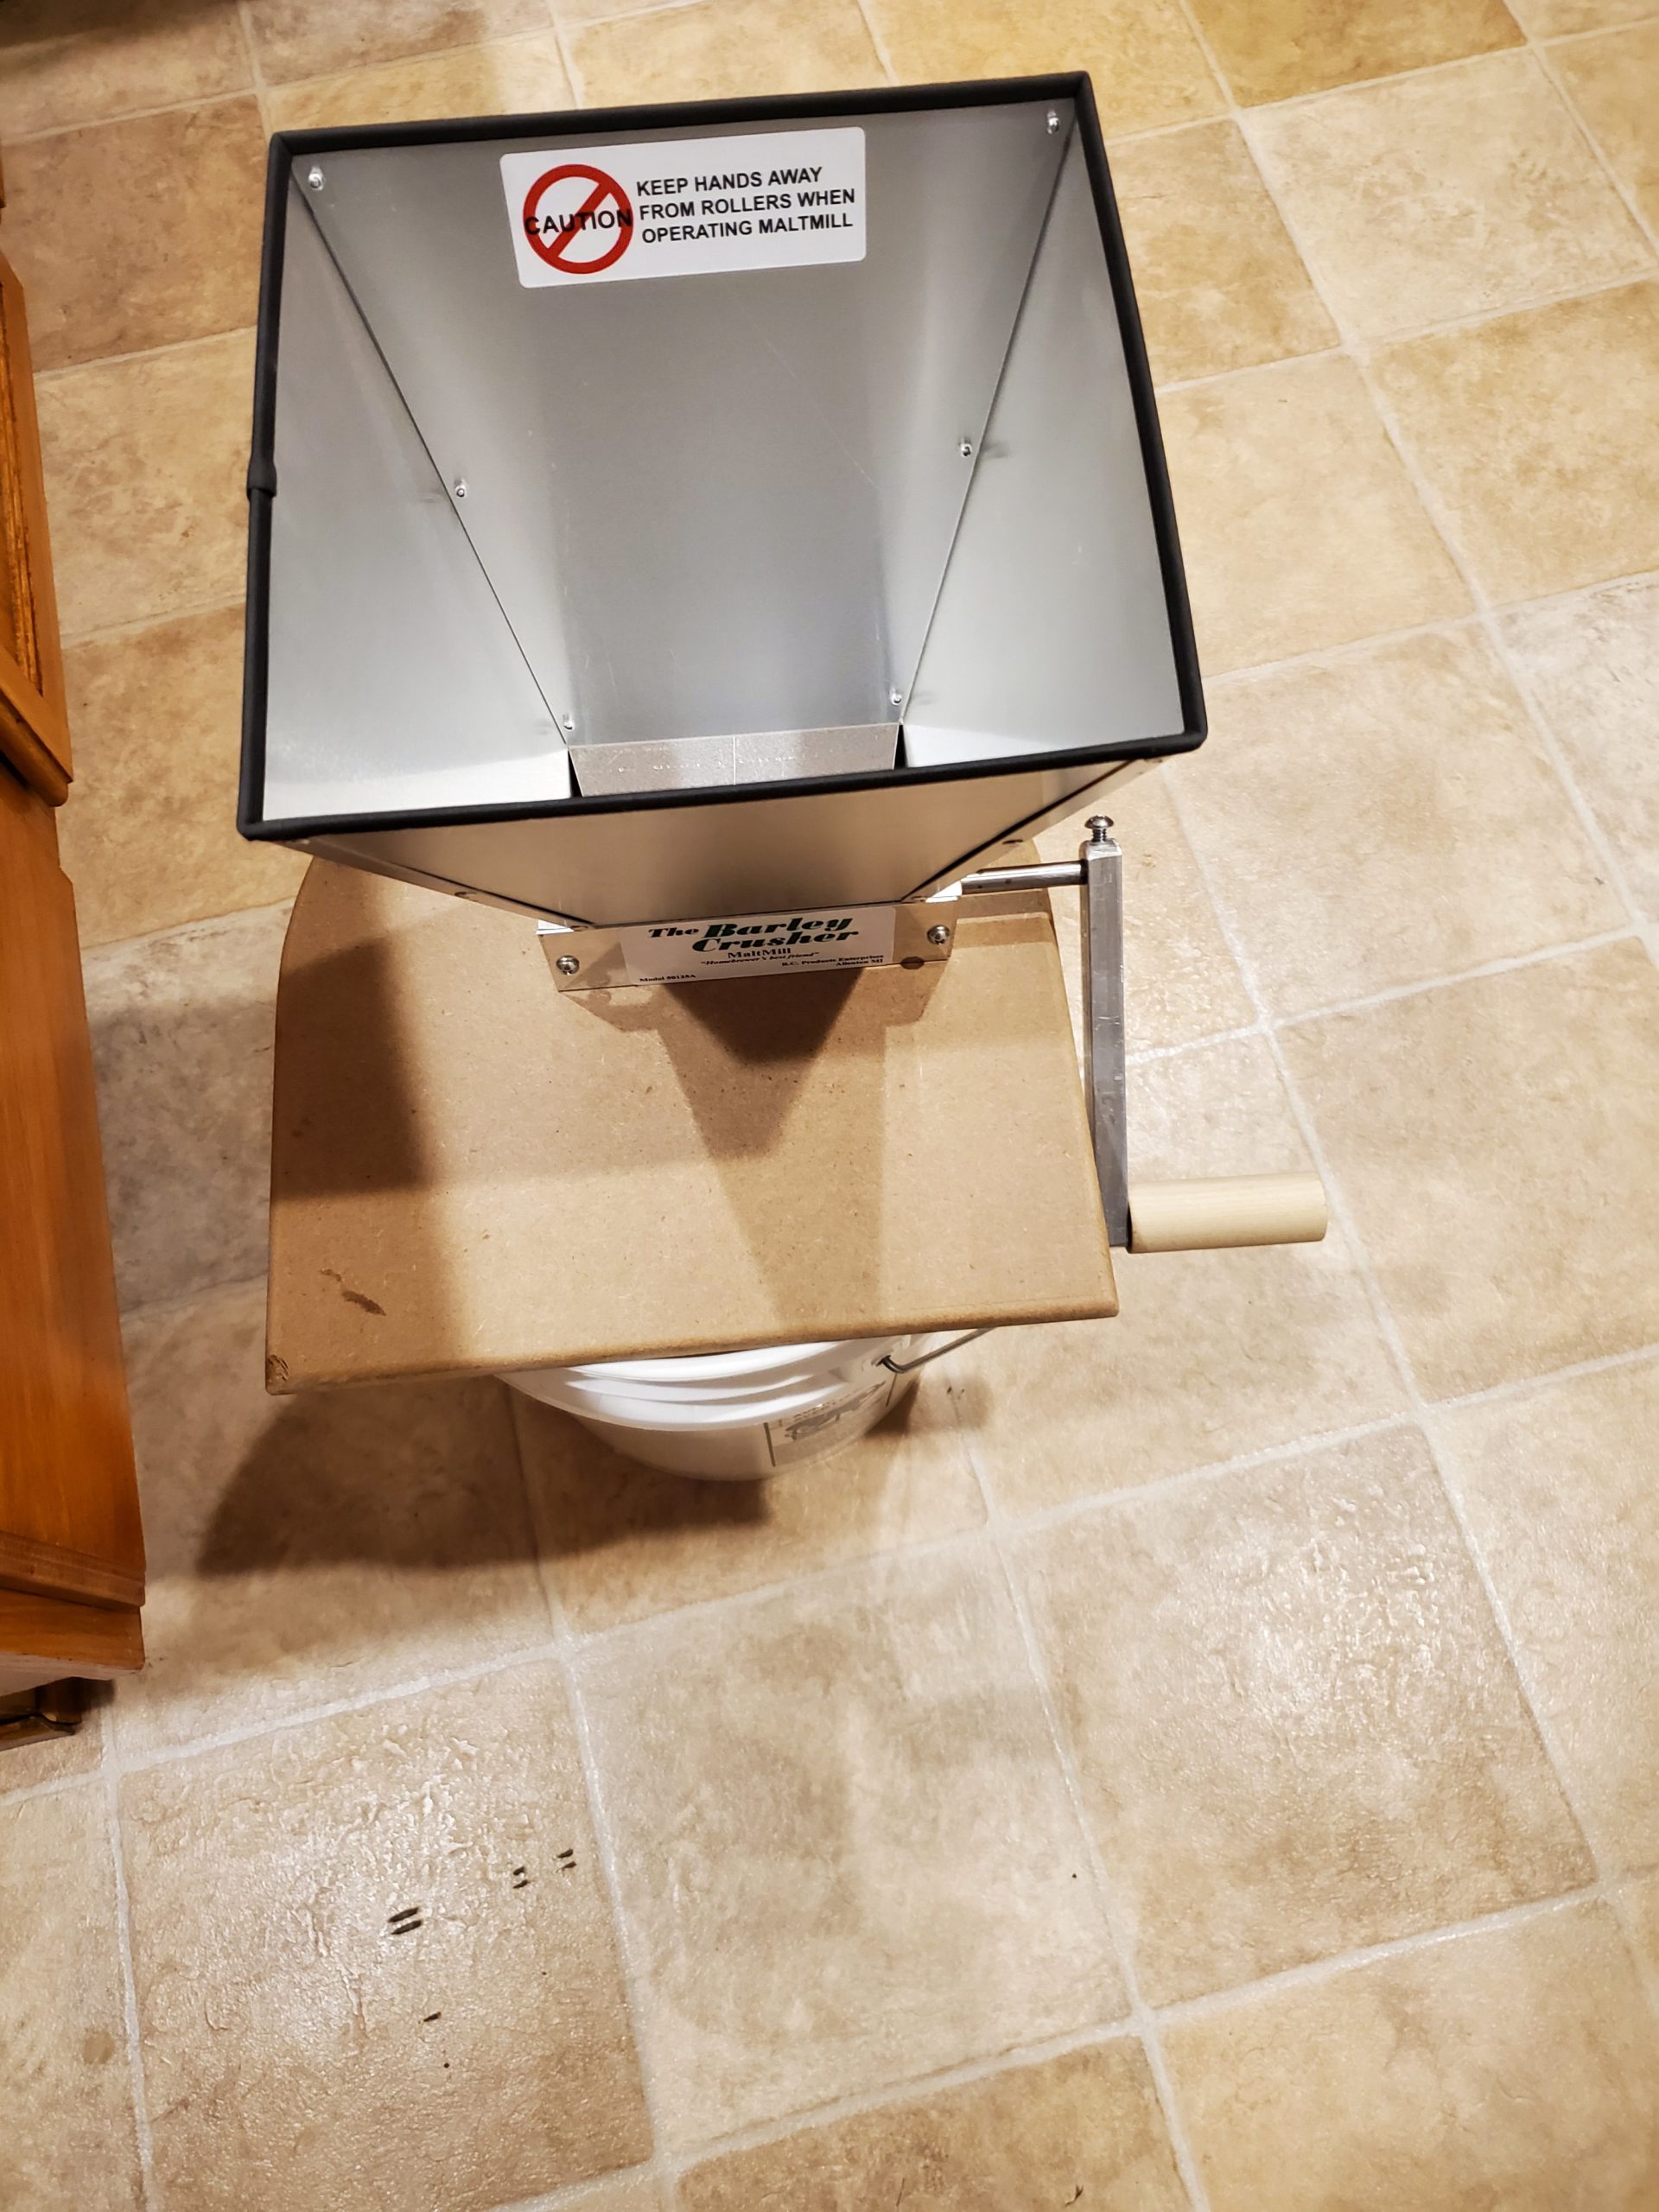 Rubber feet: Small attention to detail here, the rubber feet are nice for keeping the unit from sitting directly on the ground or counter top when not on a bucket. They also just fit inside a 5 gallon bucket to help align the unit and keep it from moving side-to-side when set atop a bucket.
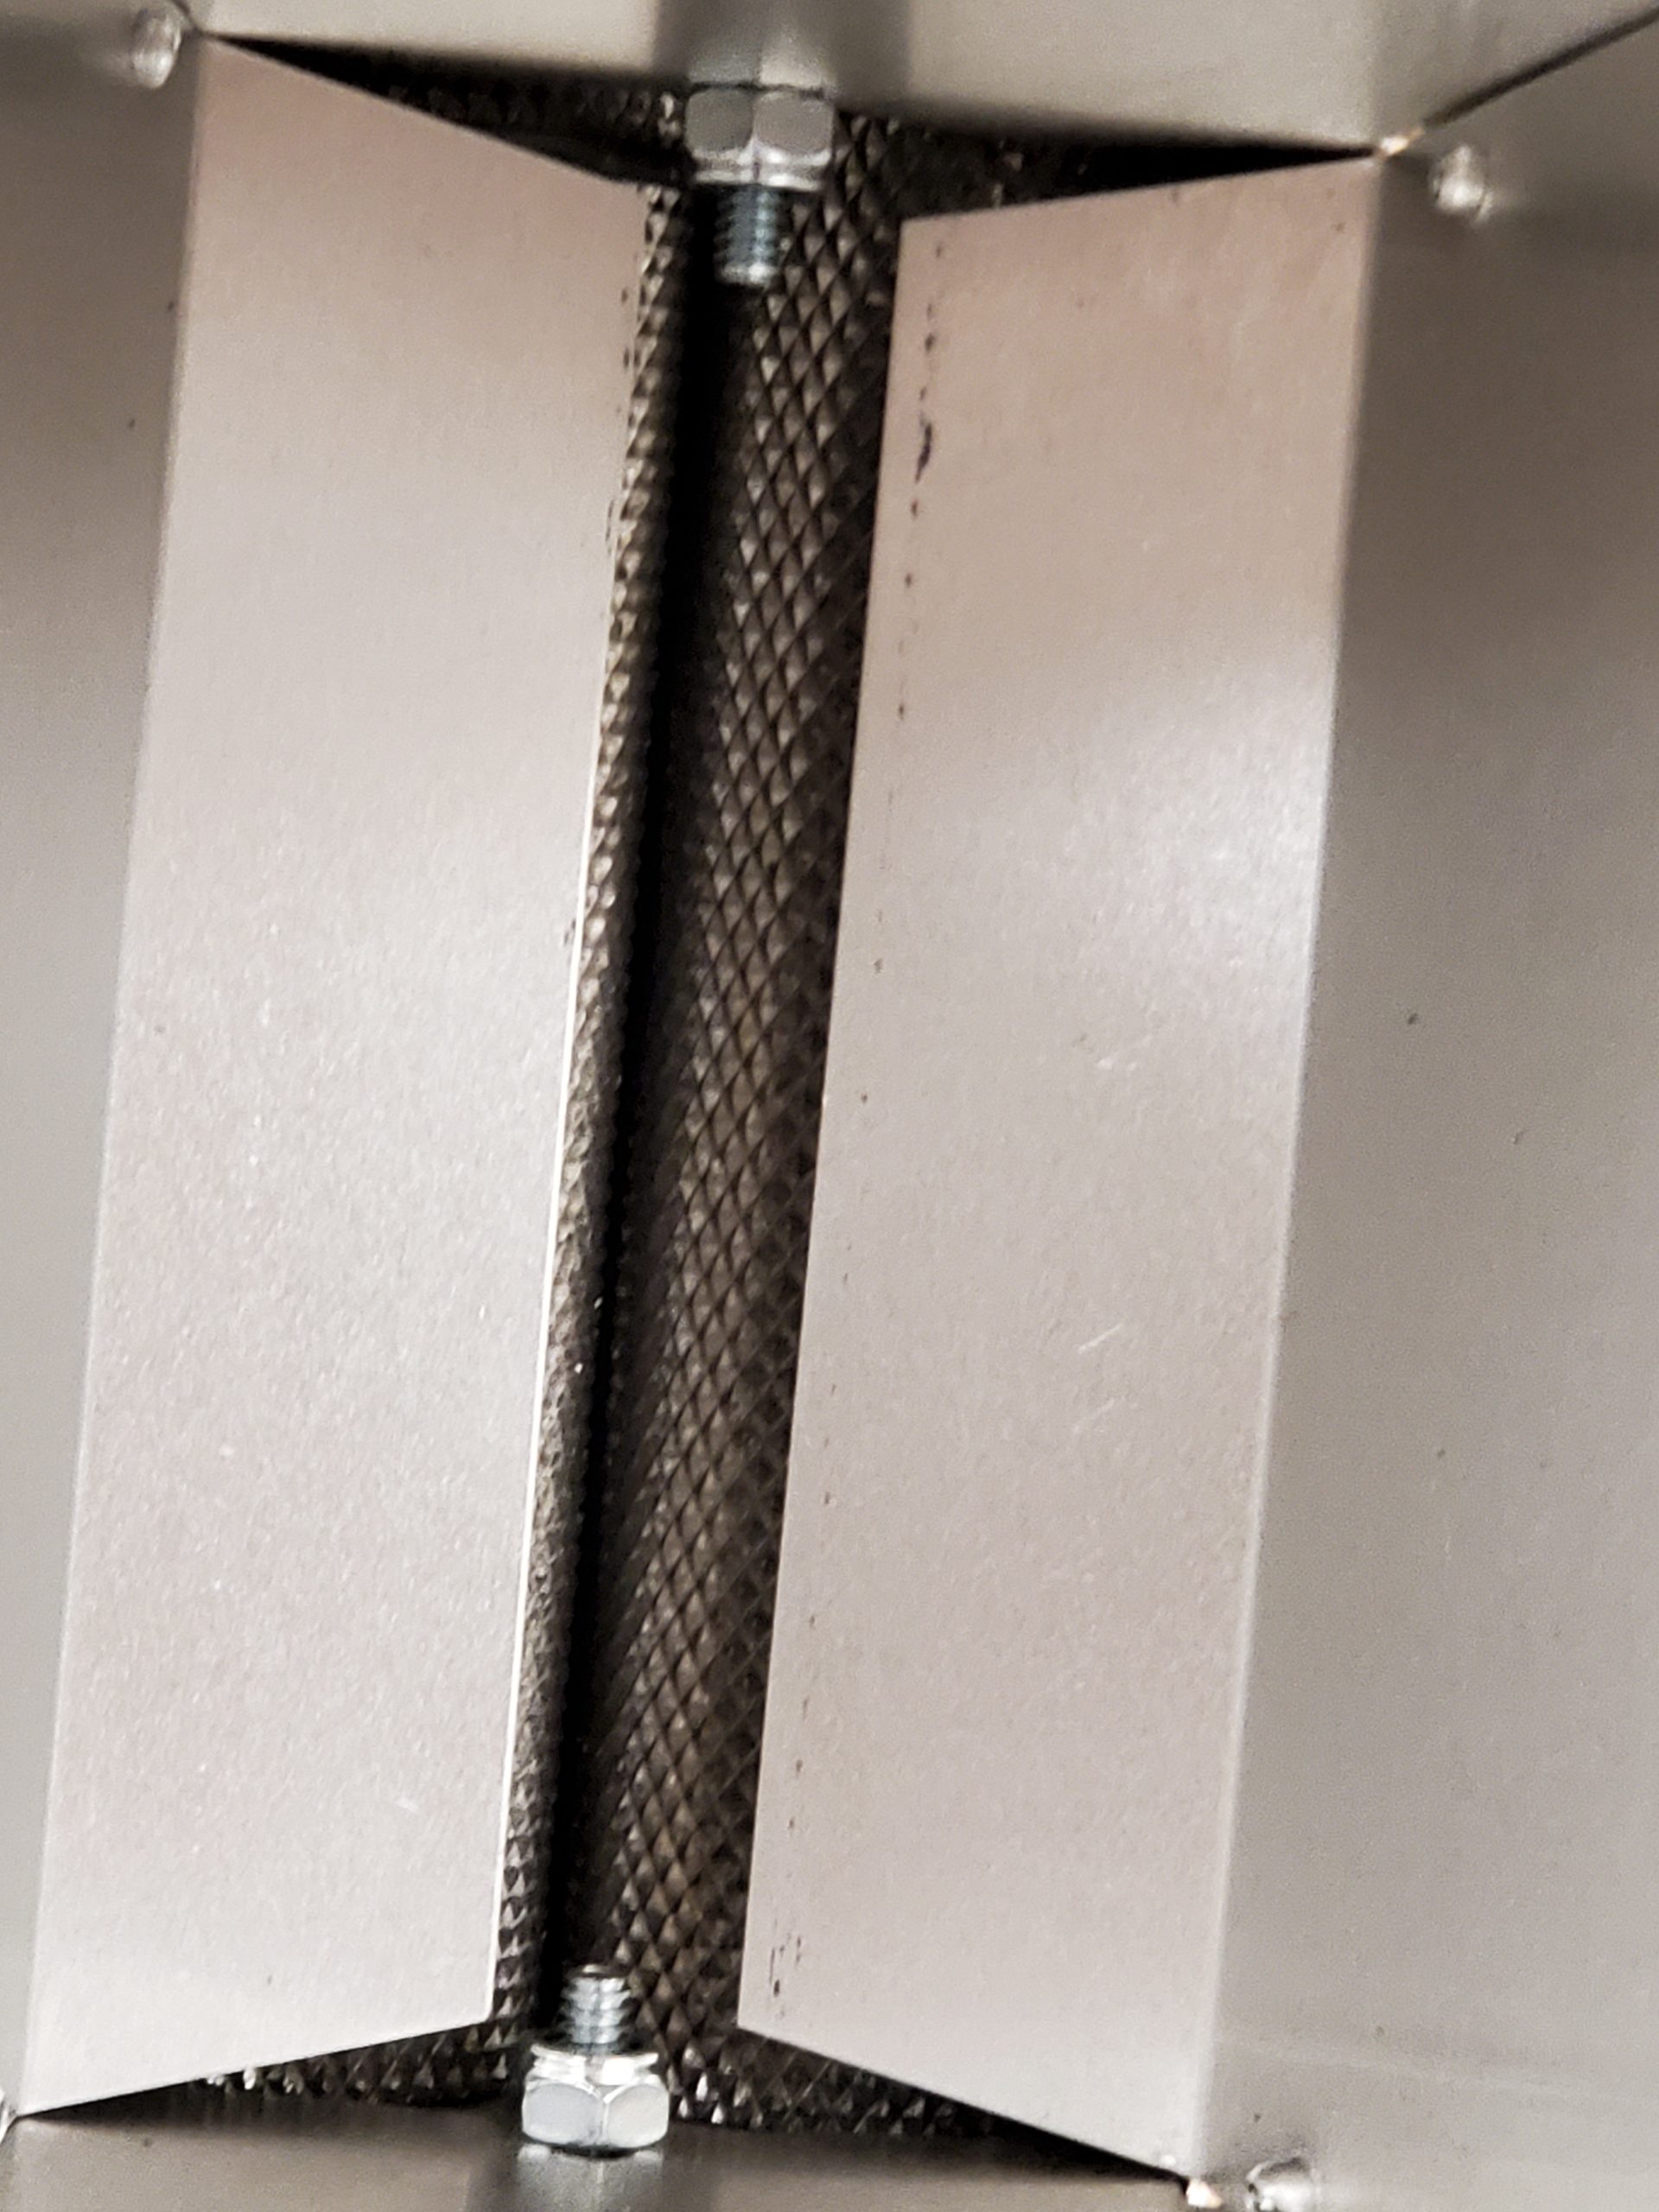
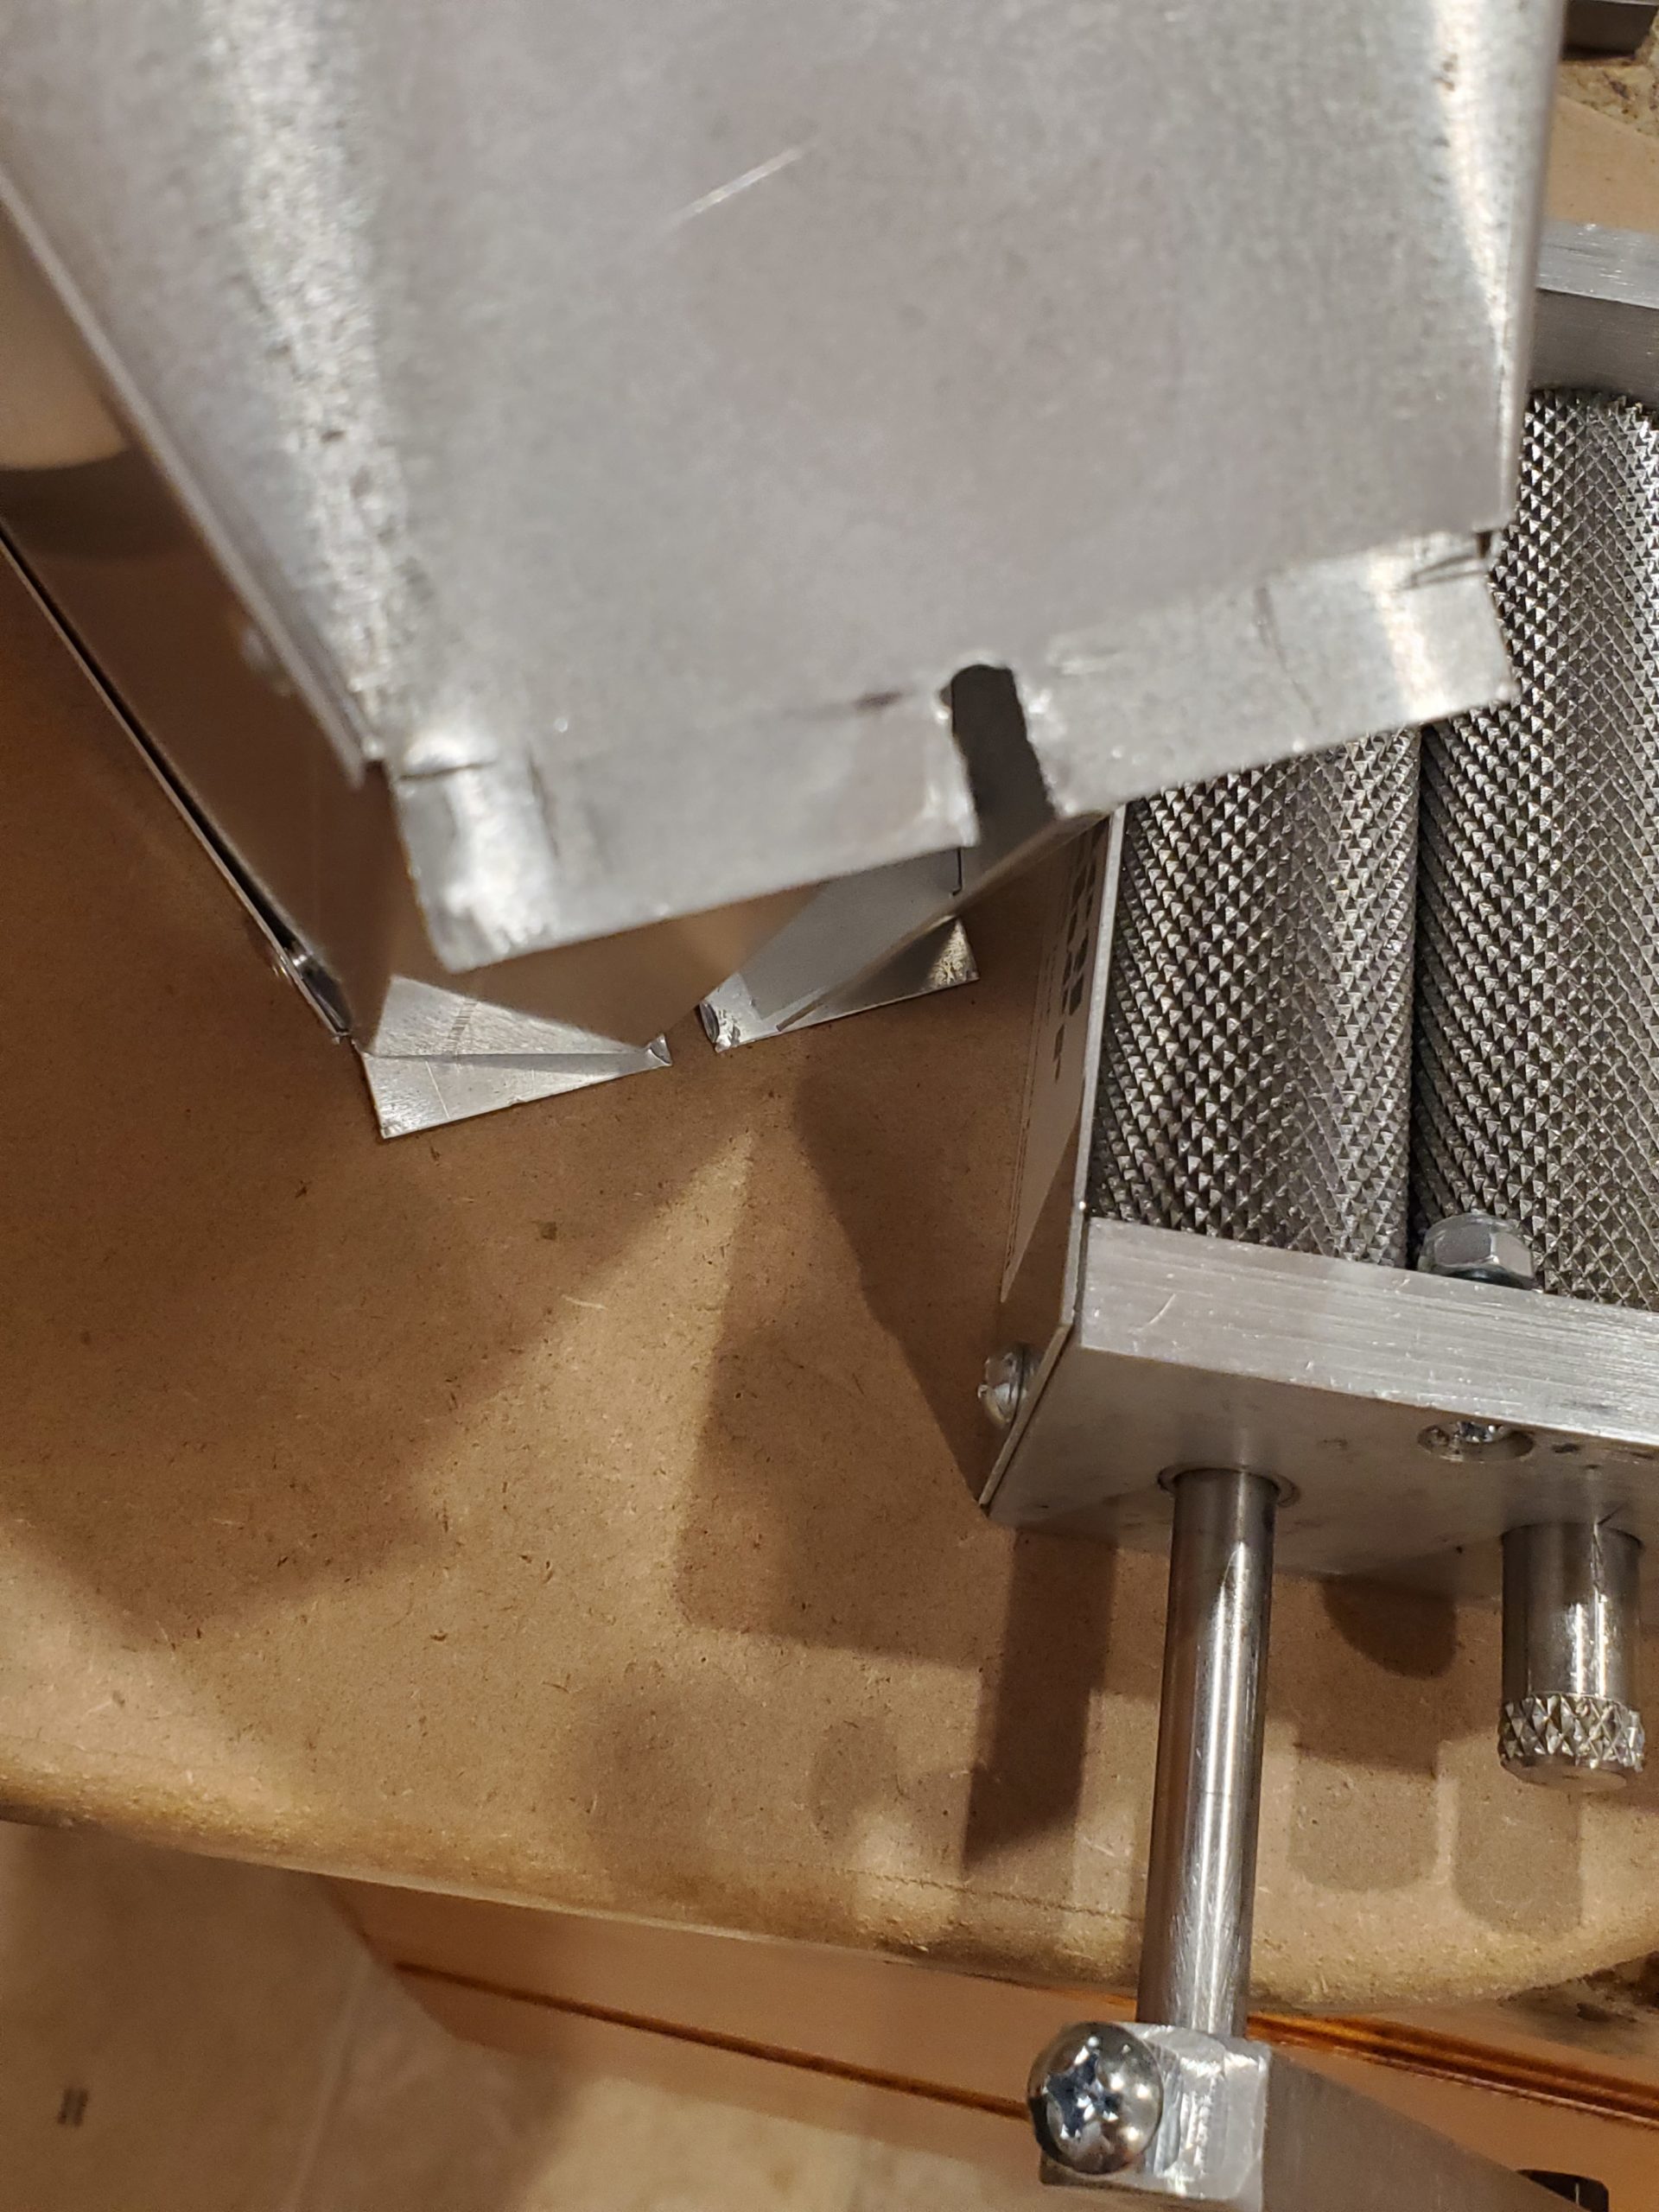
 Not sure you could call this a feature, everything comes apart on this unit pretty easily. But the hopper is simply clamped in, and can be easily removed by loosening the nuts holding it in, no need to completely unscrew something to get it off. This is a handy feature for storage or cleaning of the unit.
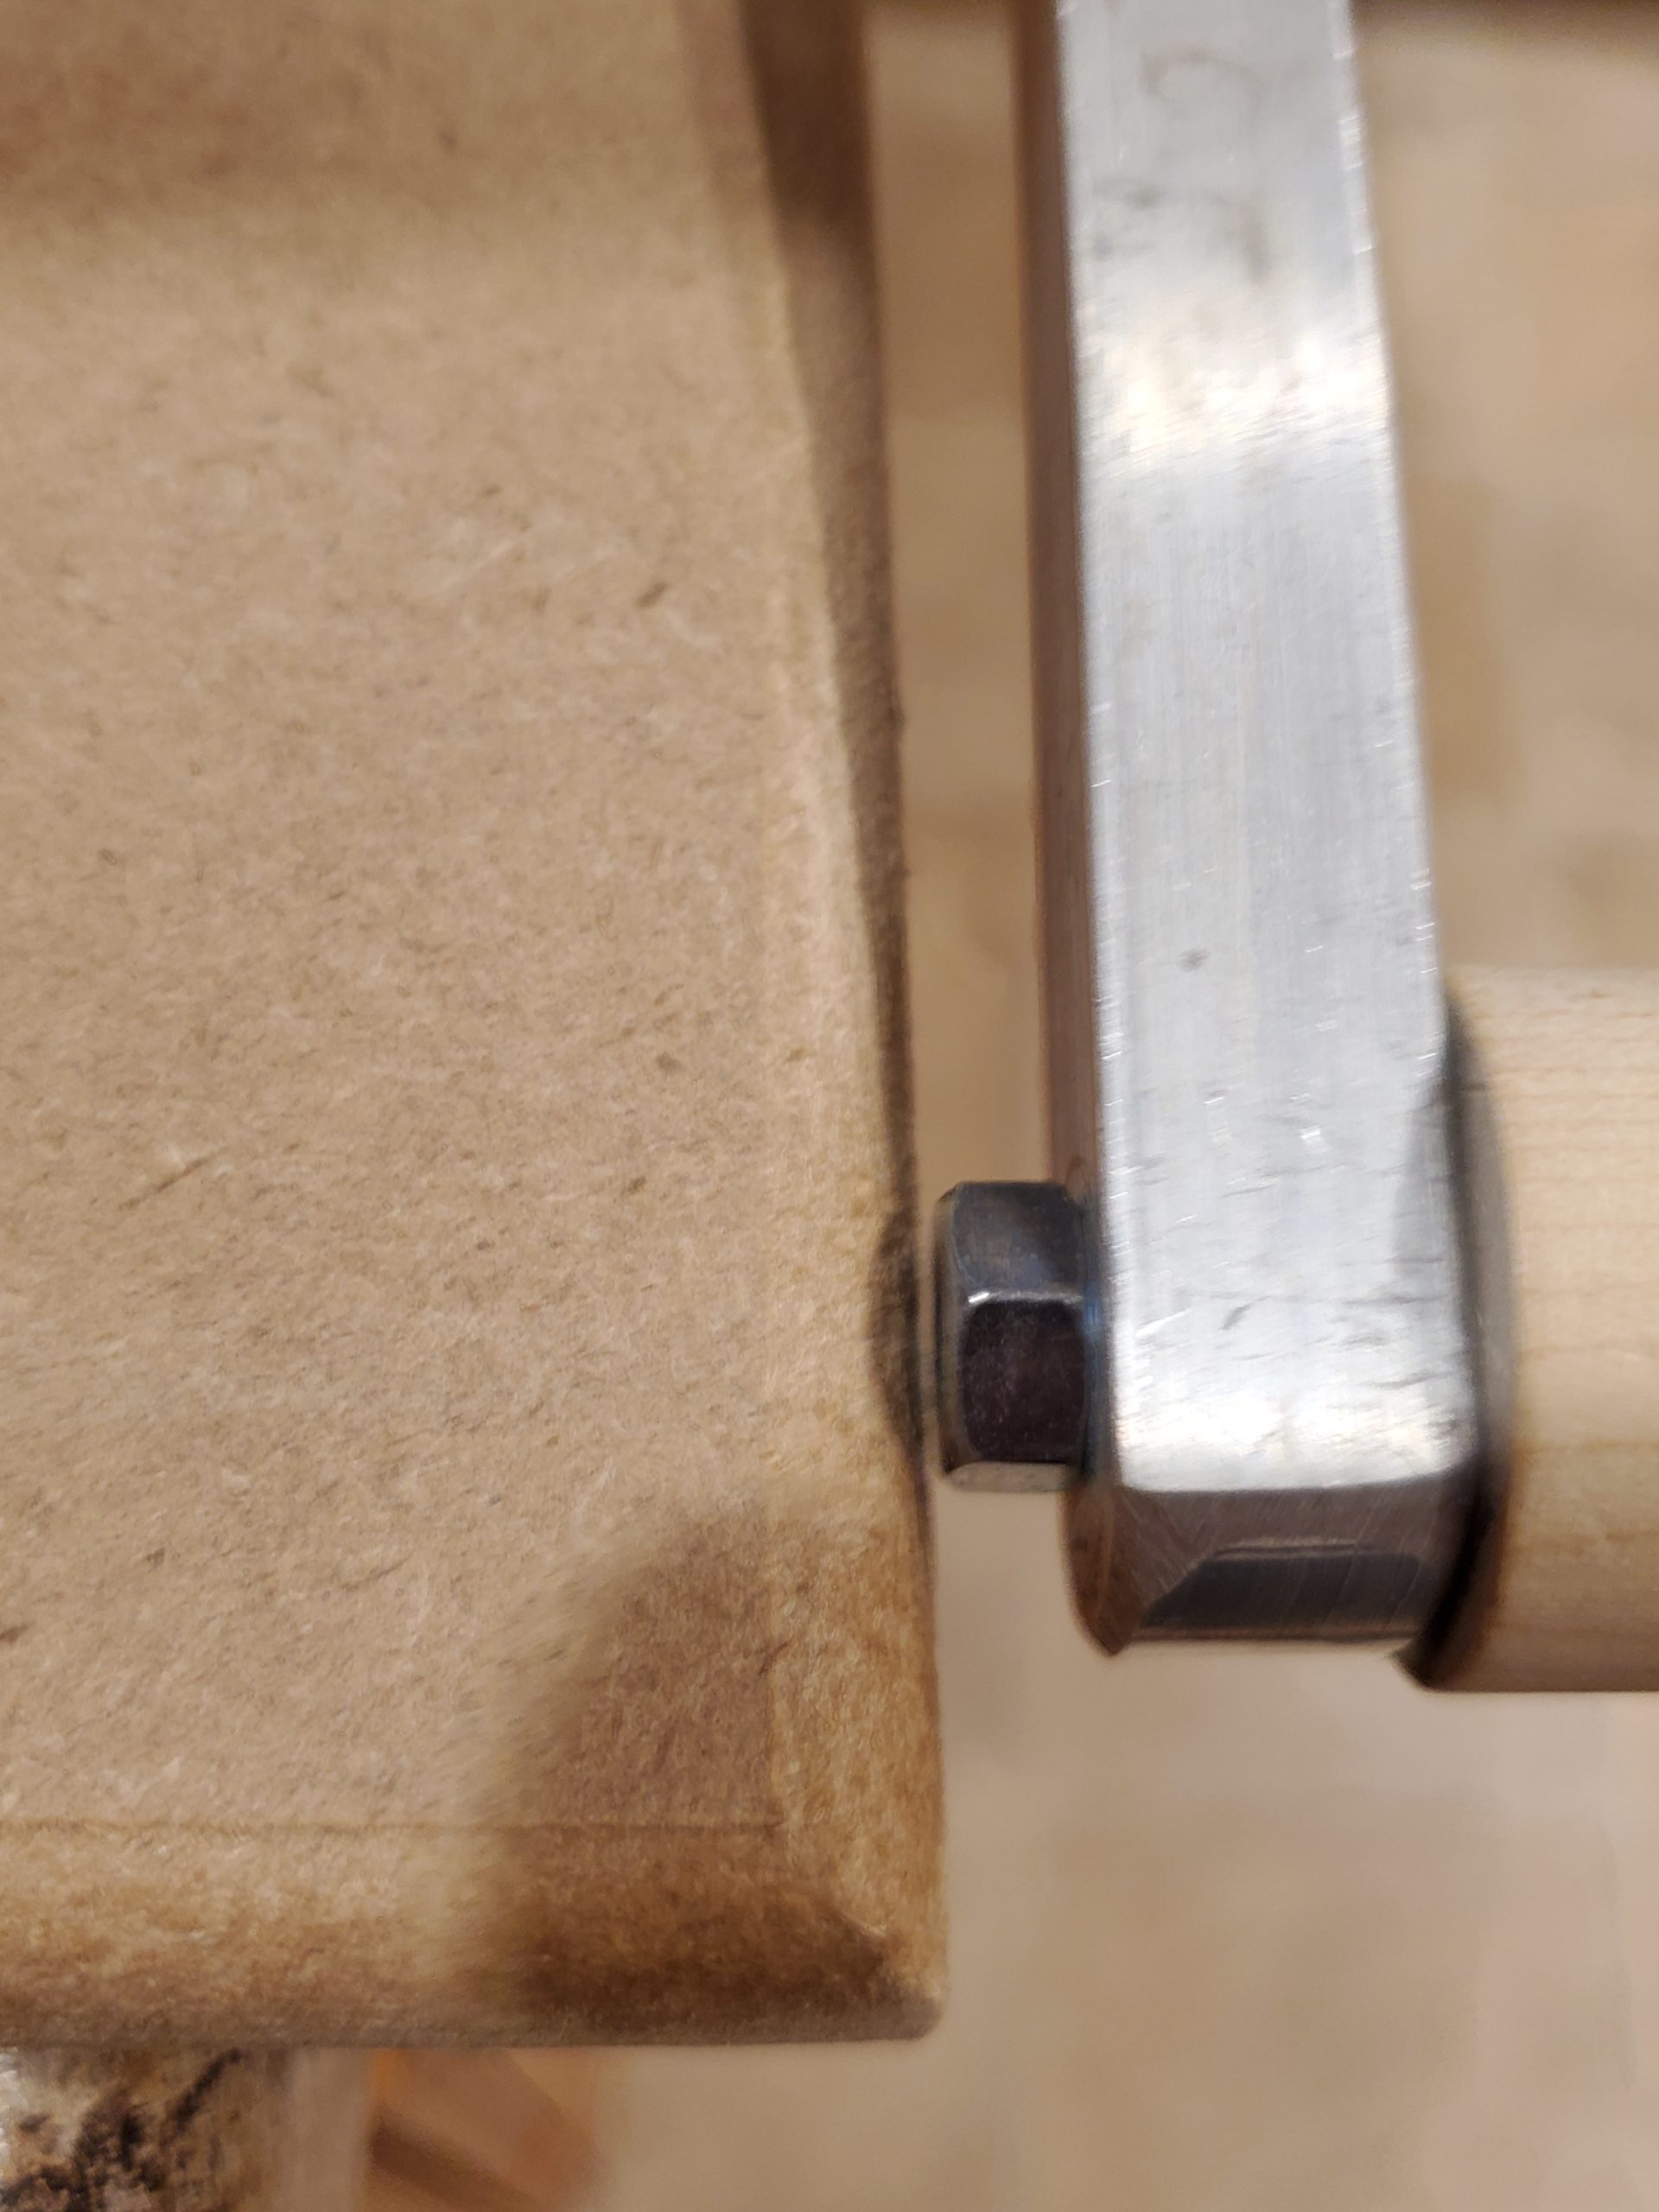 Performance: Having never used a grain mill before, I had no idea what to expect. I figured the hand-crank would be pretty simple to get through 10lbs of grain. I was wrong, it proved to be quite a bit more work than I expected. Another thing to consider is the handle clearance to the base is very small, and if you’re sitting there cranking on it you may find yourself knocking the handle into the base of the unit. You just have to be aware of it or it will be annoying knocking while hand-cranking. This picture shows the clearance, and you can flex it enough to touch the base. This is also with the handle mounted as far out on the crank-shaft as possible.
 I ran a few lbs of grain through the unit as a test just to get any machine oil off the rollers and that was enough to convince me to go grab my drill. Surprisingly, my 3/8″ drill chuck fit it no problem. An even bigger surprise is my little 3/8″ Ryobi P208B – search Amazon – battery powered drill was easily able to handle 10lbs of grain. I did set it to its lowest speed/highest torque setting though which probably helped quite a bit.
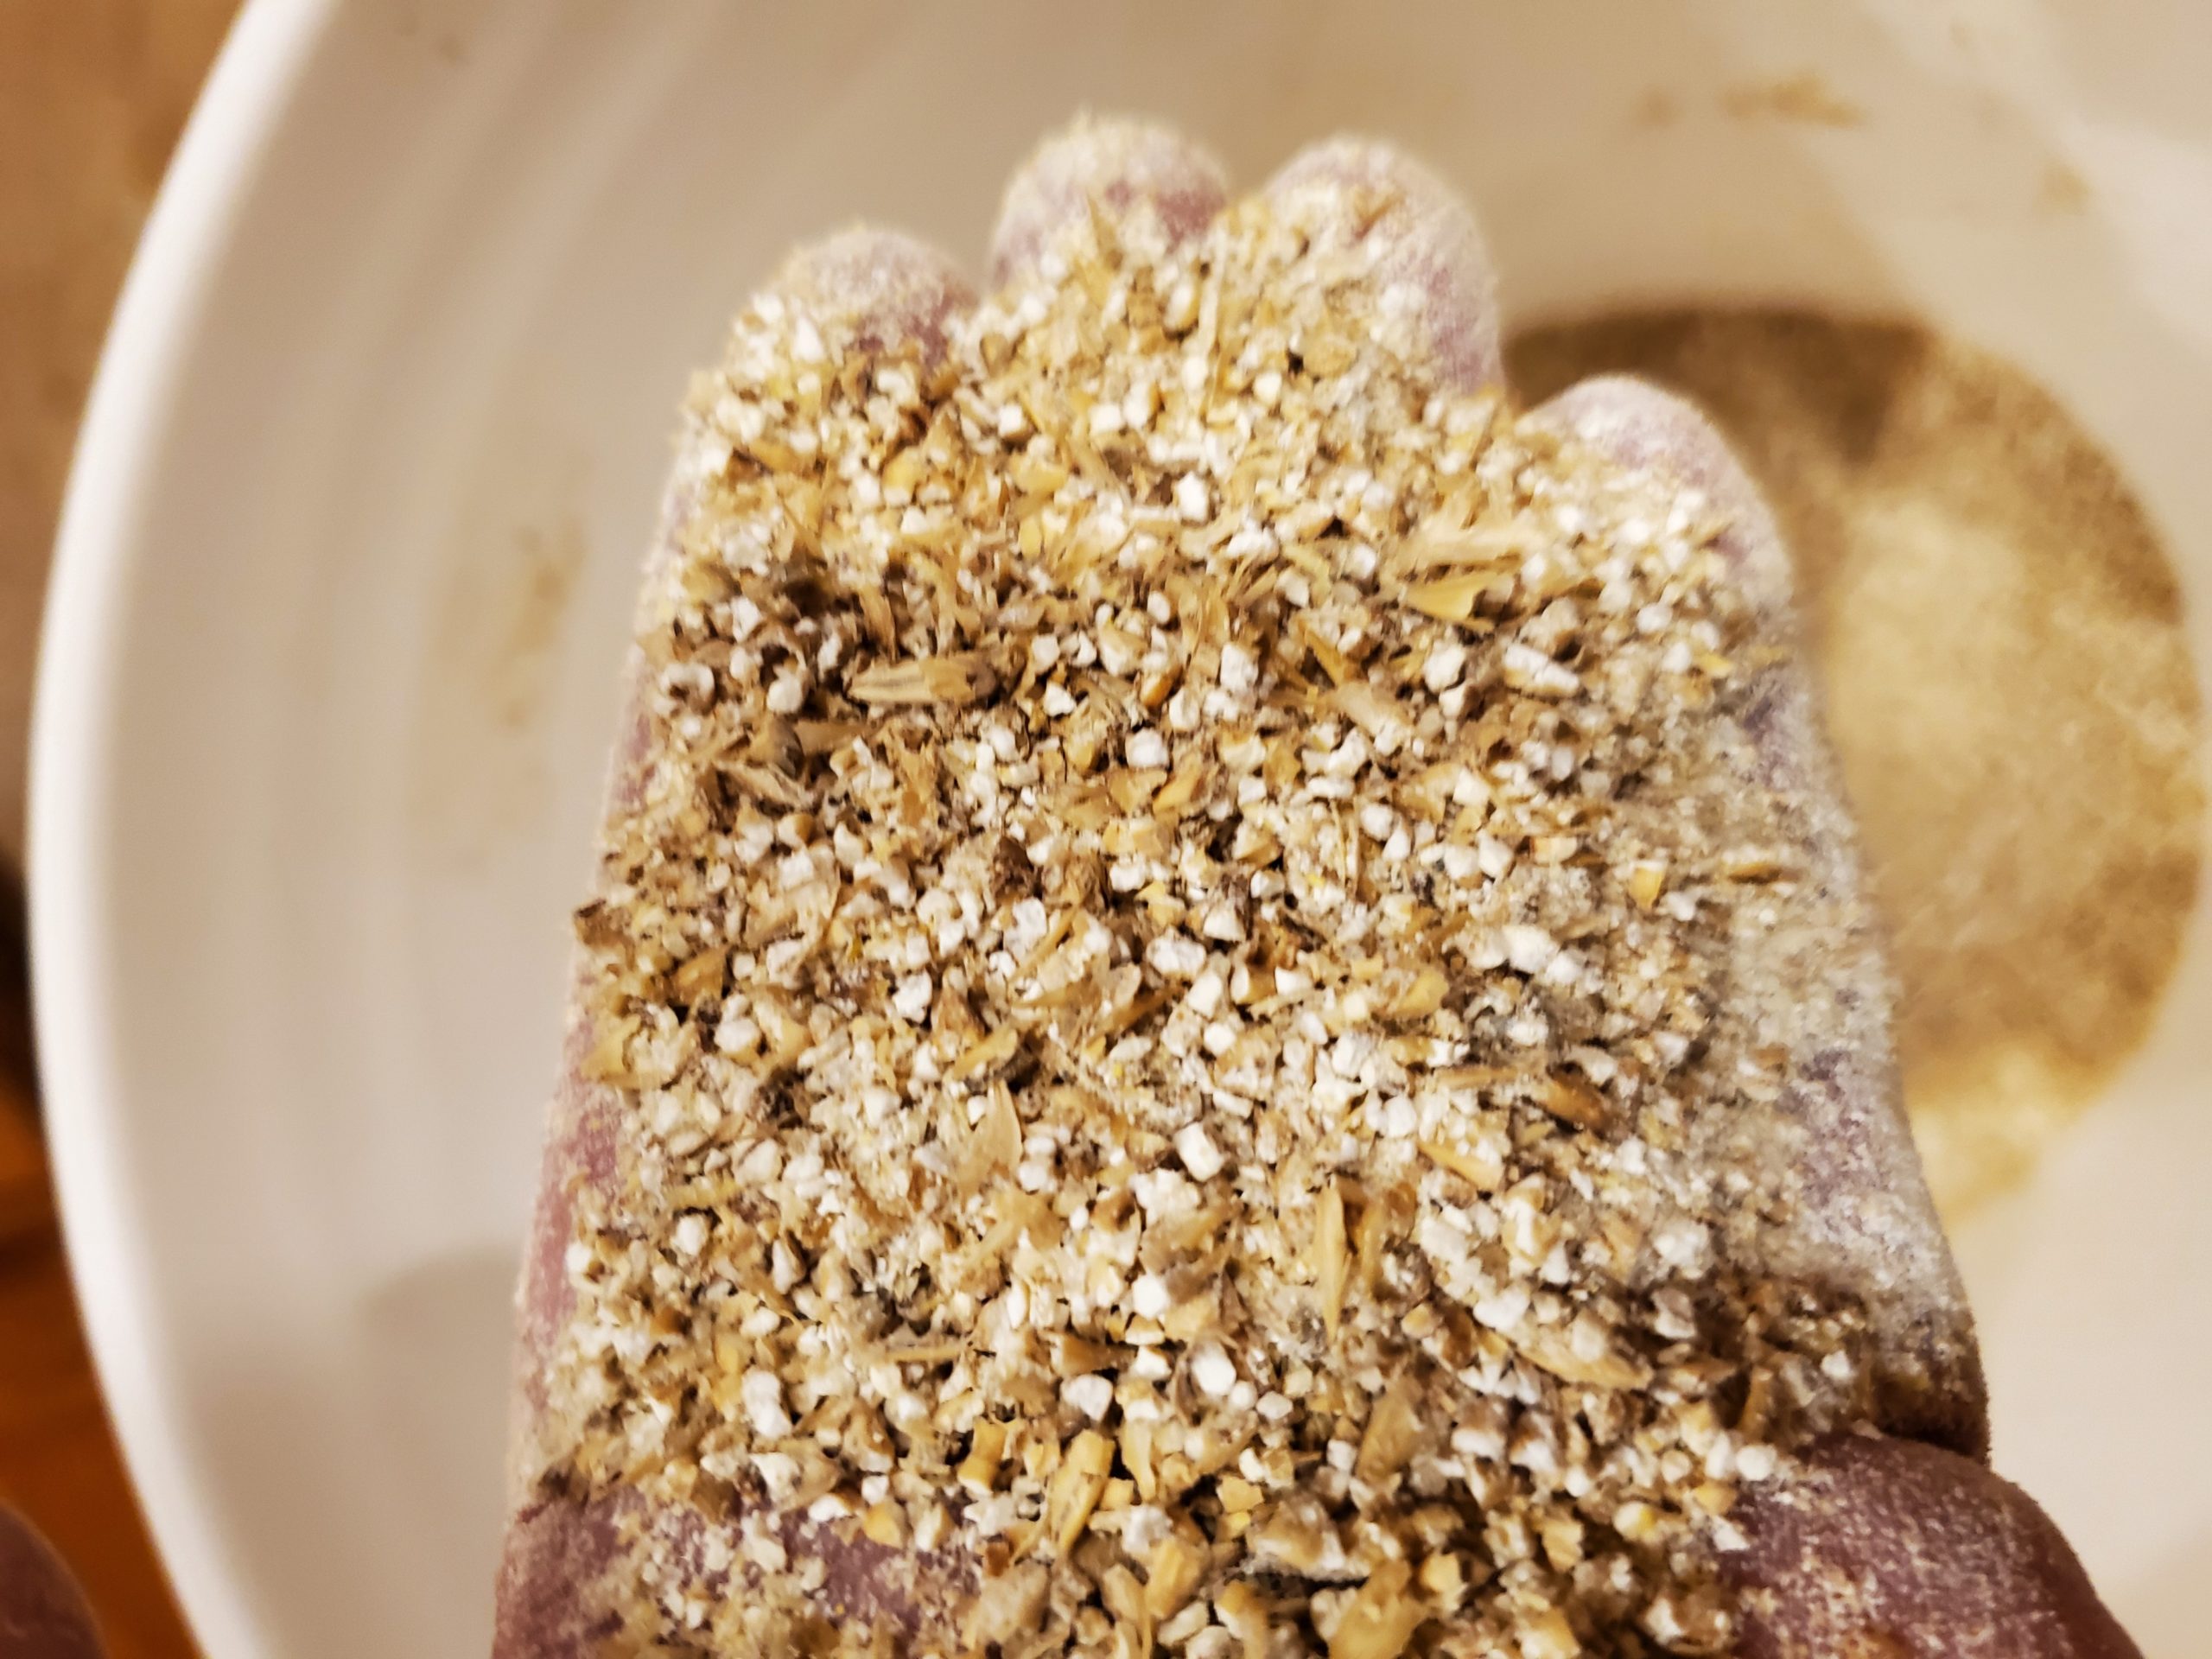 The crush seems pretty consistent. Above is at the crush at its factory setting.
 And here’s a picture of the crush from a previous beer I did, these were crushed by the homebrew supply store I ordered this batch of from. It may be difficult to tell from the picture but the pre-milled stuff is definitely more coarse and a lot less powdery.
Efficiencies: Semi-related to the grain mill; I’ve been having efficiency issues since switching to using the all-in-one electric system (10.5G Anvil Foundry – Hands on Review). I’ve always reached between 70 and 80% brewhouse efficiency on my older cooler mashtun system. My last brew I did on this system prior to crushing my own grain I got 56% brewhouse efficiency. This was on a 13lb grain bill and probably my worst efficiency ever. I brewed the exact same beer but this time using my own-crush with the factory-setting for the barley crusher. My efficiency on this batch was 65%.
My next batch was 9lb 6oz of grain and I got 68% BH efficiency. This is far more acceptable to me and I feel I can dial it in even more to get closer to that 70-75% mark that is pretty standard for most people.
Conclusions
This mill performed as expected. It was packaged very securely and didn’t really have any damage from shipping other than the slight blemish on the base. This unit did not come with any kind of instructions but really the unit is pretty straight forward. It was pre-assembled and ready to go out of the box other than the handle needing to be attached. The only tools you’ll need is an adjustable wrench or pliers, and a phillips head screwdriver.
One lacking feature is any kind of markings on the adjustment knob other than the factory scribe mark. It could give an indication of what the gap is at that setting, and it could have a few more markings to let you adjust to a known value. Other 2 roller mills I’ve seen online seem to have these markings.
Every beer recipe I have is over 7lbs of grain. For myself, I would suggest the bigger hopper to avoid having to stop and refill the hopper. It’s not a big deal but really is handy to be able to fit a whole grain bill in there.
Check Current Prices & Availability:
7 lb Barley Crusher Mill
- The Barley Crusher MaltMill – via Valuebrew
- The Barley Crusher Grain and Malt Mill MILL500 – via MoreBeer
- Barley Crusher Grain Mill 7LB Hopper – via Adventures in Homebrewing
15 lb Barley Crusher Mill
- The Barley Crusher MaltMill – 15 lb Hopper – via Valuebrew
- The Barley Crusher Grain and Malt Mill w/ 15 lb Hopper MILL509 – via MoreBeer
- Barley Crusher Grain Mill (15 lb Hopper) – via Adventures in Homebrewing
- Barley Crusher Grain Mill w/15 lb Hopper – via Great Fermentations
Also: Search Amazon for Barley Crusher Grain Mill – offerings vary
Barley Crusher Motor Kit
- Barley Crusher & Cereal Killer Motor Kit – via Valuebrew
Mentioned in This Review:
More Mill Reviews!

Get a Deal on Bulk Grain

Grain Storage Options!

Everything All Grain!
Our resource post on all grain is the source for everything all grain!

More Homebrew Finds!
- Last 50 Finds!
- Top Deals – a curated list of the best deals
- Homebrew Reviews – one of the largest libraries of homebrew reviews in existence!
- Our Top Posts – tips, how-tos, resources posts and more
Special Thanks to Monster Brewing Hardware for providing the unit used for evaluation in this review.
Special Thanks to Barley Crusher for providing the unit used for evaluation in this review.
More About the Author: I’ve been brewing for about 8 years, started out with a 5 gallon extract kit and was hooked. Jumped into all grain after about 5 or 6 batches of extract. Since then I’ve run the gauntlet of partial mashing to building a cooler mash tun to BIAB. I recently switch to an electric all-in-one system and love it, this is my preferred method now due to ease of use and time saving. I have no professional brewing experience. I prefer pale ales and IPA’s mostly. Trying my best to be a good home brewer while also being a good family man for my wife and two kids!
This post may contain affiliate links. We may make a commission when you use our links. This will never cost you extra. Thank you for supporting Homebrew Finds!
Make sure the components you use are compatible and rated for your intended application. Contact manufacturer with questions about suitability or a specific application. Always read and follow manufacturer directions. tag:lnksfxd review:barleycrusher #tag:tpr
The 7lb model is listed at $104.99 and the 15lb model is listed at $124.99 at the moment