
Hands on Review: Anvil Crucible Stainless Conical Fermentor!

This review is by Homebrew Finds Contributor Brad Probert. Brad is an engineer, expert homebrewer and experienced reviewer. Grab a link to Brad’s website at the end of this review.
Anvil Crucible Stainless Conical Fermentor
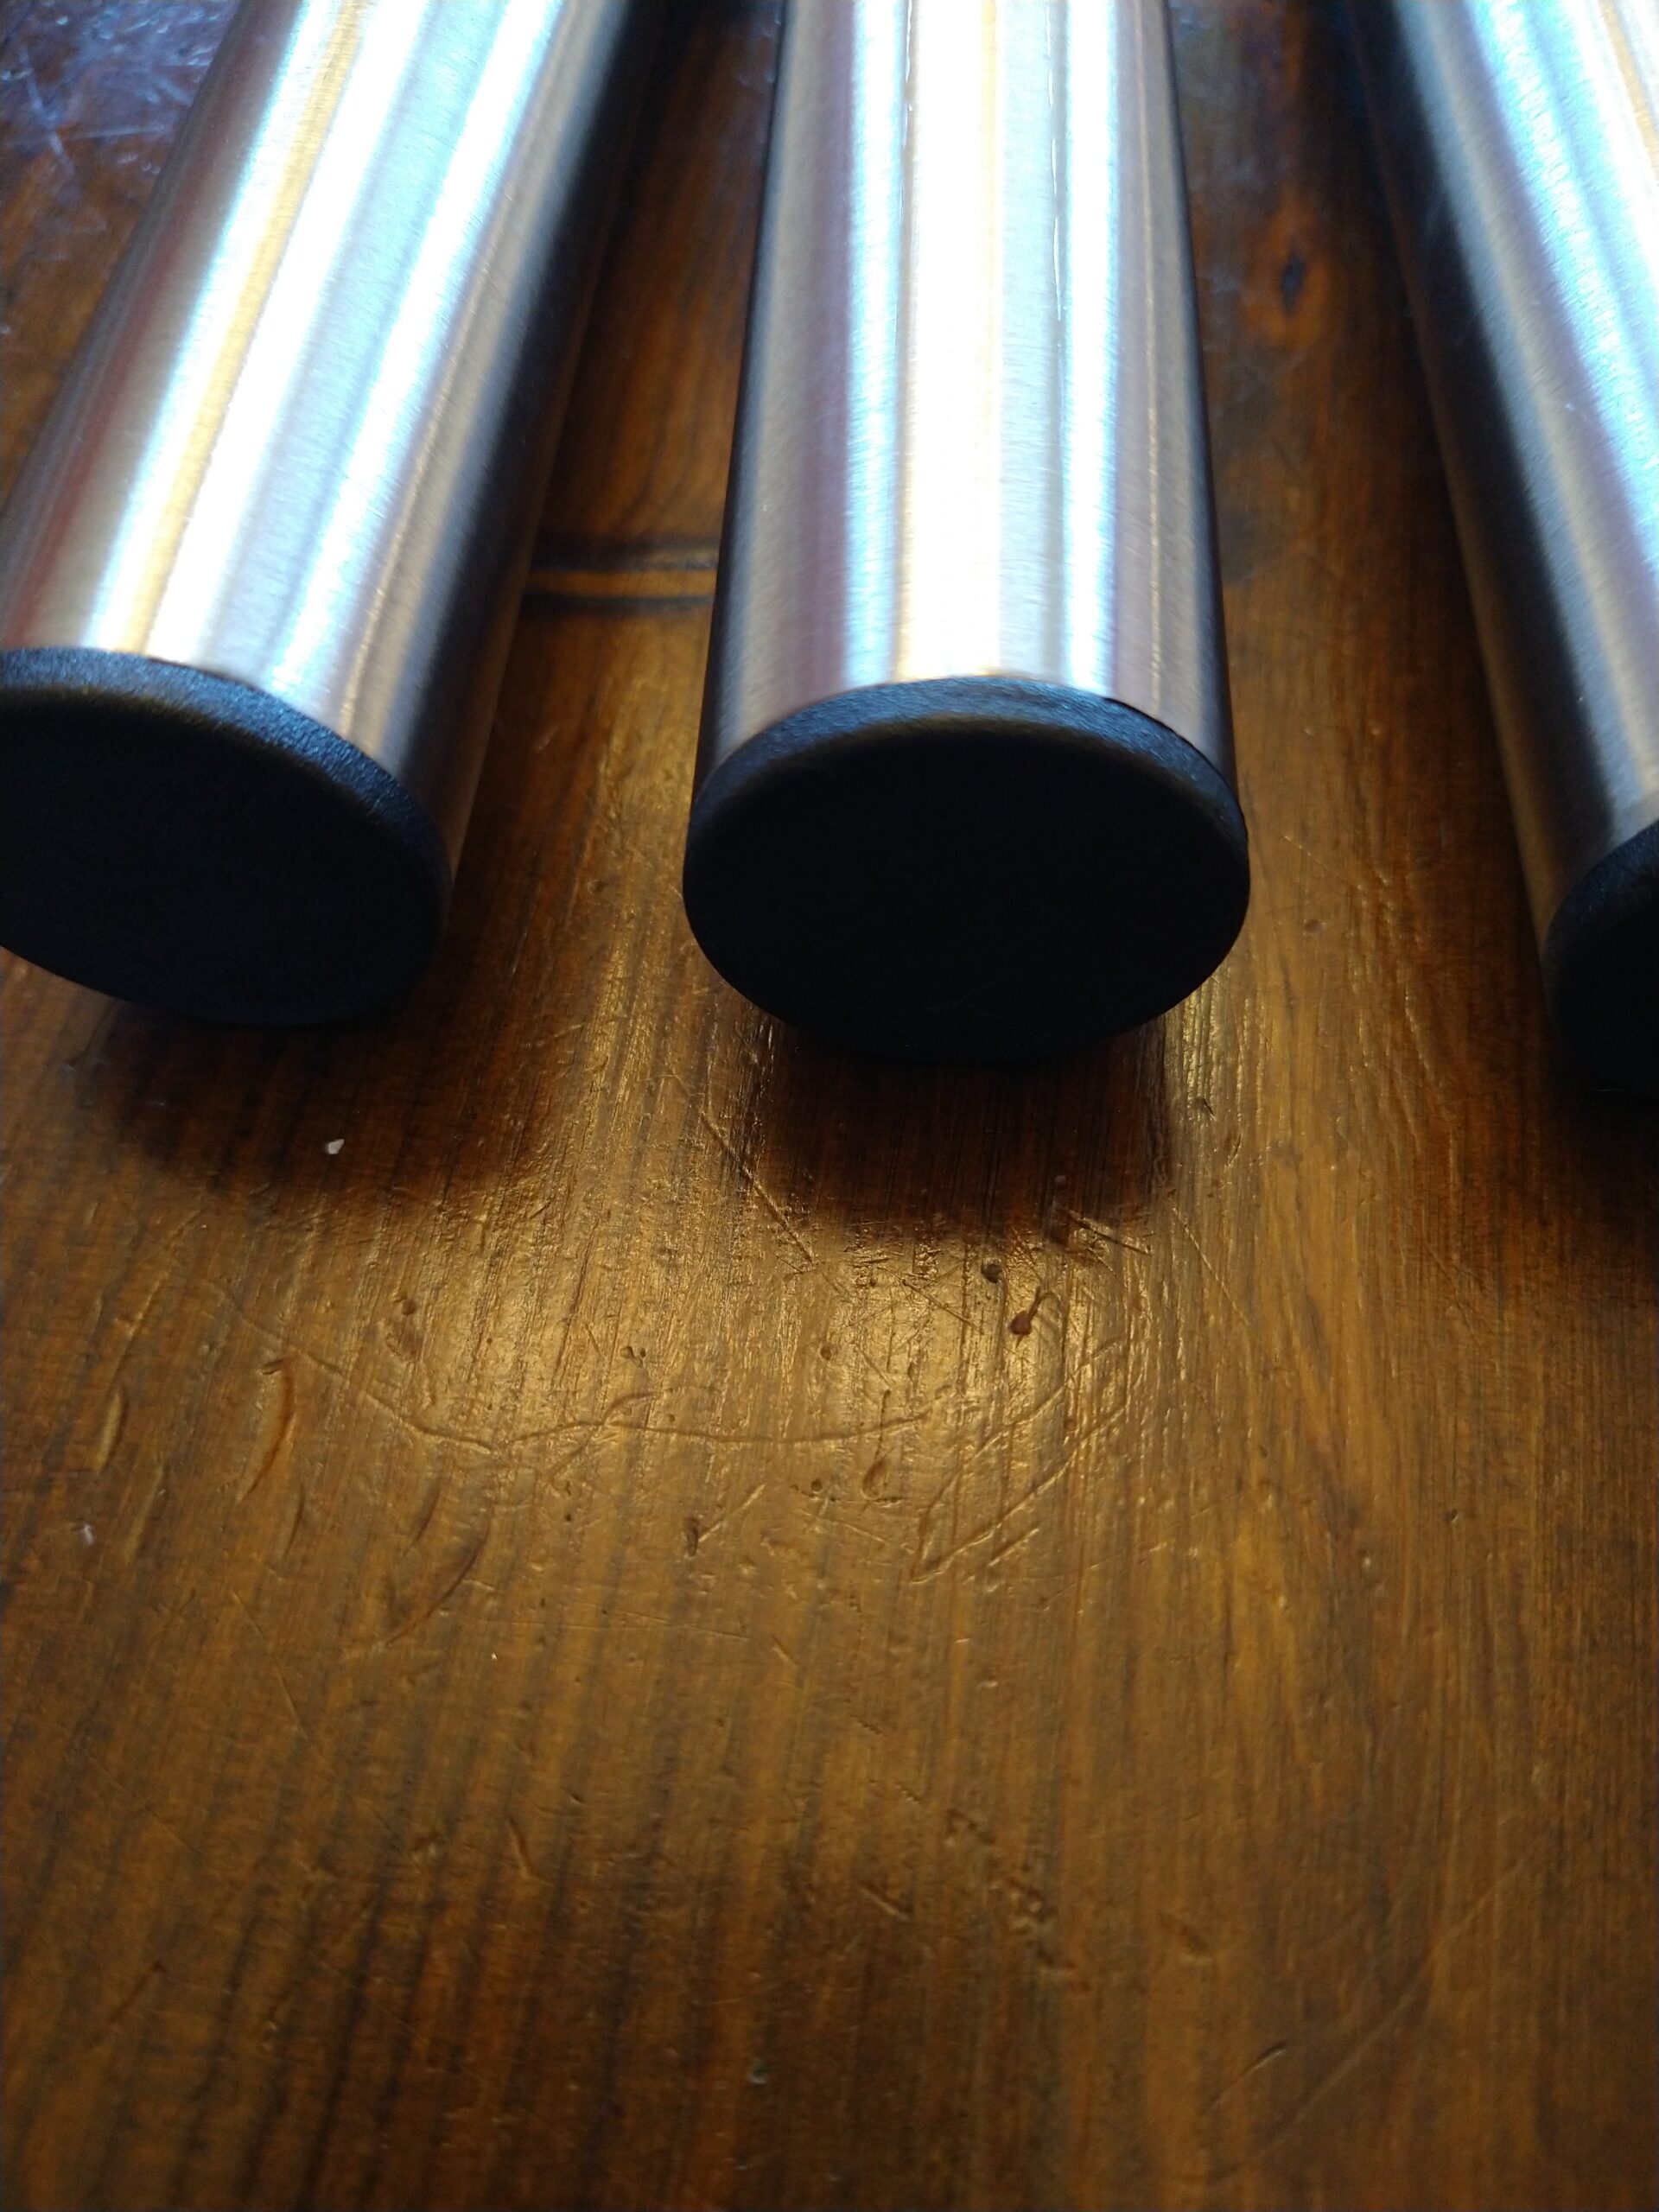
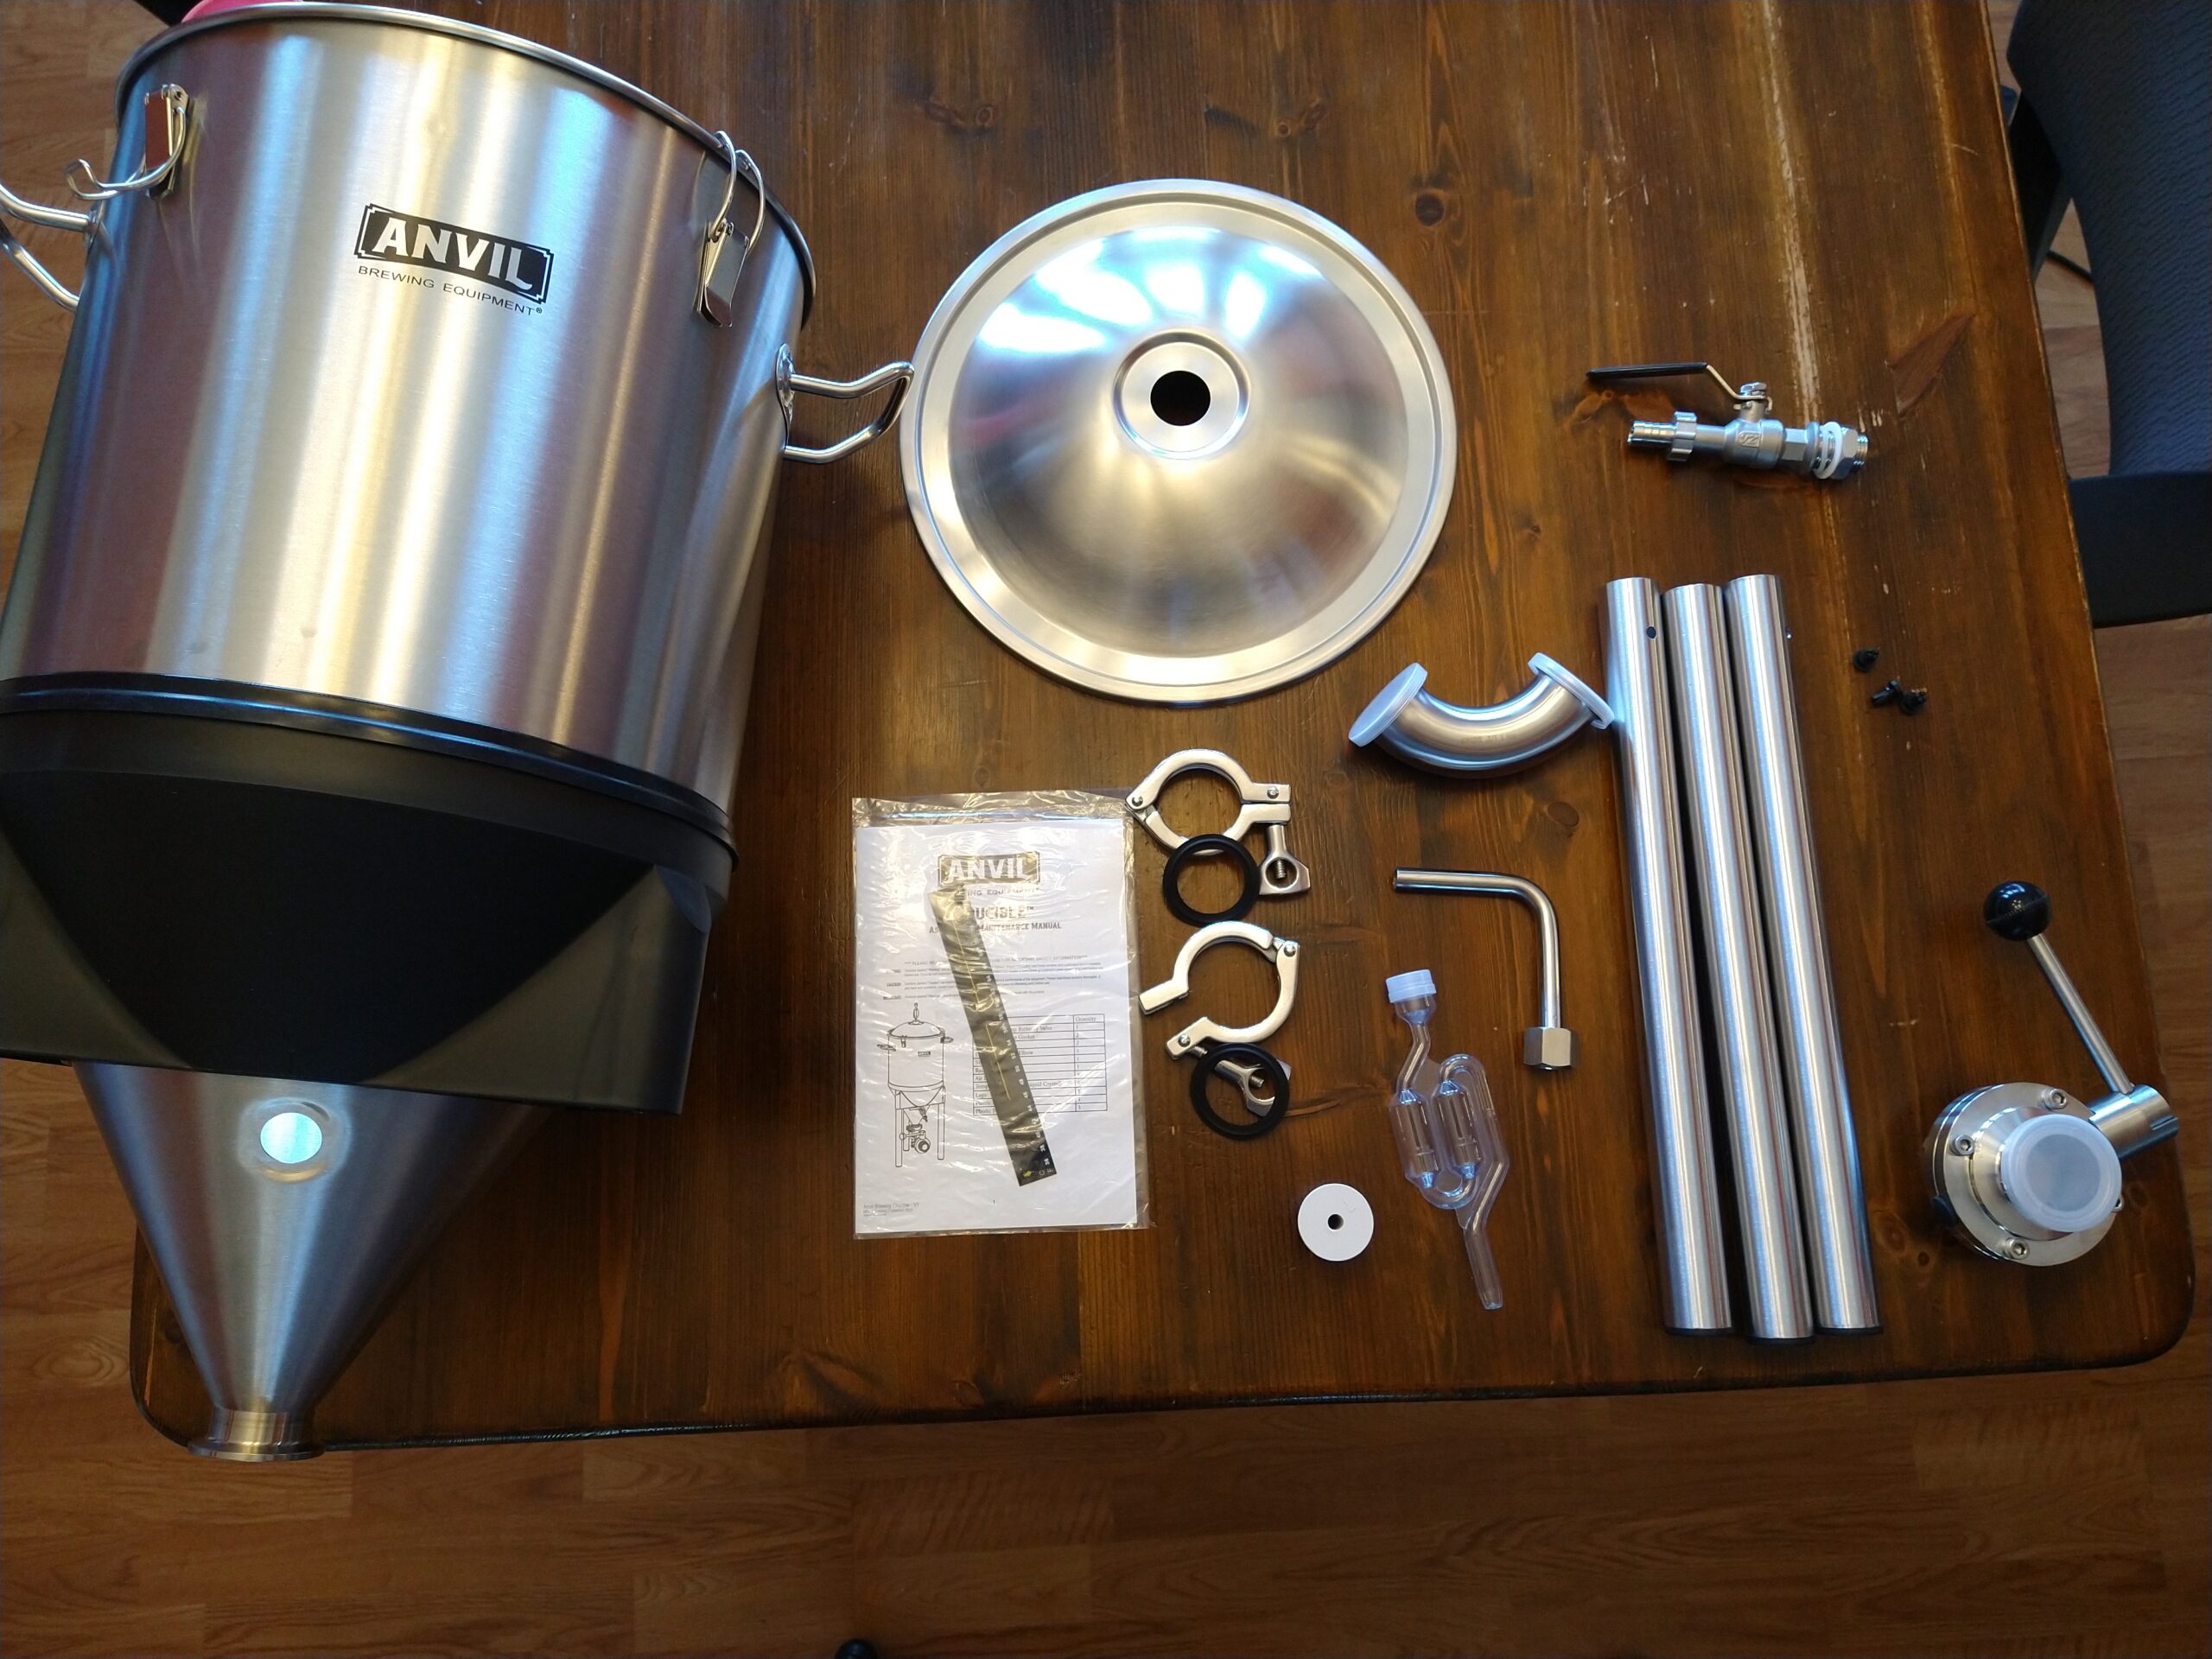 Complete Fermentor Box Contents
In the world of brewing, stainless steel reigns supreme. And in the world of fermentors, conicals top the “most desired” list of many homebrewers. So of course, combining these two things explains why stainless conicals are such a desired commodity in the homebrewing world. Blichmann was one of the first to offer homebrewers a stainless conical fermentor, back in 2004. But recently they introduced a more budget-friendly model, in their Anvil line, called the Crucible. The Crucible does not have the same feature set as Blichmann’s Fermenator, as the Anvil Crucible is not pressure capable. But it does take advantage of the true “conical fermentor” shape.
Fermenter vs Fermentor?
(Note: Some use the word “fermenter”, and some use “fermentor”. Although “fermenter” is the common use word, someone once explained that grammatically speaking, “fermentor” was more accurate. So now I can’t help myself. Sorry.)
Compare Models, Prices and Availability, Review Continues Below:
- Anvil Crucible at MoreBeer
- Anvil Crucible at Adventures in Homebrewing
- Anvil Crucible at Austin Homebrew Supply
- Anvil Fermentors at Great Fermentations
- Search eBay for “Anvil Crucible Fermenter” – offerings vary
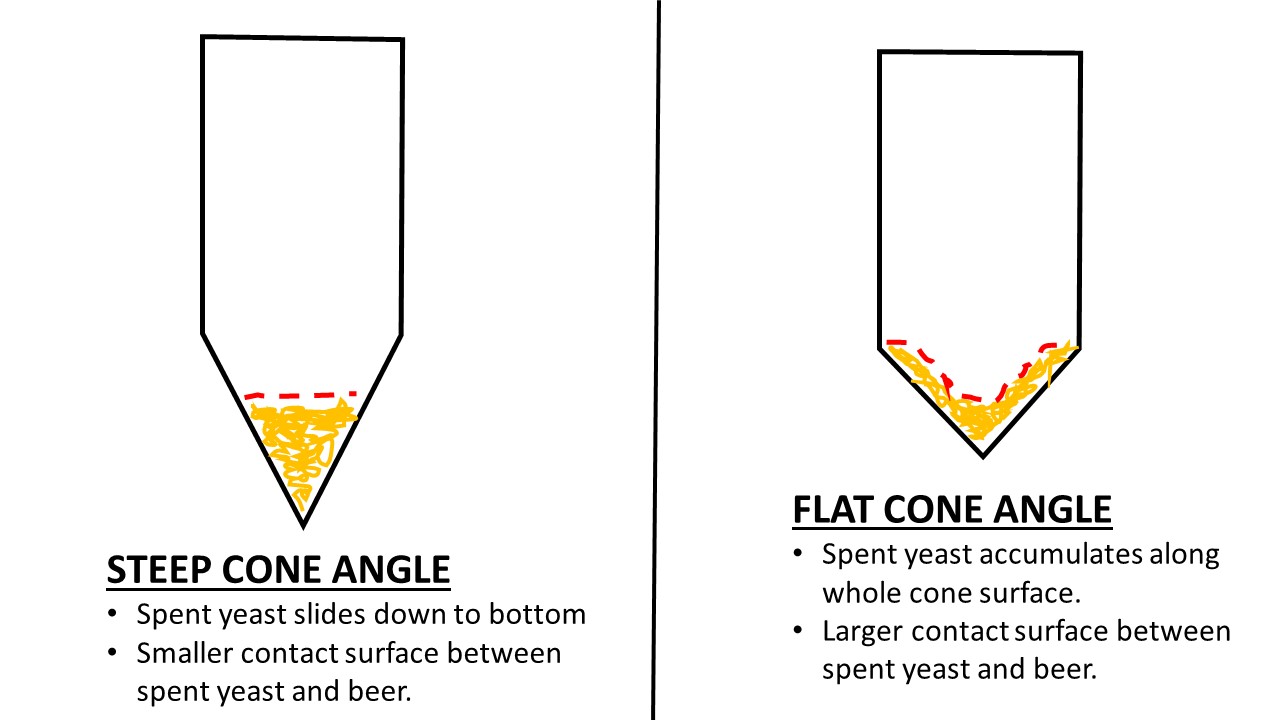
The word conical can have a fairly wide interpretation. Any cylindrical fermentor with a cone shape, or taper on the bottom can technically be called a “conical”. You can get various versions of this ranging from a slightly domed out bottom, up to a steeper 60-degree angled cone. The shorter cones make the fermentor more space-efficient. Long tapered cones adds a lot of height without much volume increase. However, to really put gravity to work on your precipitated yeast, the steeper sides of a 60-degree cone are needed. The steep sides really promote the yeast sliding down to the very bottom of the cone, to give you the advantage of reduced contact area between your beer and spent yeast. This also makes the collection/harvesting of yeast easier. With a steep cone, you get a smaller circular area on top of the yeast as it piles up. With a flatter cone, you get yeast distributed all along the bottom, and thus a much larger contact area. See my drawing to illustrate this point. The Anvil Crucible has a legitimate steep cone.
Also within the definition of “conical” there is also a further subset of “unitank”. Most conicals are unitanks, including the Anvil Crucible. Unitanks are simply conicals that are made from a single sheet of steel between the upper cylinder portion and lower cone portion. Non-unitanks have the upper and lower parts made as 2 independent pieces, and then get welded together at the seam. Unitanks are preferable because they eliminate that weld seam, which can make them tougher to clean/sanitize.
 Seamless Joint of Unitank
Another differentiating category of conical fermentors is pressure capability. Some people assume when you say conical, that means you can ferment under pressure, as well as pressure transfer your beer from fermentor to keg. But this is not the case. The Anvil Crucible is not rated as pressure capable (see my notes in my Hands-on Review section). The part that usually limits this is the lid/lid sealing capability, which is the case with the Crucible.
Related Review: Hands on Review: Anvil Crucible Cooling System
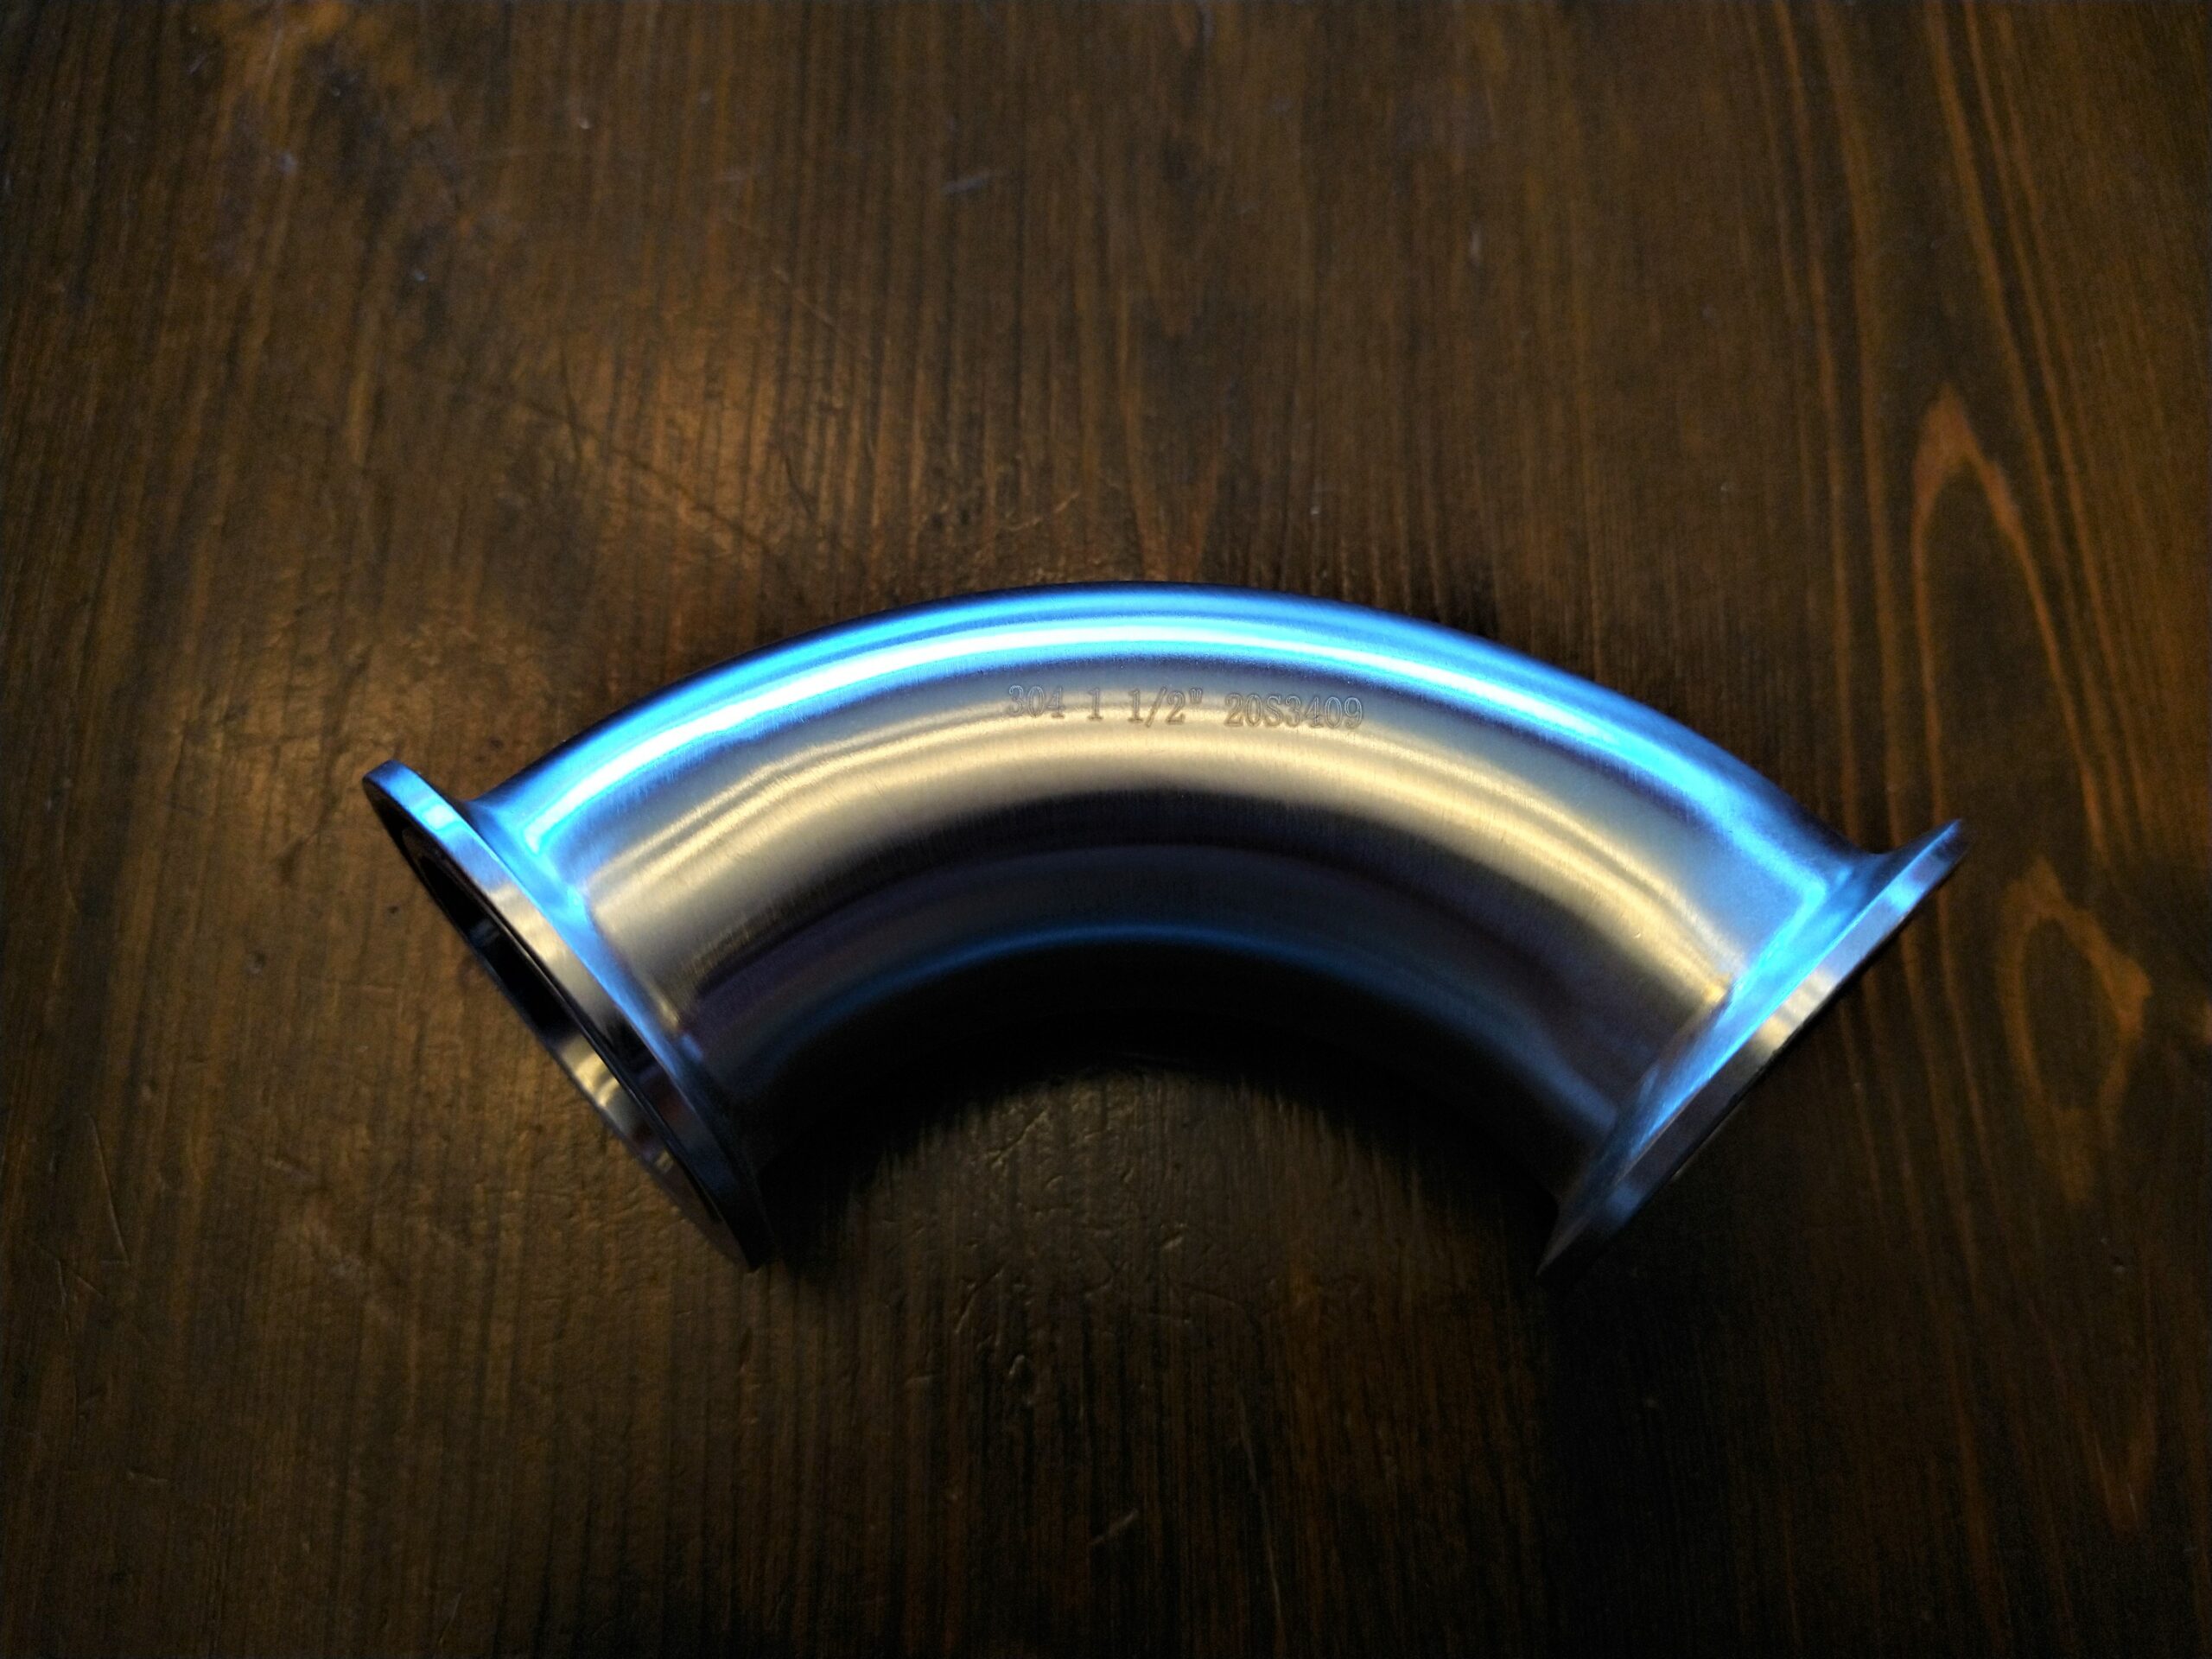
At the bottom of the cone, there is a large 1.5” diameter 90° elbow bend, which is sealed by a 1.5” Tri-Clamp butterfly valve. This allows for dumping of yeast/trub during fermentation (should you want that in your process), and also makes for easy cleaning of the fermentor after fermentation. To clean, you can just open the valve and rinse everything out, no need to rinse and then tip the whole thing to dump out the contents. It makes a big difference.
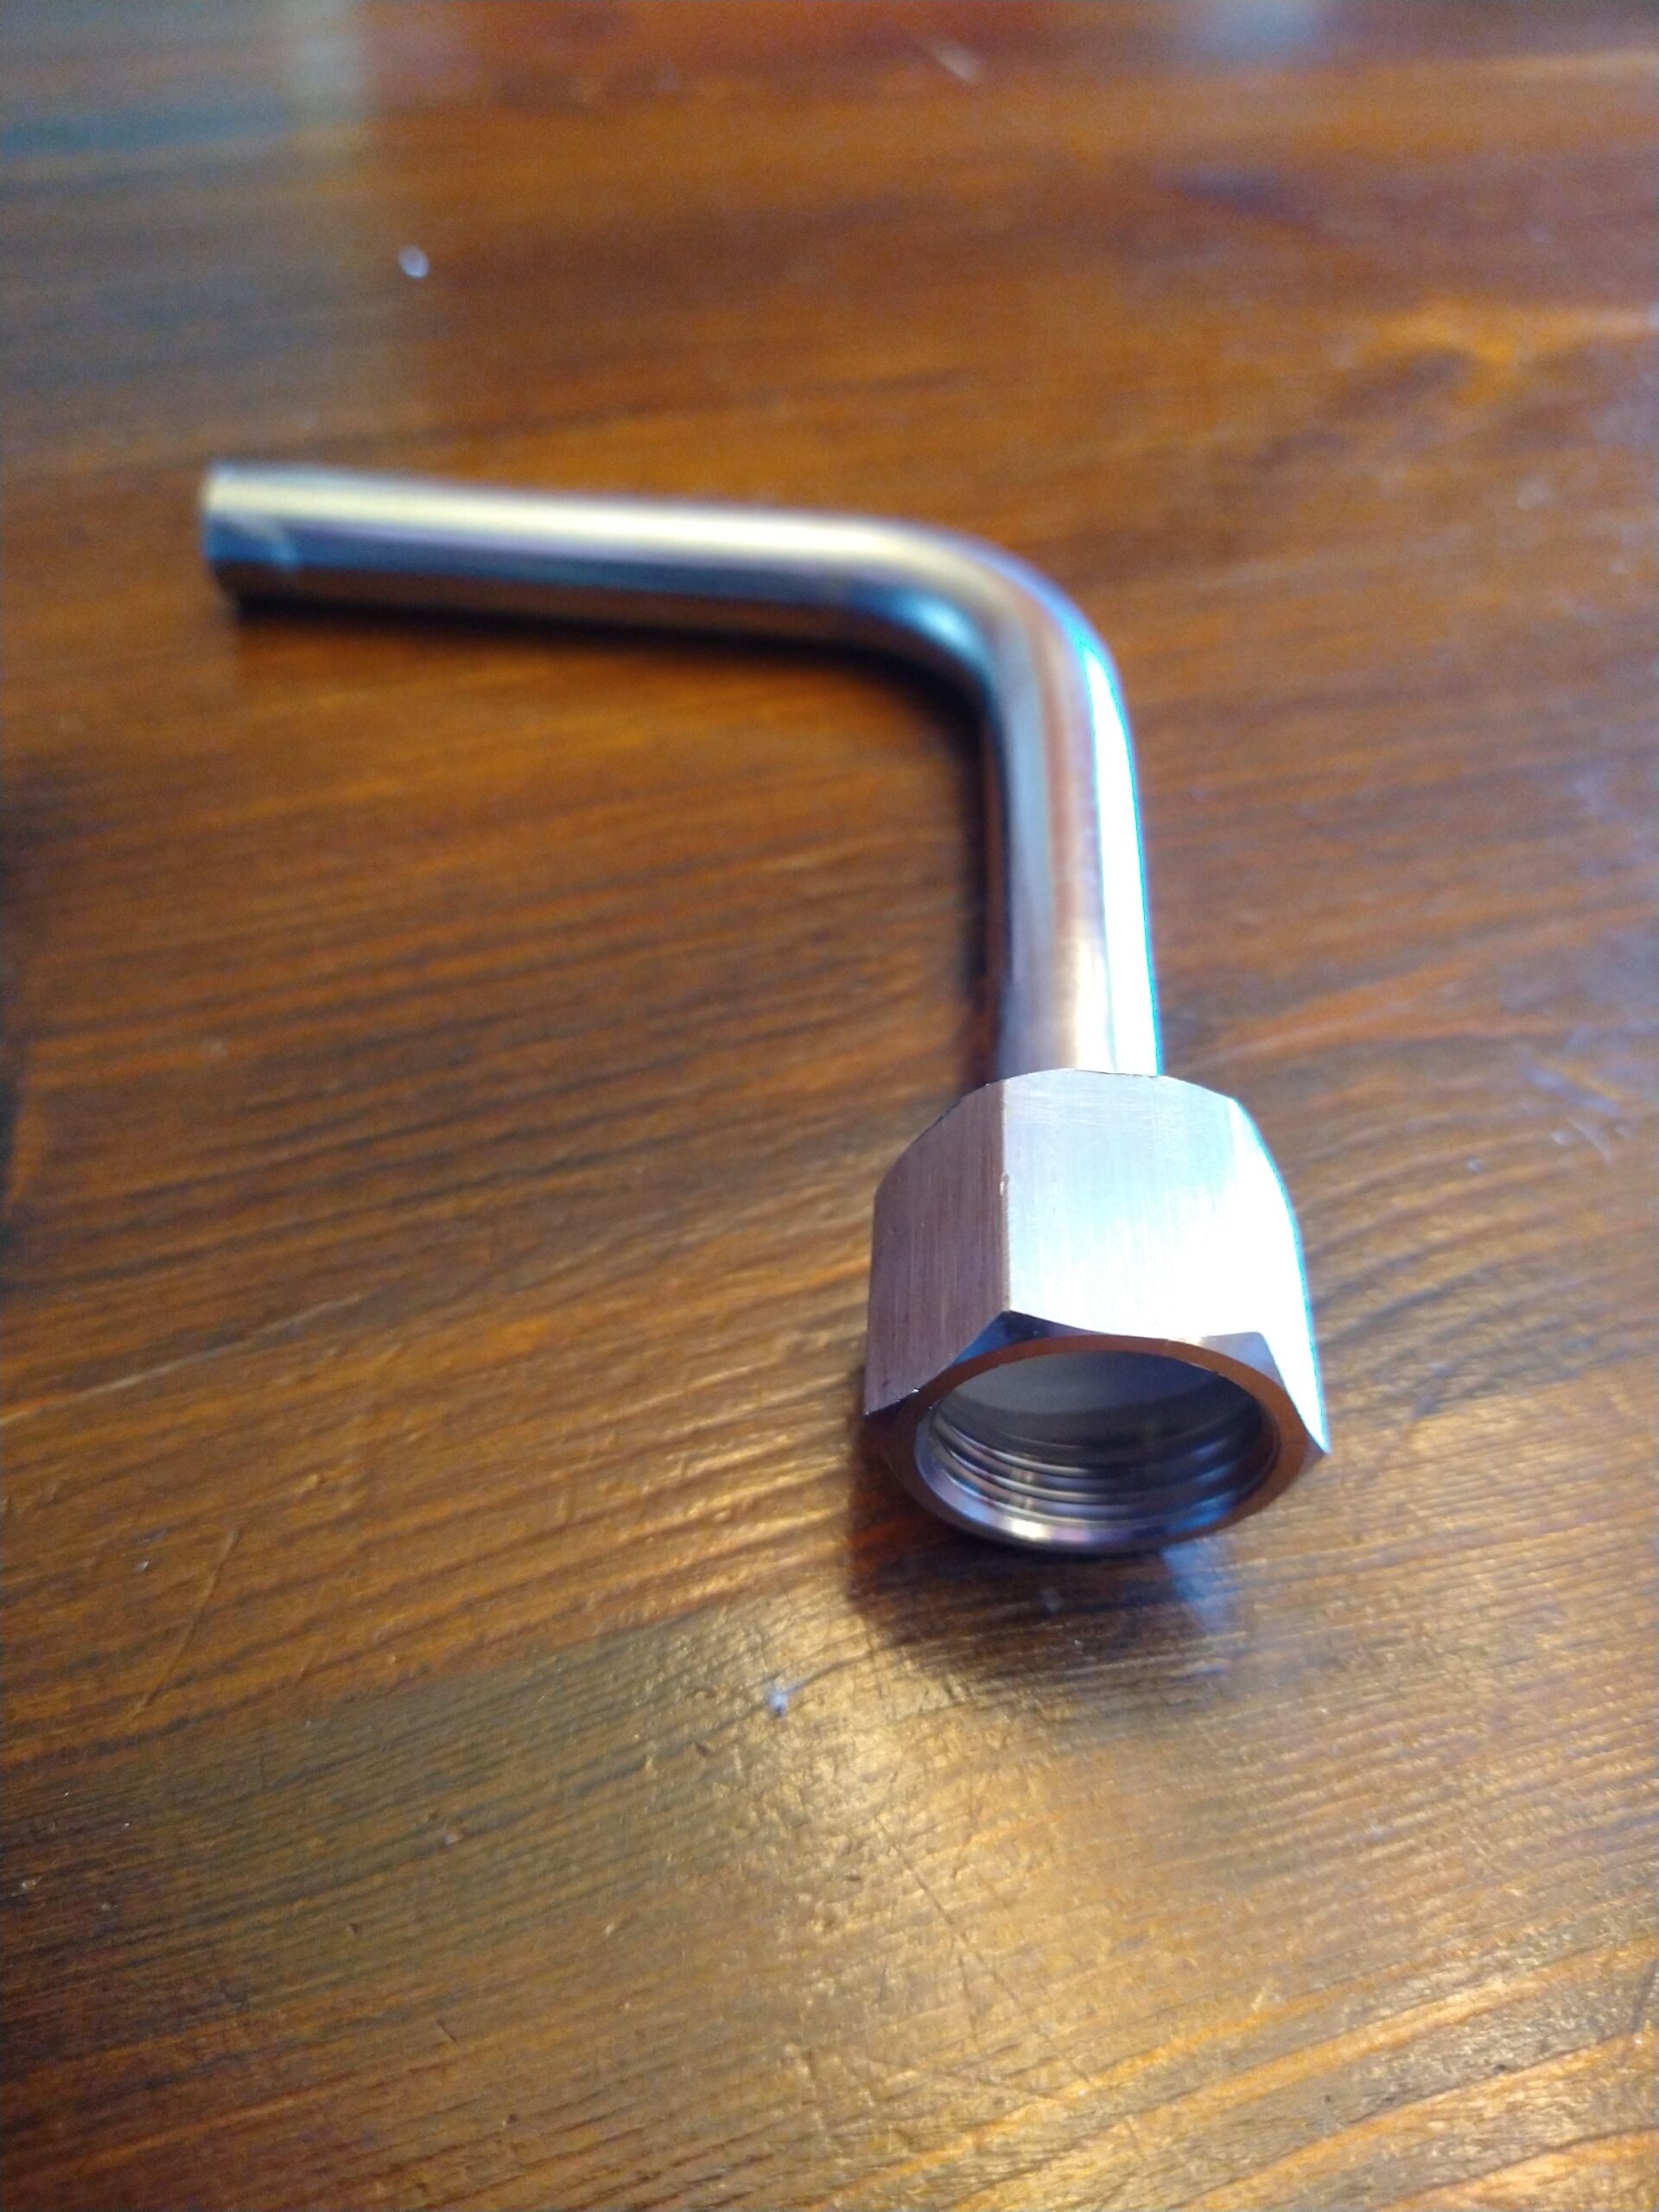 Angled Pickup Tube
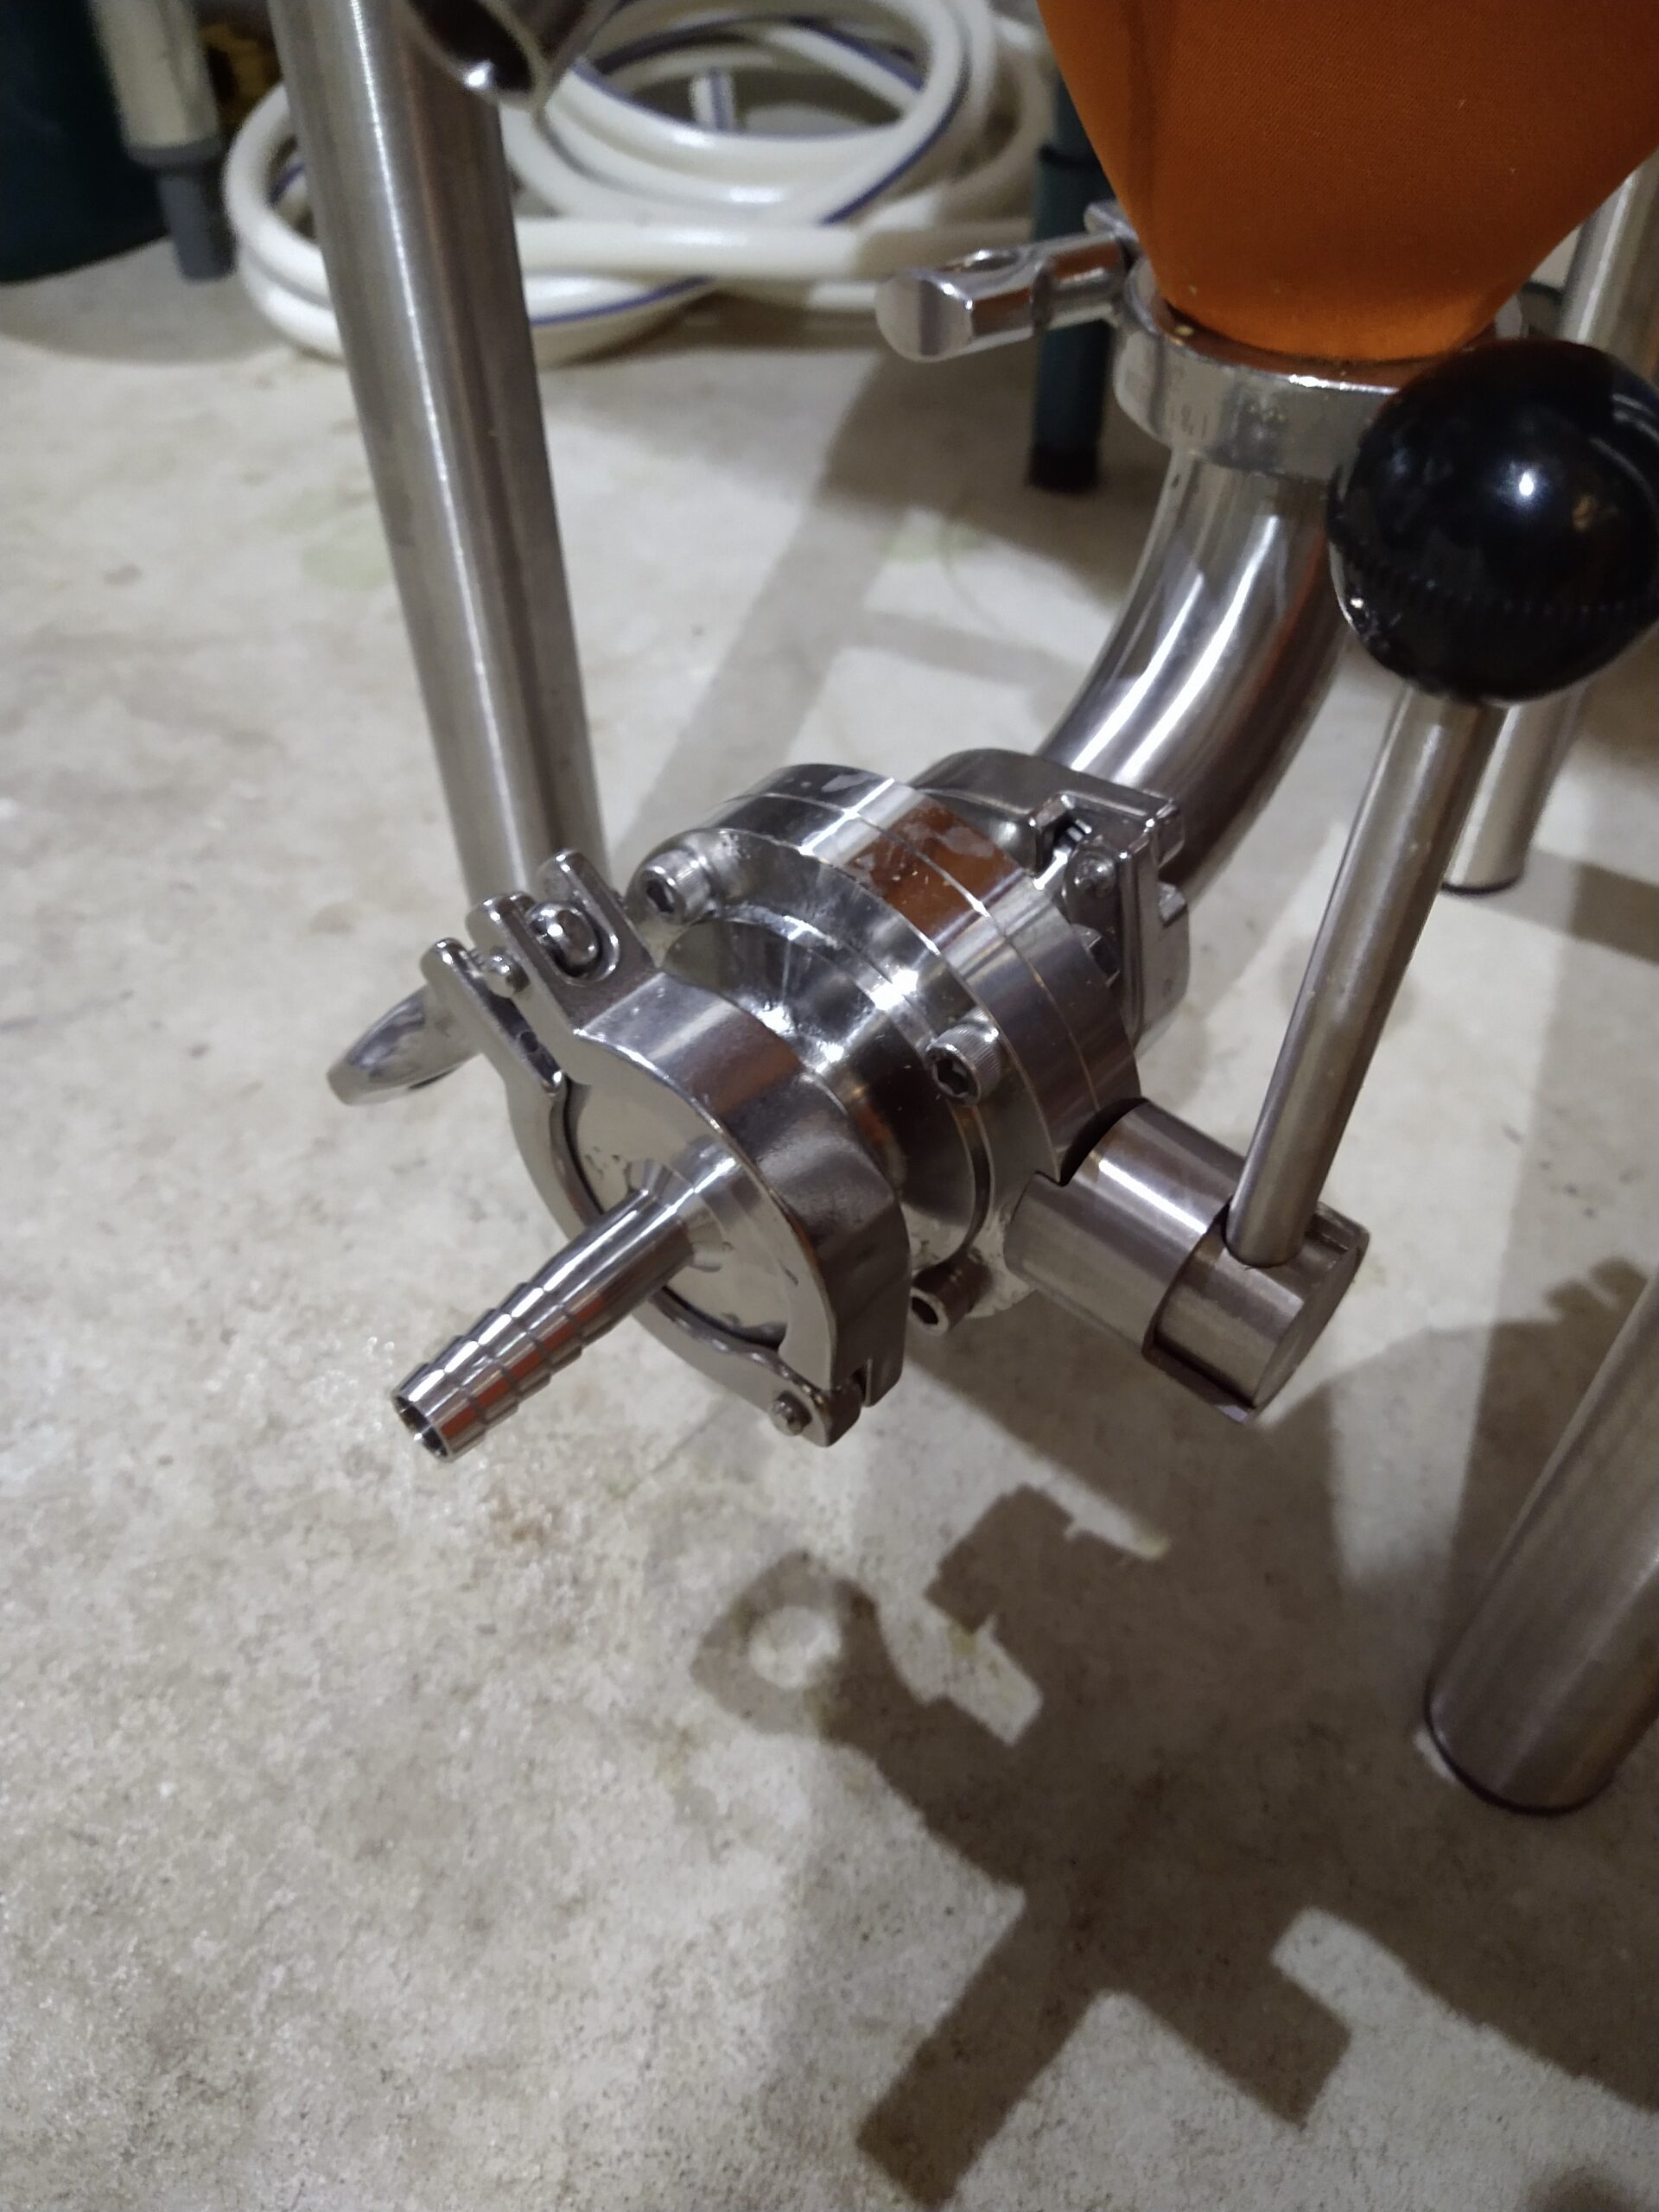
In addition to the dump valve at the very bottom of the cone, there is a ball valve near the bottom with an angled pickup tube. This ball valve can be used for wort gravity samples during fermentation if you want, and then can be used for transferring your fermented beer out and into your keg. This interface to the fermentor uses a plastic washer on the inside to allow risk-free rotation of the valve (and the angled dip tube attached to it).
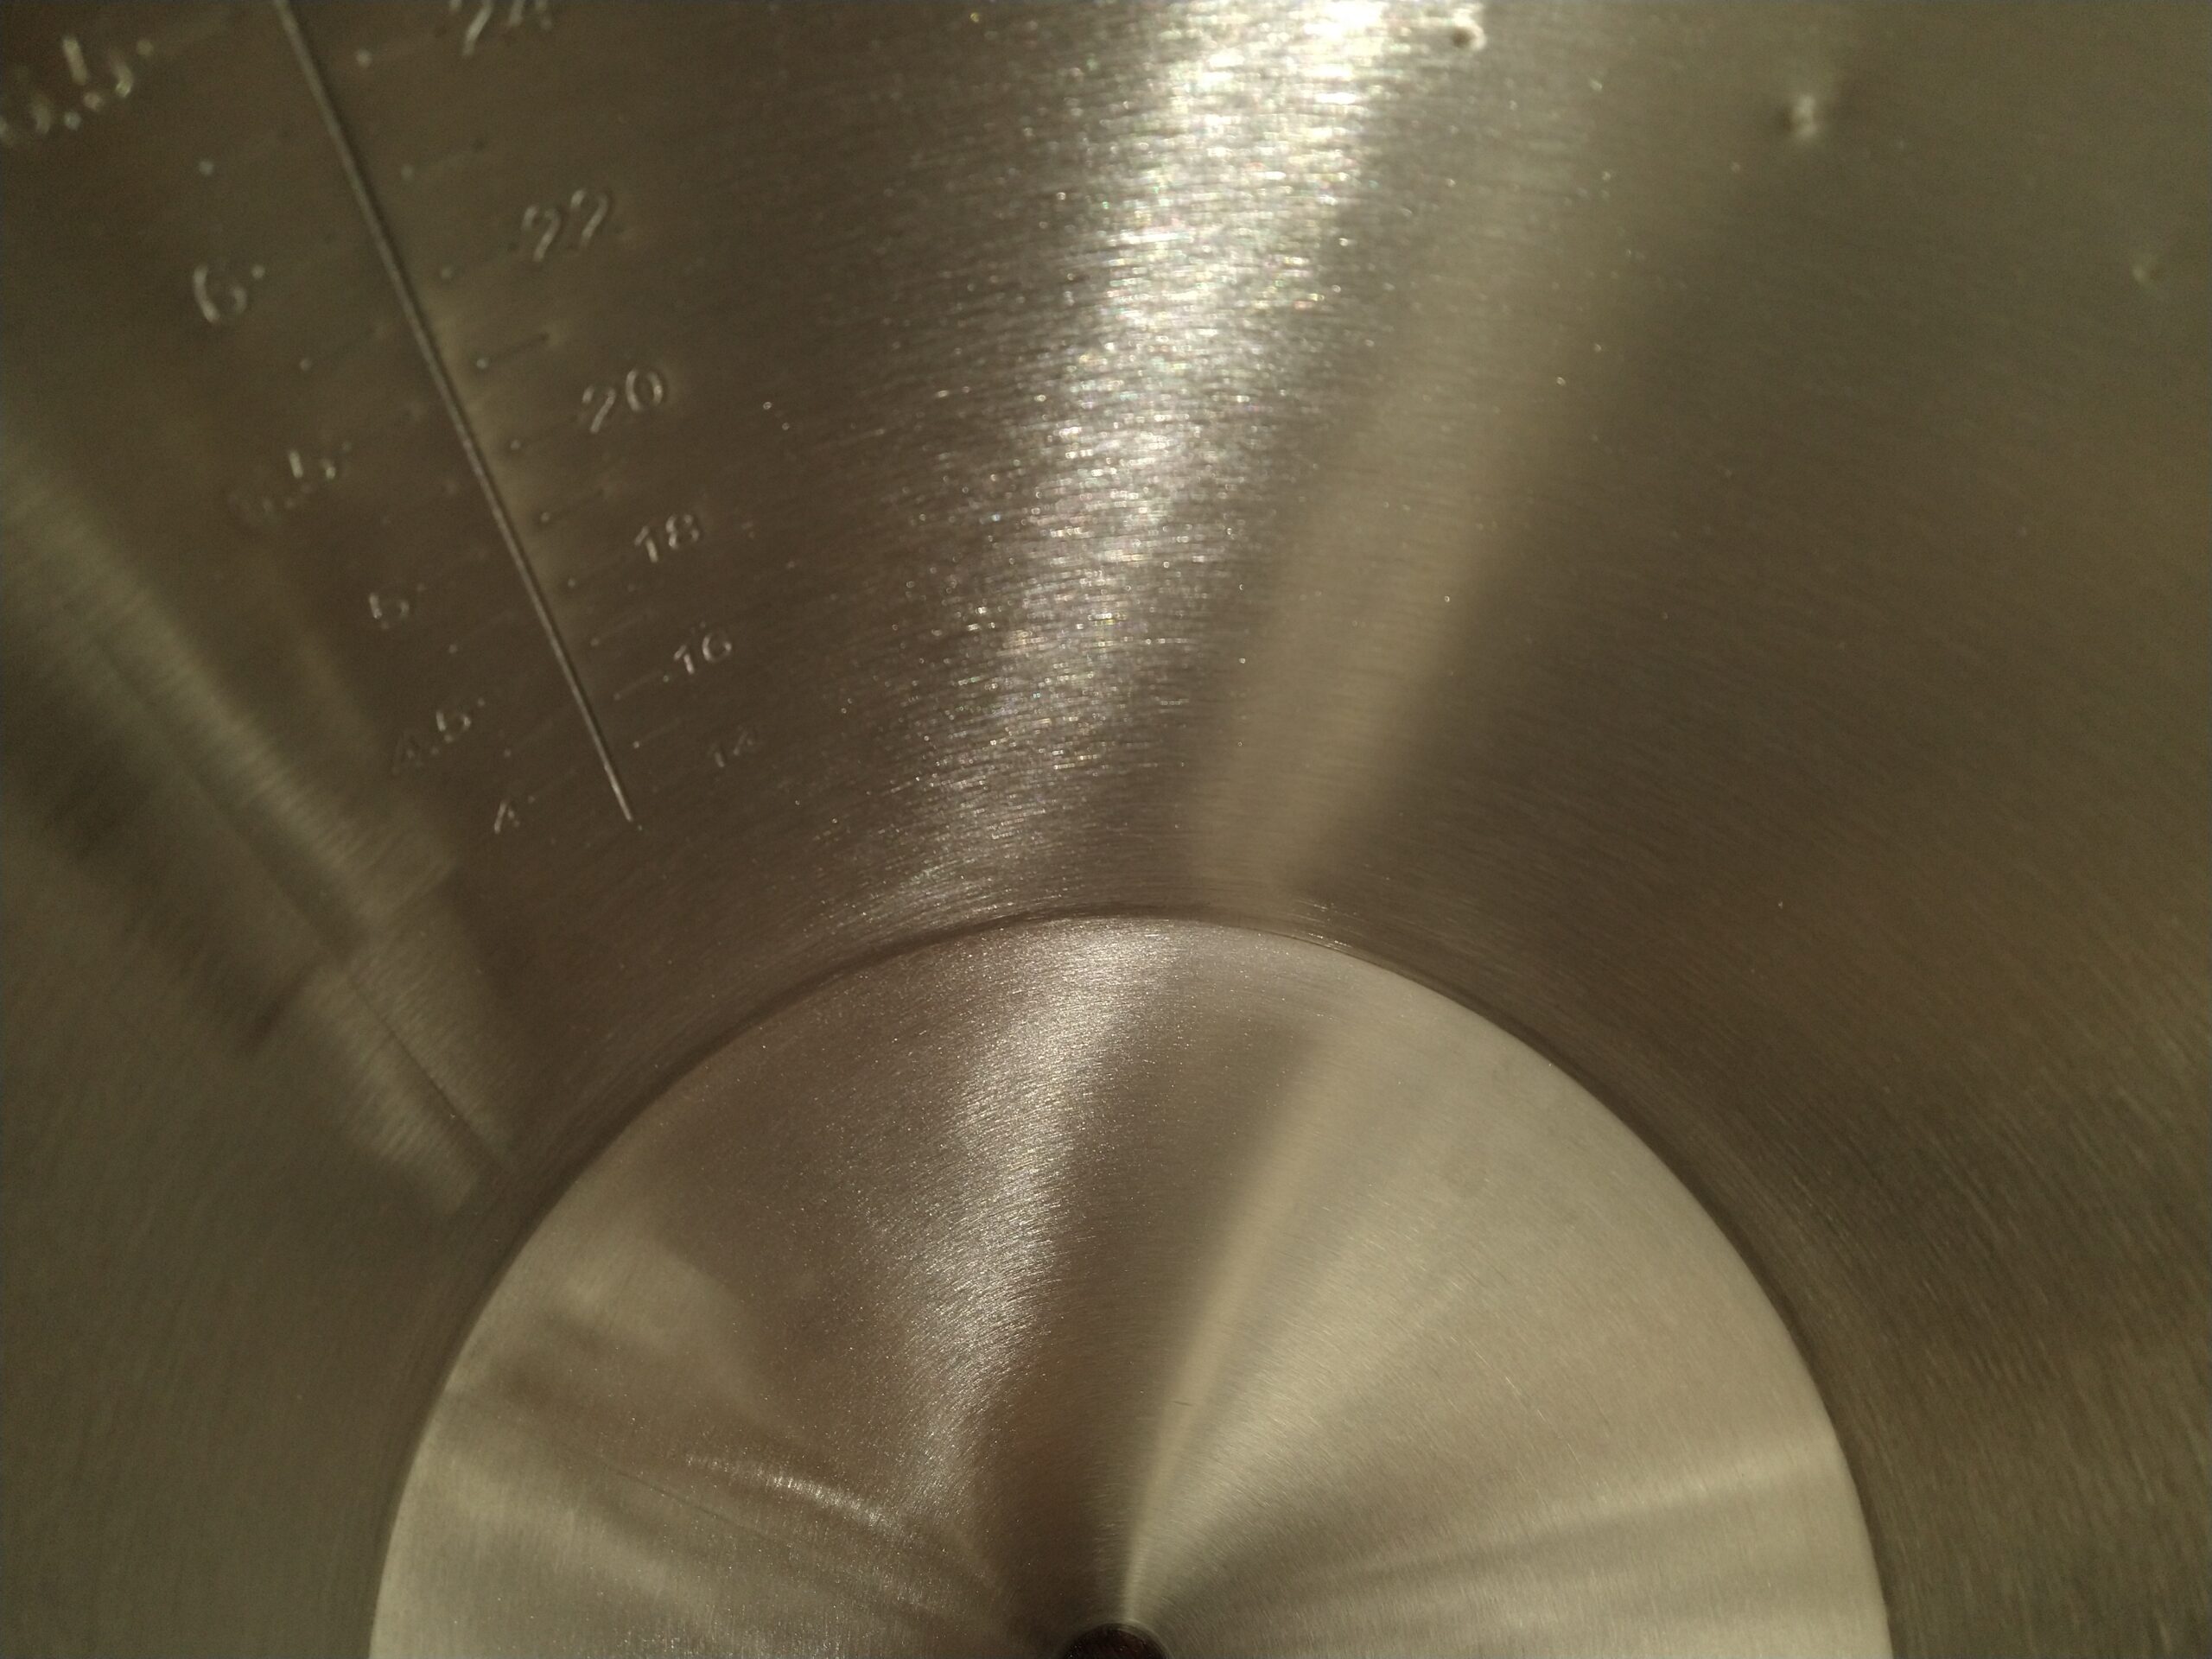
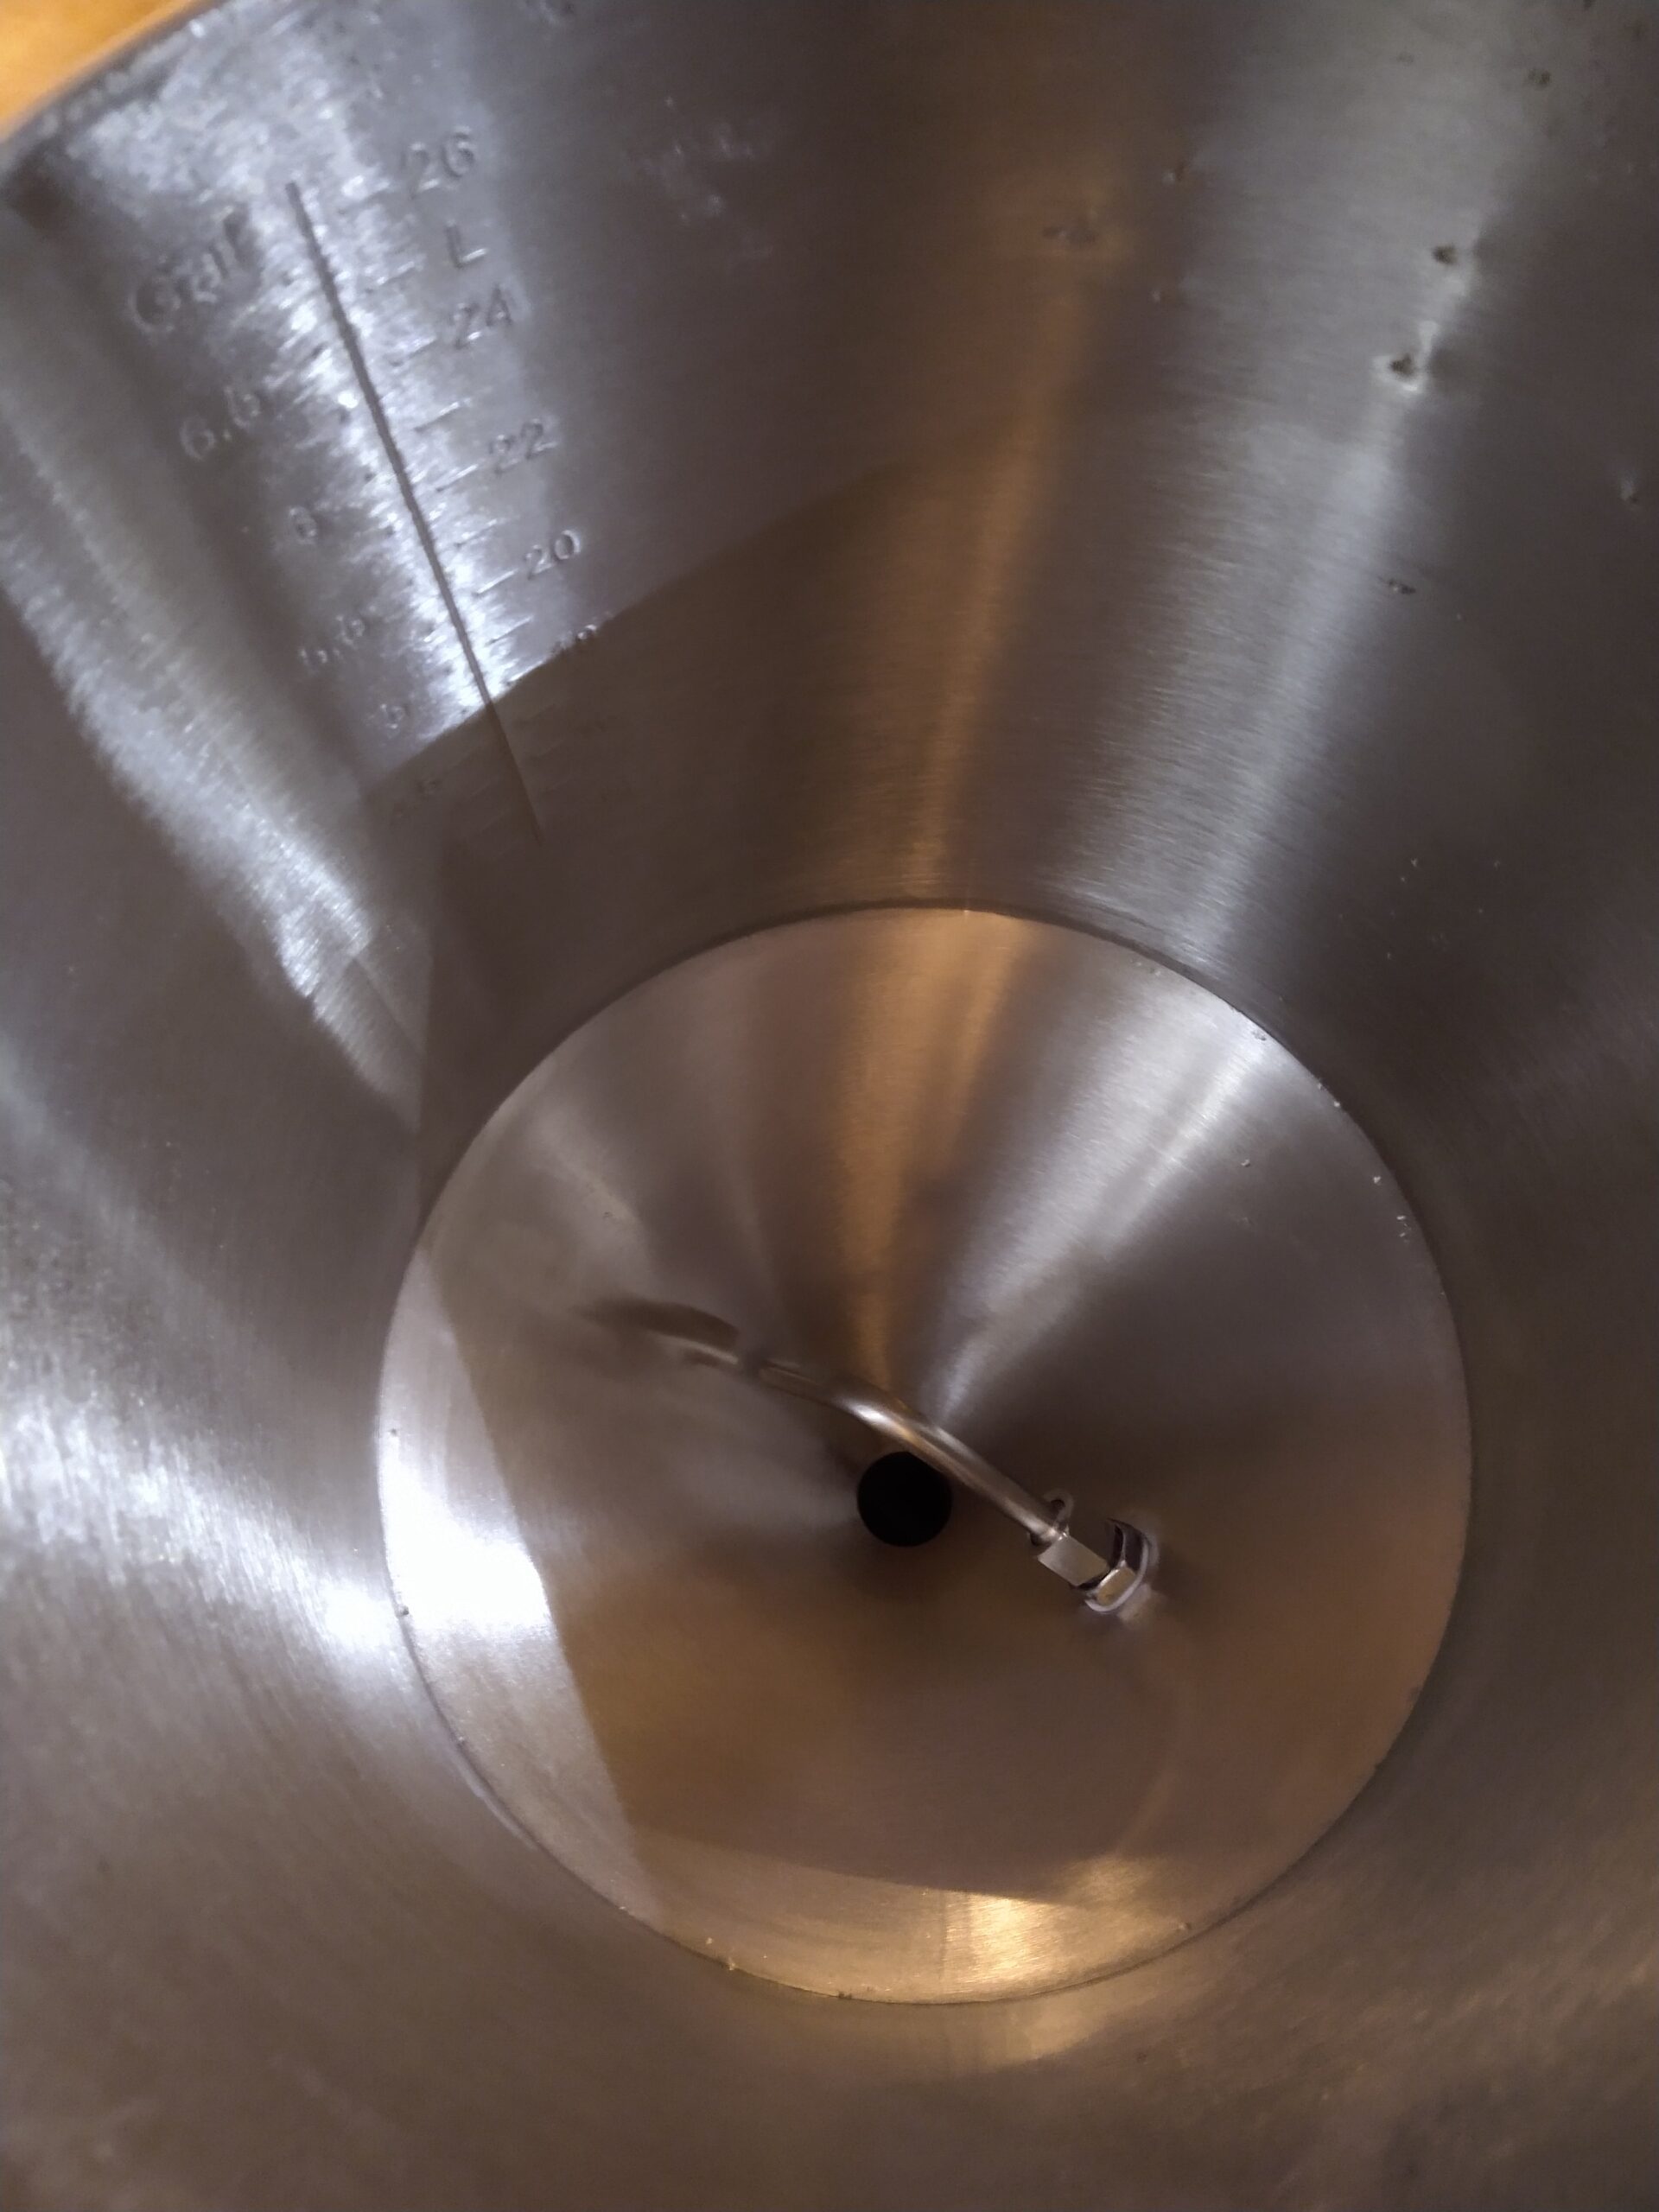 Angled Pickup Tube Inside Fermentor
 Stamped Volume Markings
Hands on Review
The material of the Crucible fermentor is the same 24-gauge stainless steel that the Anvil Bucket Fermentor is made from, with its brushed finish. The brushed finish makes it perhaps less “bling-y”, but trades that off for durability and stability of its looks. It is not prone to fingerprints or cleaning water residue. The black plastic base made for the legs to mount into looked kind of strange to me, and seemed over-complicated just to hold the legs. But after studying it, I realized how this simplified manufacturing to keep the cost down, and also improved the surface finish inside the cone since there were no weld/heat lines from the leg attachment. And my concerns about the black mounting ring holding water or potentially coming loose were proven to not be true at all. So overall, this unique leg mounting ring seemed to be a win.
 Closeup of Ball Valve and Butterfly Dump Valve Installed
I’ve never found much practical use for the angled racking arms in fermentors of these conical or “cone-like” fermentors, other than keeping precipitating yeast from falling in and plugging your ball valve. That being said, Anvil’s design with the extra washer on the inside to allow rotation of the entire ball lock/rack arm from the outside, without leaking, is a solution that I truly admire as an engineer. A useful tip is to have the racking tube angled upwards while filling the fermentor, so it gets filled with beer and doesn’t create an air pocket. Otherwise, when you try to open the valve at end of fermentation and get a vapor-lock situation with no flow coming out, you’ll be cursing it. And of course, even the Anti-LoDo brewers out there would probably shudder when rotating the arm in a finished beer and some glugs of unfermented oxygen are let loose into your beer.
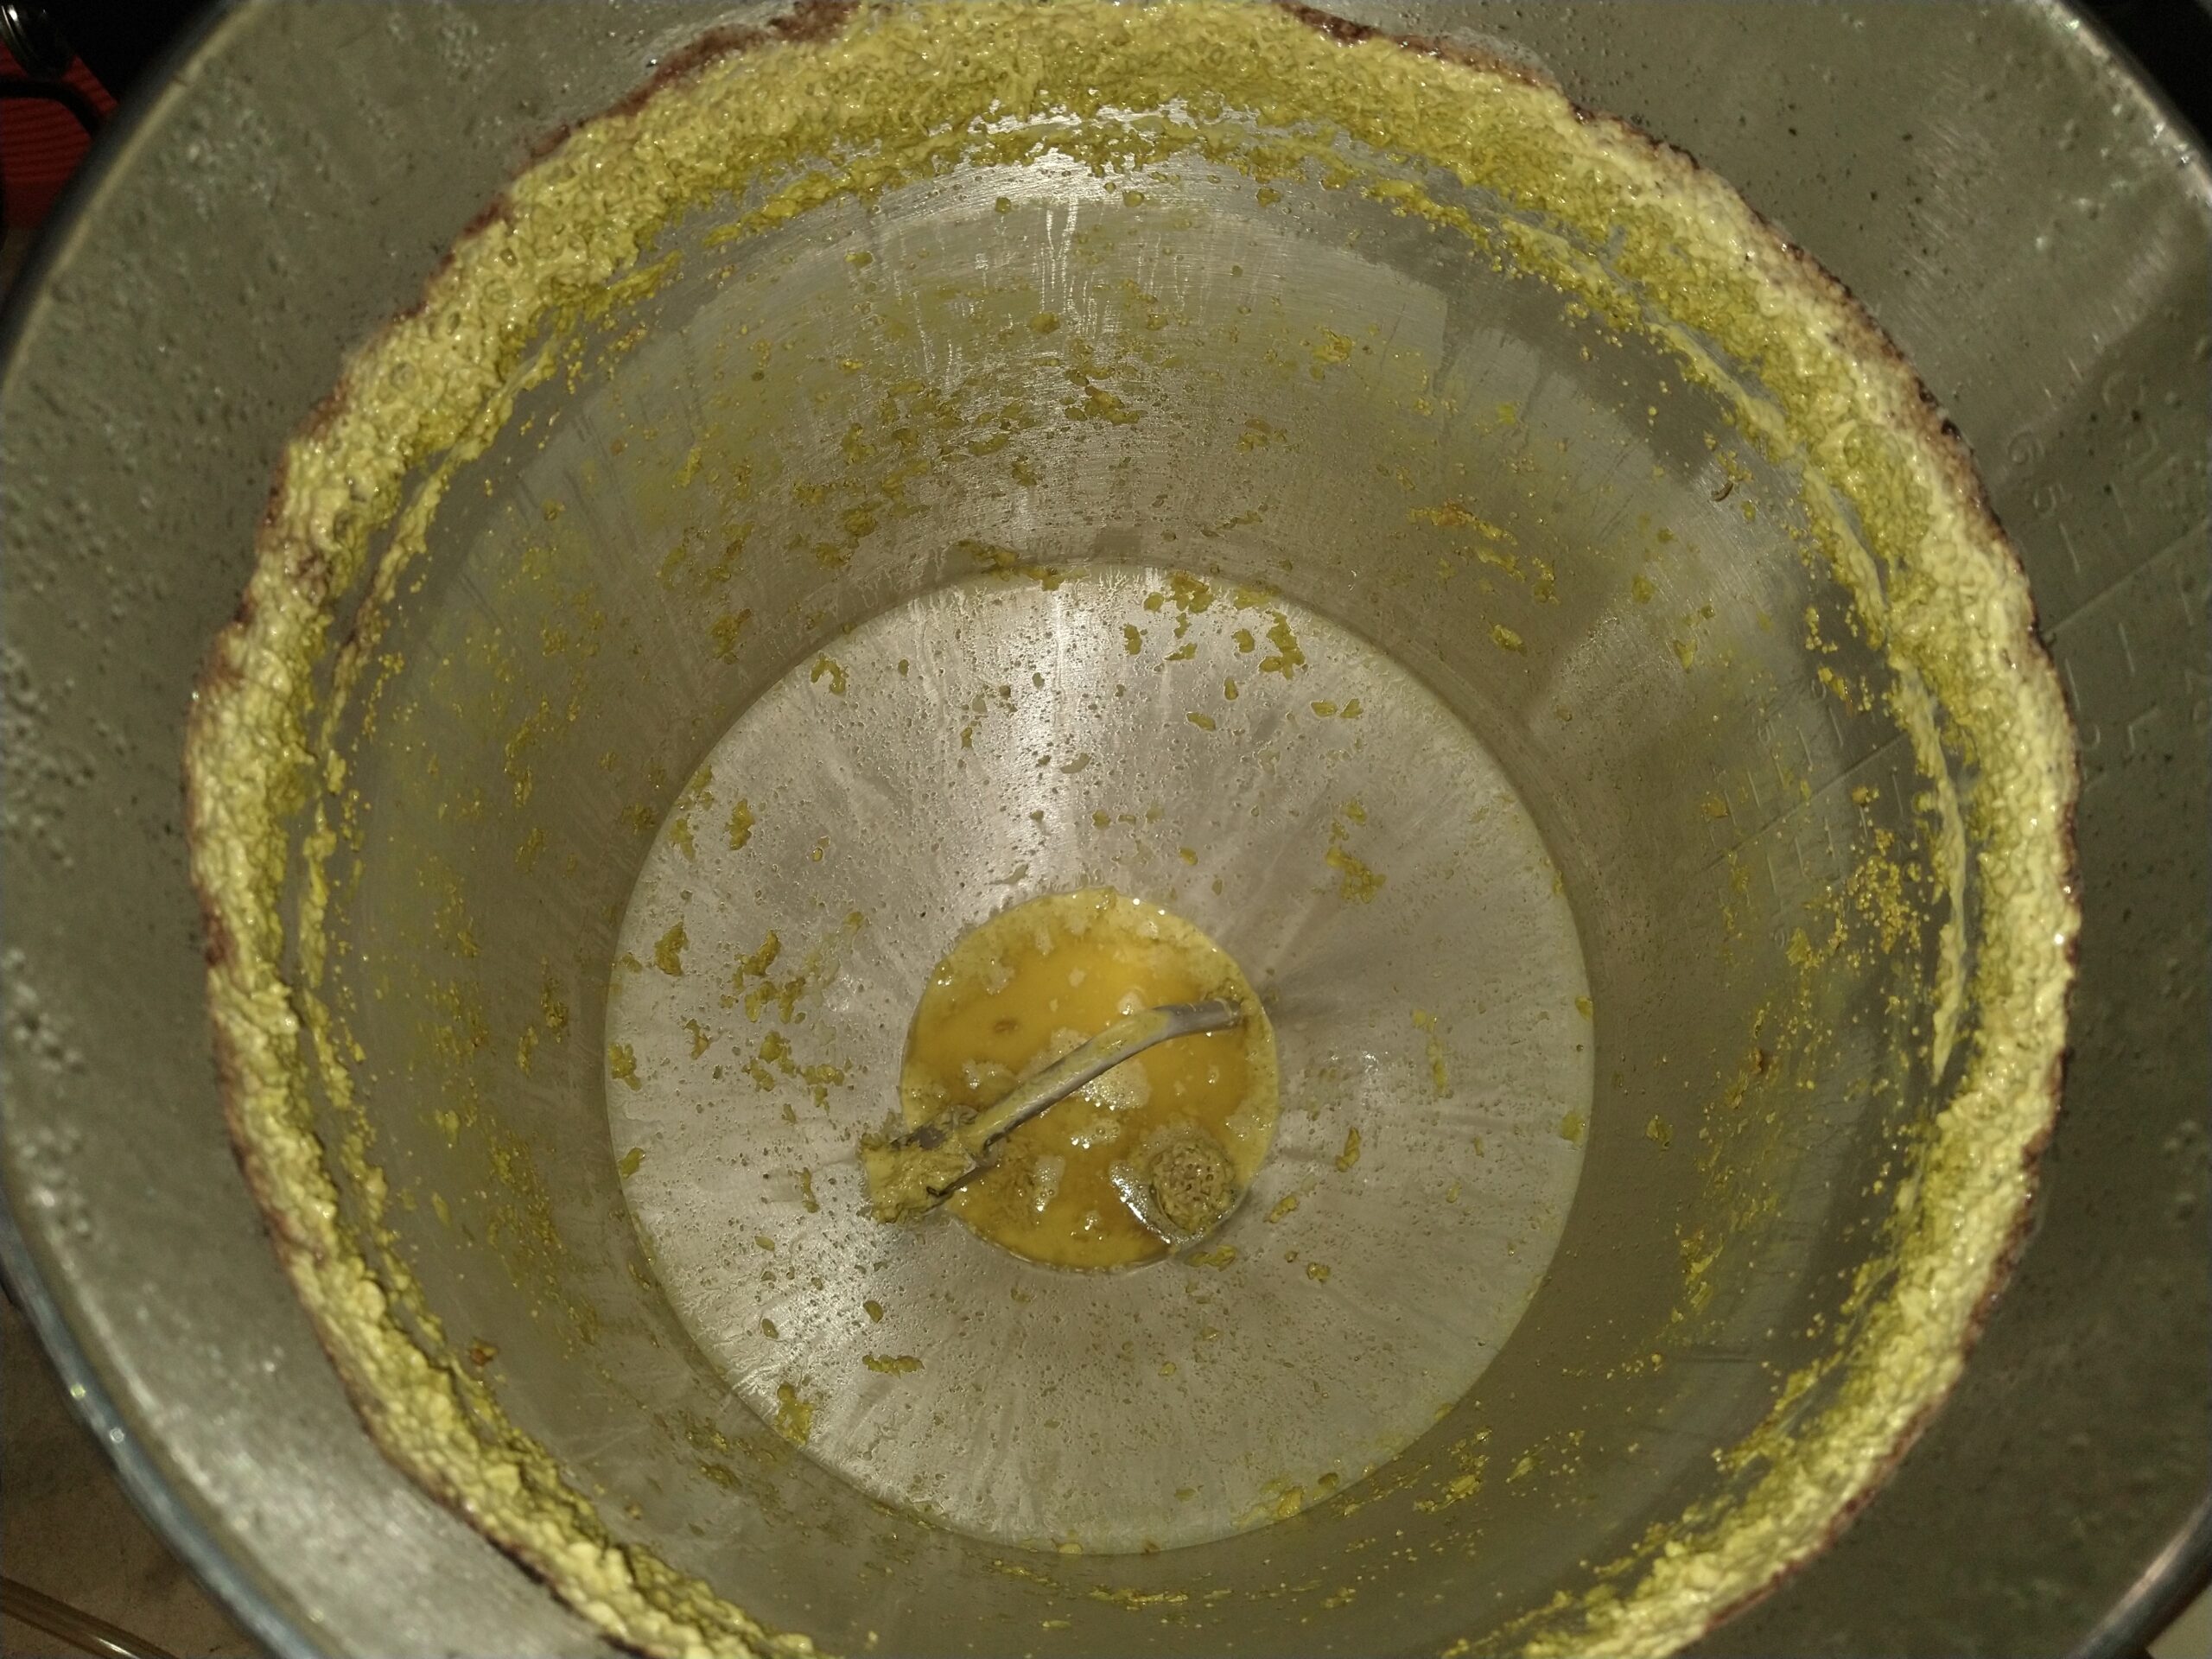 Amount Remaining After Draining Through Valve
The racking arm/ball valve worked well to drain the beer out and not leave a bunch of beer behind (aided by the geometry of the skinny cone). One thing that was a bit of a challenge for my particular process set-up was the fact that the barb on the spigot was for a 1/2″ ID hose. This would probably be ideal for gravity transfers from fermentor to keg, with a large flow diameter. But I use a diaphragm pump (Anti-Gravity Pump) for my transfers, and I had to cobble together a “hose in a hose solution” to step it down to the 3/8” ID my pump was looking for. I had to fiddle with this a lot to get a seal between the two diameter tubes and avoid sucking in air during transfer and completely aerating my beer on its way to the keg. So if you find yourself in a similar situation, pay close attention to this.
 Dump Valve Makes Cleaning Easier
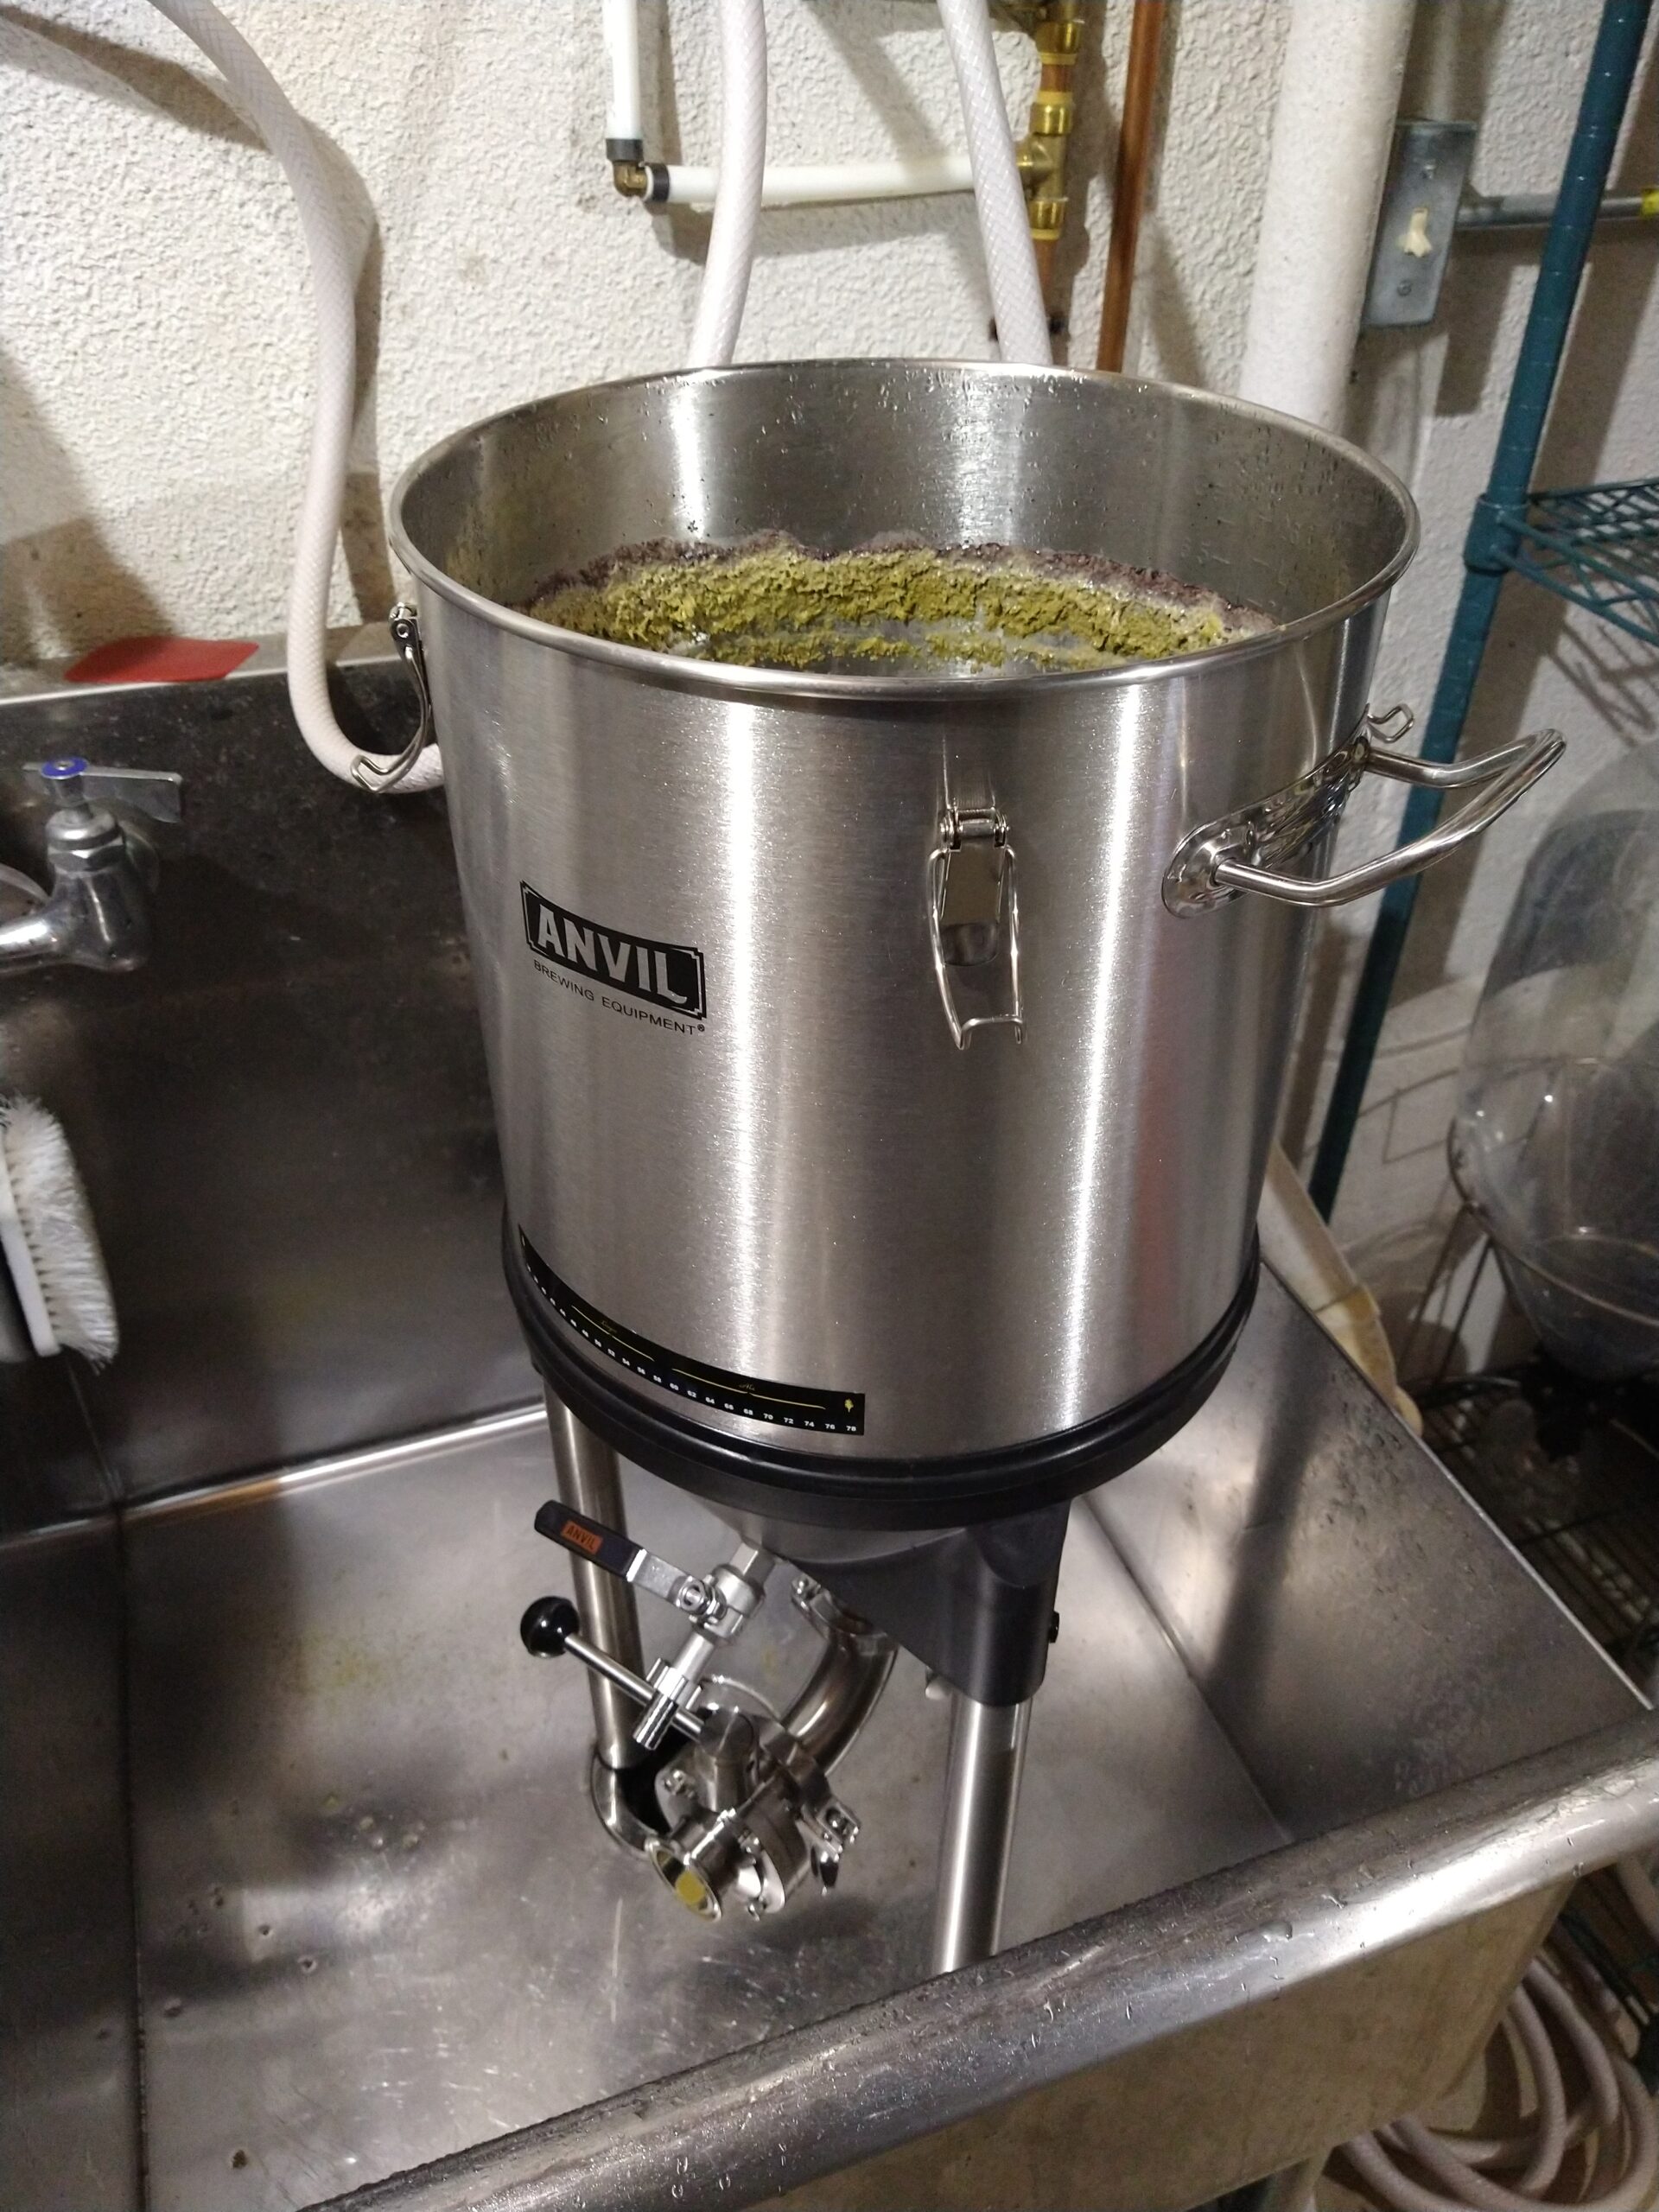
The butterfly dump valve at the bottom was clearly an area where Anvil didn’t skimp on cost, as this valve was a top-end unit that was well designed and well made. For those that harvest yeast, the bottom dump valve looks like it would make this process fairly straightforward. I don’t harvest yeast, so I can’t provide first-hand experience with it. I did use the dump valve to remove sediment toward the end of fermentation, and I can confirm that the 60° cone angle worked well at promoting the yeast to bunch together at the bottom and flow out when the valve was opened.
On my first batch I tried to do this with just the 1.5” butterfly valve opening into a plastic tub. This was a mess as a combination of yeast sediment and beer splurted out quickly, despite my best efforts to slowly operate the valve. I then bought a 1.5” TC fitting with a 1/2″ hose barb on it, which allowed me to direct it more controllably into a pitcher on a subsequent batch. Anvil sells a Yeast Harvesting Kit which includes a larger diameter 1” hose barb with a length of 1” ID tubing plus the TC clamp and gasket. This larger diameter would probably work even better than the 1/2″ barb/hose I used.
 TC Fitting with Hose Clamp
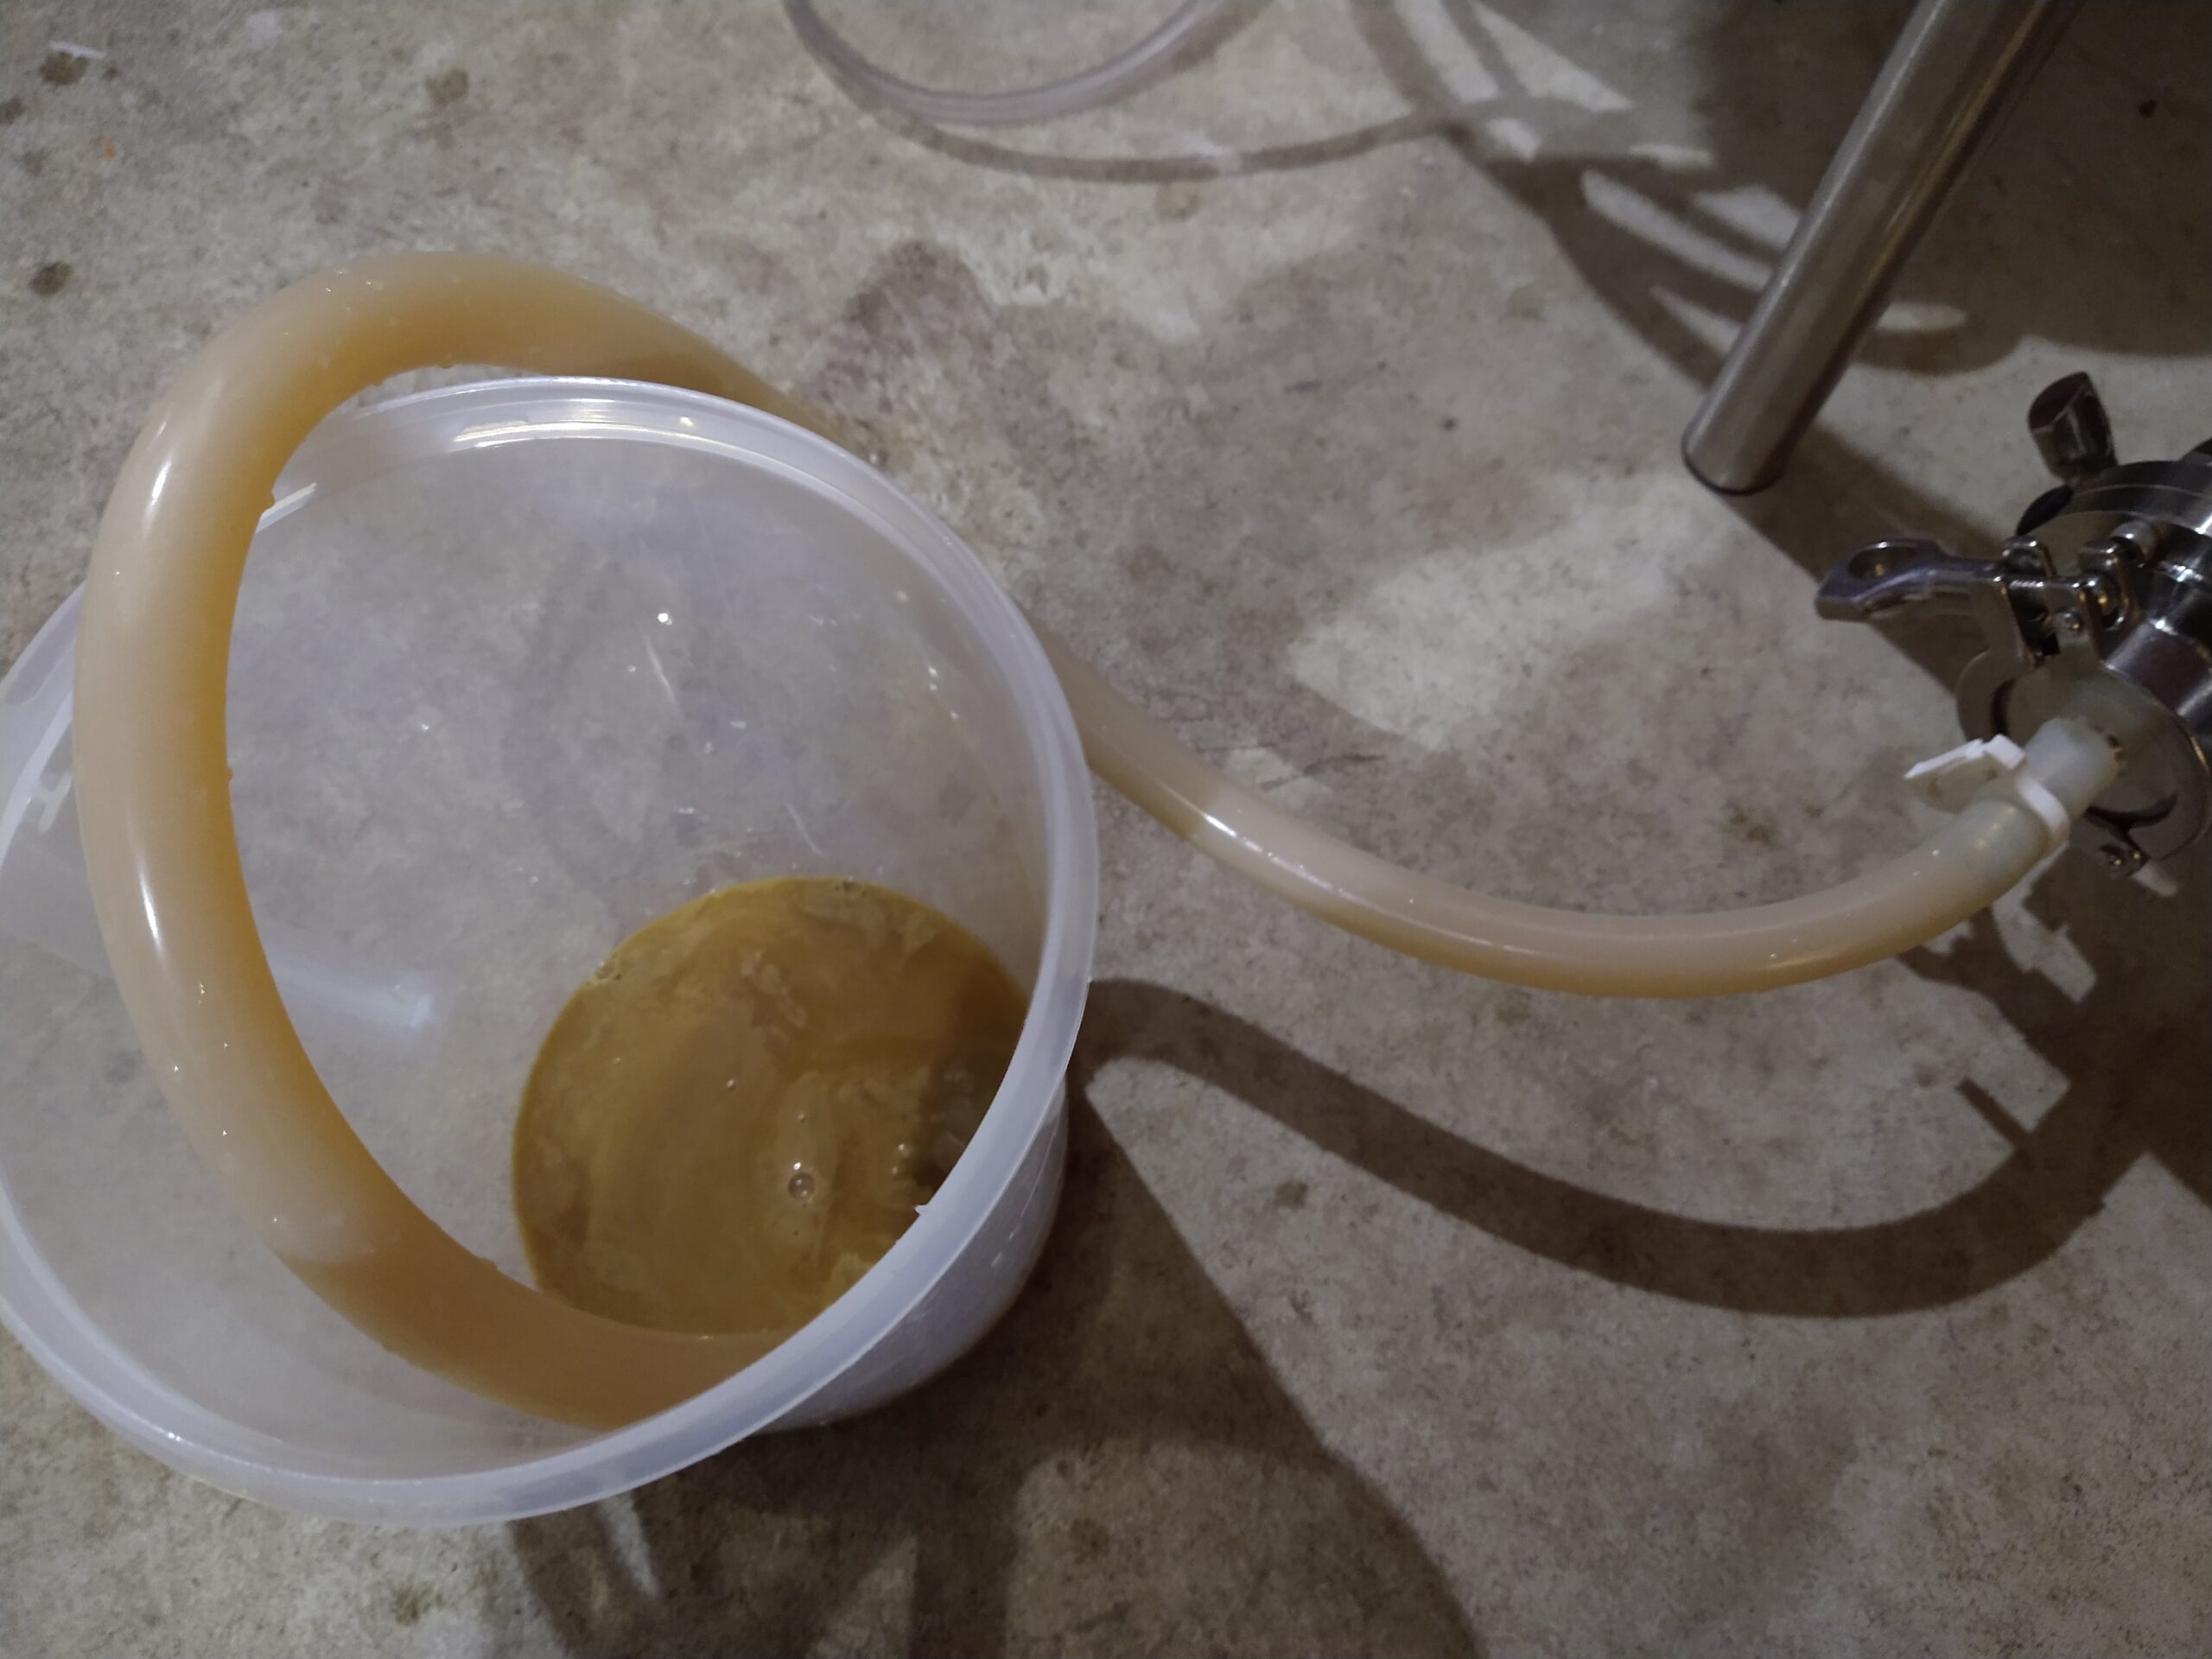 Draining Fermentor Sediment with Hose Fitting
Even if you don’t yeast harvest, having the ability to easily remove sediment from the bottom of your fermentor was a nice option. As with anything in homebrewing, there is debate on whether this is needed or not. But since dumping this out while yeast are still active is a low/no-risk proposition, it felt good to purge this to minimize any transfer out into my keg. Feedback from people that ferment in a conical with a dump valve, is that they do this purge cycle once or even many times during the fermentation process for various reasons.
As noted above, the Crucible is not rated as pressure capable. However, I did connect a very low (~2 psi) CO2 supply through a fitting in the bung to keep a layer of gas on the beer as I transferred out of the fermentor. I didn’t have any apparent leaks, so was quite pleased at being able to do this simple step to make my beer transfers a lower oxygen-inducing process.
Conclusions
Overall, the Anvil Crucible is well made, with quality parts, and very obvious engineering design effort. The ability to use smart engineering combined with big buying power to make high-performing gear available to brewers at an affordable price continues to be impressive with this Anvil offering. While not to be confused with full pressure-capable conical fermentors, the Crucible still has a lot to offer above and beyond other stainless fermentors on the market.
Compare Models, Prices and Availability, Review Continues Below:
- Anvil Crucible at MoreBeer
- Anvil Crucible at Adventures in Homebrewing
- Anvil Crucible at Austin Homebrew Supply
- Anvil Fermentors at Great Fermentations
- Search eBay for “Anvil Crucible Fermenter” – offerings vary
Related Review: Hands on Review: Anvil Crucible Cooling System
Lots More Photos!
 90-Degree Elbow for Dump Valve
 Base Unit Before Legs Attached
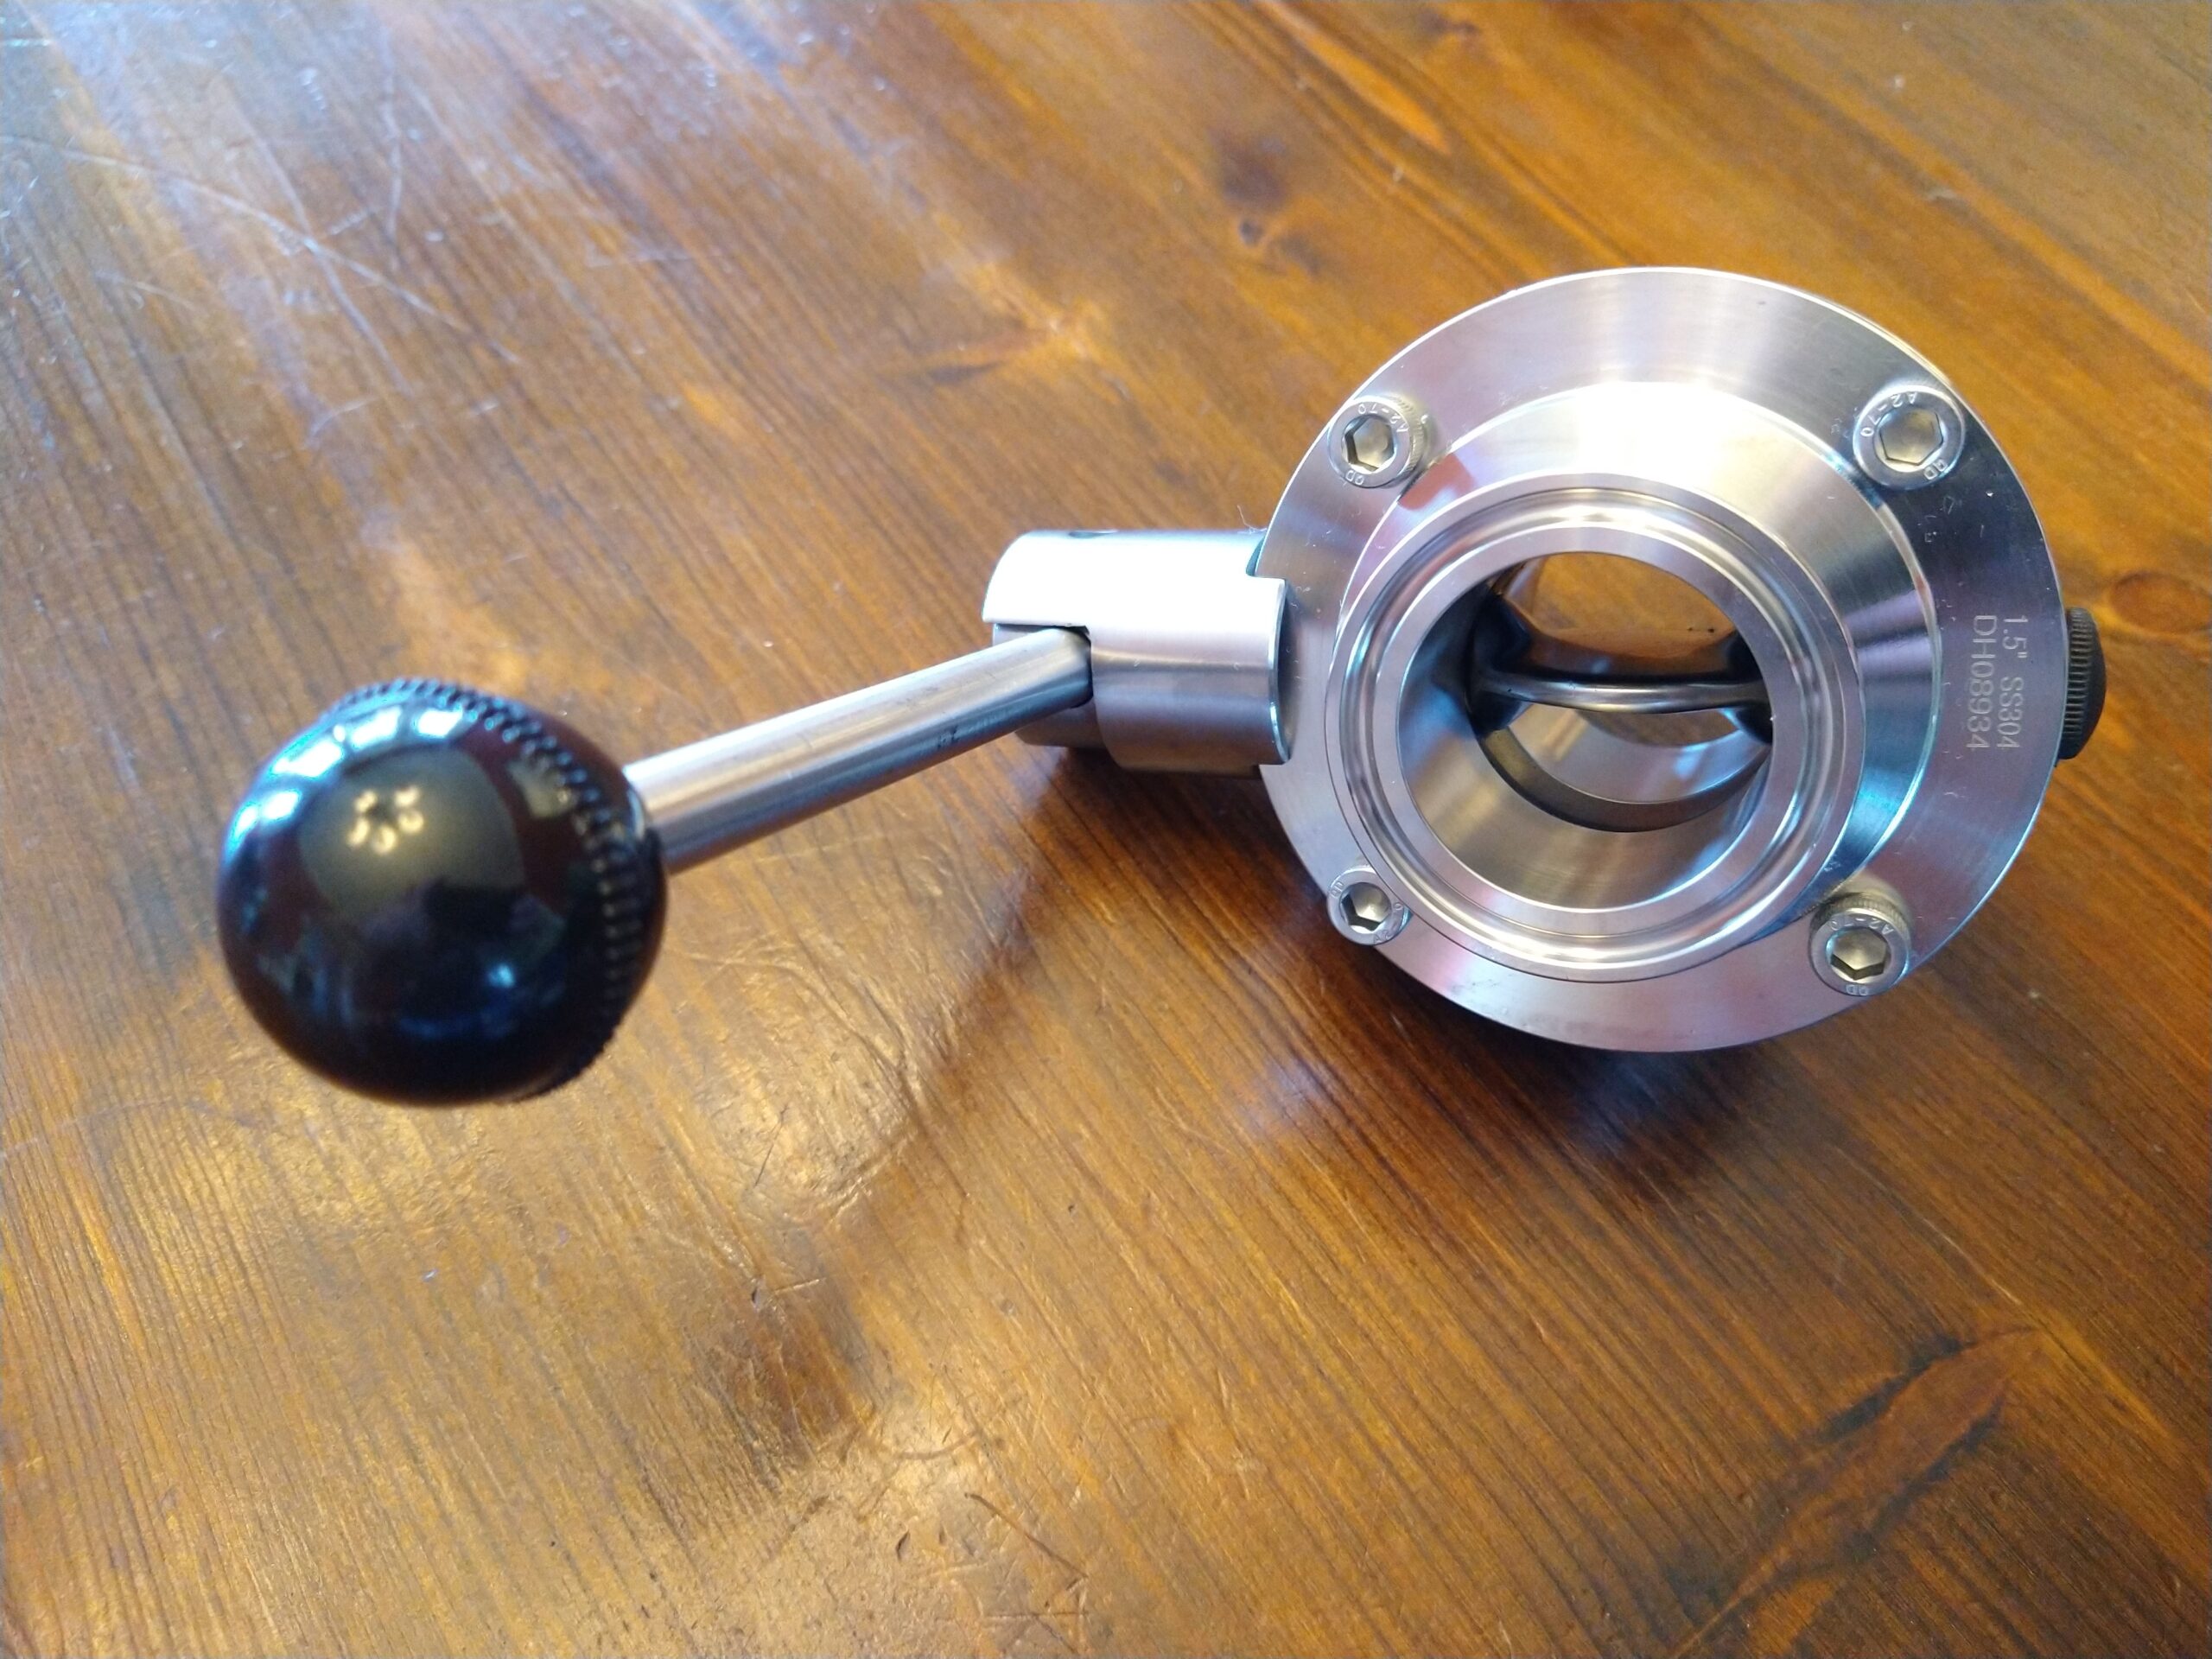 Butterfly Valve
 Butterfly Valve
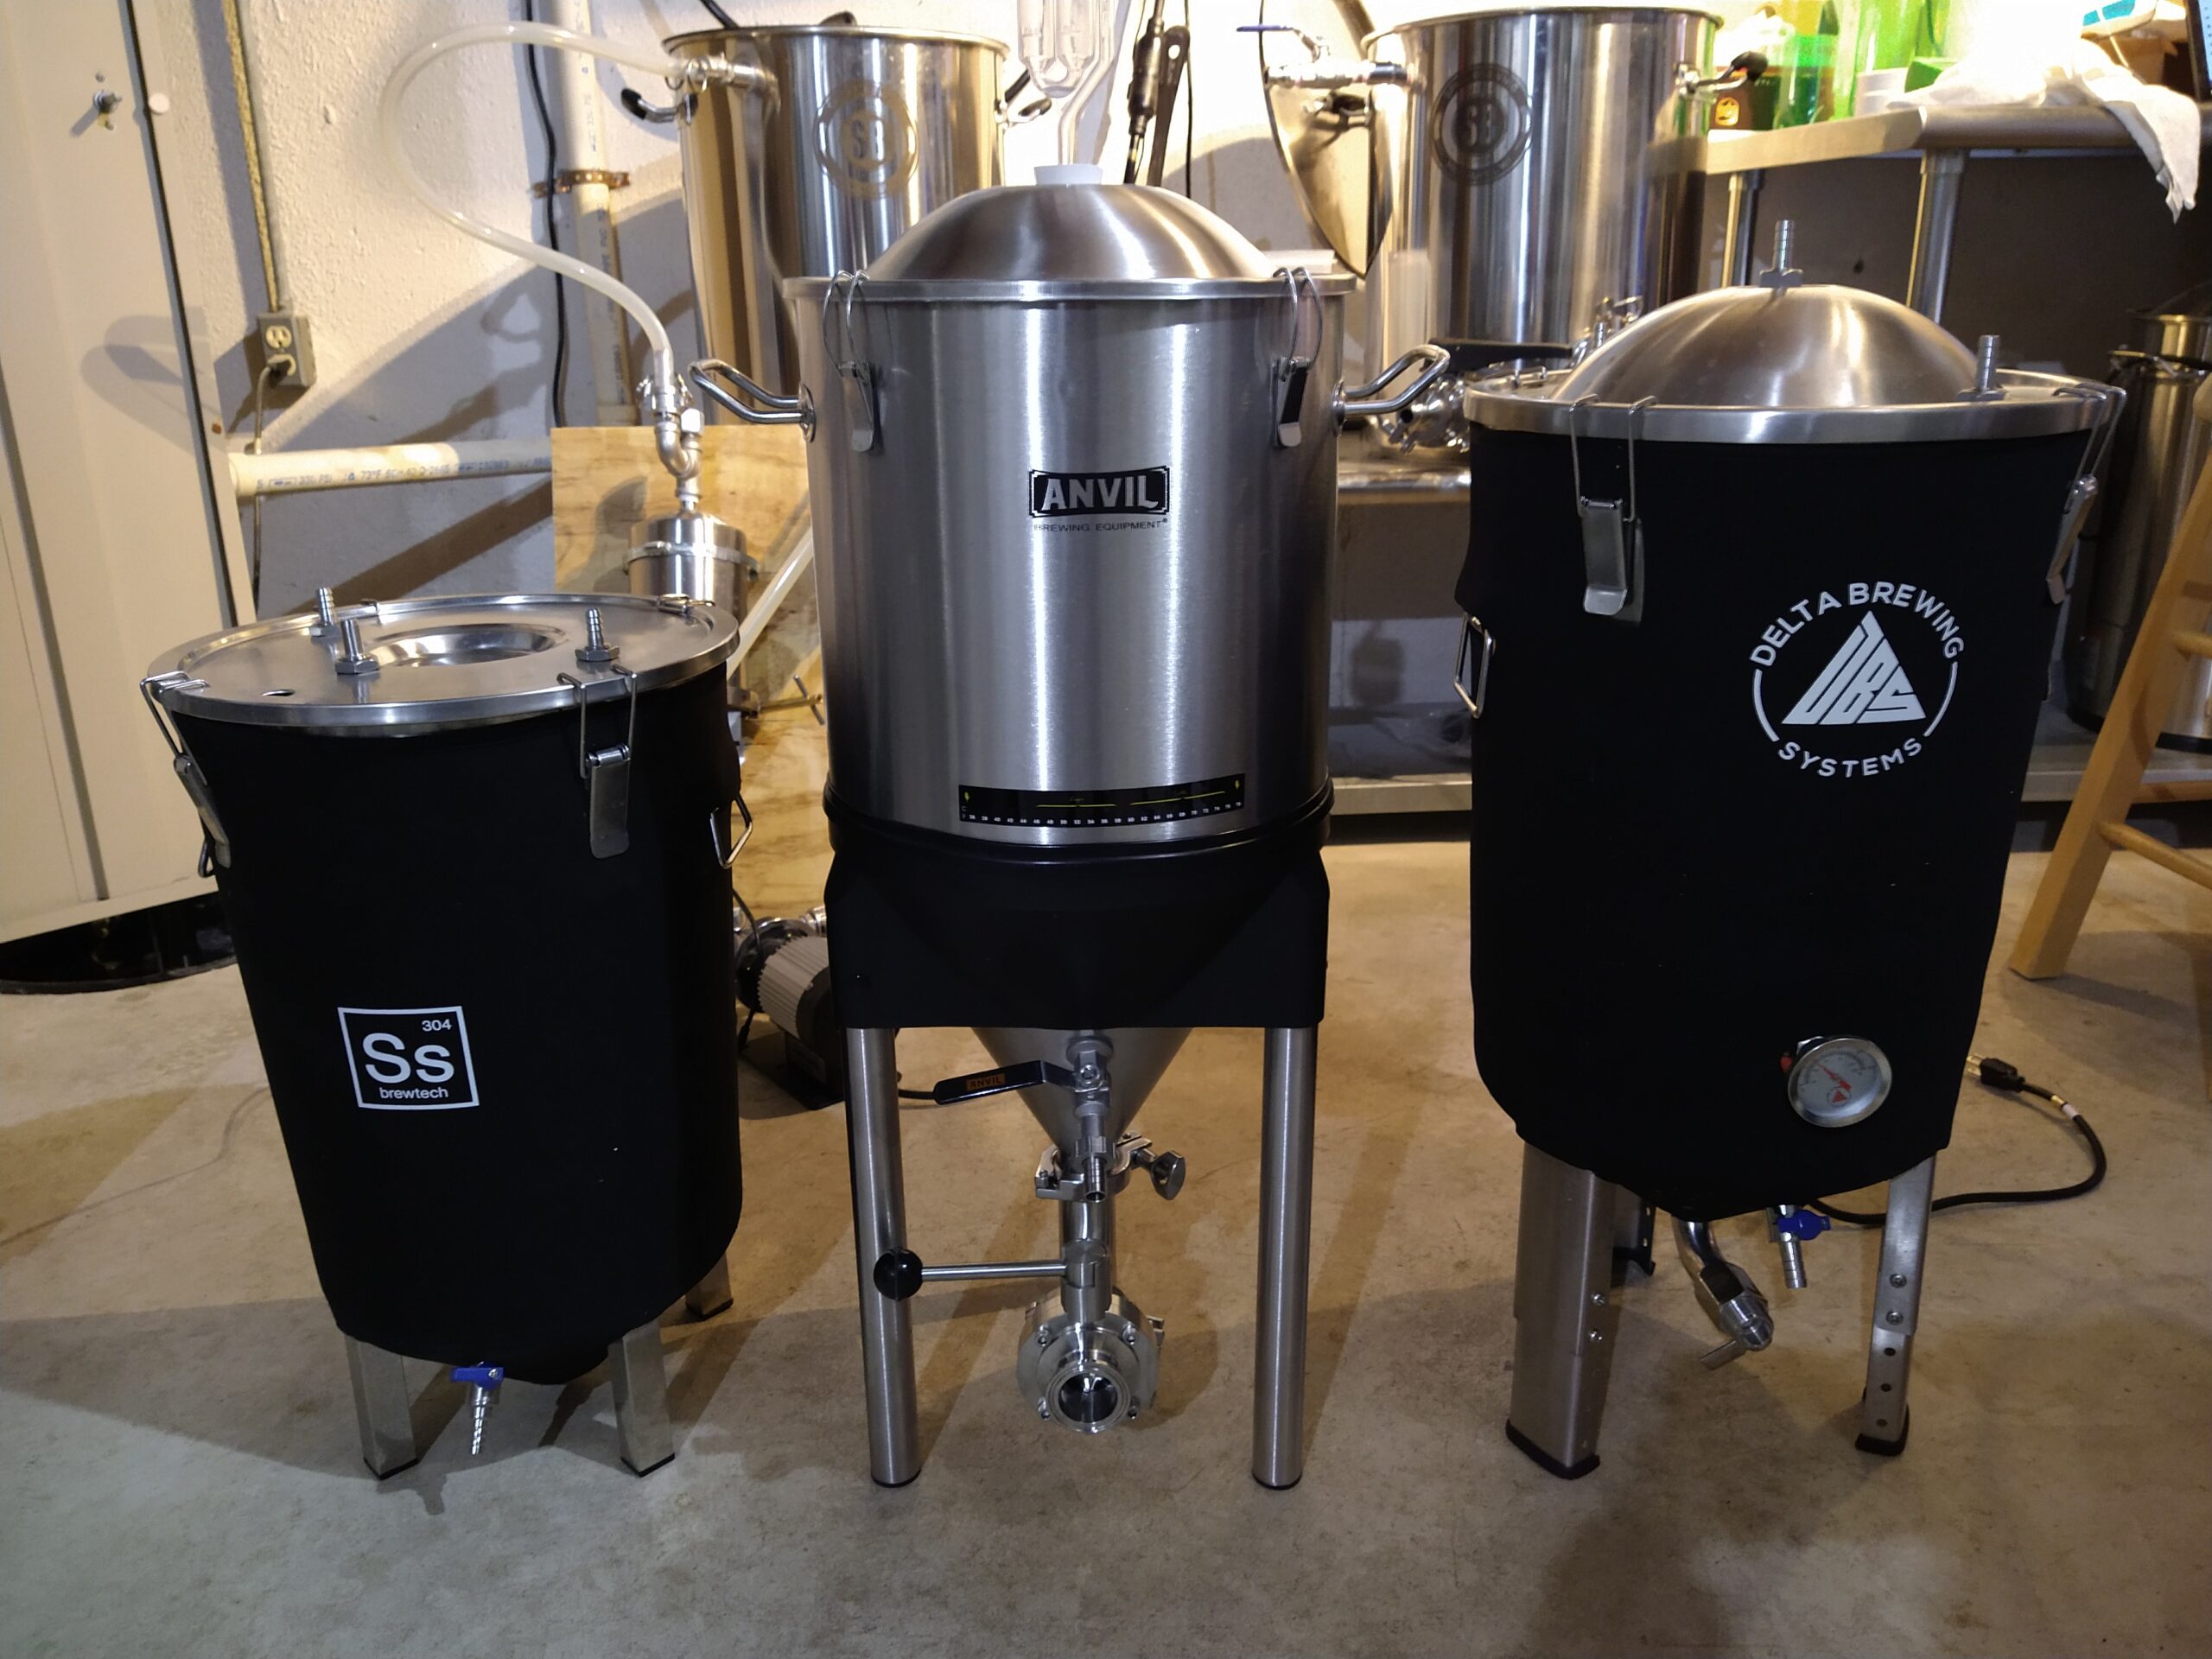 Different Stainless Fermentors – vs Delta Brewing Systems Fermtank & Ss Brewtech Brew Bucket
 Large Opening for Easy Filling
 Pads on Bottom of Legs
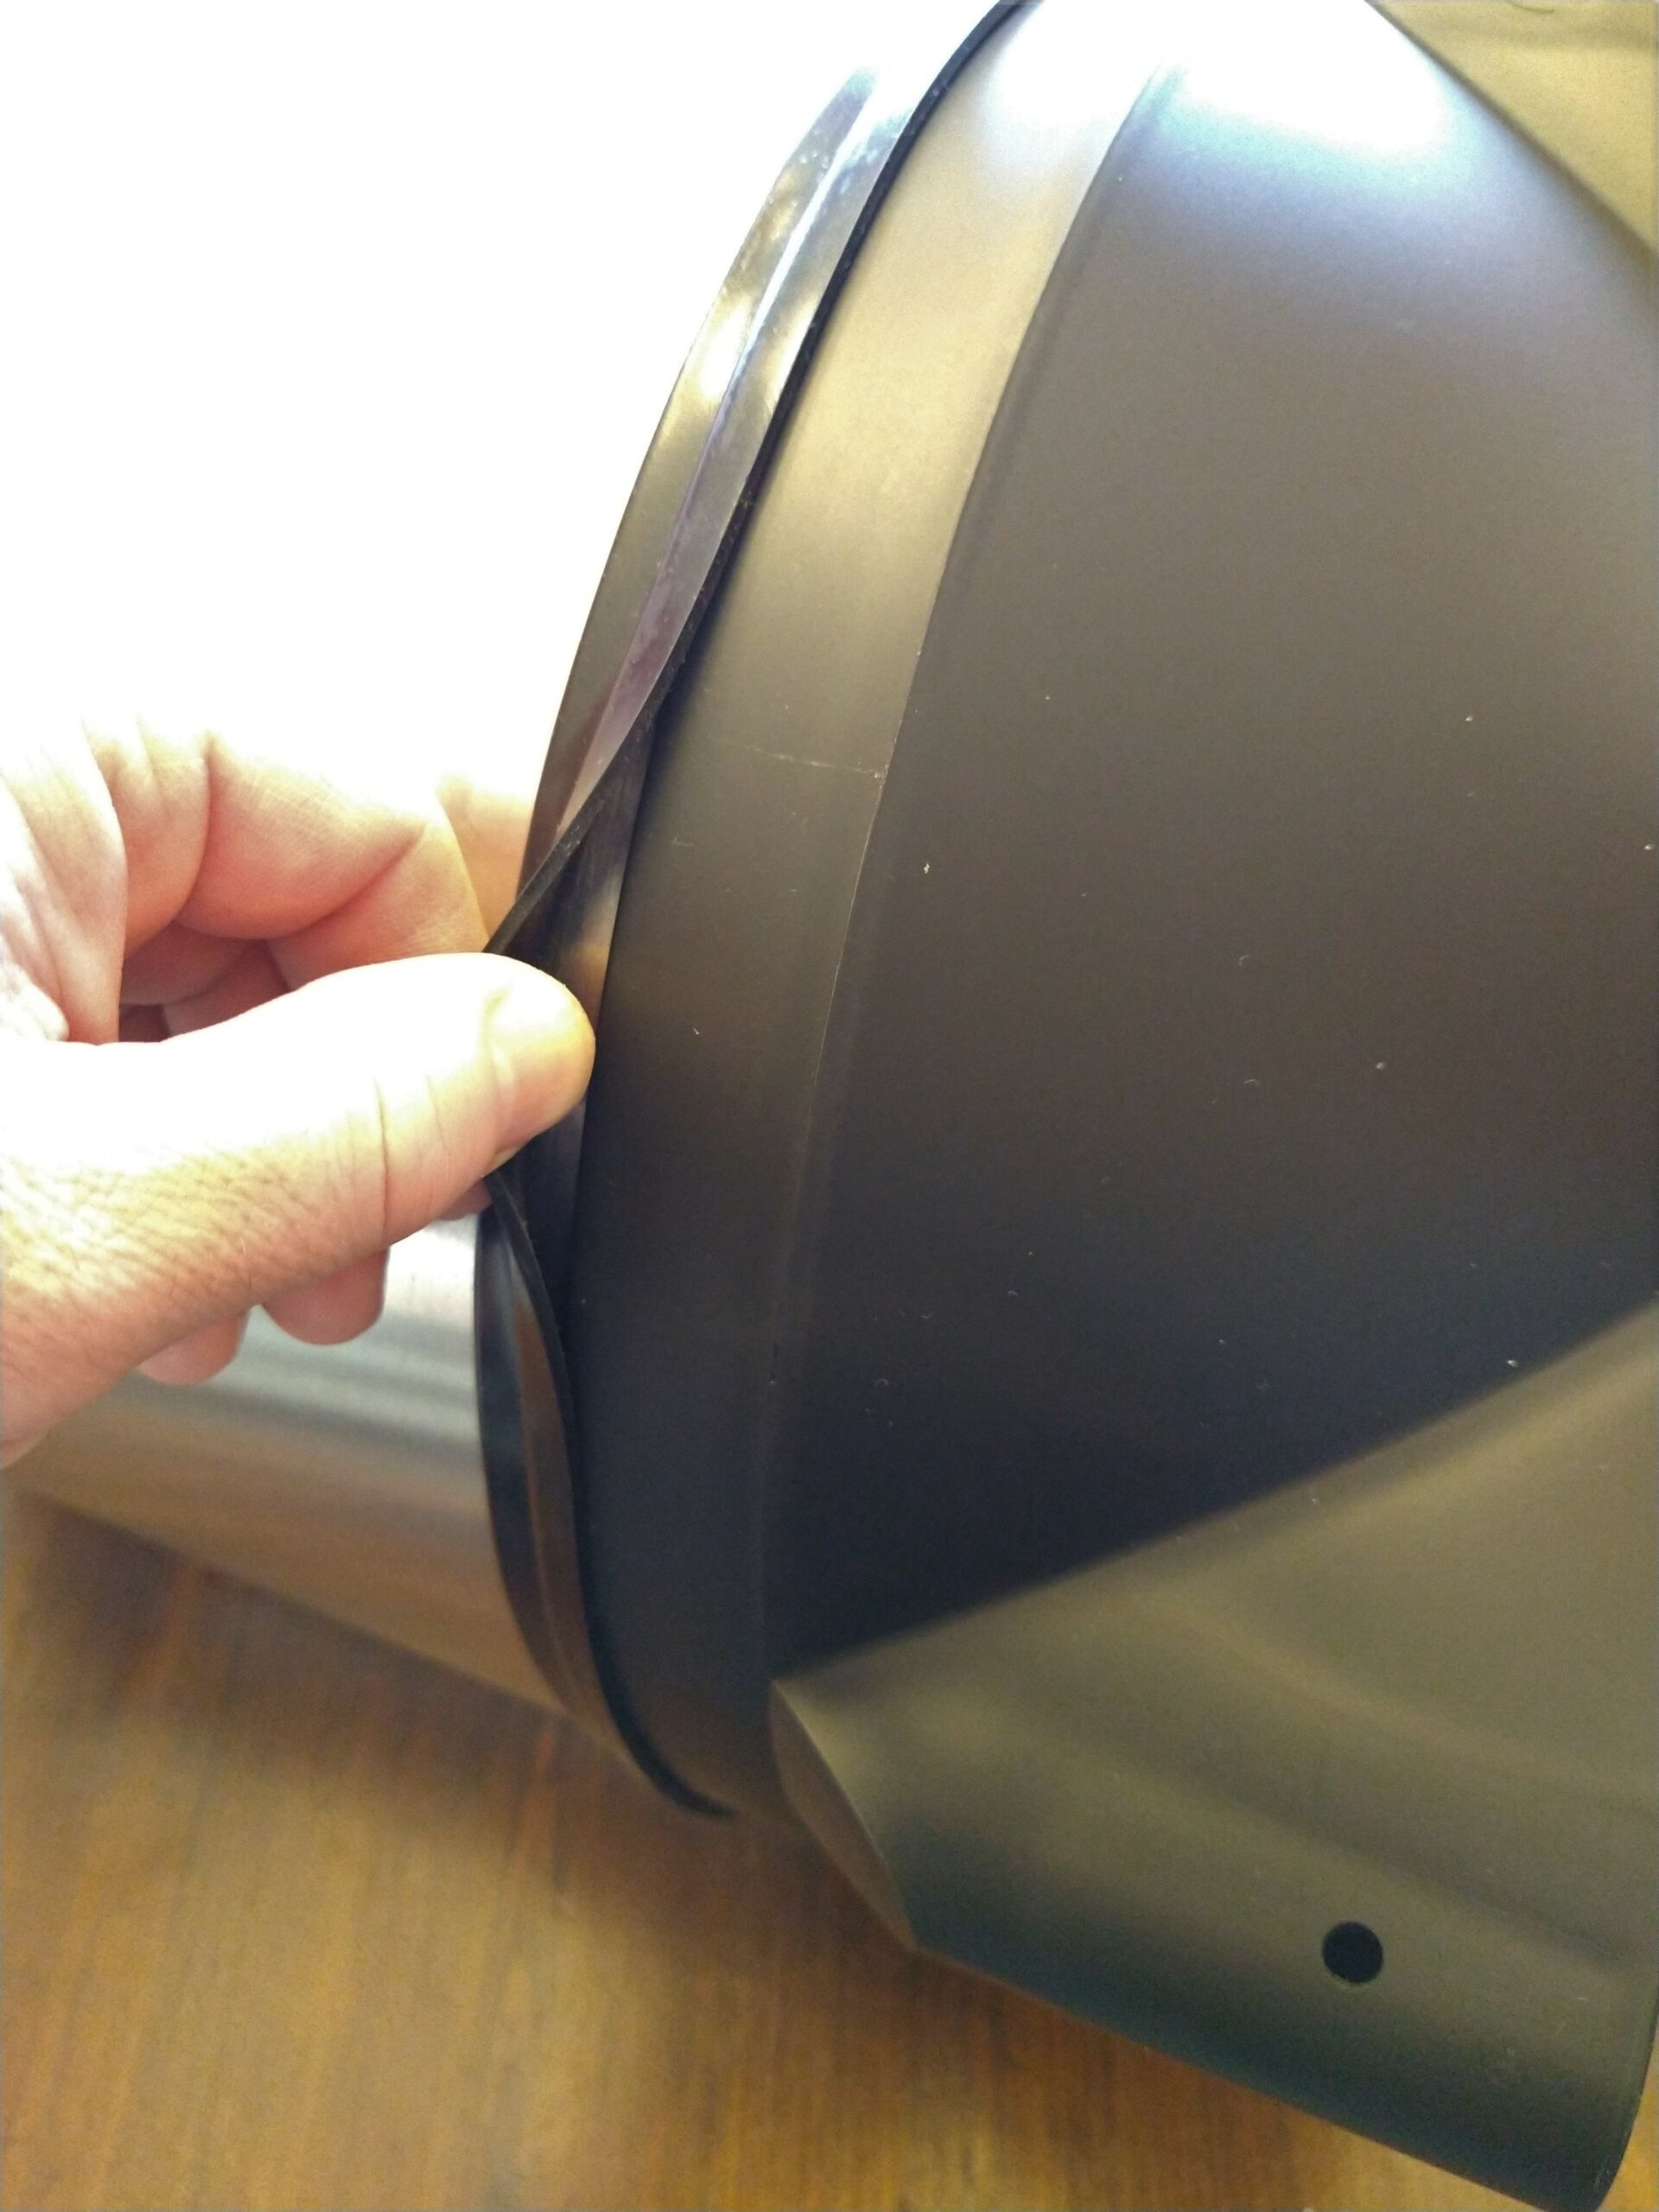 Rubber Seal Ring on Black Leg Attachment Base
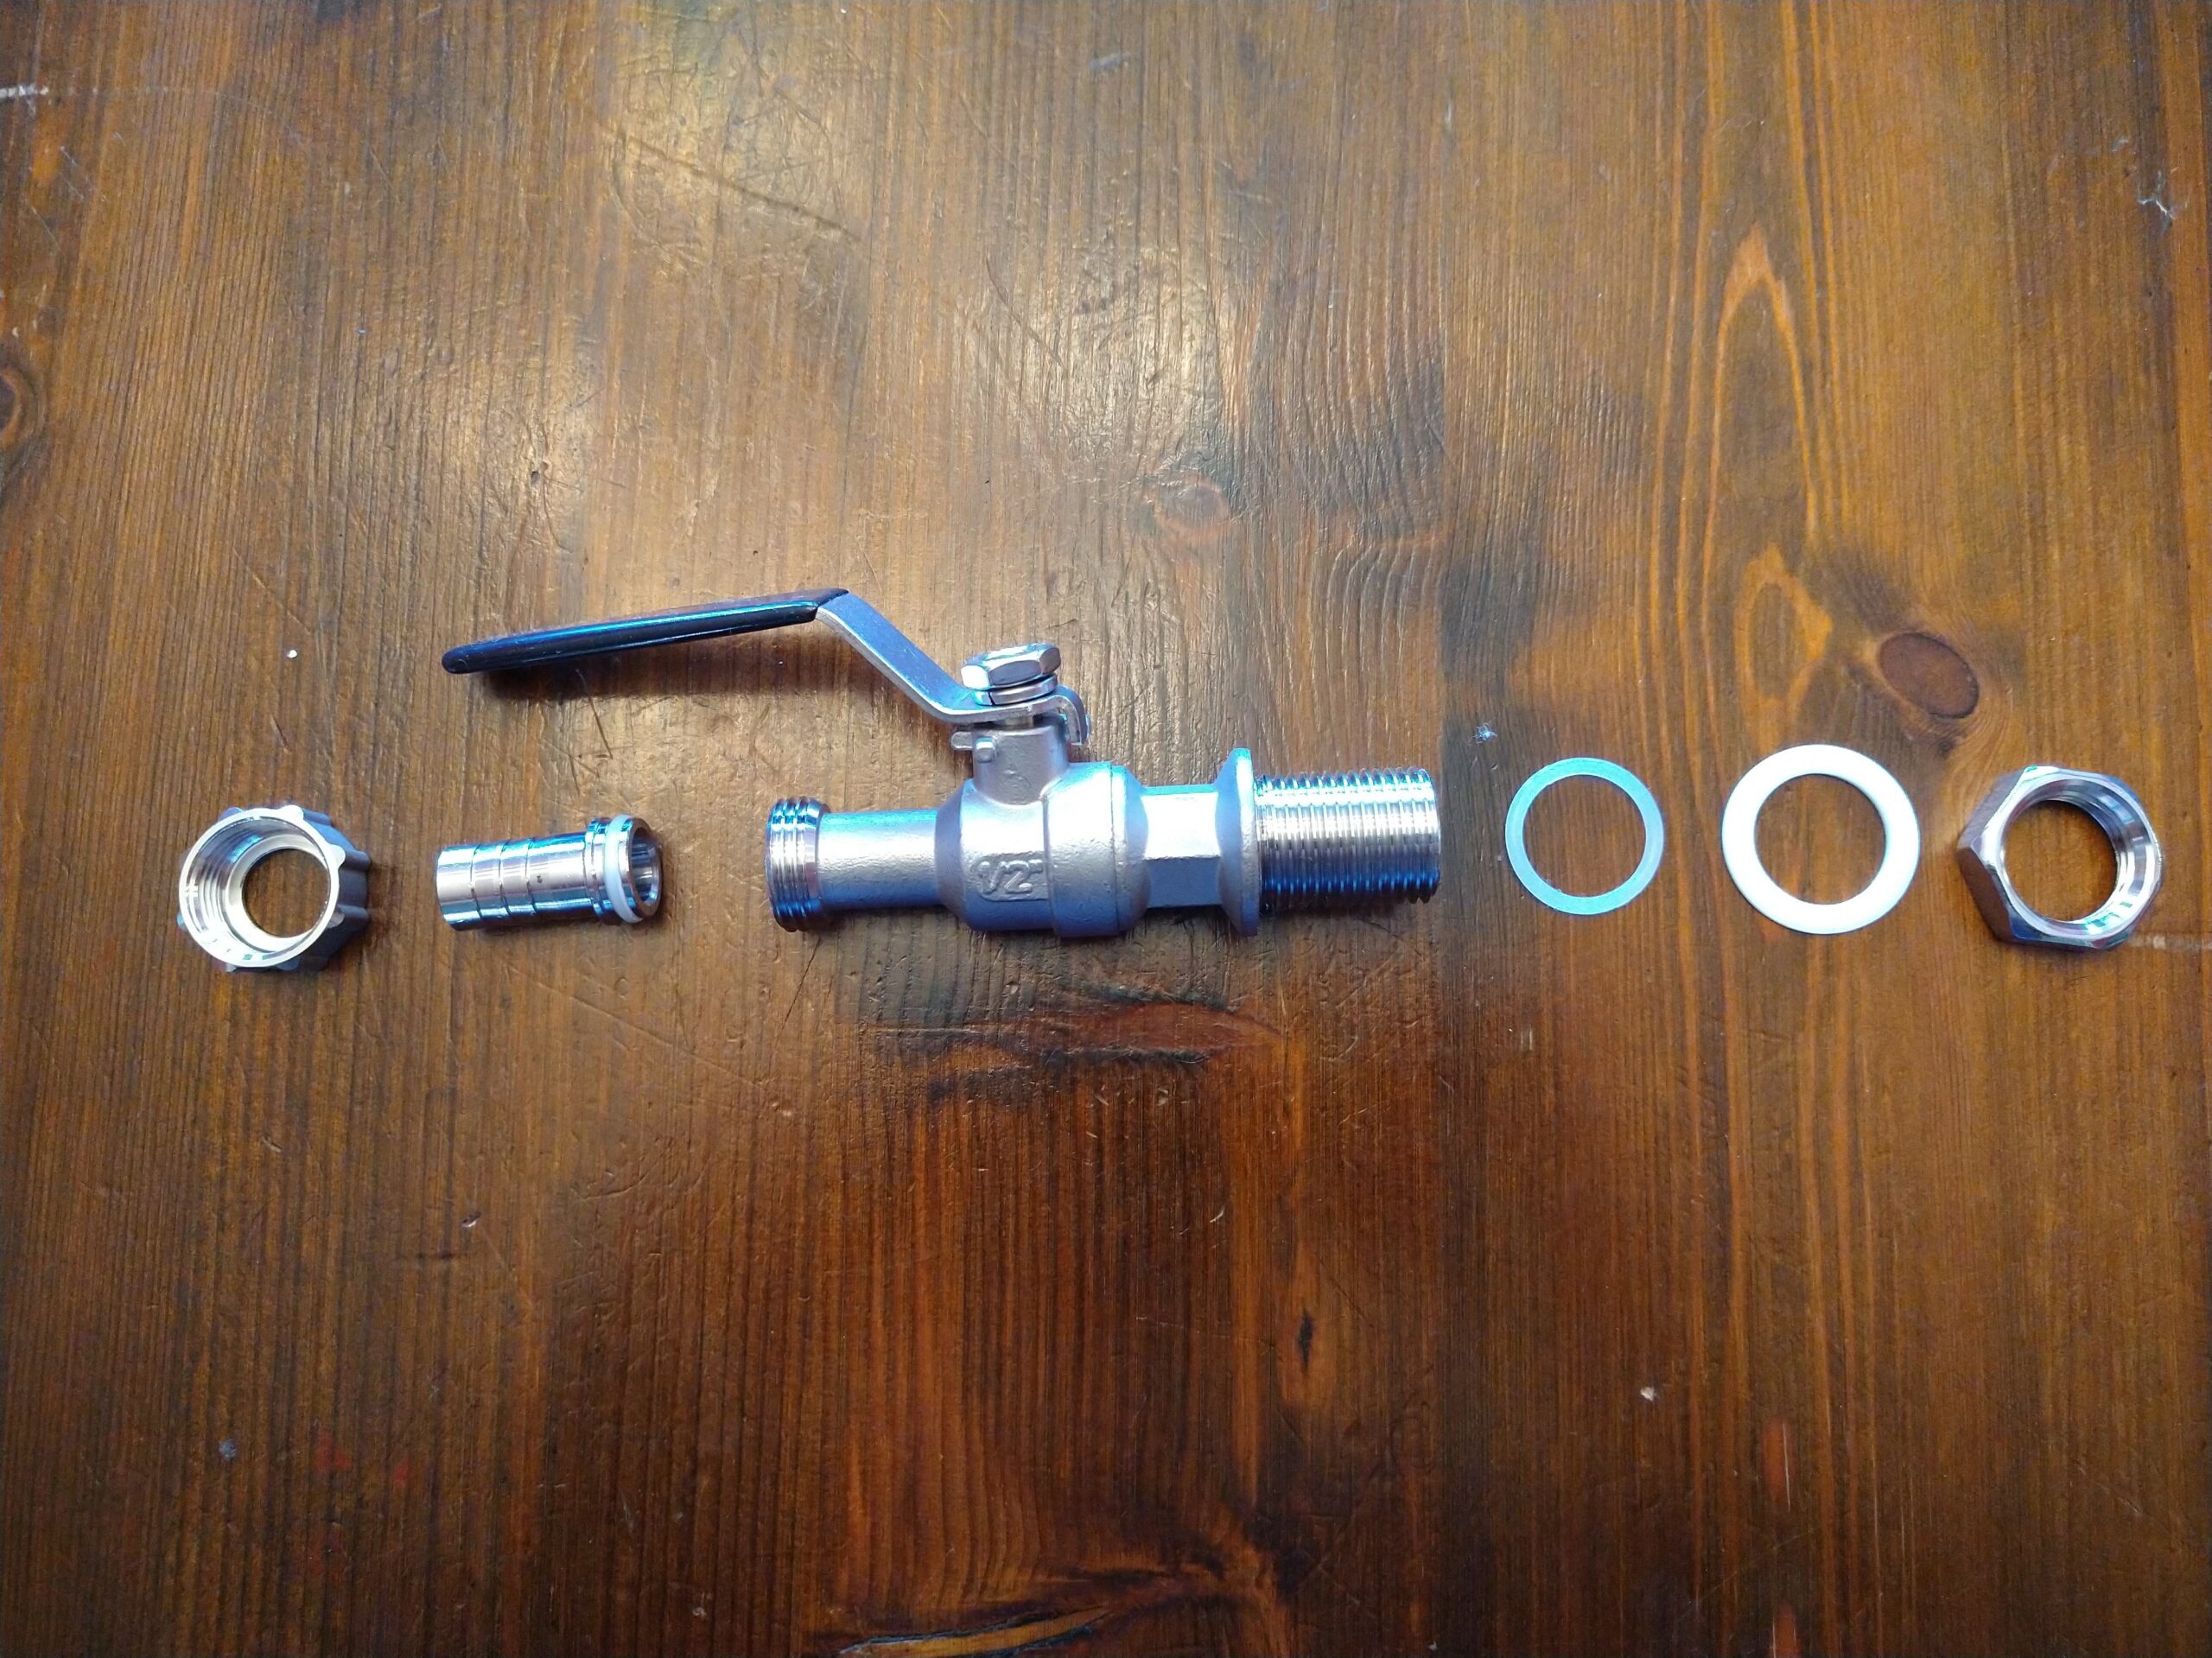 Sampling Ball Valve Disassembled
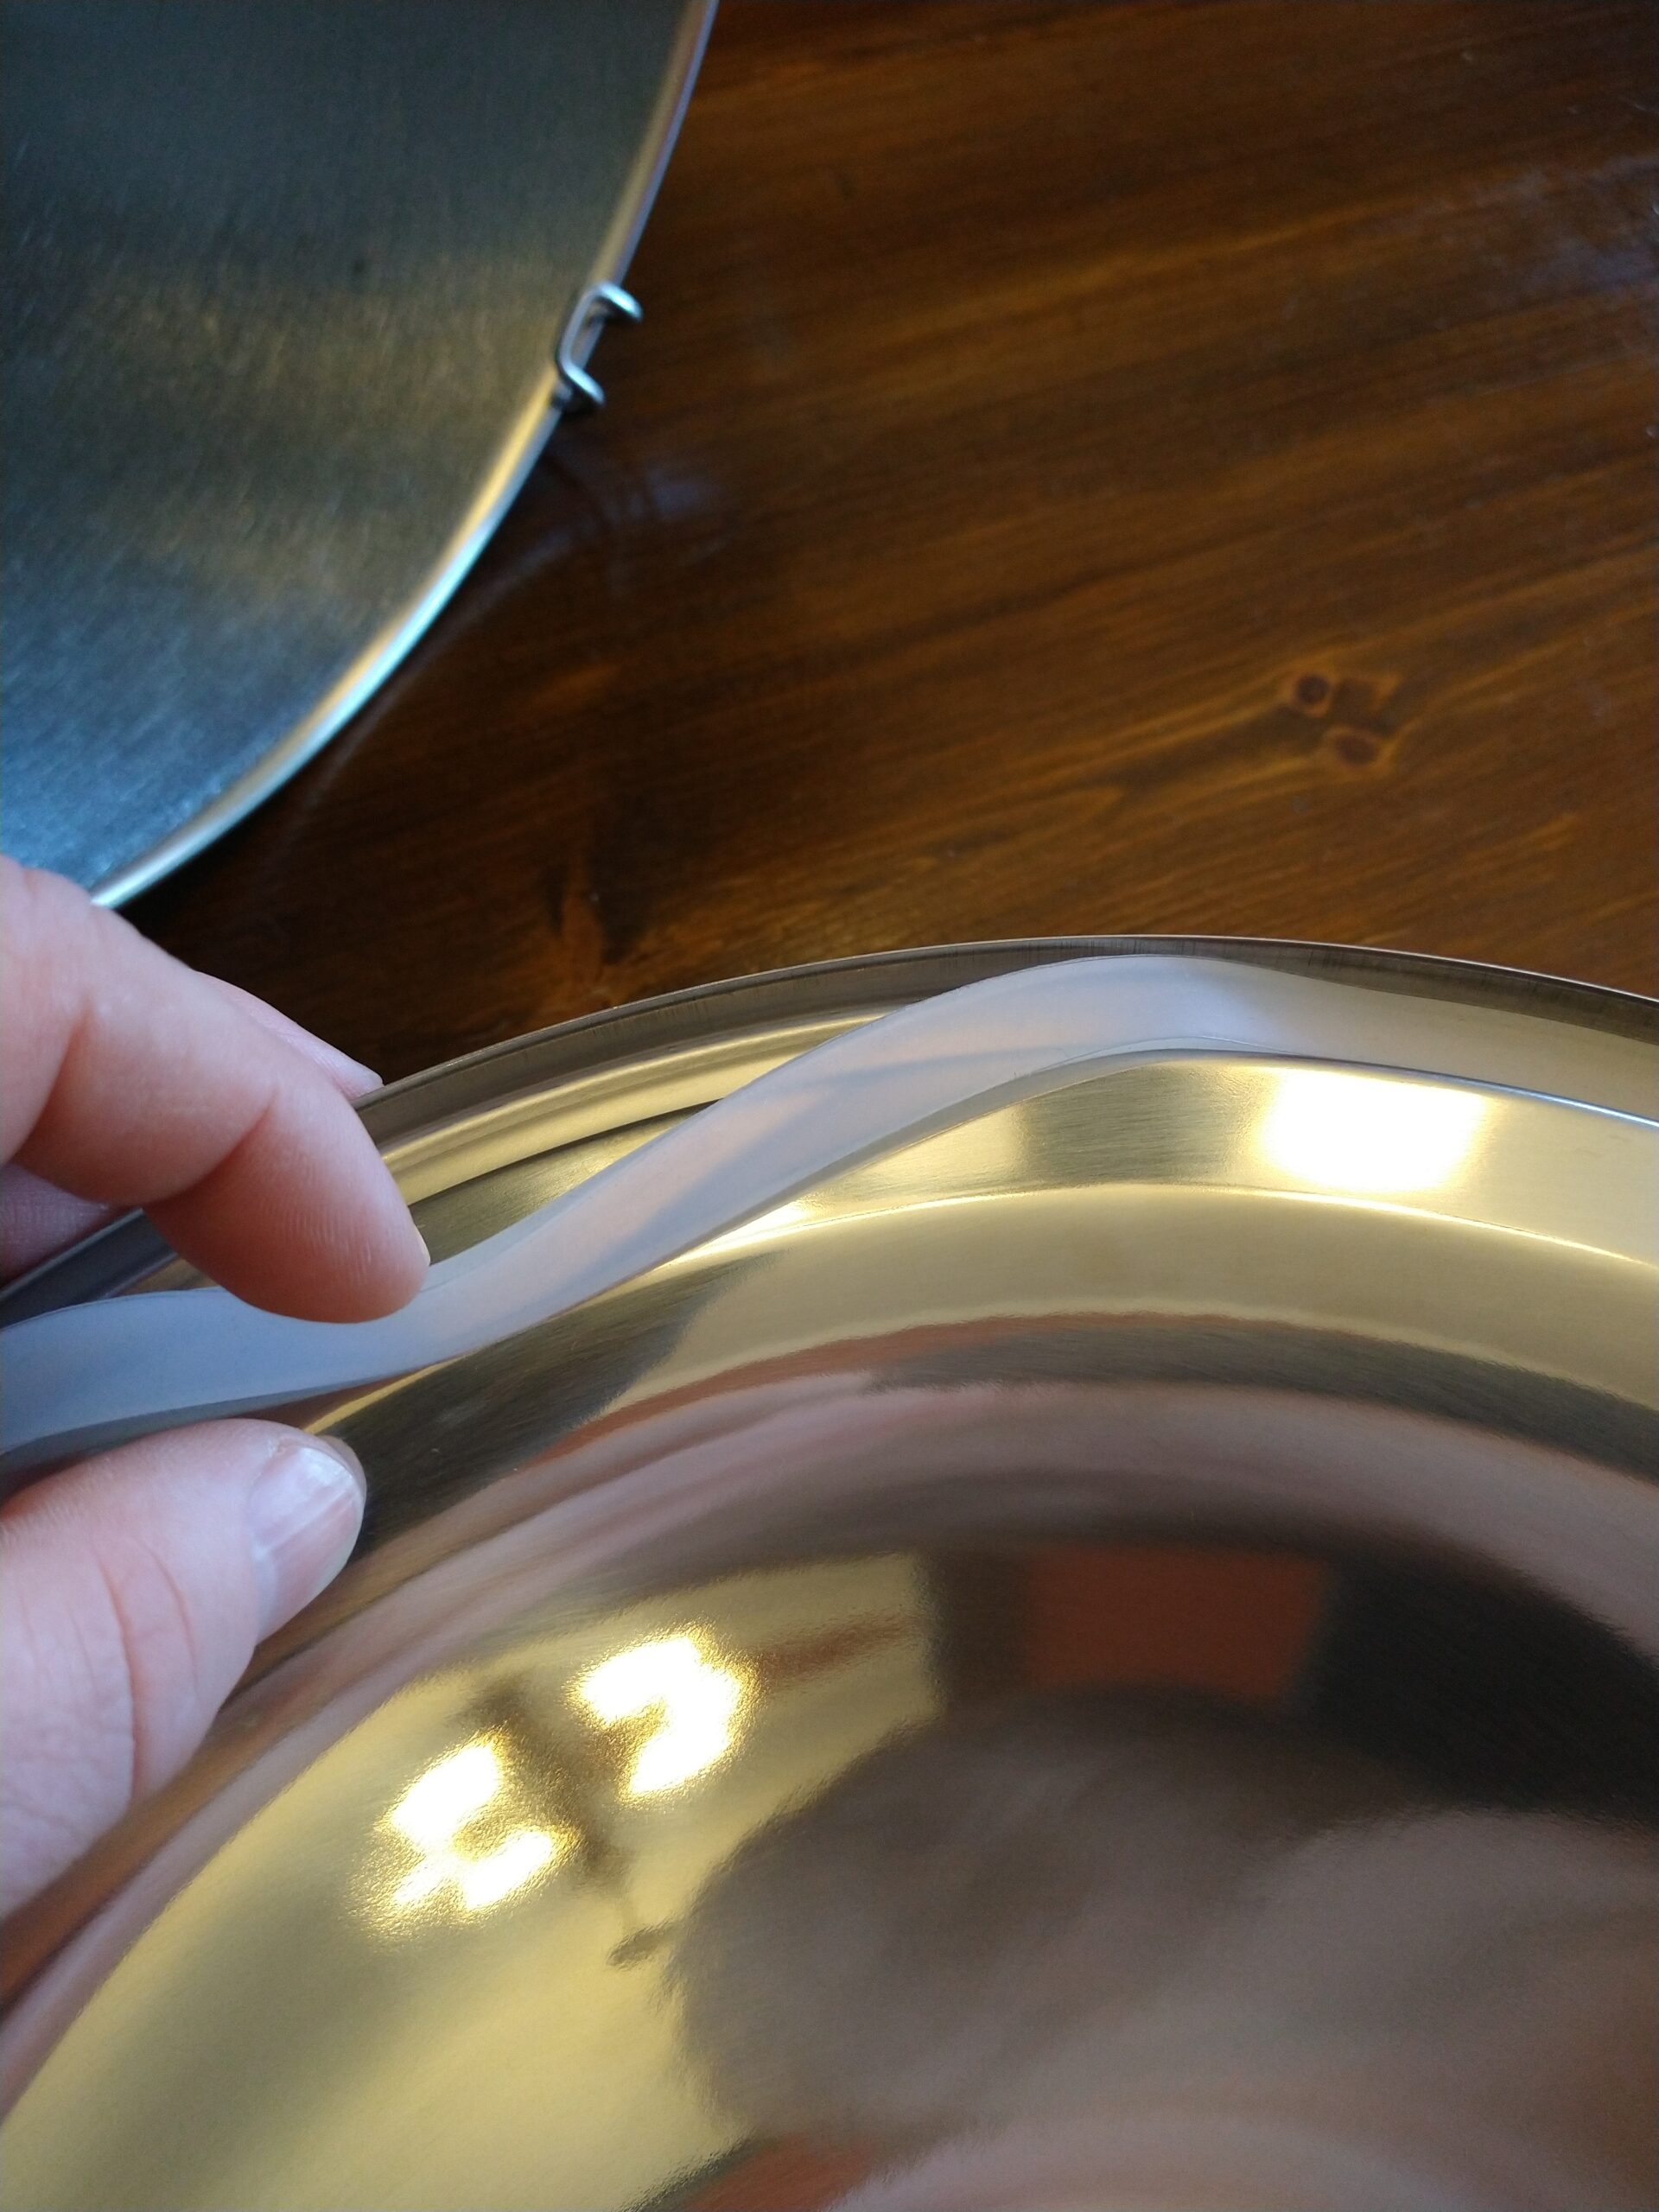 Silicone Seal Ring in Lid
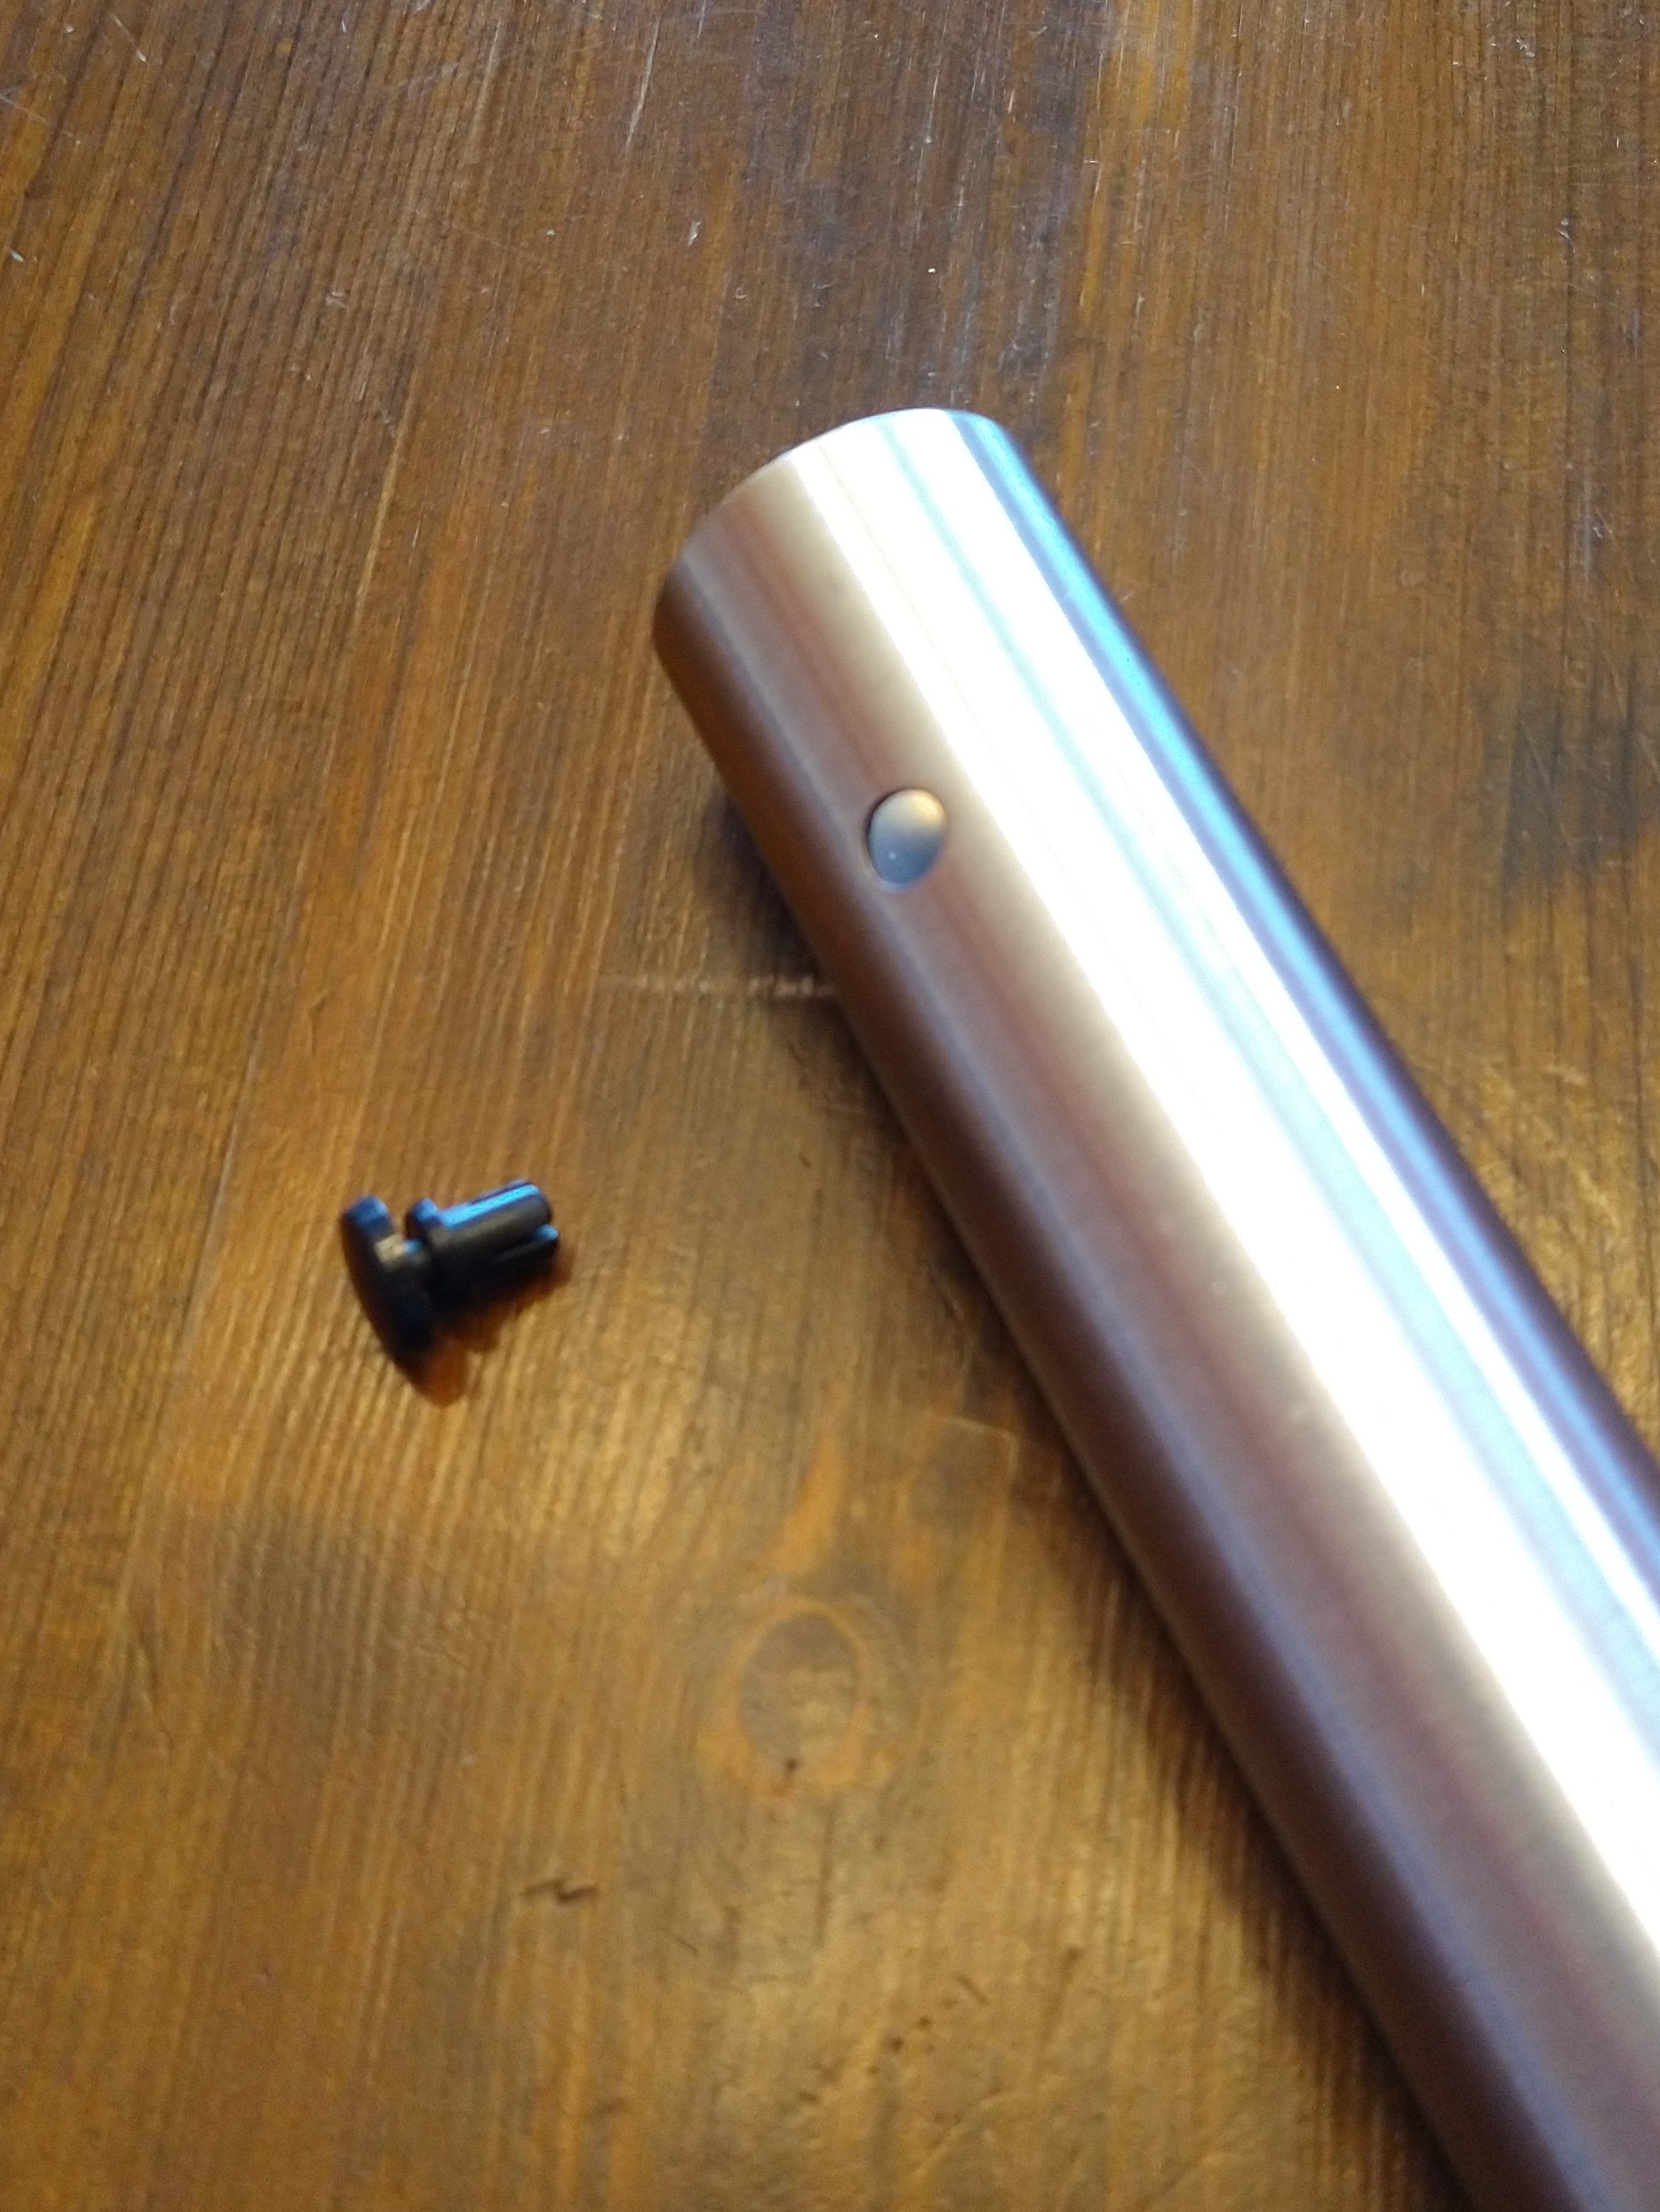 Simple Leg Attachment
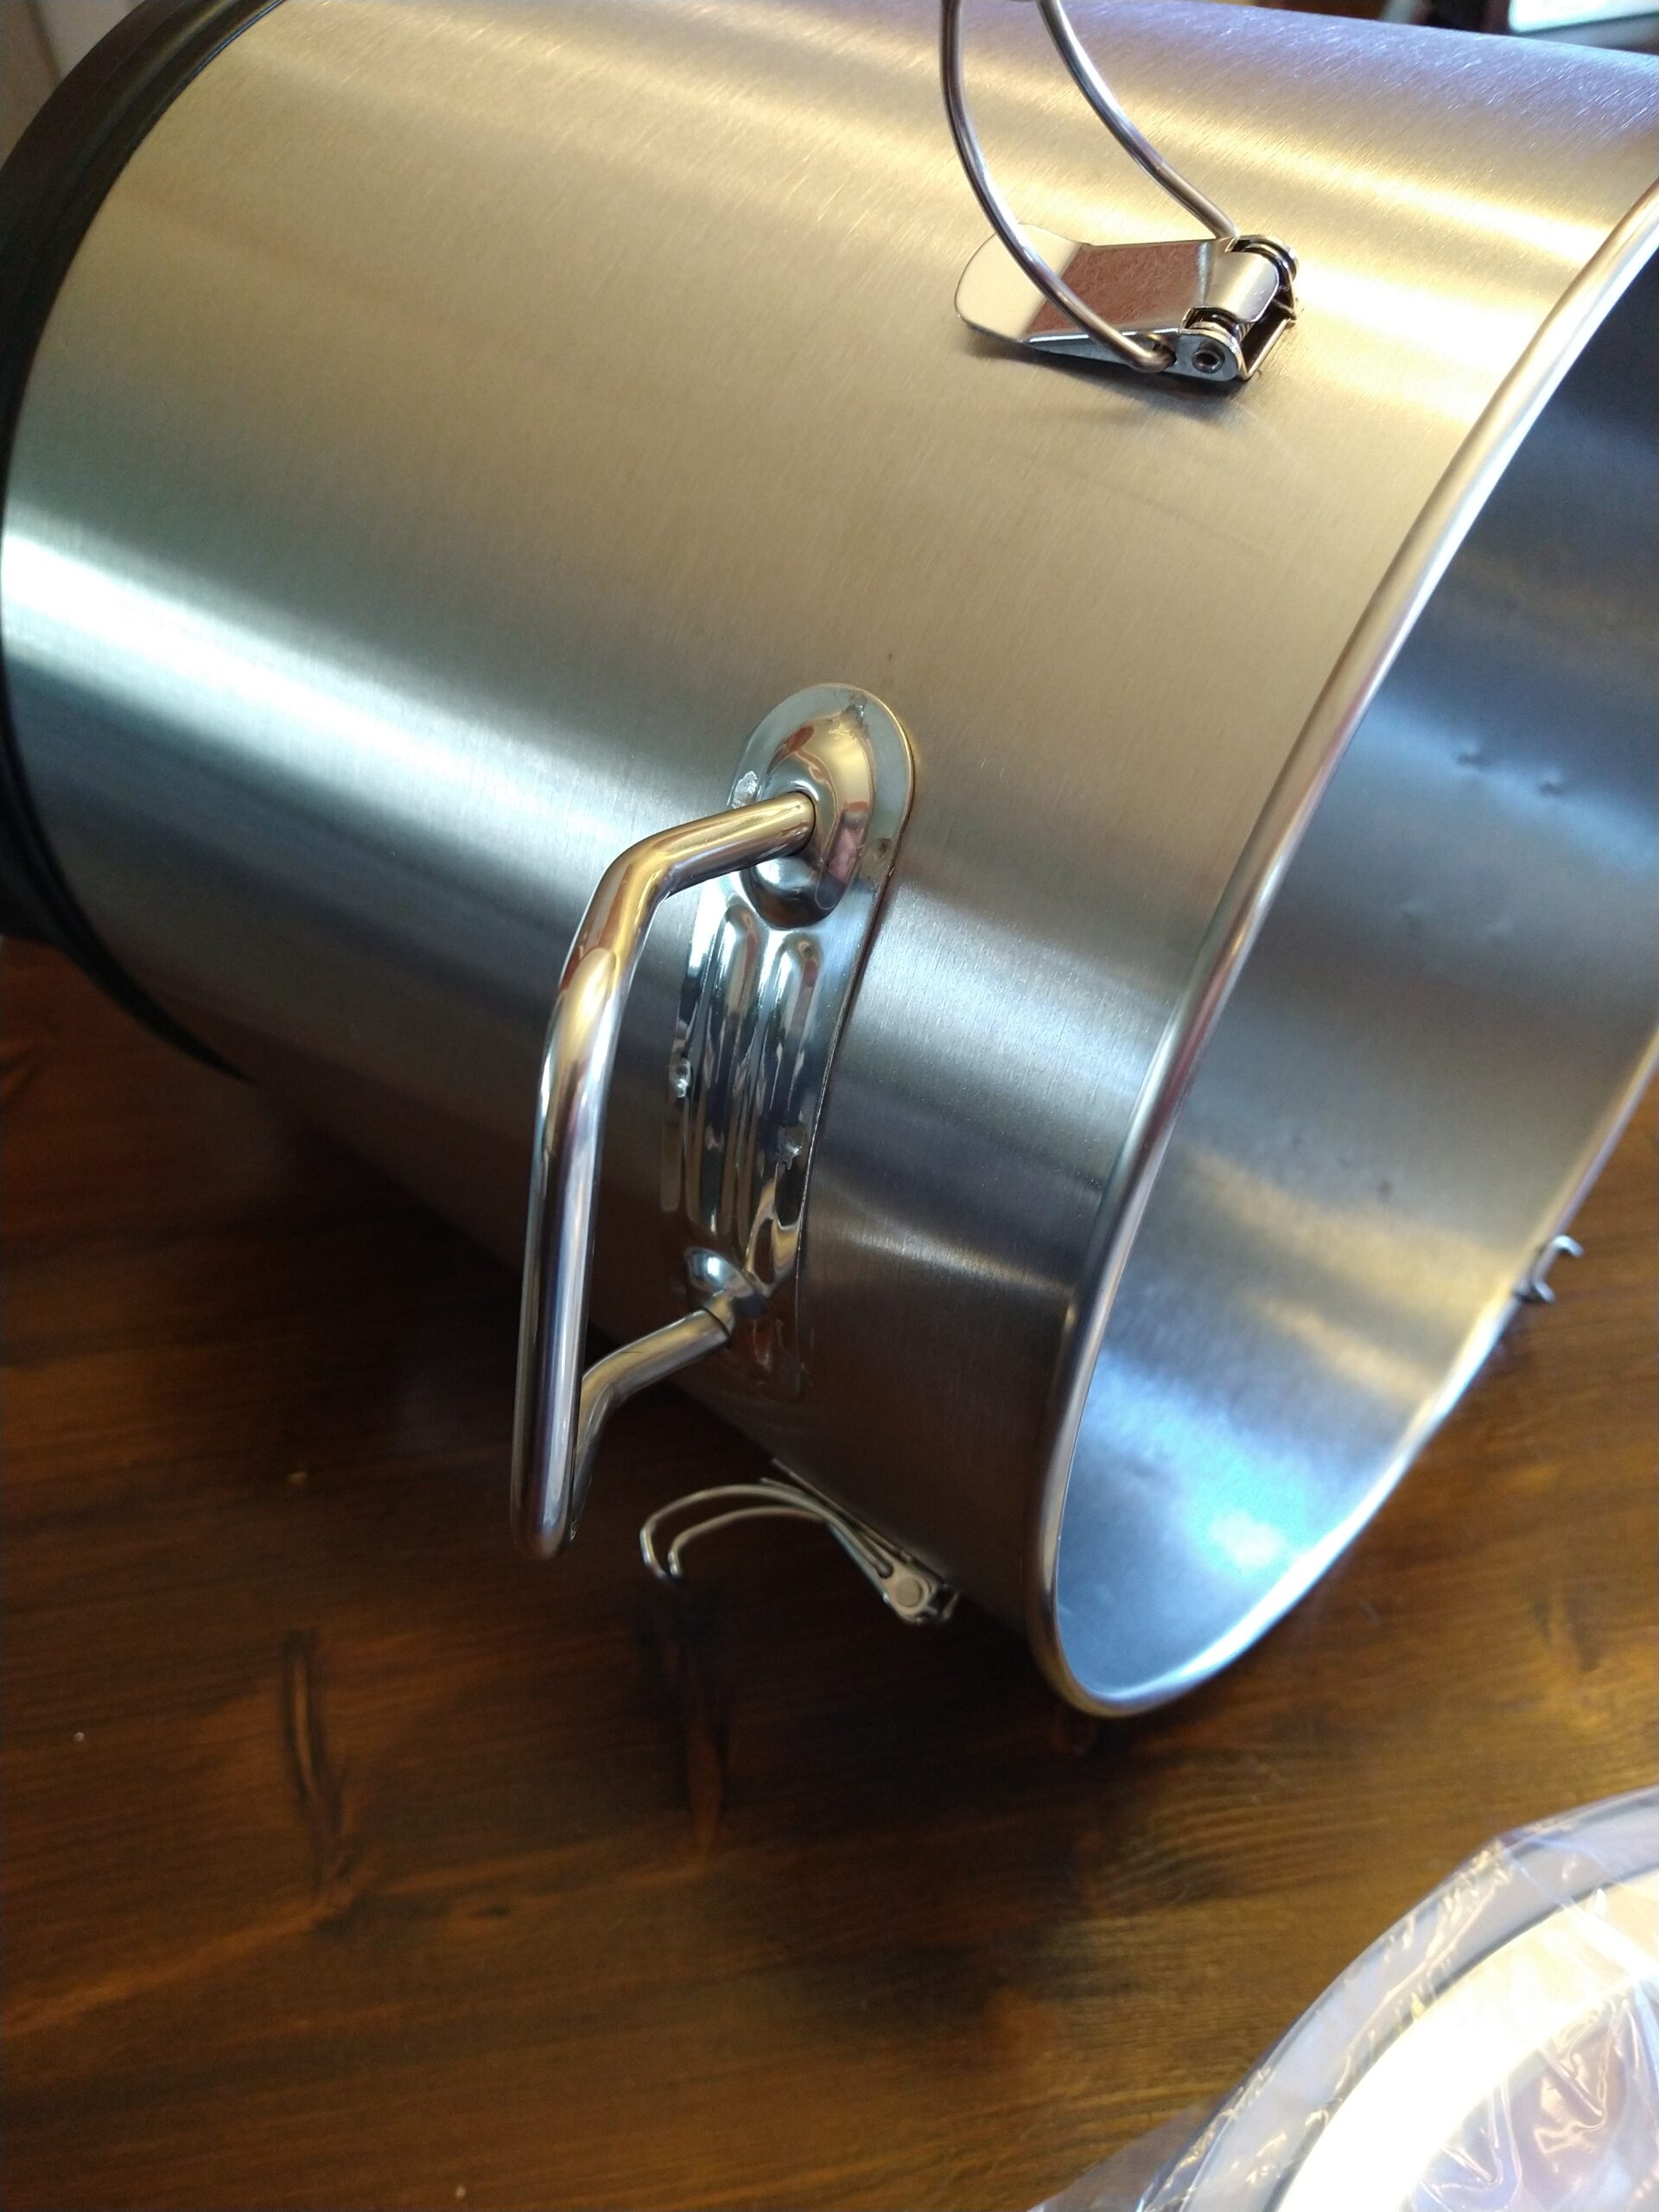 Sturdy Welded on Handles
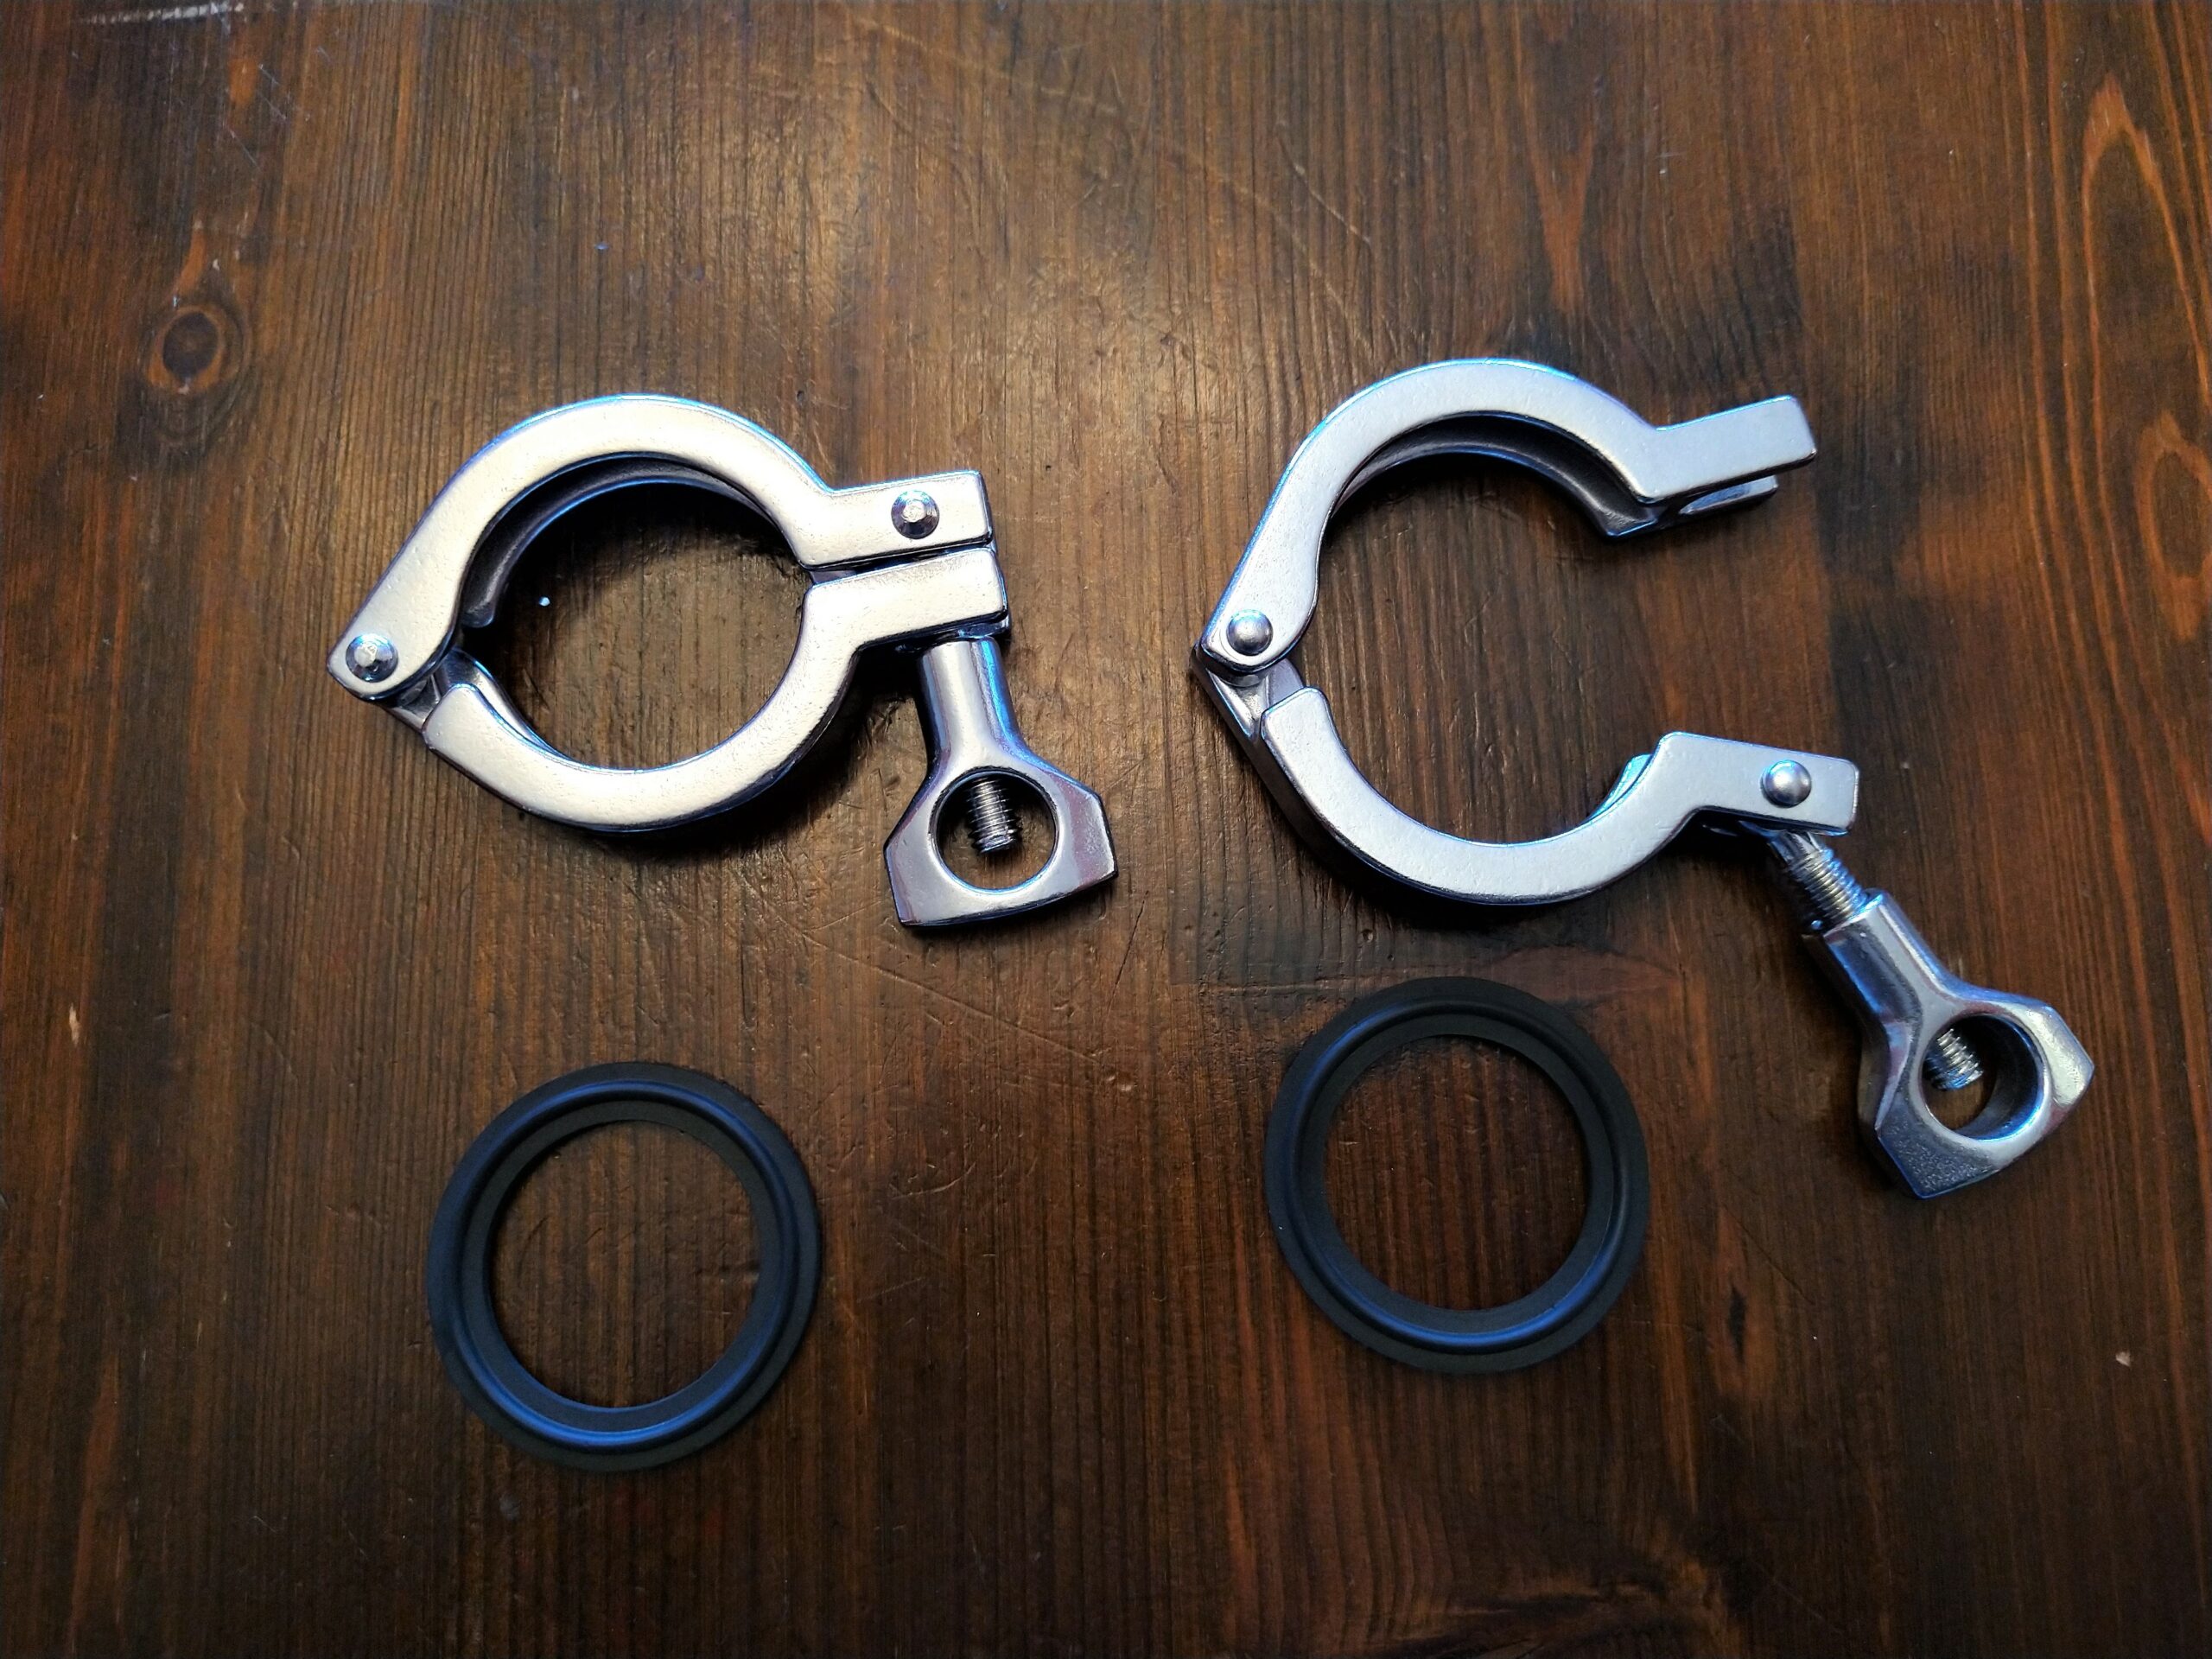 Tri-Clamps and Gaskets for Dump Valve Elbow
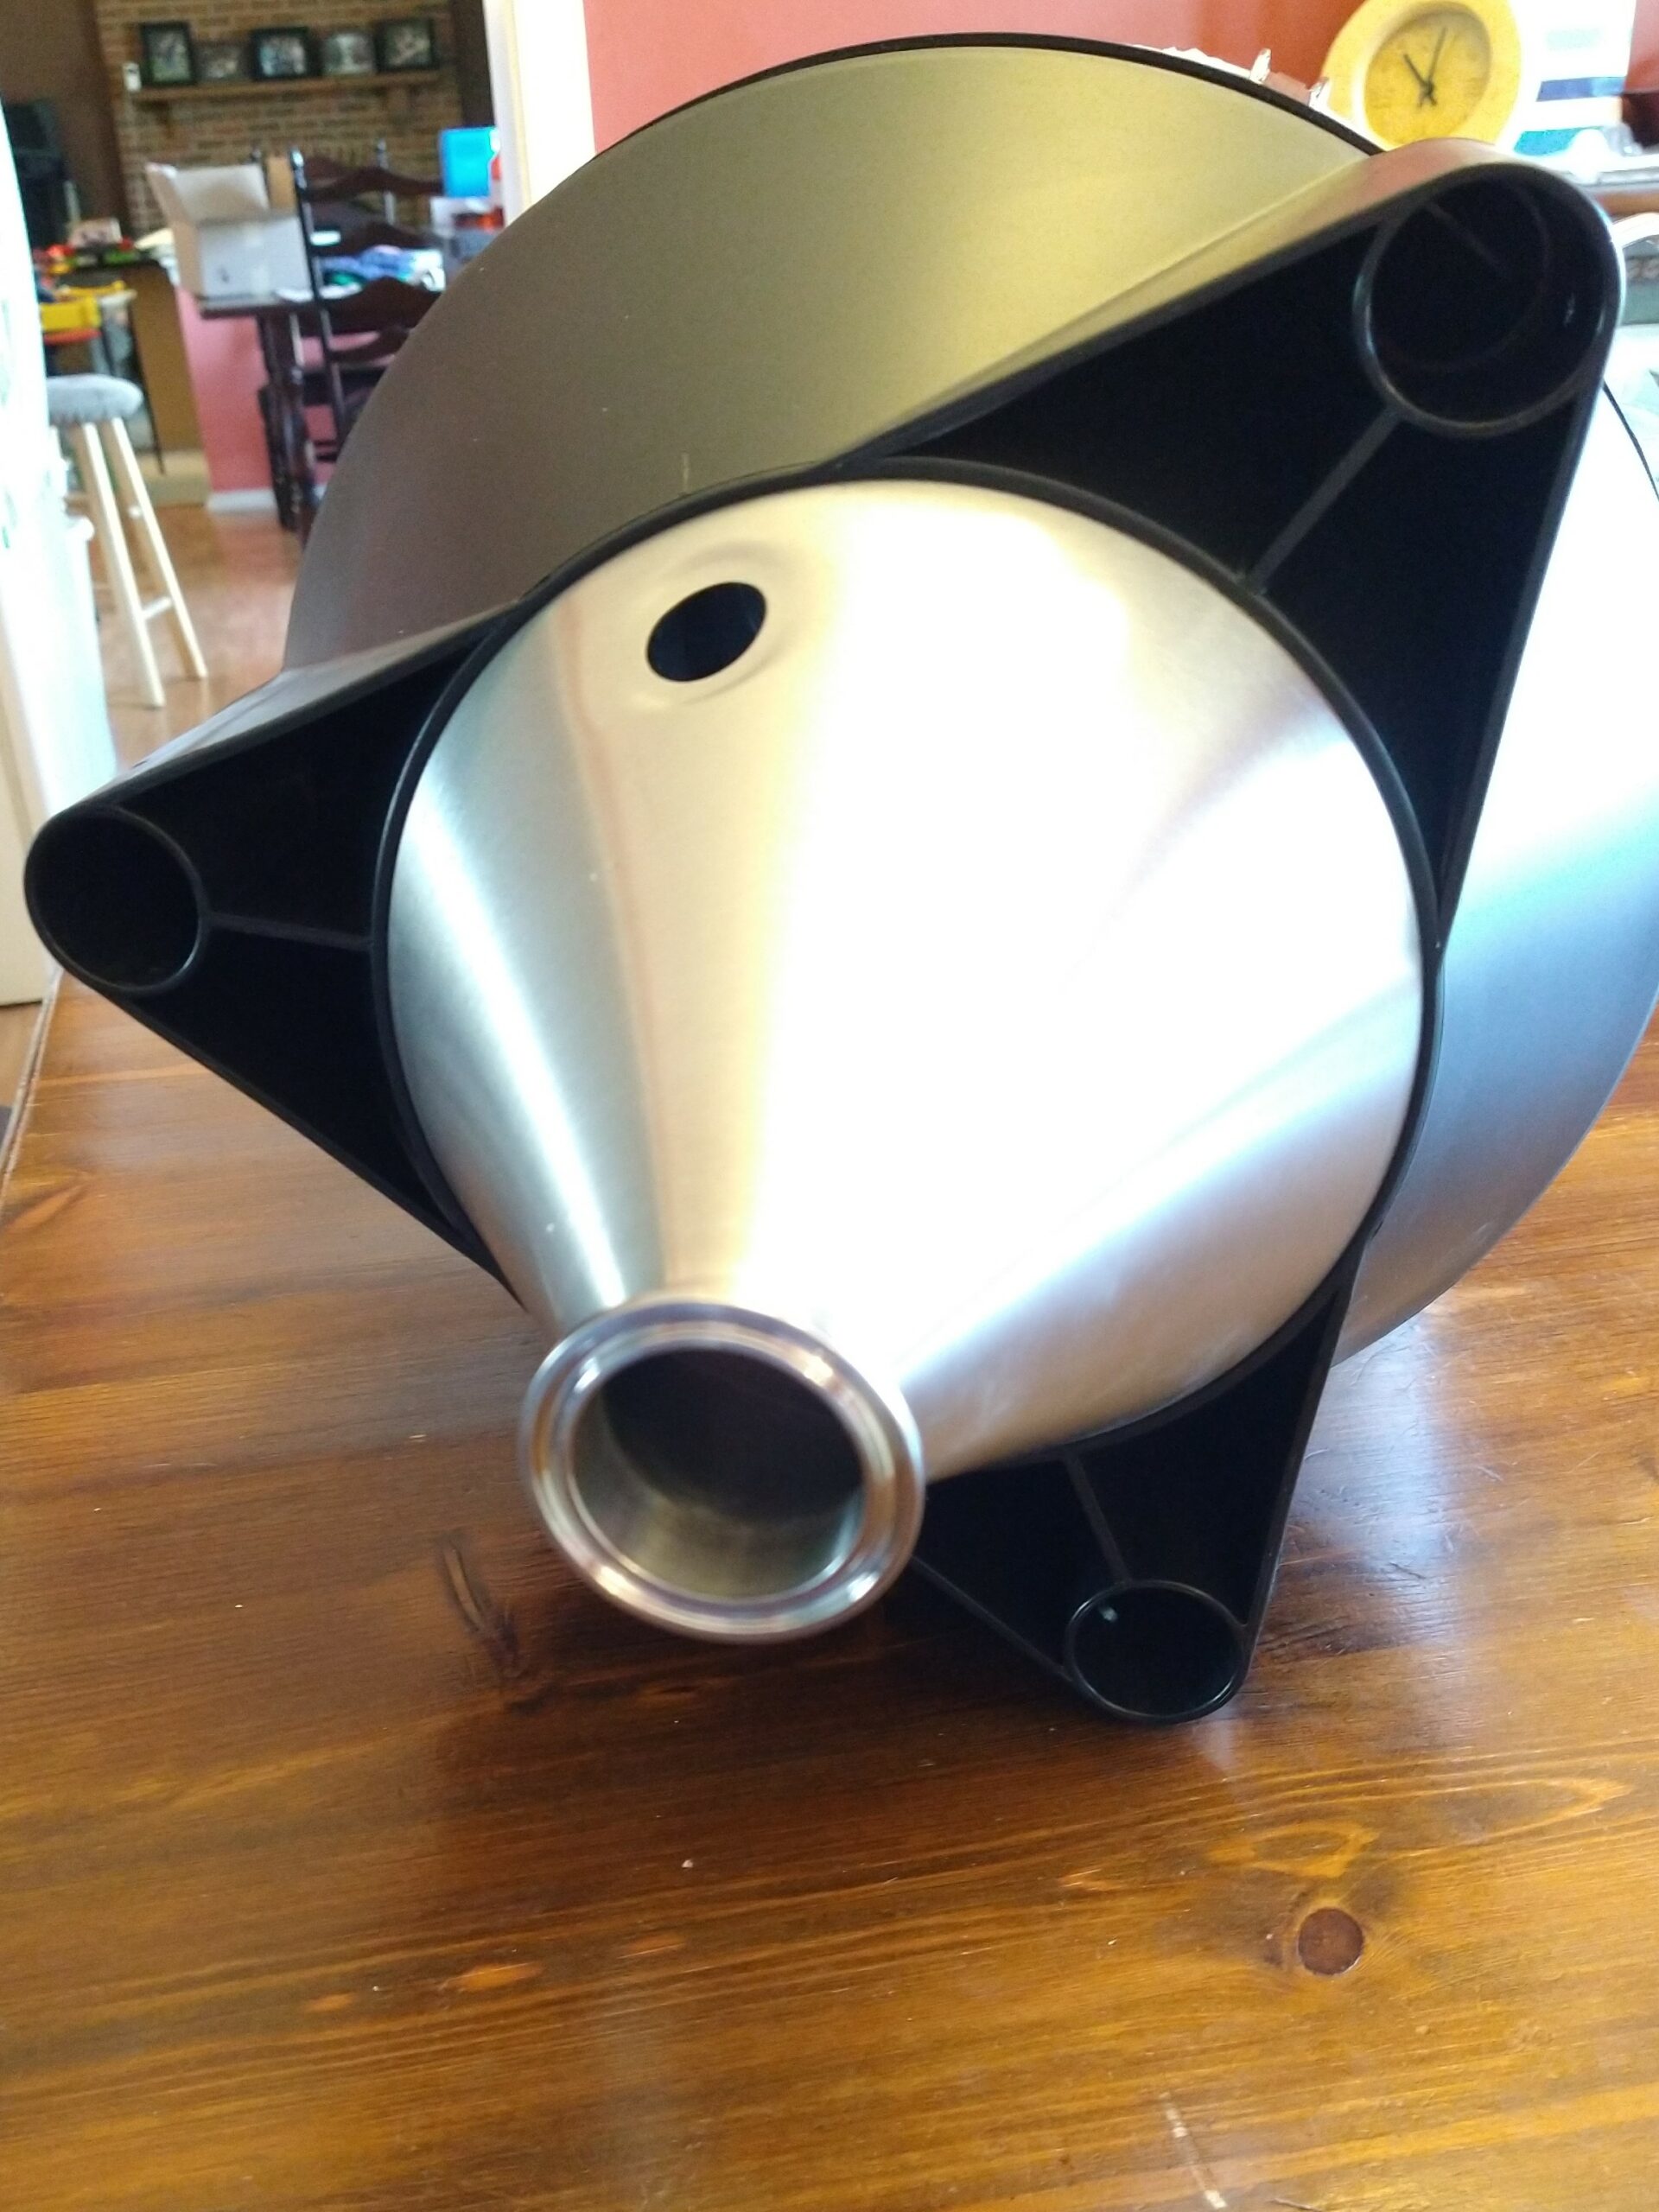 View of Leg Attachment Base
More Homebrew Finds!
- Last 50 Finds!
- Top Deals – a curated list of the best deals
- Homebrew Reviews – one of the largest libraries of homebrew reviews in existence!
- Our Top Posts – tips, how-tos, resources posts and more
More Fermenter Reviews!

Most Recent Deals

We Are Homebrew Review HQ! Our 10 Most Recent Reviews

More Fermentation Related!
- Our Fermentation Related Reviews – Fermenters and More
- Yeast Starters and Fermentation Resource Page
- Yeast: The Practical Guide to Beer Fermentation
- Compare Prices: StirStarter Stir Plate
This post may contain affiliate links. We may make a commission when you use our links. This will never cost you extra. Thank you for supporting Homebrew Finds!
More Anvil Brewing Equipment Reviews+Related:
Special Thanks to Anvil Brewing Equipment for providing the unit used for evaluation in this review.
By Brad Probert. Check out Brad’s website – beersnobby.com
Special Thanks to Anvil Brewing Equipment for providing the unit used for evaluation in this review.
Price, promotions and availability can change quickly. Check the product page for current price, description and availability.
Make sure the components you use are compatible and rated for your intended application. Contact manufacturer with questions about suitability or a specific application. Always read and follow manufacturer directions review:anvilcrucible tag:tpr
The Blichmann Quick Connectors work on the Anvil spigots. There’s several different options including a 3/8” barb that would connect to your hose for your pump. (There’s also a 1/2” barb, and 90° versions.) (example here: https://shop.greatfermentations.com/product/3-8-in-blichmann-quick-connect/blichmann-quick-connectors?a=cv3hbf) Hope this helps!