
Hands on Review: BrewJacket Immersion Pro
This review is by Homebrew Finds Contributor Brad Probert. Brad is an engineer, expert homebrewer and experienced reviewer. Grab a link to Brad’s website at the end of this review.
BrewJacket Immersion Pro
Sometimes homebrewing articles give very sage-like advice. “If you really want to take your beers to the next level, you need to do this…” If you’re like me, you lap that up, digest it, and see how you might incorporate whatever process/technique they’re talking about into your brewing. I’m not personally vouching for or debating the value of fermentation temperature control, but I introduce that topic as the starting point of this review. I’ve seen it mentioned multiple times in some of these articles and became a variable I wanted to get better control of. Whether something makes a notable difference or not in every batch I brew, my approach is to eliminate as many of the variables out there that can ruin a beer and on the whole it should allow my process to become more repeatable.
Fermentation temperature control doesn’t necessarily come cheaply. There are some manual methods out there that require a lot of active participation in the heating or cooling process, but there are also methods that utilize a controller of some sort to regulate cooling or heating if the beer temperature strays from your desired target. The BrewJacket Immersion system uses a solid state cooling mechanism to control heat flow into/out of the beer. This is the heart of what makes the BrewJacket unique.
Availability Update:
As of this update Brewjacket has been discontinued. It is no longer being manufactured.
See these resources for more fermentation temp control options…
- Inkbird Dual Stage Temp Controller – Hands on Review – Inkbird Deals
- RAPT Temperature Controlled Fermentation Chamber FE975
- Five Benefits of Using Corny Kegs As Fermenters
- Homebrew Temp Controller Roundup!
- Maintaining Fermentation Temps in Colder Weather
- KOMOS Kegerators– designed to work at draft and fermentation temps
- Chest Freezer Deals – Kegerator and Fermentation Temperature Control
- Homebrew Fermentors – Deals, Discounts and Coupons! + Reviews
Thermoelectric cooling uses some fancy physics principles to work. When 2 different conductive materials and put together and an electrical current is passed through it, one becomes warmer than the other. Slap a heat sink on one side of that and you create a heat path that has one side sending heat out into the environment and the other getting colder. You can use this same device as a type of heater by heating one side of these 2 materials and then creating a heat flow in the other direction. BrewJacket patented the system that makes use of this type of thermoelectric system for homebrewing. This thermoelectric device gets combined with a large metal rod that gets “immersed” down into your fermentor, and a controller where you set a desired temperature. From a practical standpoint, you obviously don’t need to worry about the physics that make it work. But it’s unique (so far) in the homebrewing world, so worth the explanation.
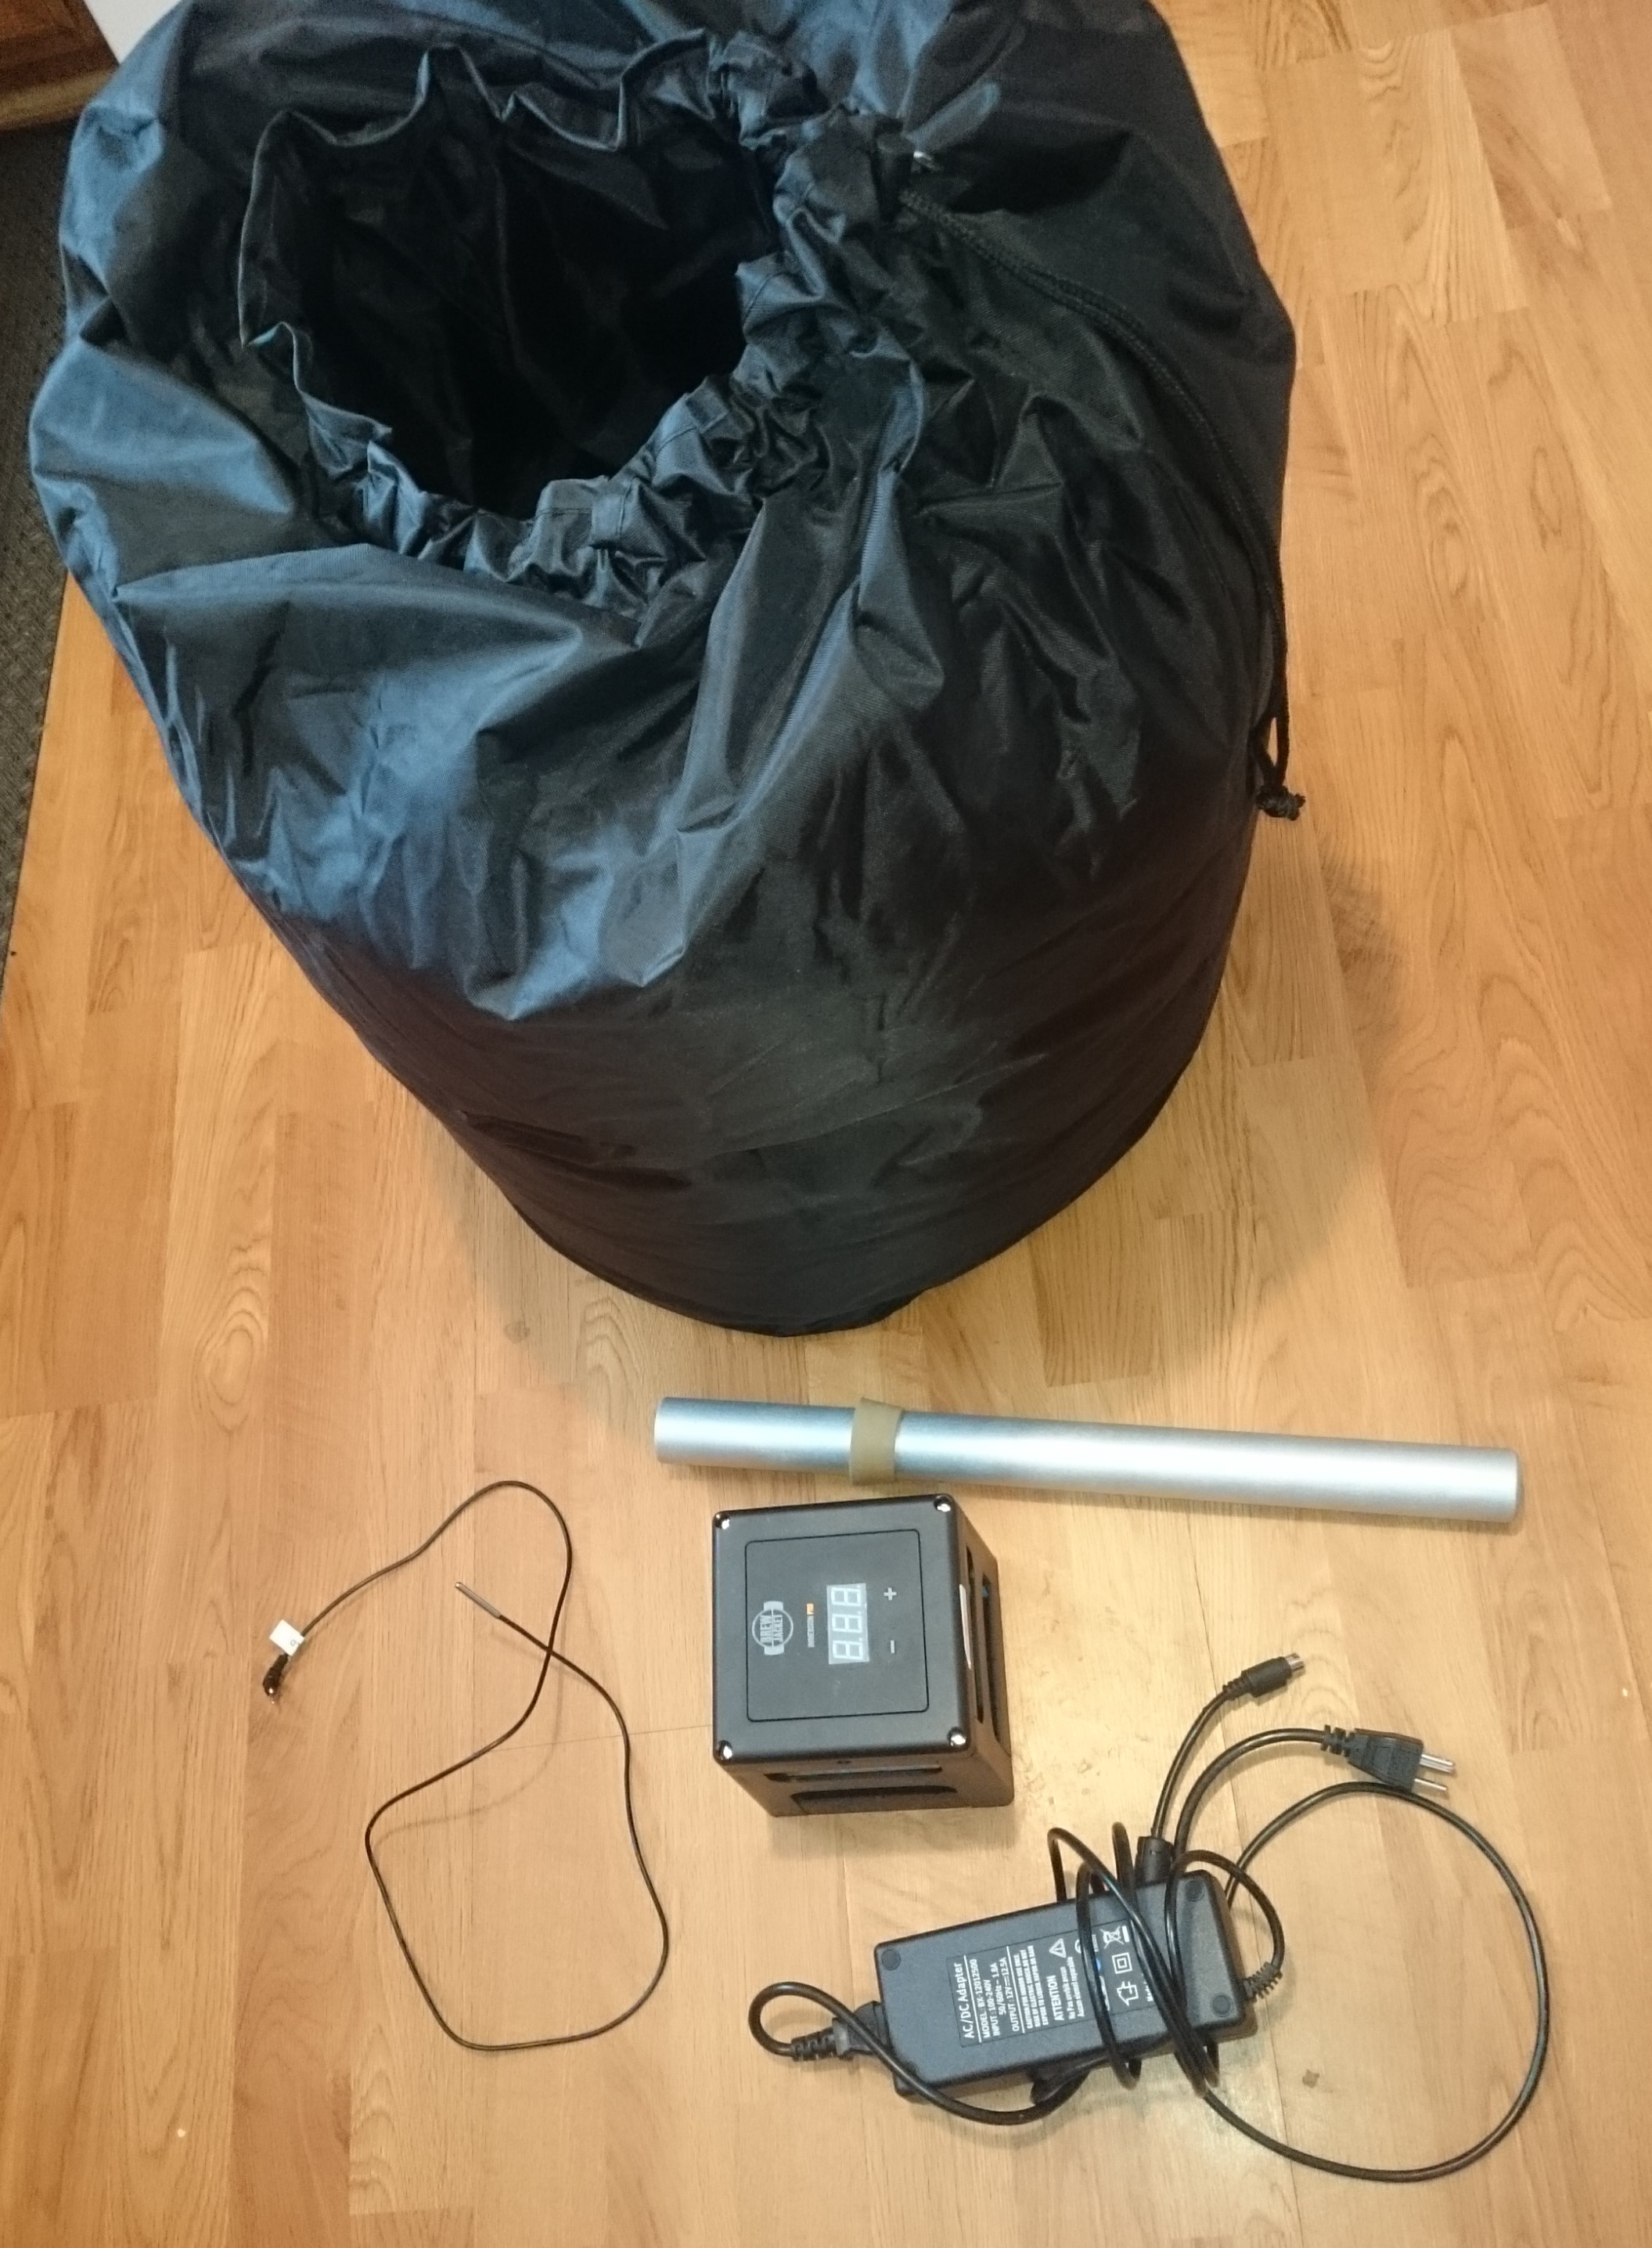
The BrewJacket comes in 2 versions, a BrewJacket Immersion which just functions as a chiller and can lower the temperature of your fermenting beer below room temperature, and a BrewJacket Immersion Pro that functions as both a heater and chiller relative to your room’s temperature. The system is comprised of 3 basic parts- the controller/heat sink head unit, the immersion rod that is physically connected to this head unit and extends down into your fermenting beer, and a big giant insulated bag to stuff your fermentor in. The chiller-only version gets you into lager fermentations at 50 degrees F in your 65 degree basement. And the heater/chiller version comes in handy for ale fermentations where you want some repeatability of fermentation temperature when brewing in the winter versus brewing in the summer.
Hands on Review
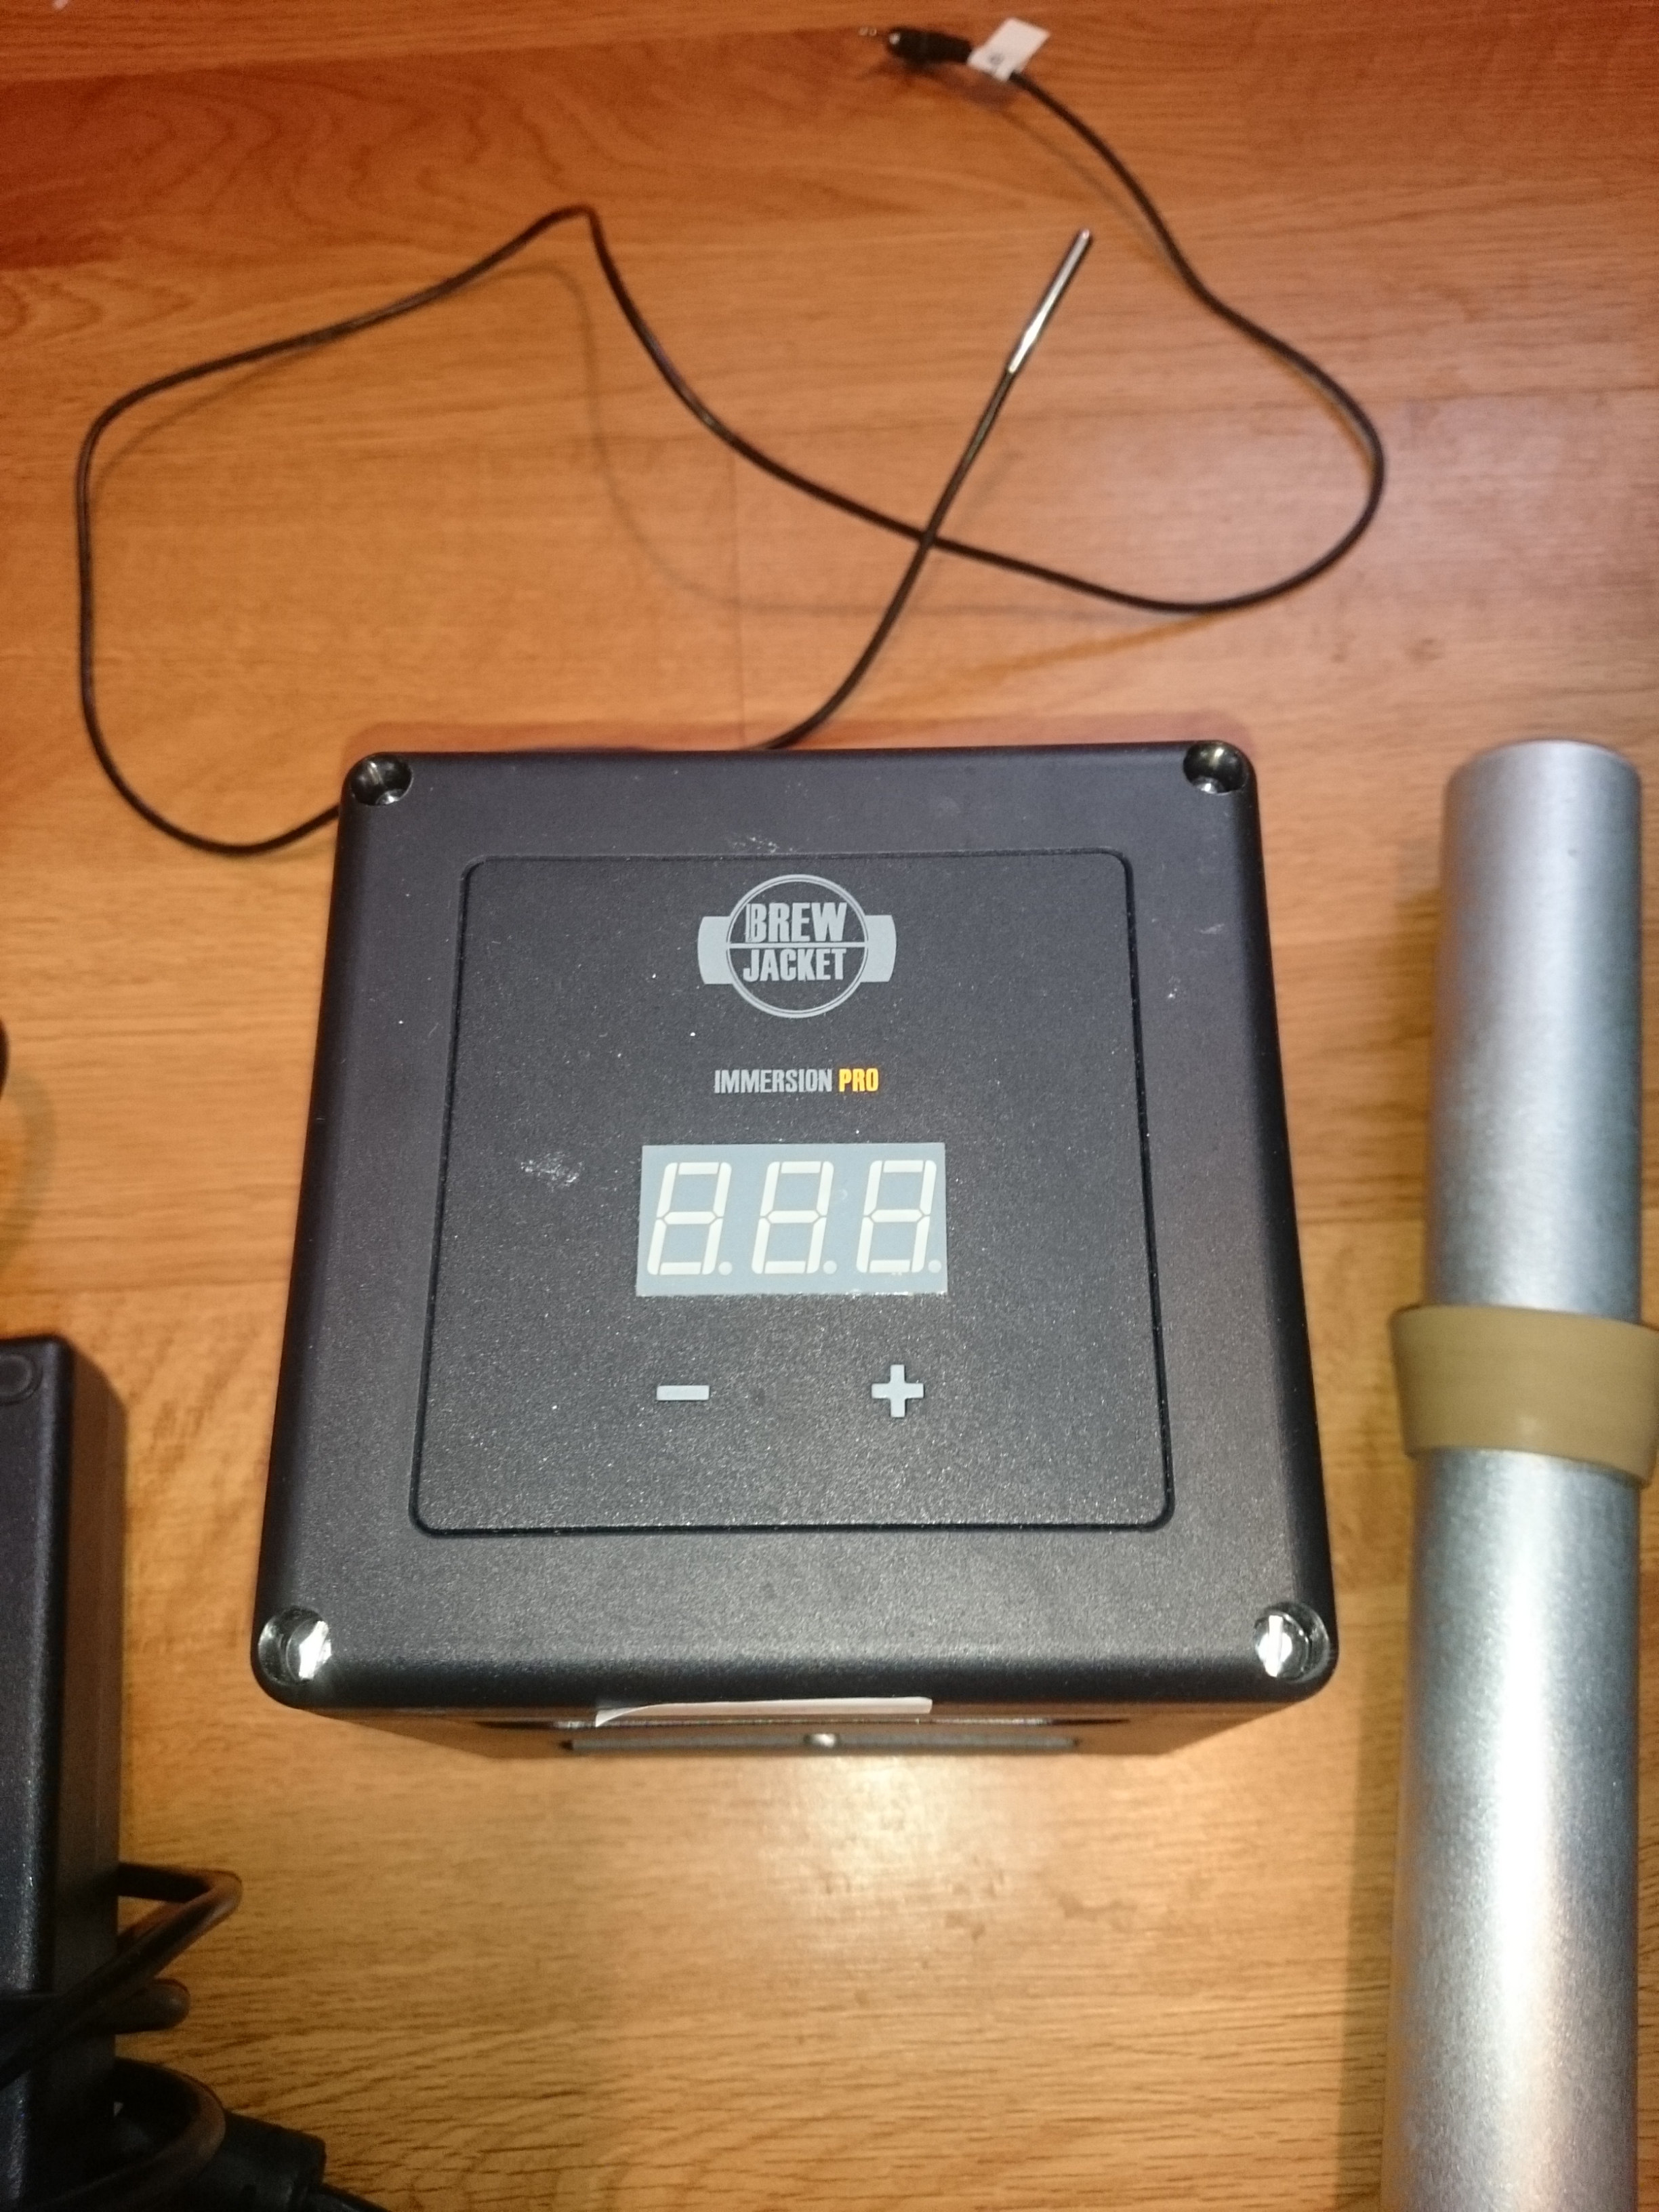 BrewJacket Control Head
For the control head, you don’t have to think about thermoelectric physics. You just simply have a ‘+’ and ‘-‘ button to adjust your target temperature, and a display that shows you your target and actual temperatures. Actual temperature is measured by means of a temperature lead that gets plugged into the control head, and the sensor end you stuff down to sit in between the outside of your fermentor wall and the insulated bag. No special programming skills required, you just hit the buttons and adjust your desired temperature in 0.1 degrees F increments. You don’t even have to remember to hit an ‘enter’ button. Change it whenever you want. If the temperature measured by the probe is different than the target you set, the thermoelectric bit kicks in and turns the unit into a heat flow path into or out of your beer, depending.
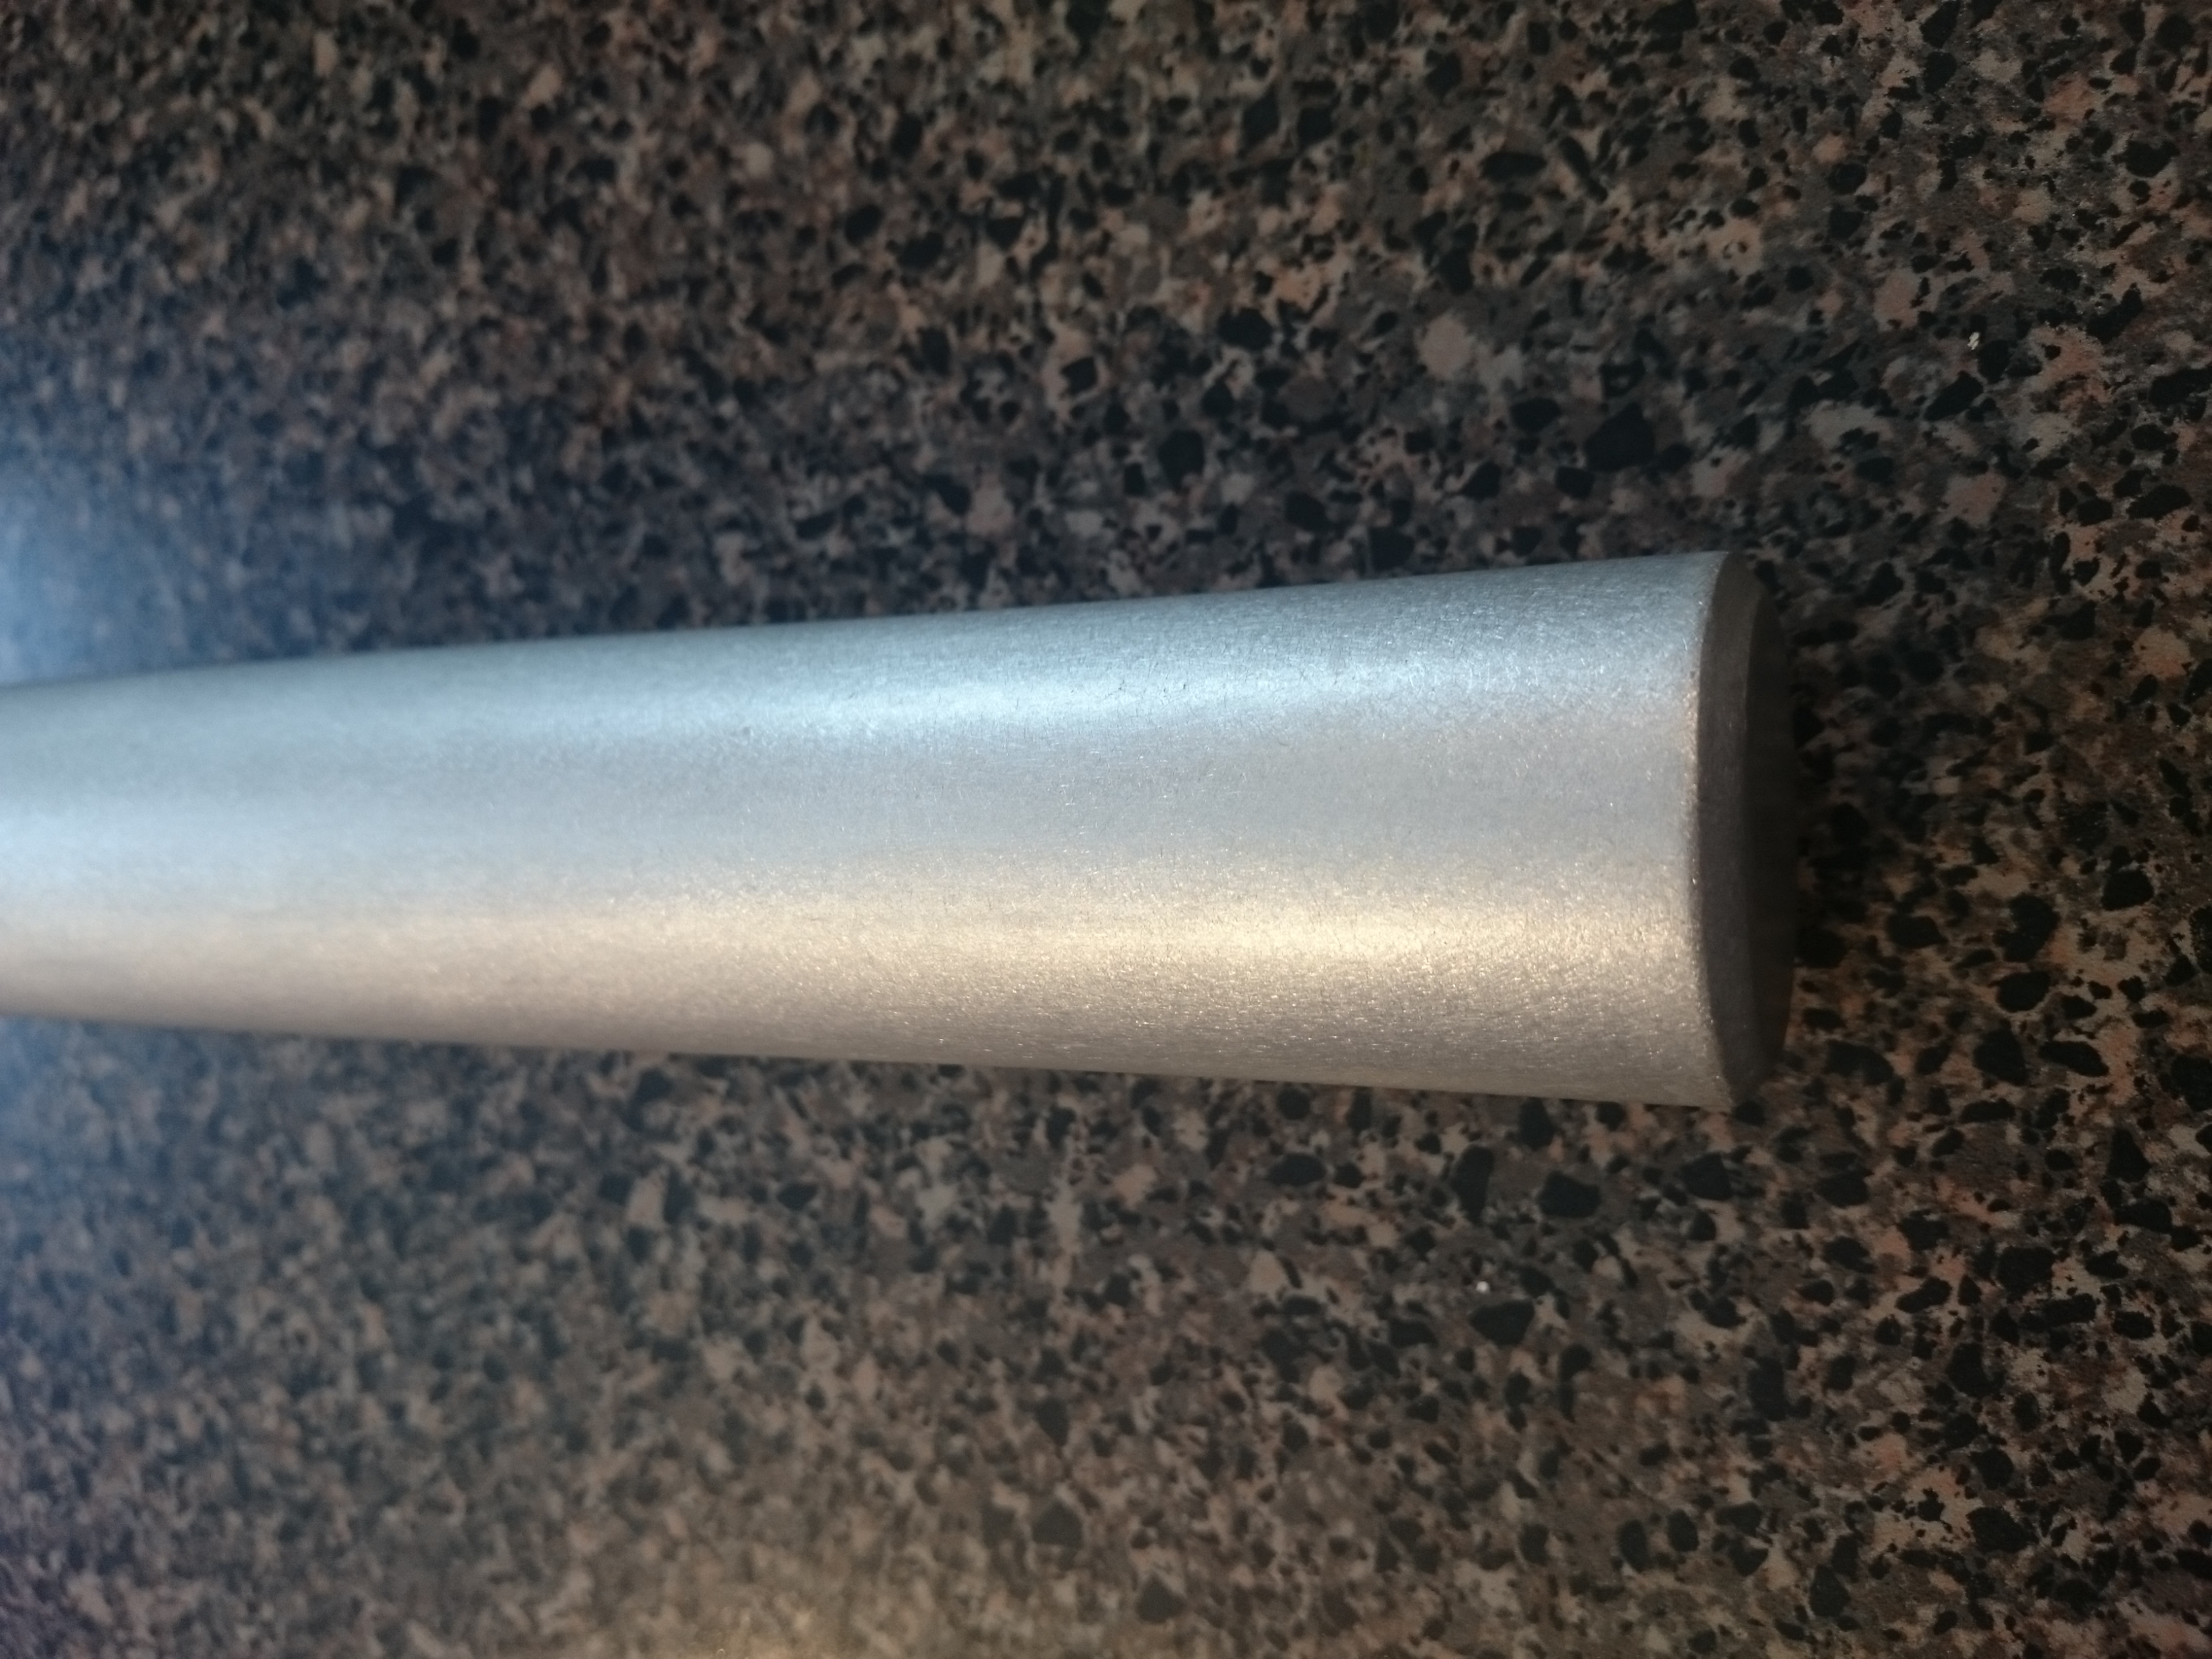 Anodized Rod
The immersion rod itself is made of a highly polished and anodized metal rod that makes it easy to clean and sanitize. It screws into the base of the control head and makes the connection to the thermoelectric heat transfer machine. After fermentation, it unscrews and allows easy cleaning to prepare for the next batch. They also sell plastic sleeves for the rod if cleaning isn’t your thing.
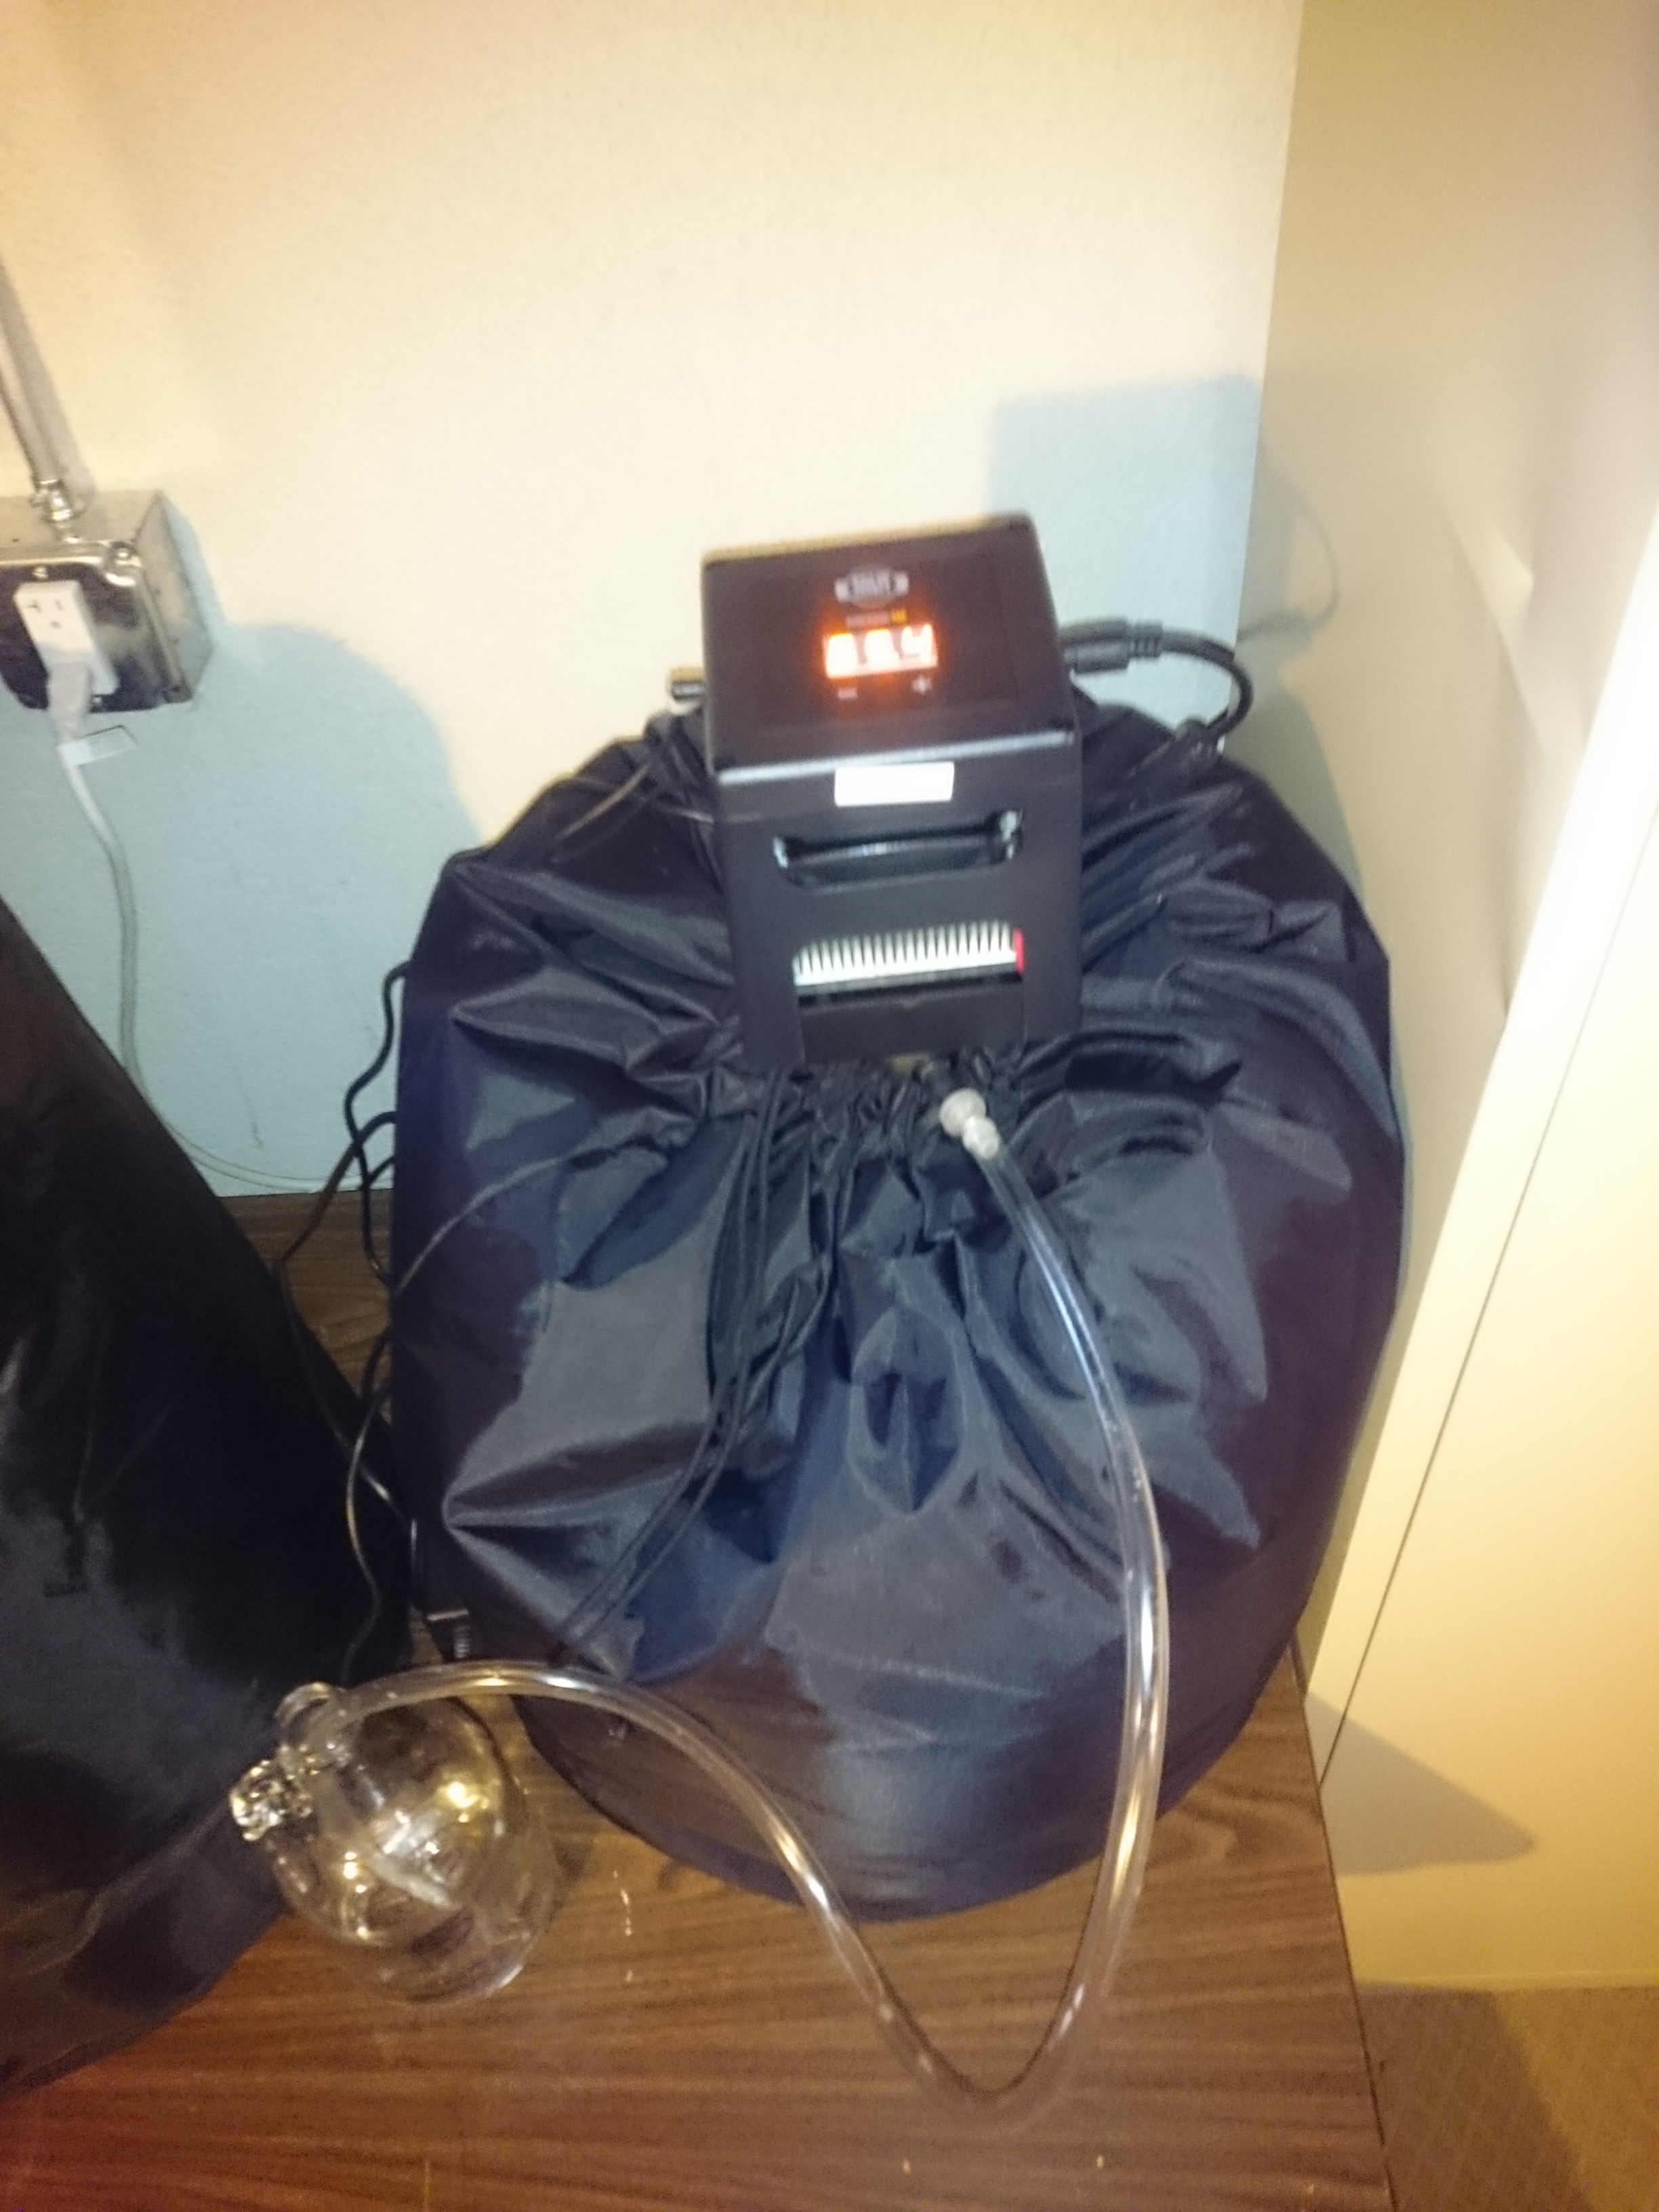 BrewJacket with Fermentor in Bag
The insulated bag your fermentor sits in reminds me of an overstuffed sleeping bag. The material of the bag is a durable black fabric that seems to stand up to wear and tear. There are different sizes/shapes to accommodate more fermentor designs, but they all serve the same purpose. The heat transfer capability of the thermoelectric machine isn’t necessarily that strong, so the thick insulation keeps the room temperature at bay and lets the immersion rod funnel heat into or out.
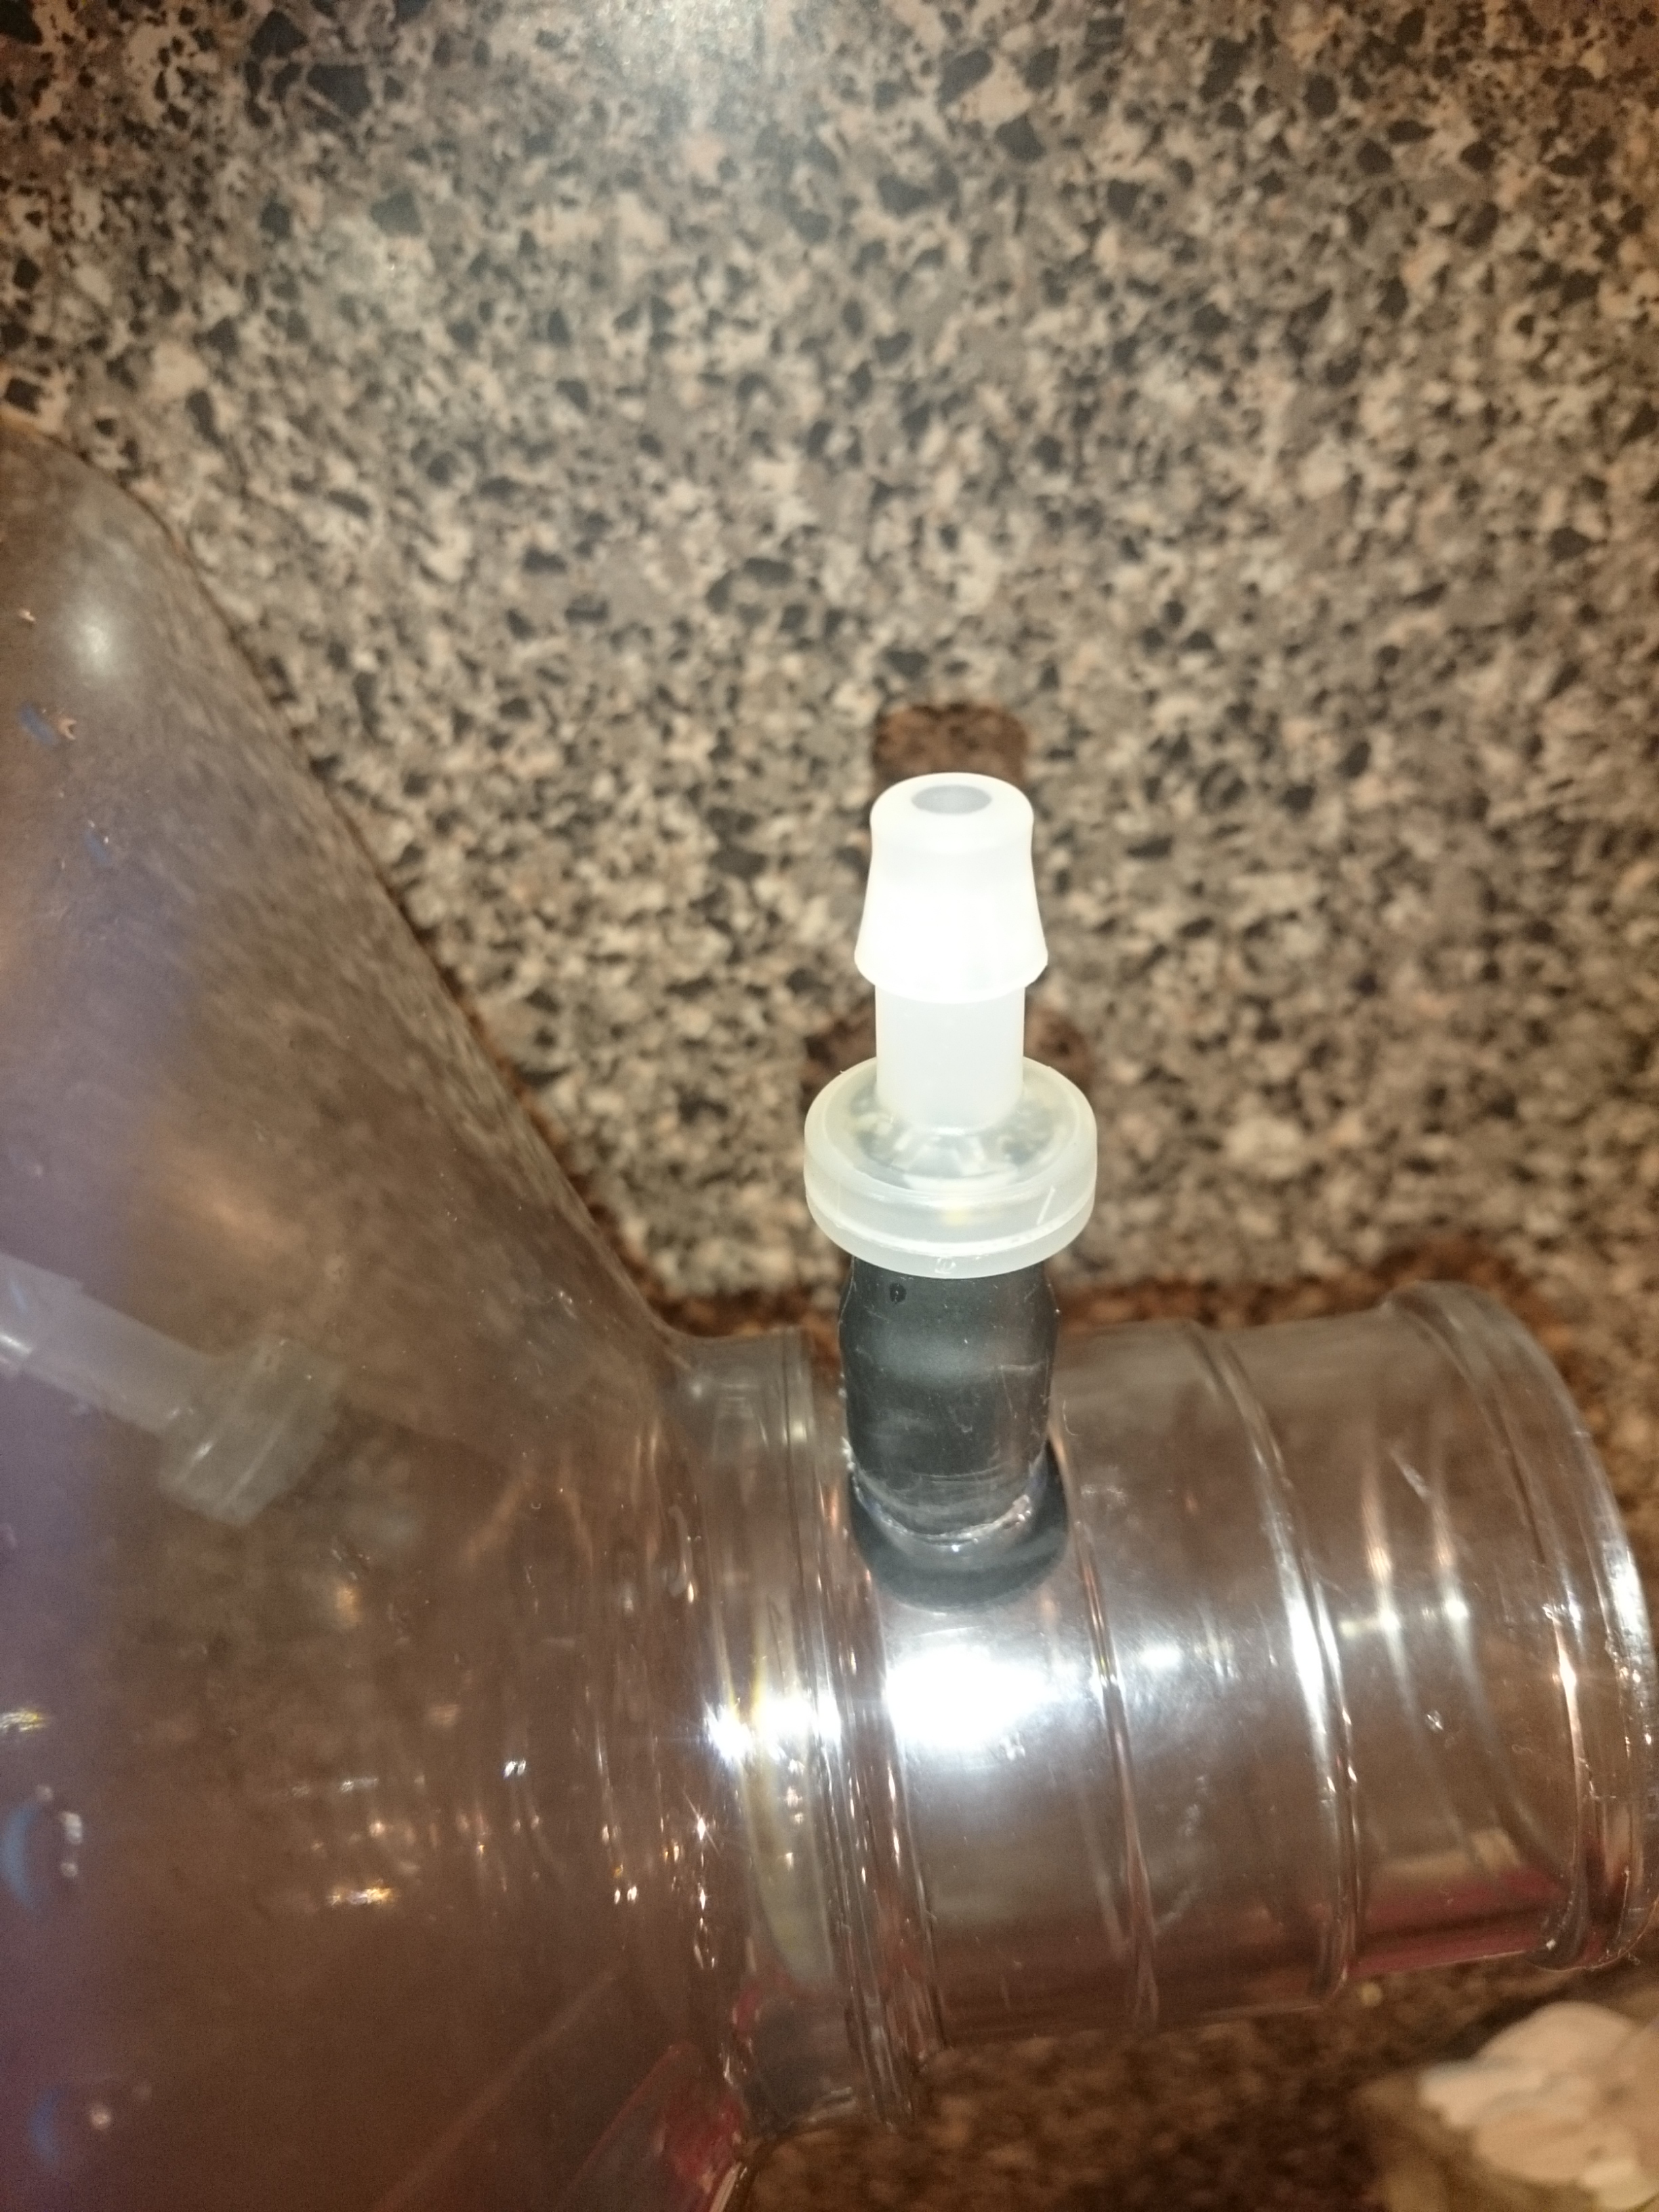 One Way Venting Valve
The basic setup comes with a nifty one-way pressure relief valve to allow CO2 pressure venting out of your fermentor without requiring a water-filled airlock. You can hook up the provided length of tubing and run it into a bottle of water to keep track of fermentation progress by counting bubble intervals. A nice feature of the one-way valve and immersion rod is taking your fermentor directly from conclusion of fermentation and into a cold crash. Just unscrew the control head and the metal rod stays in your beer to help conduct refrigerator temperatures down into the beer and help cold crash more quickly. And the fact you don’t have an airlock to worry about water (or vodka) getting sucked into your beer is great, too.
Related: Our 10 Most Recent Reviews | Great Deals – Our Last 50 Finds
Functional Performance
The slow and steady performance of the thermoelectric machine doesn’t win any races. So the time to drop the temperature from post-wort-chiller to lager yeast pitching temperature took me up to 24 hours, depending on batch size and starting temperature. This part can be frustratingly slow for impatient people. But once you reach that target temperature, the slow pace becomes an asset instead of a liability. With low heat flows, the responding beer temperature change is slow. So you don’t get big swings up or down or any big overshoots. I found temperature would vary between 0.5 degrees above the set point to 0.5 degrees below it. And that swing happens at a slow pace over several minutes.
The ‘set it and forget it’ aspect was definitely nice. For me personally, although I enjoy all of the interactive steps on brew day, when it comes to maintenance during fermentation, I grow bored fast. So being able to set the target temperature and then just not worry about it for a few days if I happen to be busy or travelling, is very convenient. The control simplicity is great of just selecting your target temperature and being done. You don’t have to study engineering graphs to understand hysteresis values, time delays, etc, it’s just simple.
Conclusions
If you don’t have a large dedicated space for your brewing, the fact that this system disassembles and packs away as easy as a sleeping bag can be a huge bonus. Unlike a fermentation fridge, it can easily be thrown into a closet, on a shelf in the garage, or stuffed under your bed. If you’ve read some of those same sage-like articles purporting the benefits of precise fermentation temperature control, and have saved up enough bucks to take that step, BrewJacket Immersion Pro is a great option.
Availability Update:
As of this update Brewjacket has been discontinued. It is no longer being manufactured.
See these resources for more fermentation temp control options…
- Inkbird Dual Stage Temp Controller – Hands on Review – Inkbird Deals
- RAPT Temperature Controlled Fermentation Chamber FE975
- Five Benefits of Using Corny Kegs As Fermenters
- Homebrew Temp Controller Roundup!
- Maintaining Fermentation Temps in Colder Weather
- KOMOS Kegerators– designed to work at draft and fermentation temps
- Chest Freezer Deals – Kegerator and Fermentation Temperature Control
- Homebrew Fermentors – Deals, Discounts and Coupons! + Reviews
Homebrew Reviews and More! Check out our extension homebrewing reviews library, our collection of resource posts and connect with us!
More Photos
 Immersion Rod + One Way Valve Make Good Combo for Cold Crashing
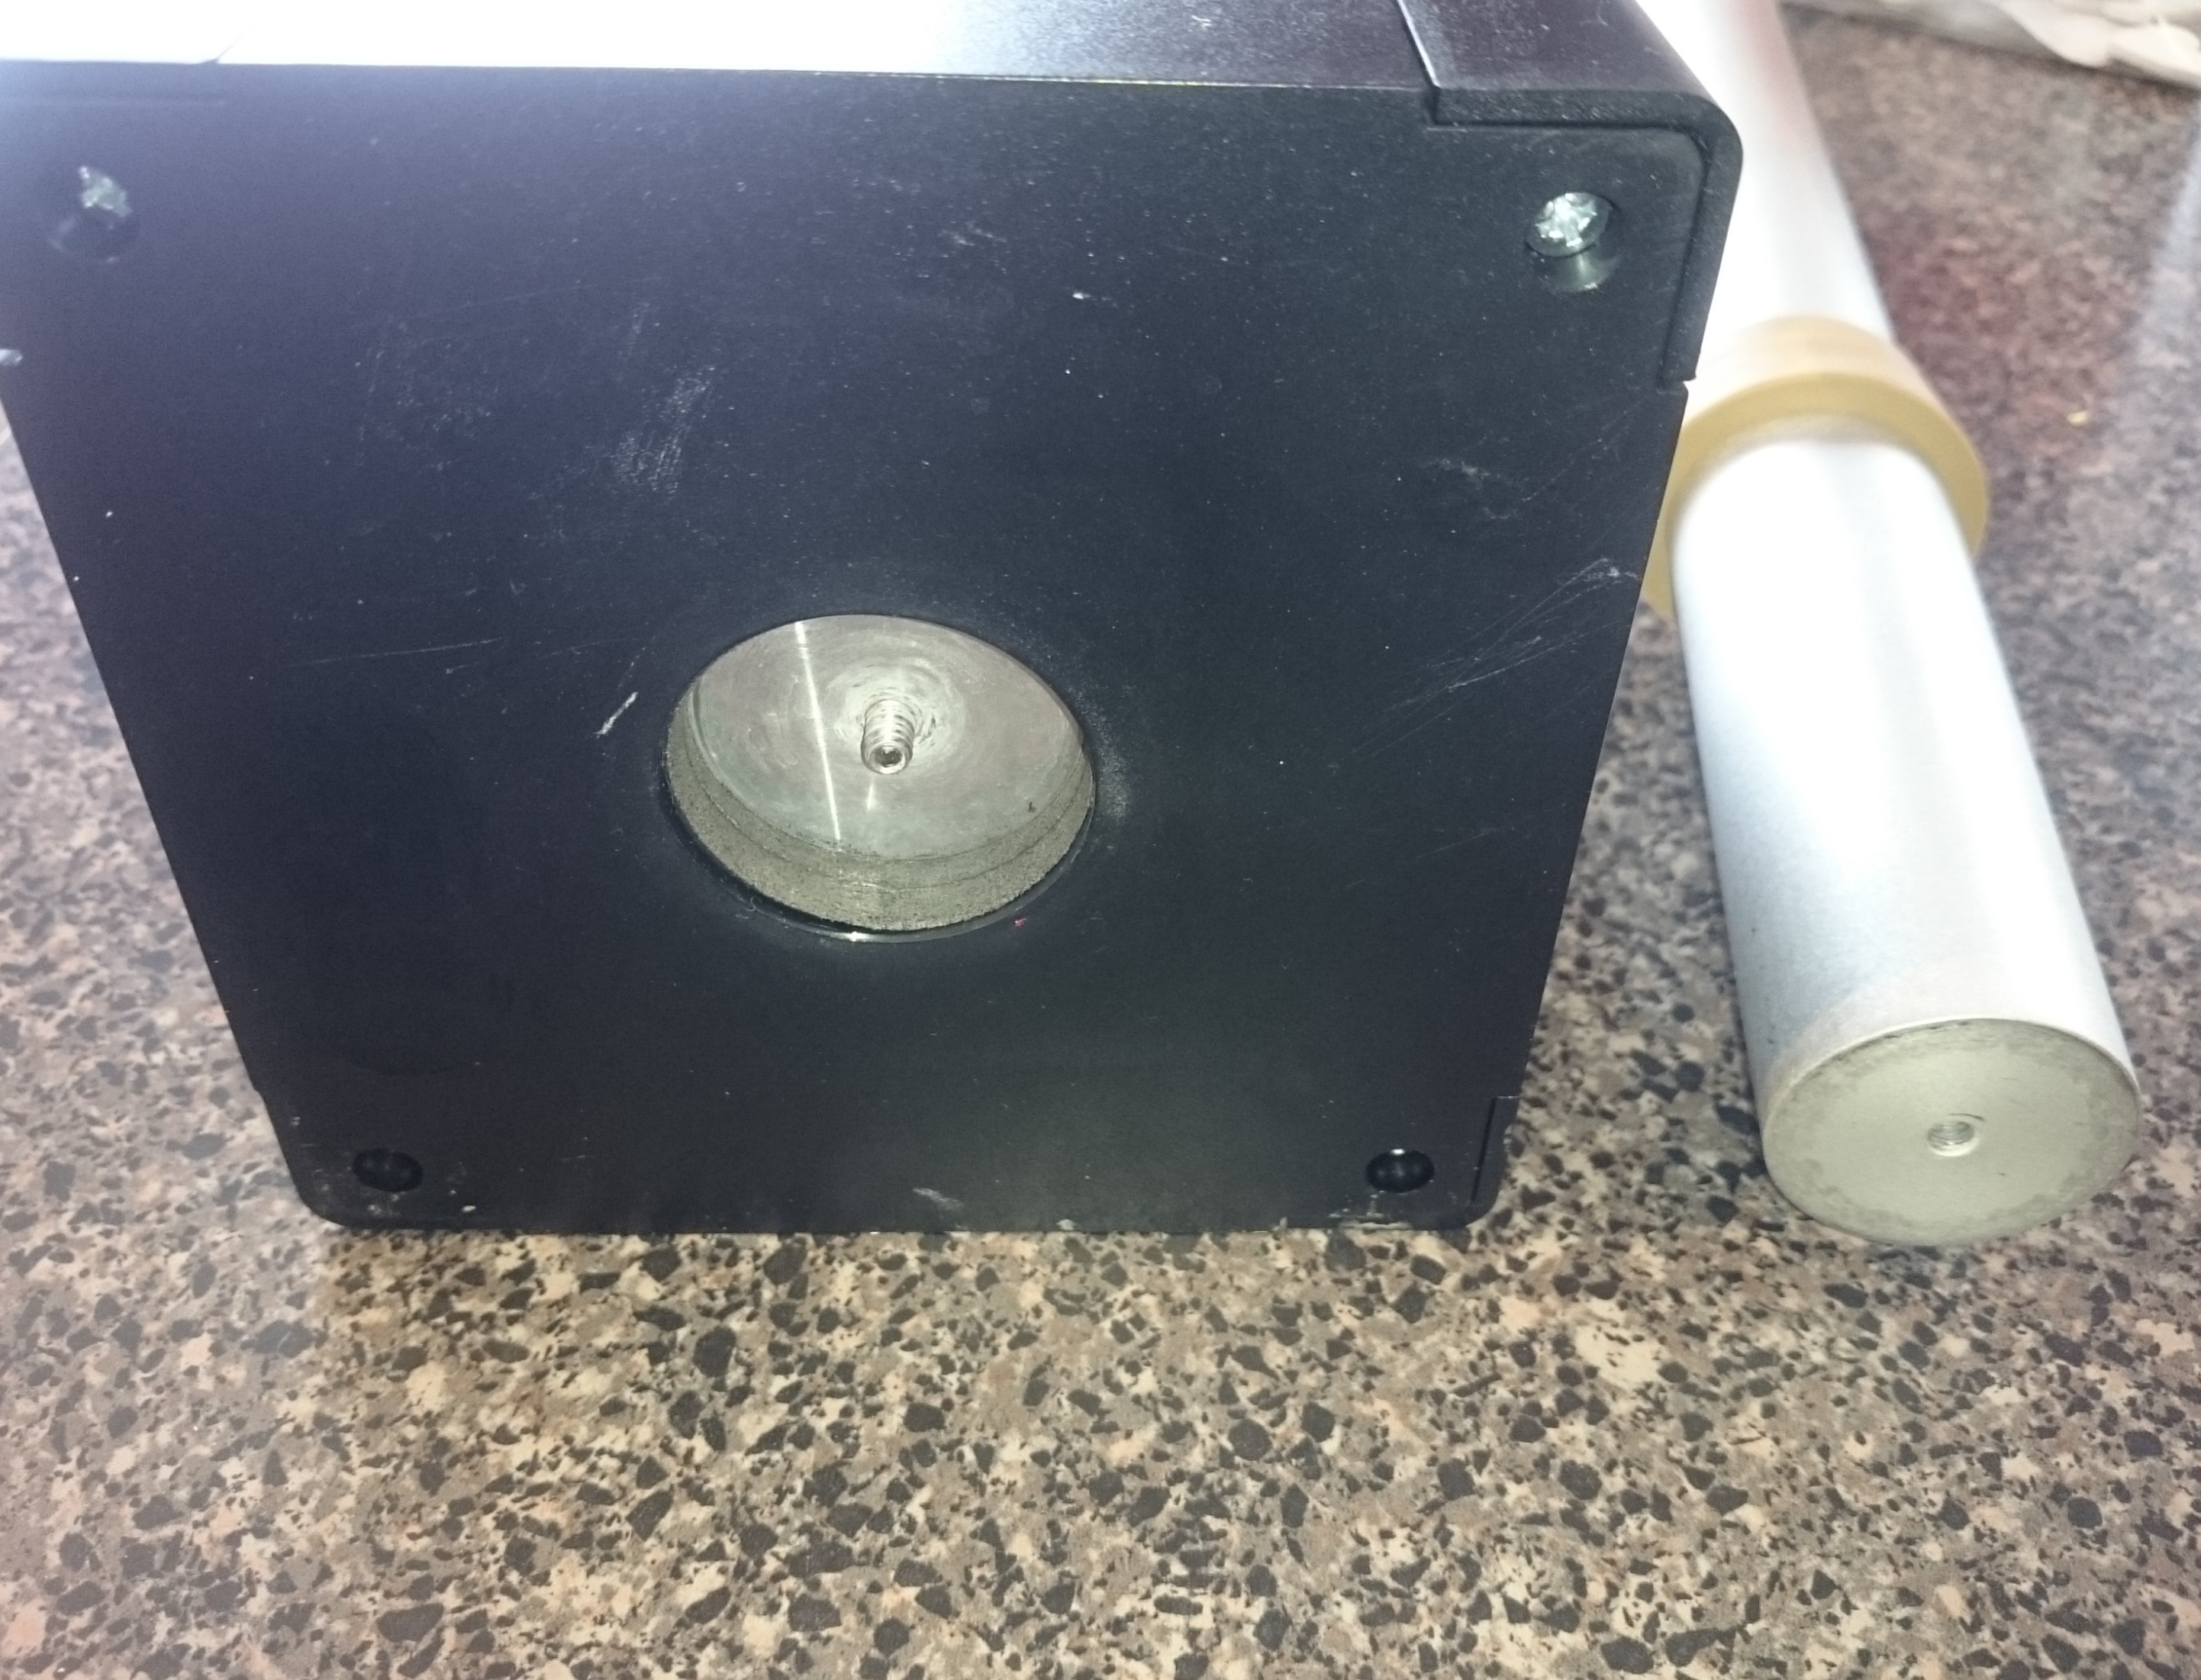 Immersion Rod and Screw in Control Head
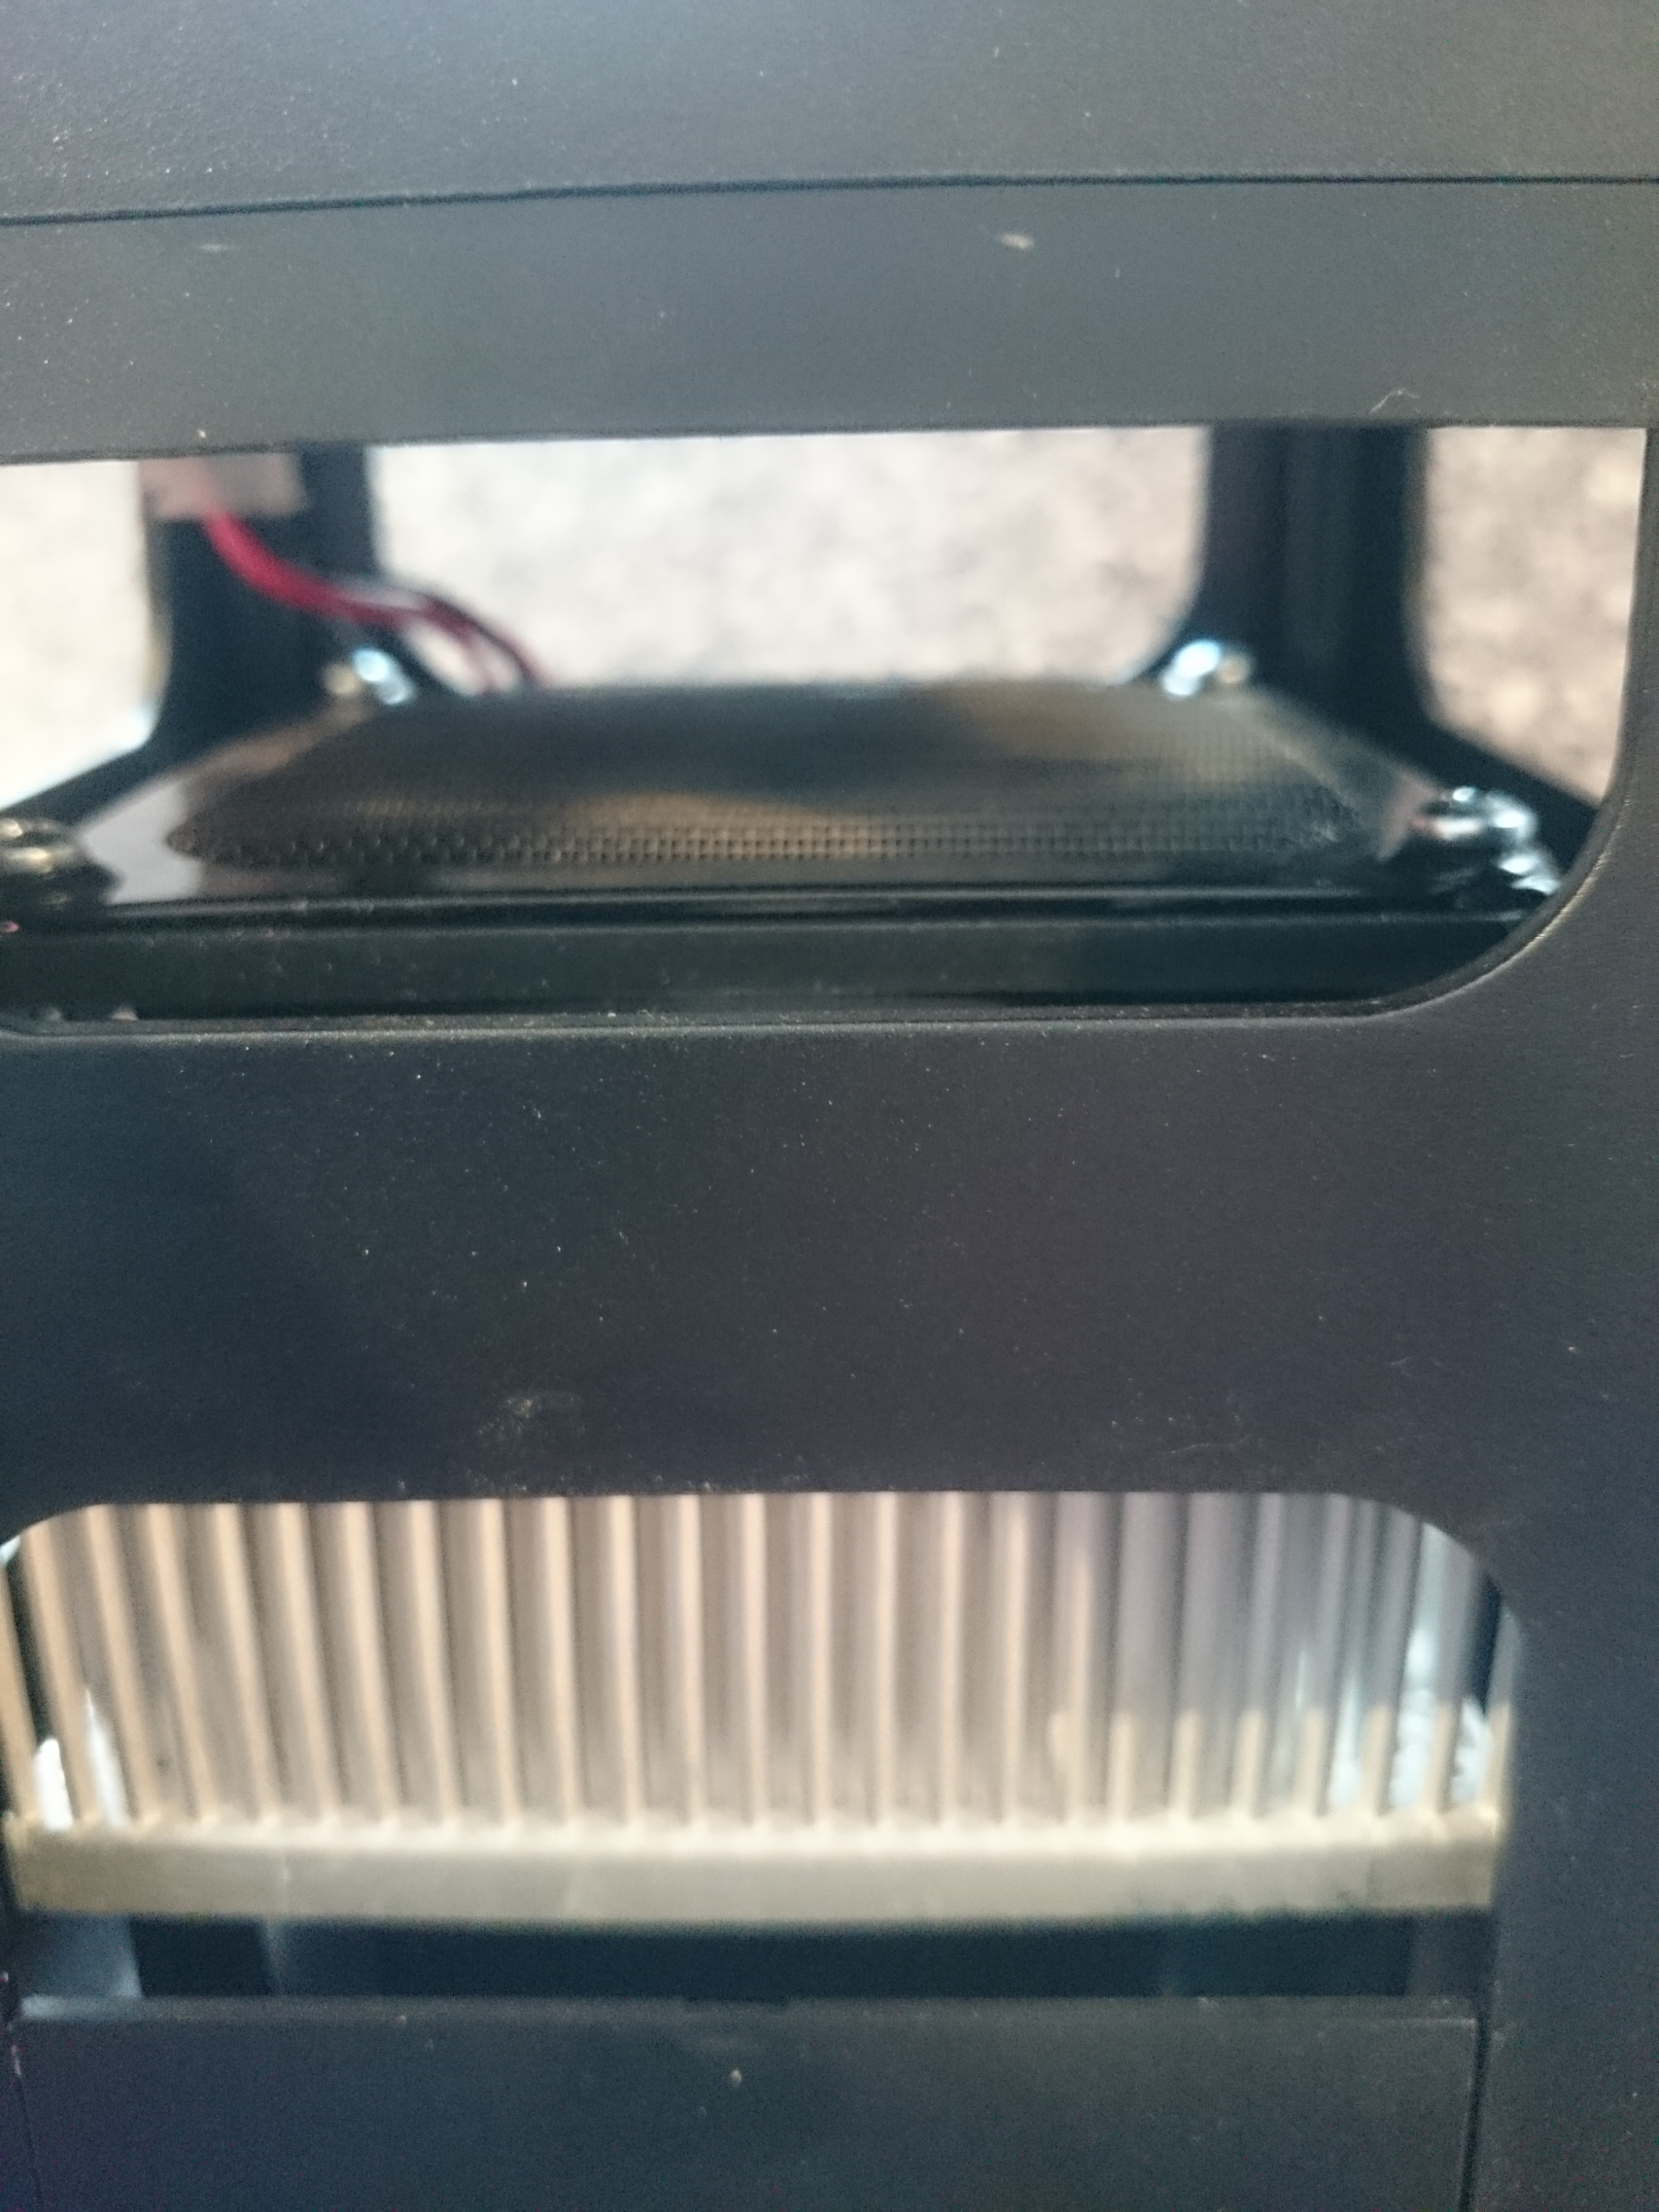 Thermoelectric Heat Exchanger
 From: Hands on Review: Plaato Digital Airlock – WiFi Fermentation Analyzer for Homebrewing
 Calibration Session The BrewJacket using a Thermapen Mk4 – Hands on Review
More Homebrew Finds!
- Last 50 Finds!
- Top Deals – a curated list of the best deals
- Homebrew Reviews – one of the largest libraries of homebrew reviews in existence!
- Our Top Posts – tips, how-tos, resources posts and more
- Let’s be Friends!
Recent Deals!

10 Most Recent Homebrew Resource Posts & How-To’s!

We are Homebrew Review HQ! Our 10 Most Recent Reviews

Let’s Be Friends!
Subscribe To Our Email! – 8 Ways to Connect with HBF
Quick Catch-Ups
- Our Last Fifty Finds
- Curated List of Keg Deals
- Curated List of Hop Deals
- Our 10 Most Recent Homebrew Resource Posts
- Top Deals – a curated list of the best of the best
- Our 10 Most Recent Reviews
Top Content
- Our Top Draft and Kegerator Resource Pages
- Our Top Posts – a huge library of how-tos, resources posts & more
- Our Massive Library of Reviews – view the entire list of use our Review by Categories to find just what you’re looking for
Special Thanks to BrewJacket for providing the unit used for evaluation in this review.
By Brad Probert. Check out Brad’s website – beersnobby.com
This post may contain affiliate links. We may make a commission when you use our links. This will never cost you extra. Thank you for supporting Homebrew Finds!

Price, promotions and availability can change quickly. Check the product page for current price, description and availability. review:brewjacketimmersionpro tag:tpr
such a bummer this was discontinued. By far the best upgrade to my homebrewing set up. They even repaired the head unit for me. Did always use the plastic sleeves due to the finish degrading
I’m looking for a couple of theimmersion anodized rods. Does anyone have any?
Hey Jim, I recommend reaching out to the manufacturer. They now go by BEERMKR
This brewjacket system is really set up to stabilize temperatures once the carboy fermenter is already near the fermentation temperature wanted. It is not great at changing temps over a large range like say 65 to 50 deg etc. However once you get the carboy to within say 3-4 deg of initial fermentation temp wanted it will do the job of getting to that temp within about 8-12hrs and keep it stabilized. Have used it successfully for brewing mostly lagers for about 10 yrs. It will do ales even easier as those fermentation temps are easier to arrive at initially. However the main drawback I have with this system is that it is not easy to take samples of the beer during fermentation for gravity readings. You have to remove the head unit and attached rod into a sanitized bucket and then suck a bit up into a sanitized wine thief or similar. Then reattach/insert the head and rod unit back into the carboy. No way to have a carboy with a siphon/spigot near the bottom as the current jacket does not allow for that. By experience I just go by the blow off activity rate and normal fermentation schedule. It is also not easy to get the full carboy initially in or out of the jacket if using glass/plastic carboys or pales. It may have been better to have designed the insulated jacket with a vertical zipper or velcro of some sort to make it easier to install the carboy or have an option for the zipper/velcro end to accommodate a bottom siphon spigot etc. With all of this in mind I still use the brewjacket even with these issues as it is efficient once near fermentation temps and easy to move around into different spaces vs a chest freezer of wind cooler etc.
I have used this 3 times so far and it does do as advertised for ales but I have yet to get it down to lagering temperatures in a house with an ambient temperature of 75 degrees Fahrenheit. It does very well for ales which is what I pretty much make all of the time anyhow. The rod does corrode in too acidic of a wort or wash. They do sell sleeves that the rod can go in to protect the beer as it ferments and they work well. The sleeves are 10 dollars for a pack of 10 and since I only brew about 7 times a year, this works out to less than 10 dollars a year to keep my immersion rod shiny and new and not worry about the beer being affected. It is a bit pricey for the brewjacket package but if you have limited space, its a no-brainer.
I’ve been an original adopter of the brewjacket kick starter program. I’ve used the brewjacket on and off for a few years now. I don’t have any recent experience with the dual stage but I would just assume that it works all the same. (meaning it works!).
The ‘biggest’ concern is dealing with the rod. The PH of the beer will degrade the finish. I was quit concerned about this and expressed my concerns to brewjacket. Since then, they’ve come out with a newer version of the rod but it has similar issues. Be sure to follow the recommended practice for sanitizing.
Slow and steady for sure but solid. Good investment for those in a small space.
I’d only recommend one if you’re short on space. If space isn’t an issue I wouldn’t purchase one.