
Homebrew Tubing Tips… Cleaning, Drying, Re-Shaping, Storing & More
Part of Our Homebrew Tips and Tricks Series. Check out the complete list – Homebrewing Tips, Tricks & Shortcuts! This is a Top Post! See: All Top Posts
Tubing! Homebrewers use a variety of sizes and styles of tubing for siphoning, beer transfer, wort and water transfer on brew day, keg to keg transfers, kegerator beer and gas lines and more.
Cleaning: After using (depending on what I’ve used the tubing for), I’ll give the tubing a rinse to get the majority of stuff off and to keep my cleaning solution as clean as possible. Next is a soak in hot PBW solution. I’d say 5 to 10 minutes is typical for me. Followed by a thorough rinse.
Reducing Water Spots: If you have a problem with water spots on your tubing, make your last step a rinse in a diluted mixture of Star San. Not only will you get some sanitizing benefits, the Star San acts as a surfactant that helps fight water spots.
Drying: I let wet tubing dry by hanging it with ends facing down until water has dripped off. After it’s mostly dry (generally speaking, overnight), I will coil the tubing up and hang it with the ends facing up. Facing the ends of the tubing upwards give moisture a place to escape as the tubing finishes completely drying. Note: this is for any residual moisture that may be in the tubing, not large drops. You can skip this step if you leave it drying U-shaped for long enough. After the tubing is completely dry, I rotate it so that the ends are face down to minimize dust in the tubing.
Storage: I store my most commonly used piece of tubing on my Bulldog Hardware Peg-A-System Pegboard – note these aren’t always in stock, search Amazon for “plastic pegboard” to look for other options. One of the reasons I chose that pegboard is because it’s plastic and can handle a little moisture without issue. That means I can do my drying on the pegboard. For lesser used tubing and bulk rolls I’ll coil up each individual piece of tubing and use a reusable/adjustable cable tie – similar to these – to keep each coil together to keep things from tangling together. I keep those in a large tote, but a 5 gallon bucket would also work pretty well. Tip: Make sure your tubing is completely dry before stowing. Residual dampness in an enclosed space will harbor bacteria. Depending on your circumstances, you may want to keep the lid off of your tote or bucket. I also keep a smaller tote with odds and ends tubing (6″ or under) to keep on hand for projects and miscellaneous uses.
Material Selection: Look for tubing made from food safe materials that is rated for the temperature and pressure for your application.
Re-Shaping: If you have a length of tubing that is difficult to roll up correctly or otherwise sits incorrectly, try soaking it it warm or hot water (be very careful!) and then bend the tubing how you want it and let it cool. Don’t exceed the maximum temp rating for your tubing
- Search Amazon for “food safe tubing”
- Search Amazon for “PBW Cleaner”
- Search Amazon for “Star San”
- Search Amazon for “reusable cable ties”
- Search Amazon for “plastic pegboard”
- Gardner Bender Reusable & Adjustable Cable Ties – note that multiple variations of this product may be available
- VELCRO Brand One Wrap Thi
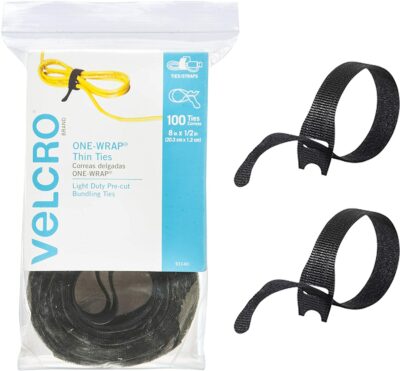 n Ties, Black, 8 x 1/2-Inch, 100 Count – Thanks to HBF Reader John for this tip. He uses these for keeping tubing rolls neat.
 - The Bulldog Hardware 131588 Peg-A-System Ultimate Kit
- Top Post: Oetiker Stepless Clamps for Kegerator Gas and Beer Lines
- Related Categories: Cleaning, Sanitation, Tubing
Considering Upgrading to EVABarrier Tubing

More Homebrew Finds!
- Last 50 Finds!
- Top Deals – a curated list of the best deals
- Homebrew Reviews – one of the largest libraries of homebrew reviews in existence!
- Our Top Posts – tips, how-tos, resources posts and more
- Let’s be Friends!
Recent Deals!

10 Most Recent Homebrew Resource Posts & How-To’s!

We are Homebrew Review HQ! Our 10 Most Recent Reviews

This post may contain affiliate links. We may make a commission when you use our links. This will never cost you extra. Thank you for supporting Homebrew Finds!


Make sure the components you use are compatible and rated for your intended application. Contact manufacturer with questions about suitability or a specific application. Always read and follow manufacturer directions. toppost:tubingtips tag:tpr rp:tips#21
I use these to wrap my tubing (and tons of other stuff).
https://www.amazon.com/VELCRO-Brand-Black-2-Inch-91140/dp/B001E1Y5O6
They’re cheap and are also available at most big box hardware stores.