
Hands On Review: MoreBeer’s Expandable CO2 Manifold System
MoreBeer’s gas CO2 manifold system comes in a variety of sizes including 2, 3, 4 and 6 way variants. An add-on is also available that allows you to add more runs to the manifold as you have need.
I have long extolled the virtues of this system. This is one of a few things in homebrewing that can actually grow with you. Example – I could not add 4 gallons to my 6 gallon extract kettle. I had to replace it. This system actually grows with you. Here is a hands on look.
Splitting CO2 lines. The main purpose of a manifold is to split CO2 lines so that you can use a single tank and regulator for multiple kegs. The cheap way to to do that is to use some sort of a tee fitting [Examples – 1/4″ flare | 5/16″ Barb]. The upside of that method is cost. The downsides are… Your kegerator is less organized, you have no individual control to turn lines on and off and there are no check valves to prevent backflow between lines. Although these are gas lines, differences in pressure can cause back-feeding beer. A tee does nothing to stop that. MoreBeer’s manifold system fixes those issues while still allowing you to split CO2 lines for serving multiple kegs.
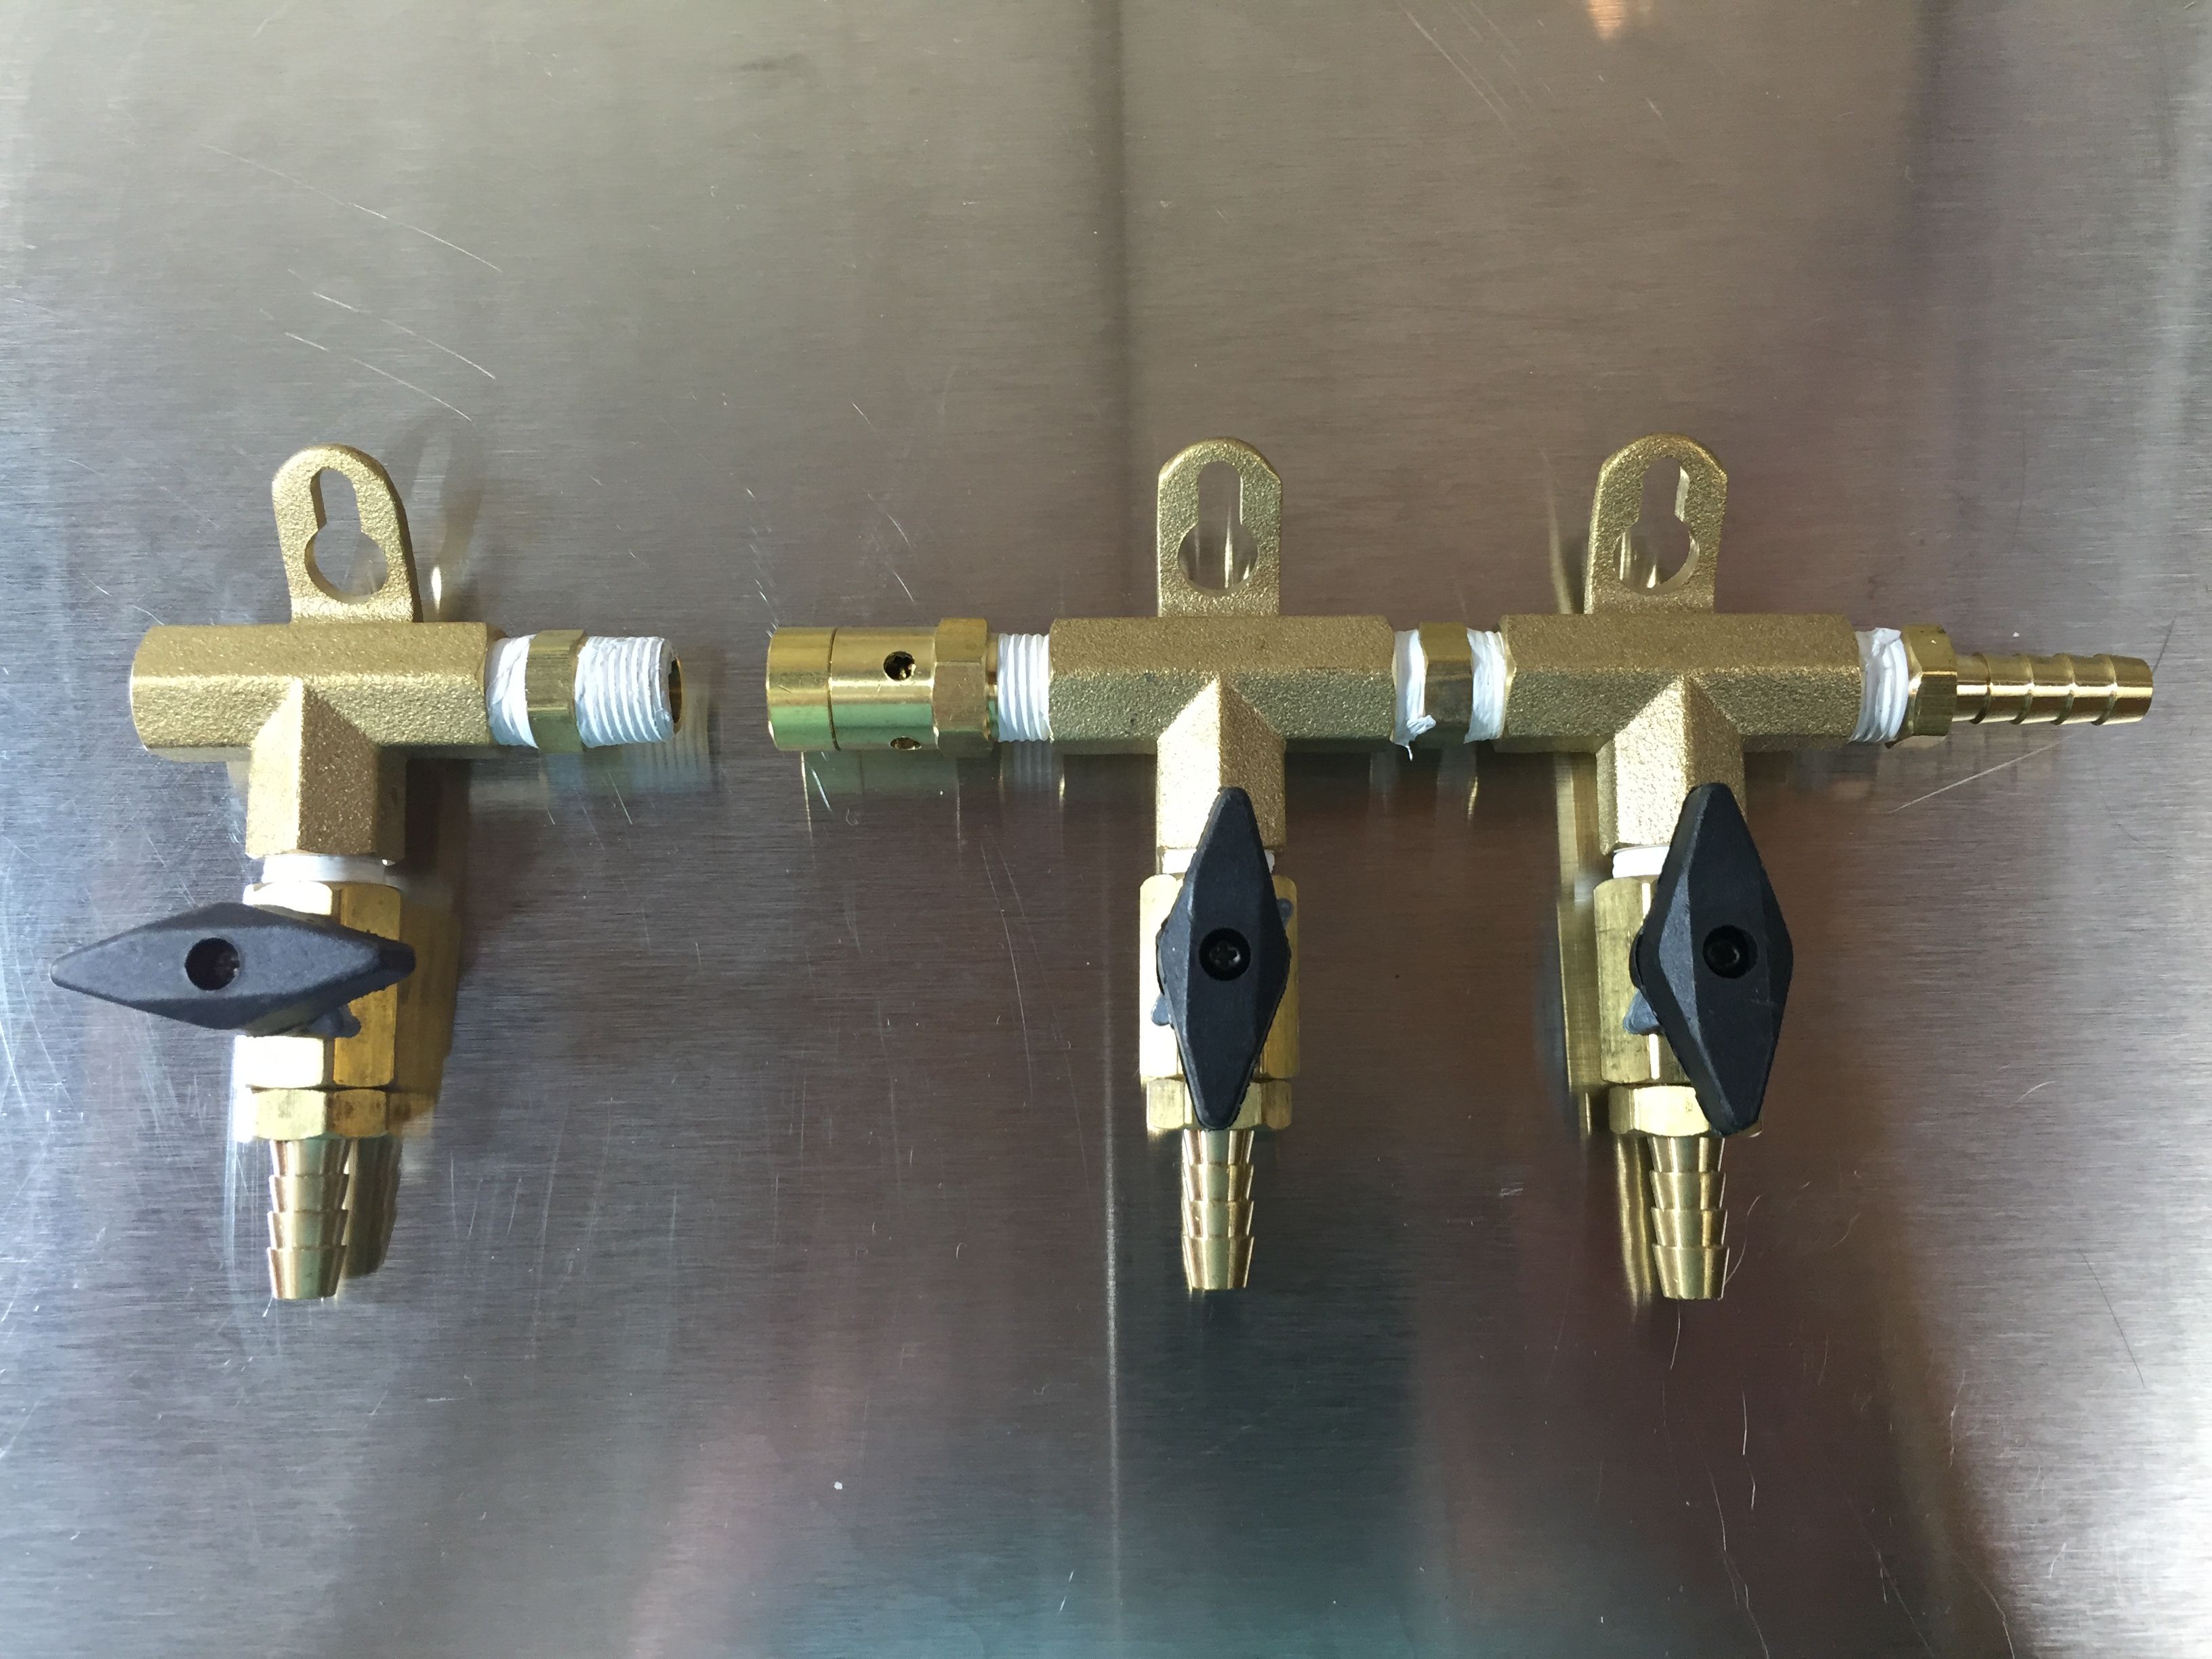
 This is the 2 way manifold. PRV is on the left. The two bodies including barbs and ball valves are in the center and the 5/16″ barb is on the right. More about that barb later.
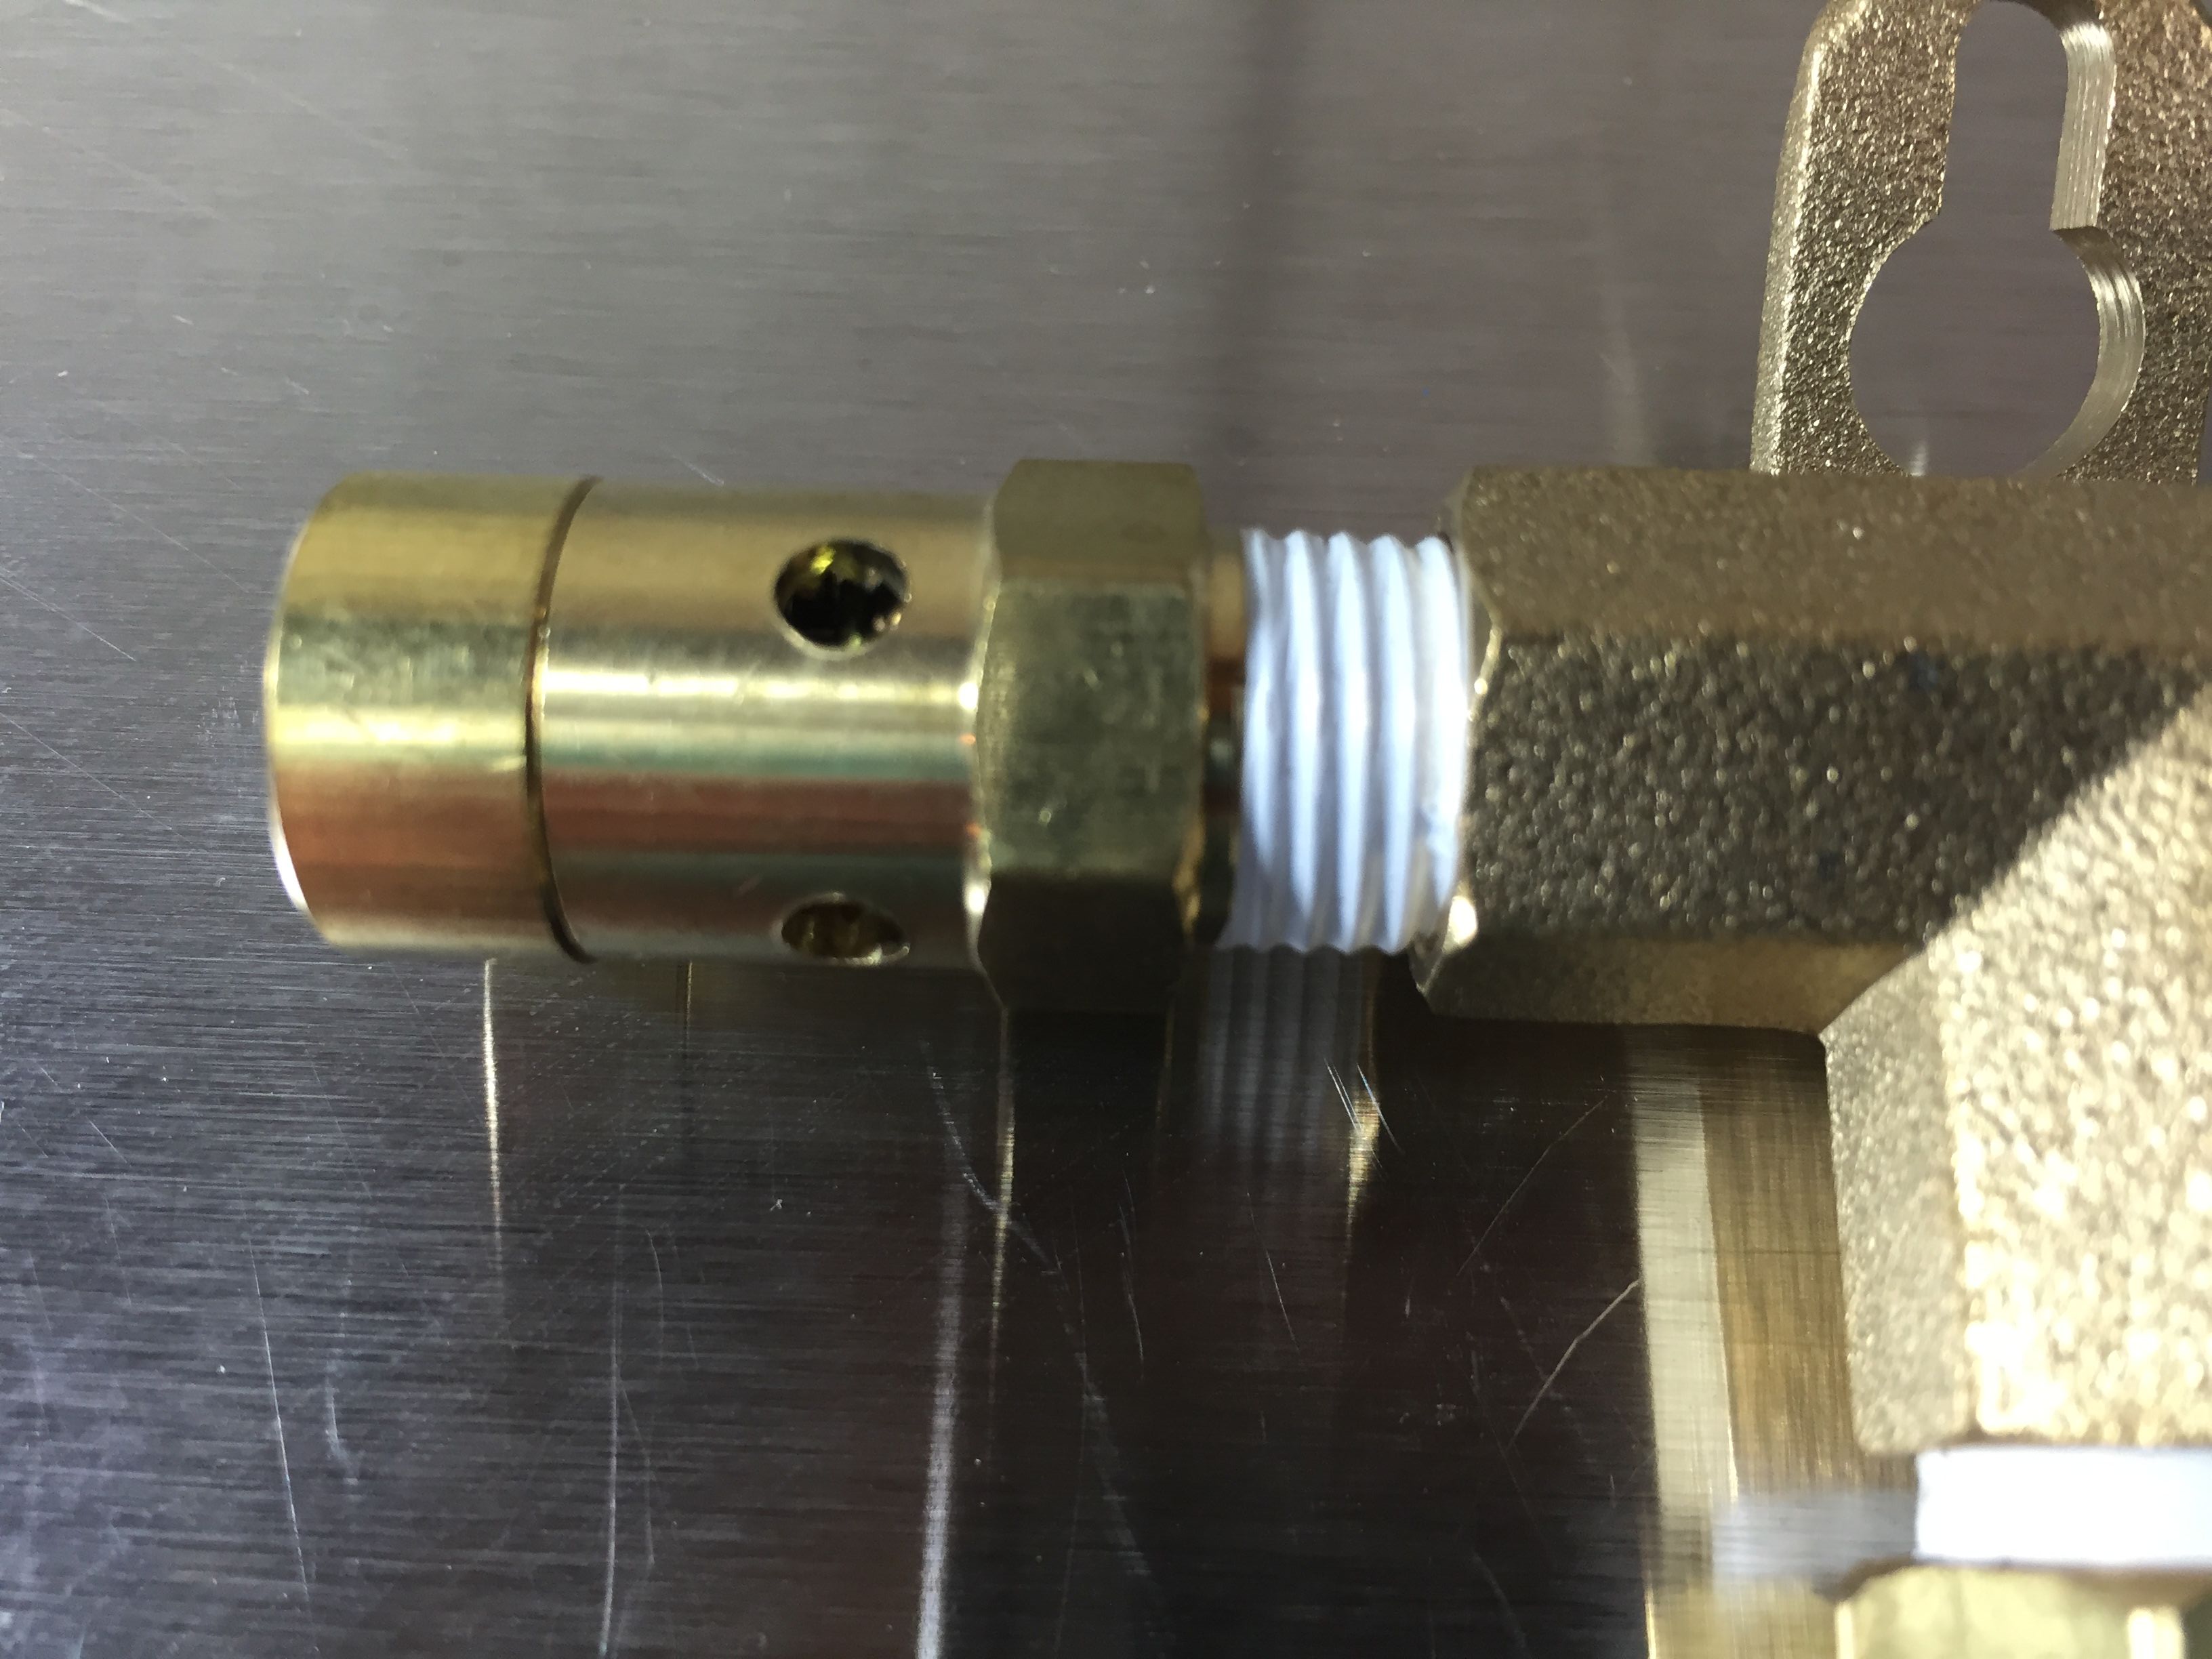 A look at the PRV (pressure relief valve)
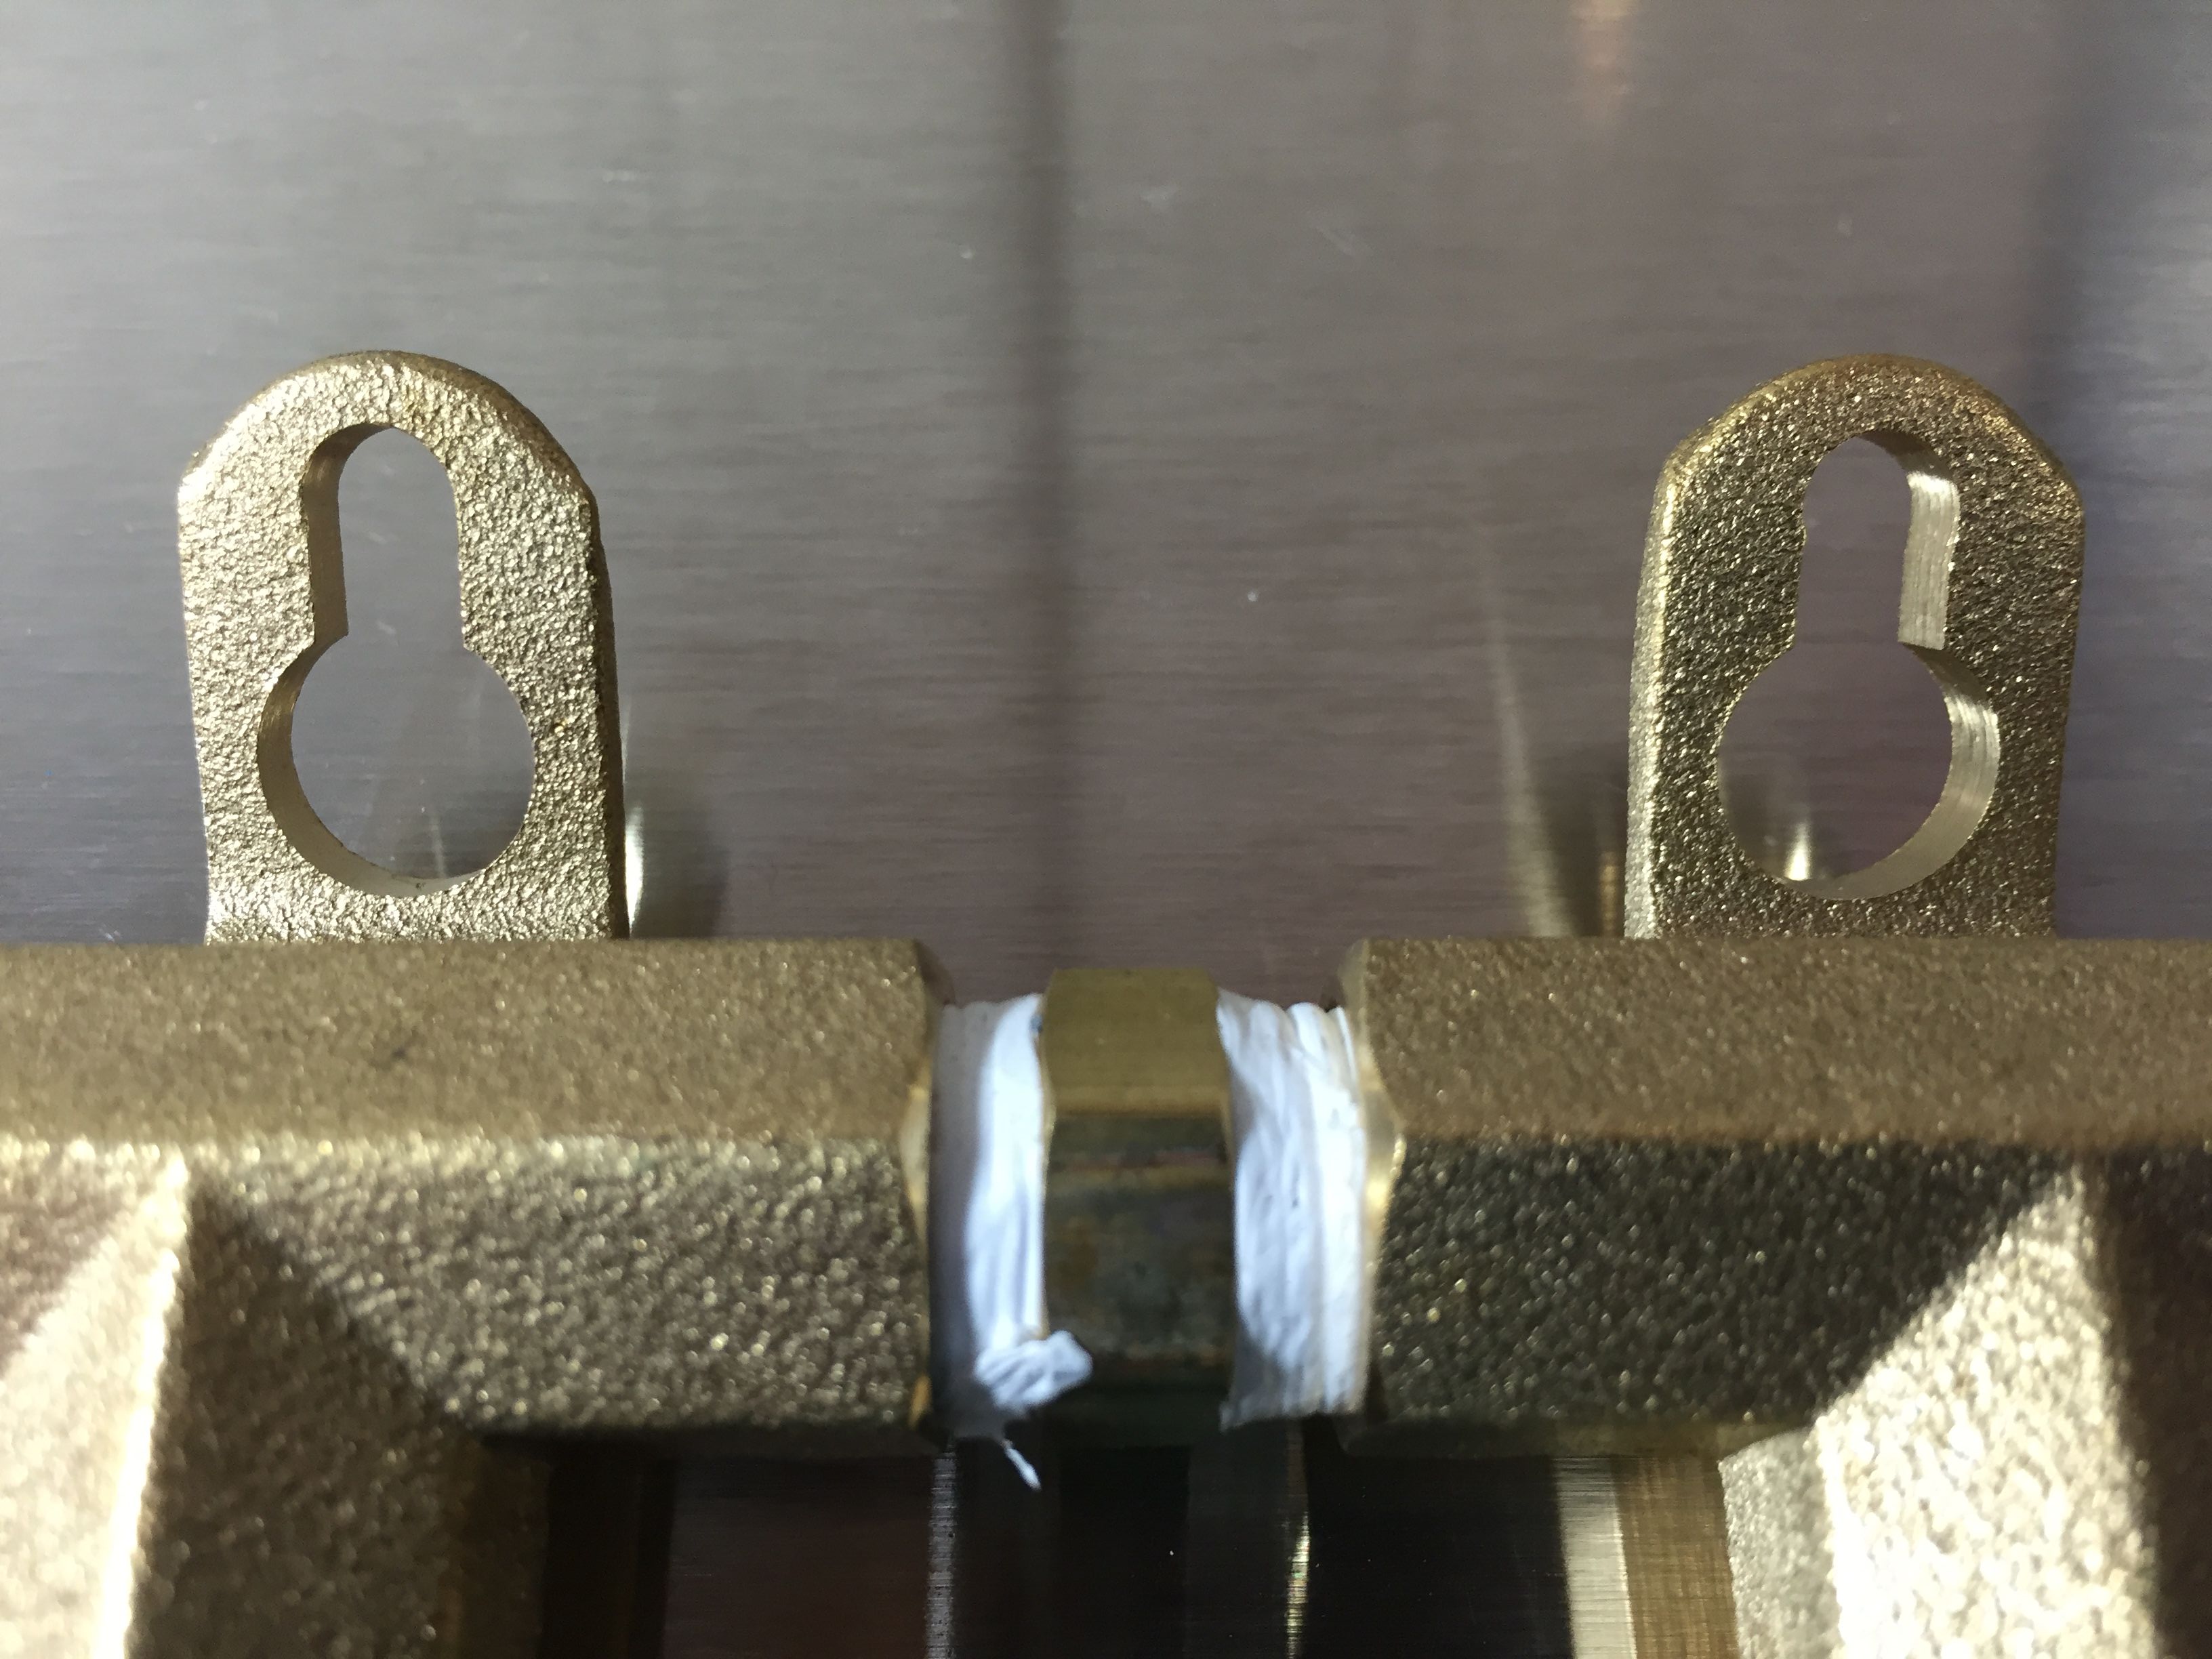 Each body contains a hole for securely mounting the manifold
 To give you an idea of size here it is on the obsessive chef cutting board. You can click to zoom in on this picture.
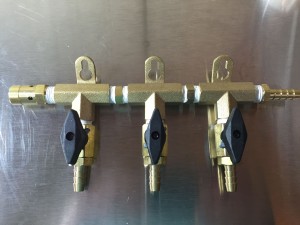
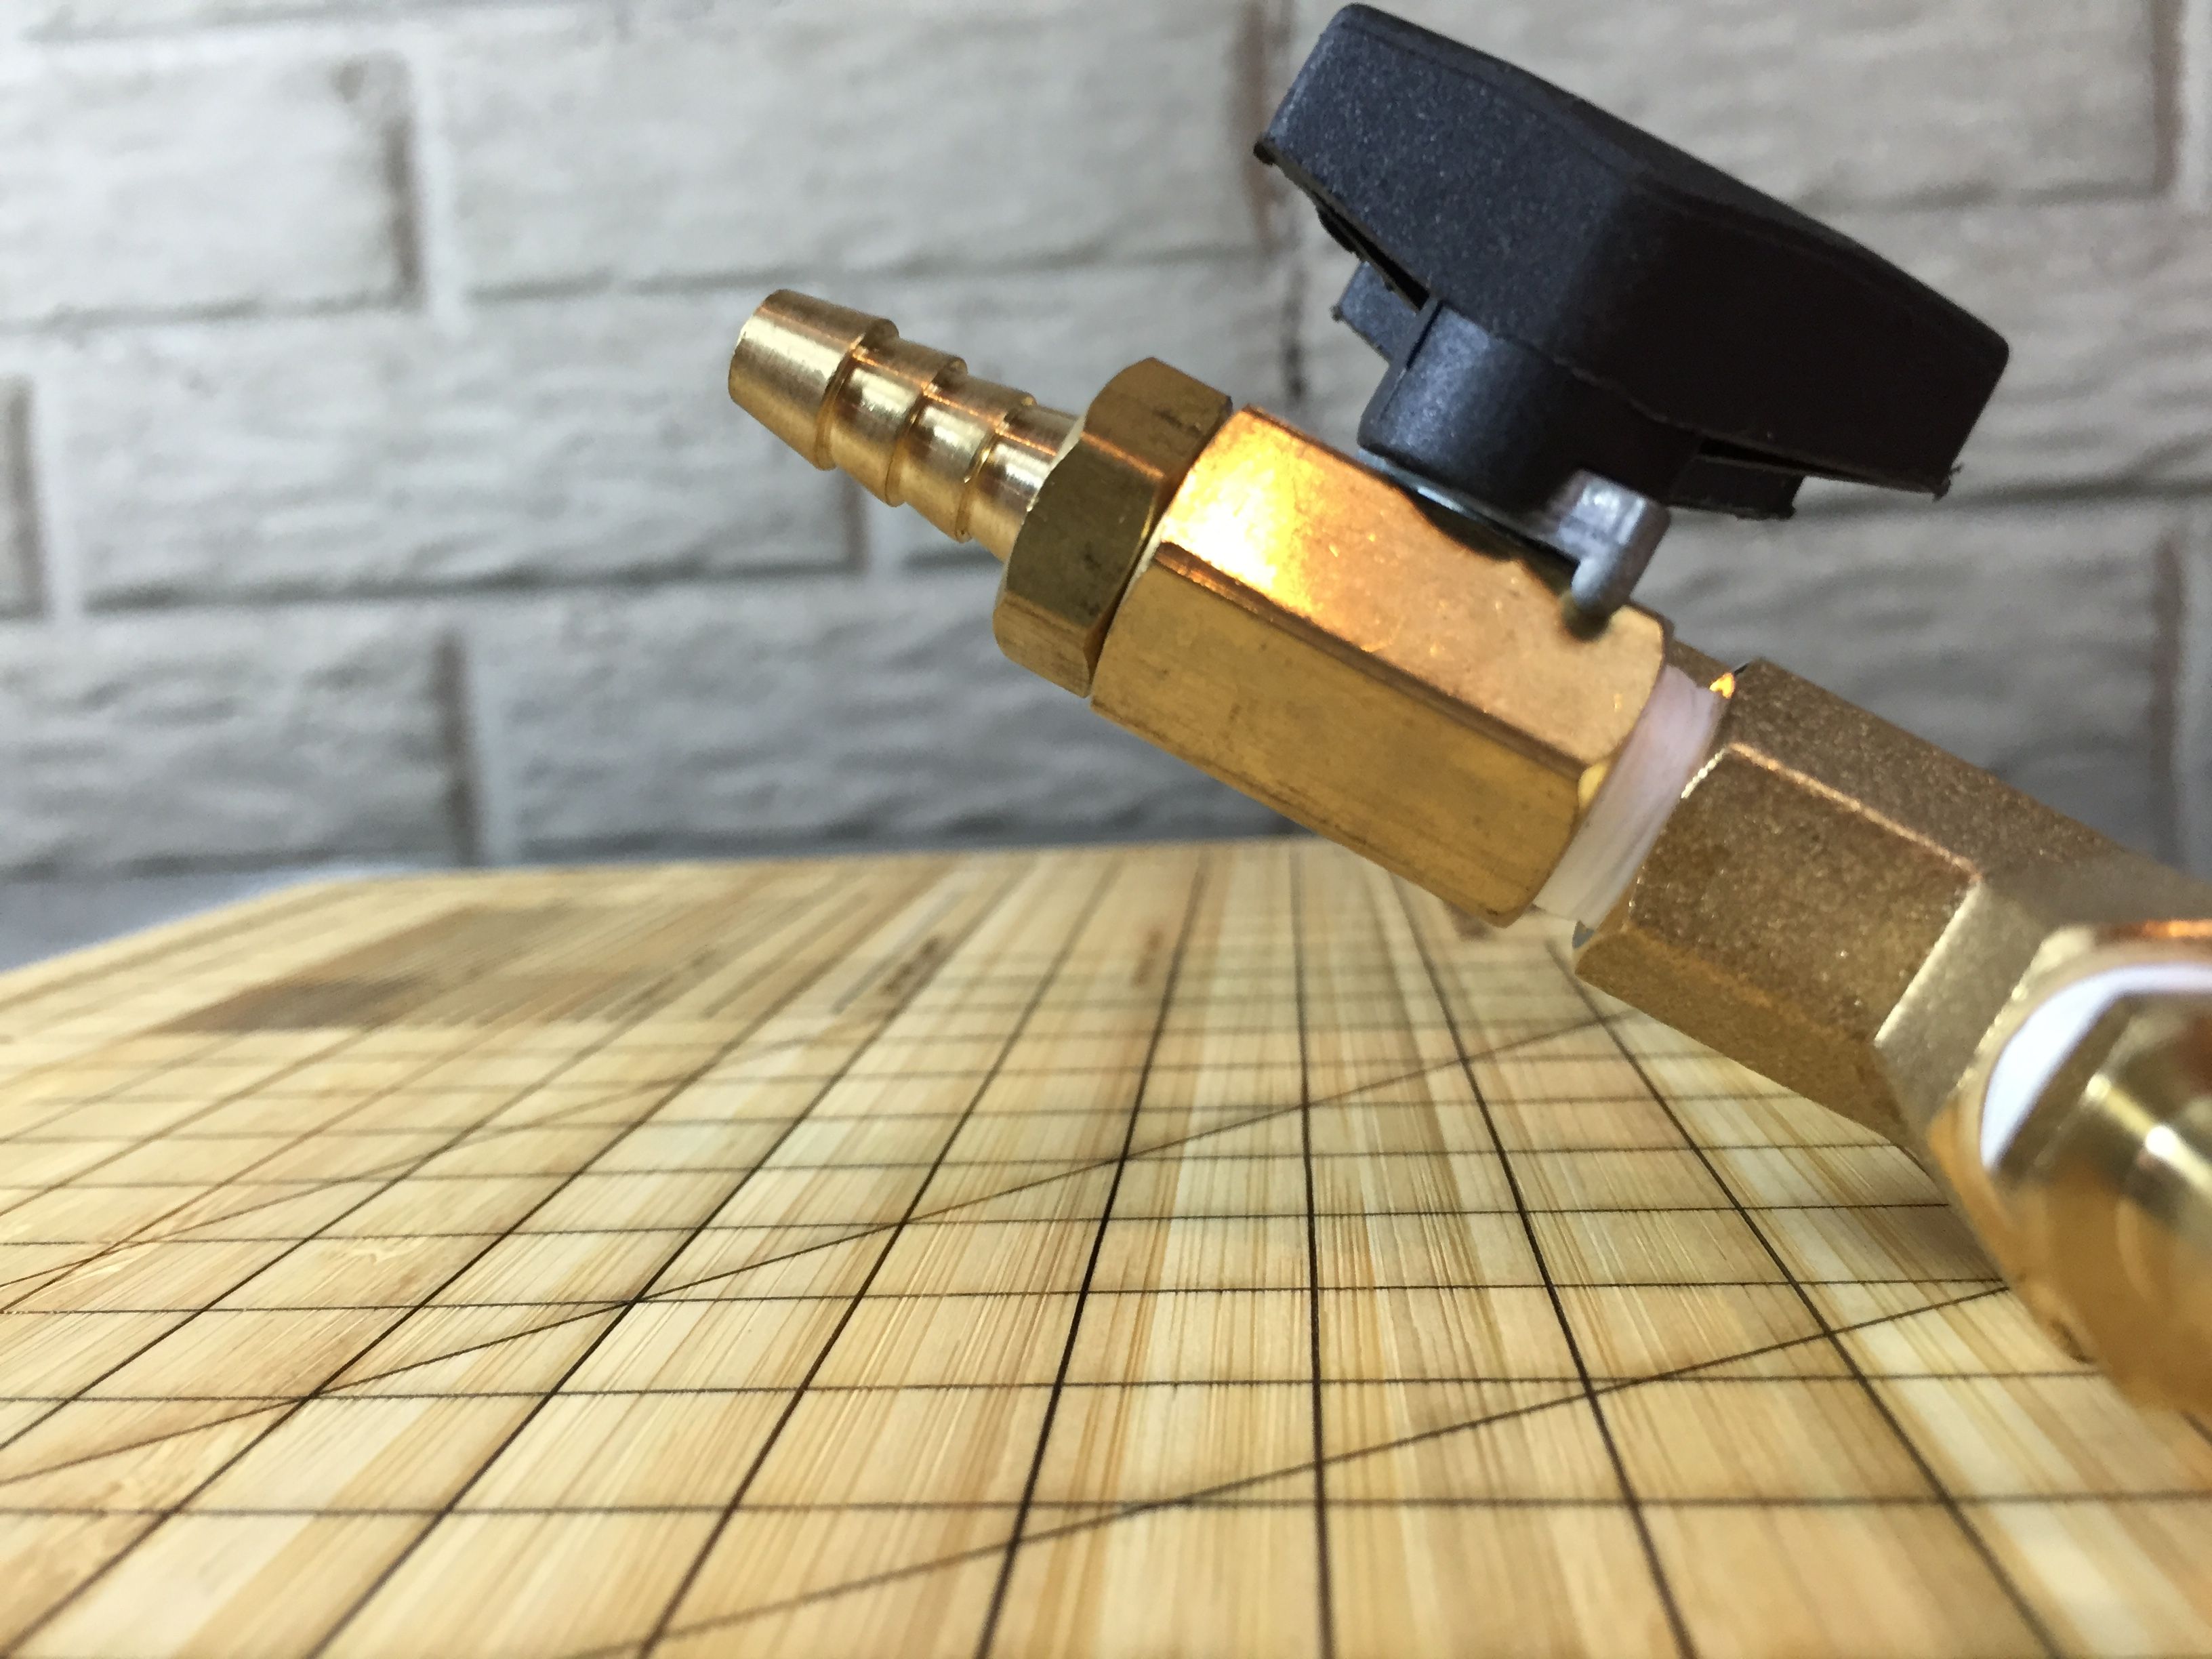 The mounting holes on this are at an angle. That means these will be angled away from the side of your kegerator (or wherever you choose to mount the manifold system) for easy access. The is approximately the angle at which a mounted manifold will sit.
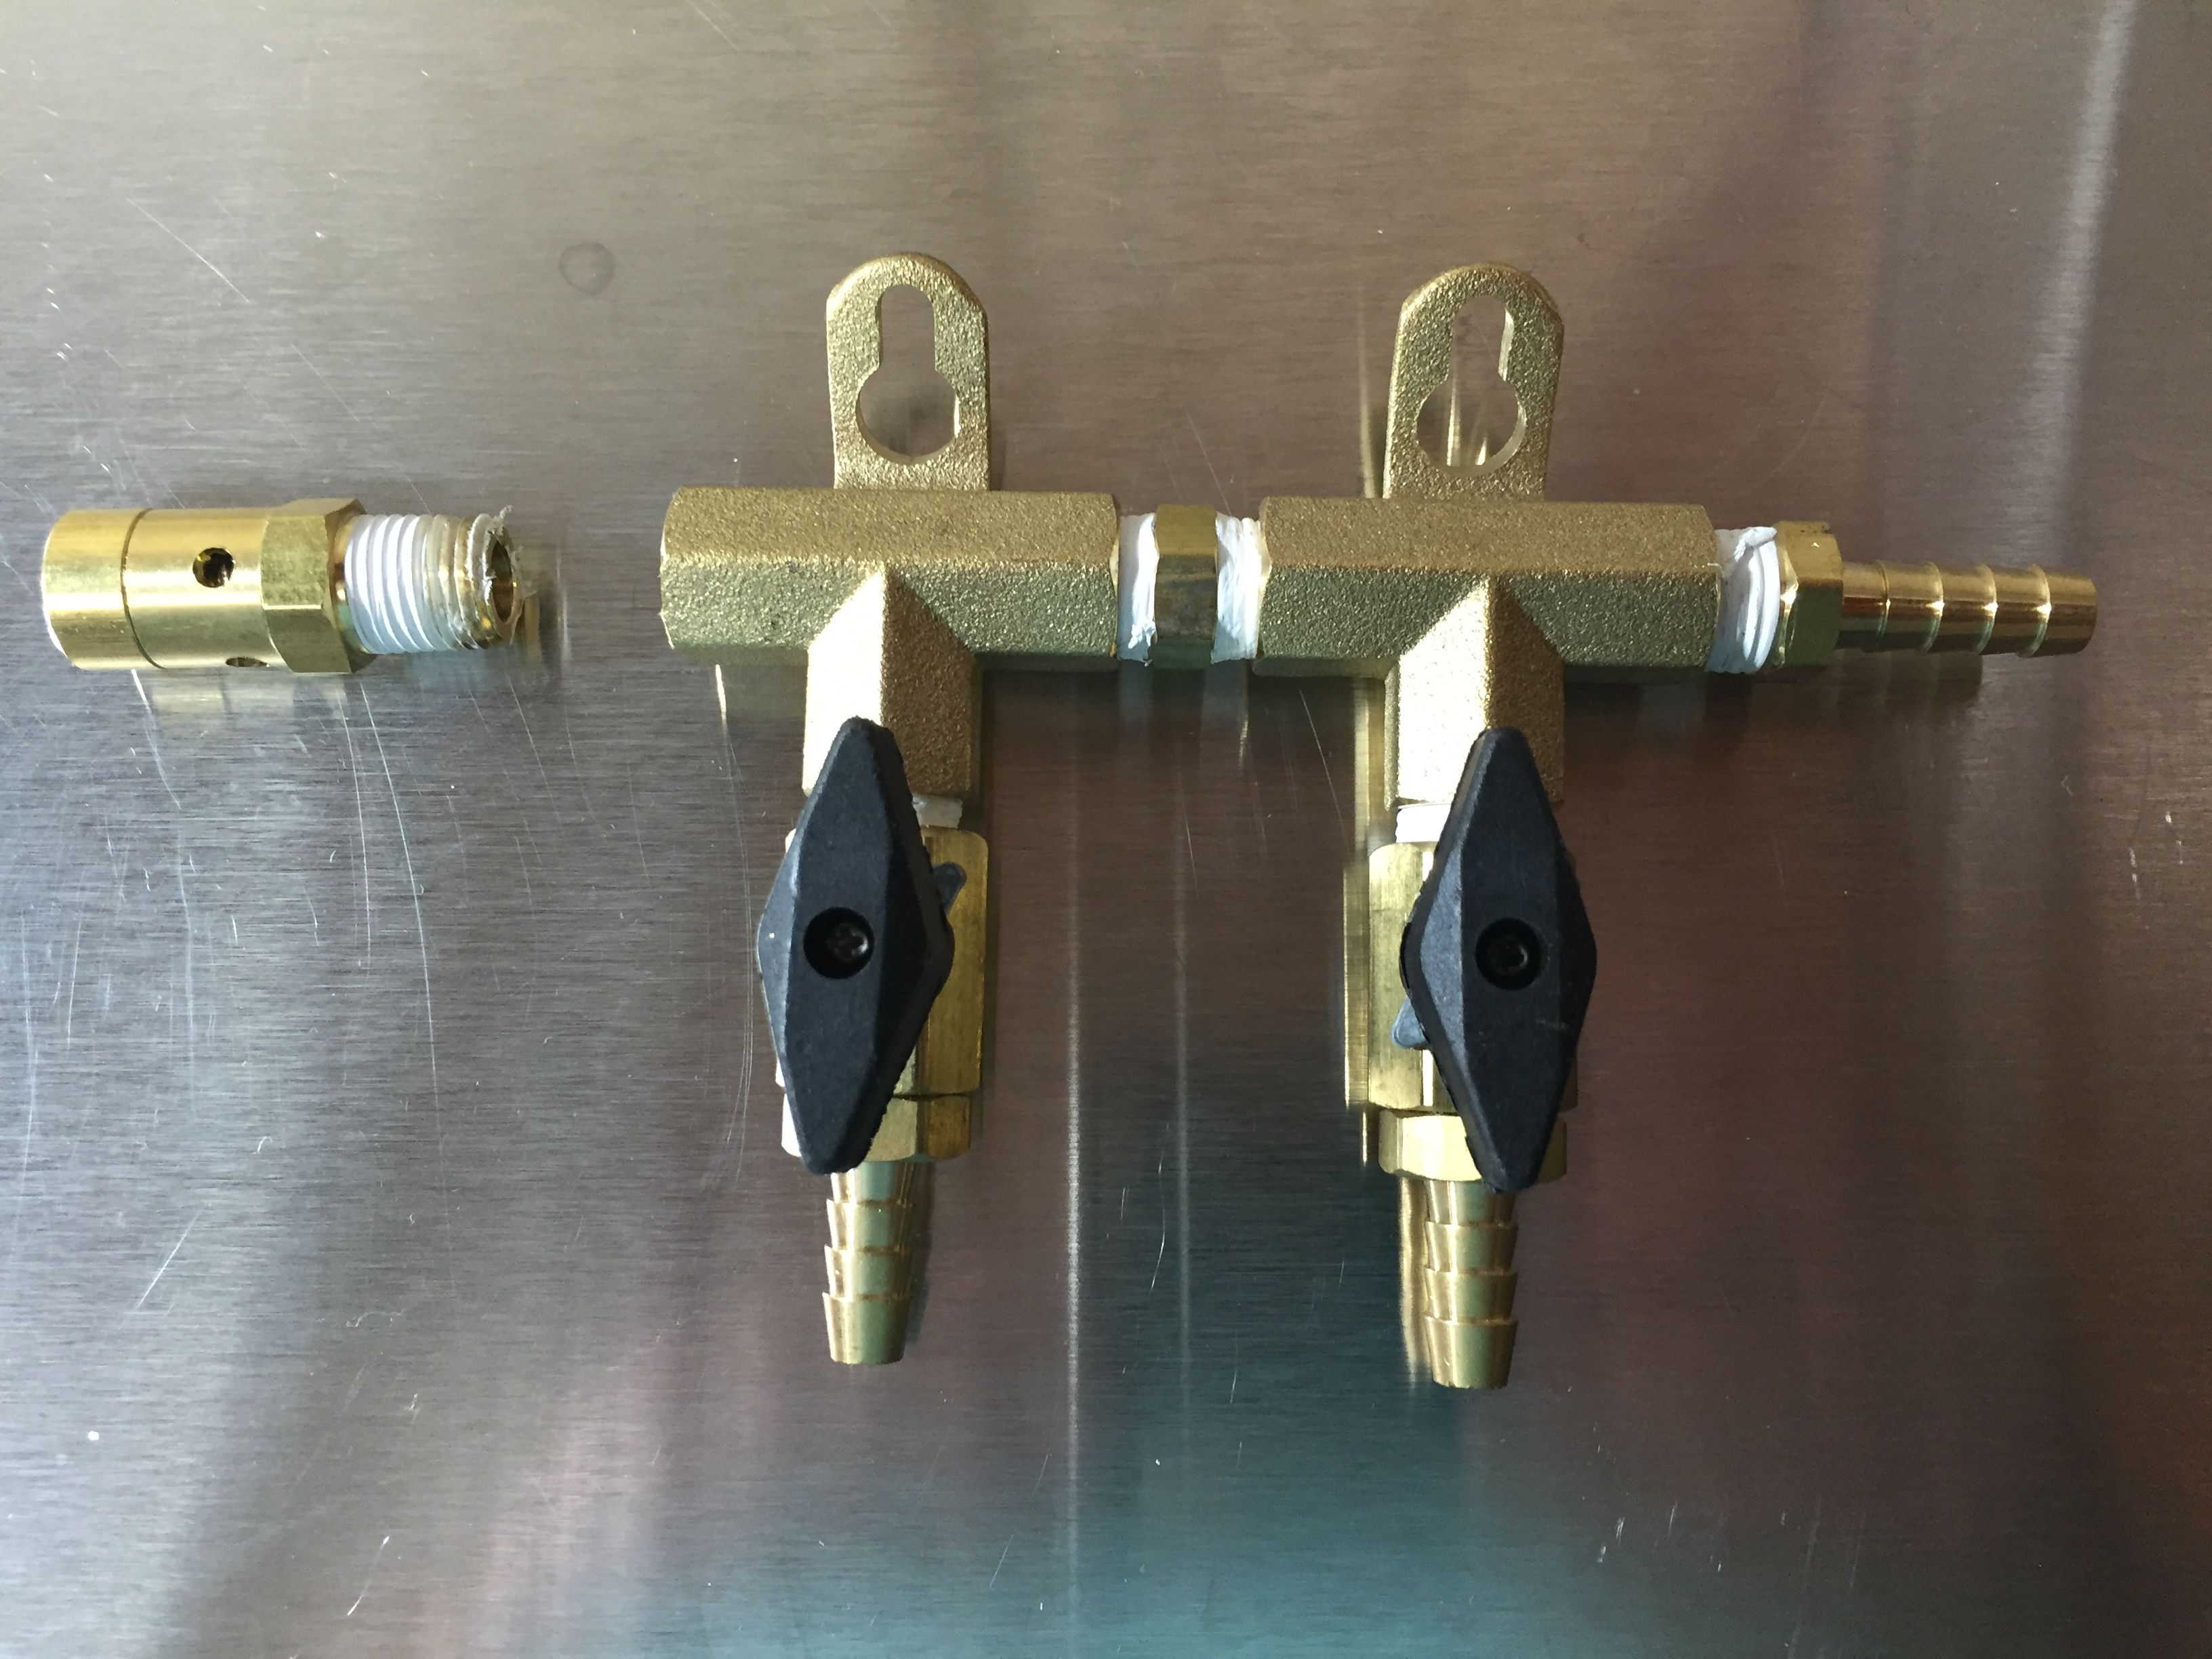 To add on another body, simply remove the PRV, add the additional body (or bodies) and replace the PRV.
 Screw in the add on
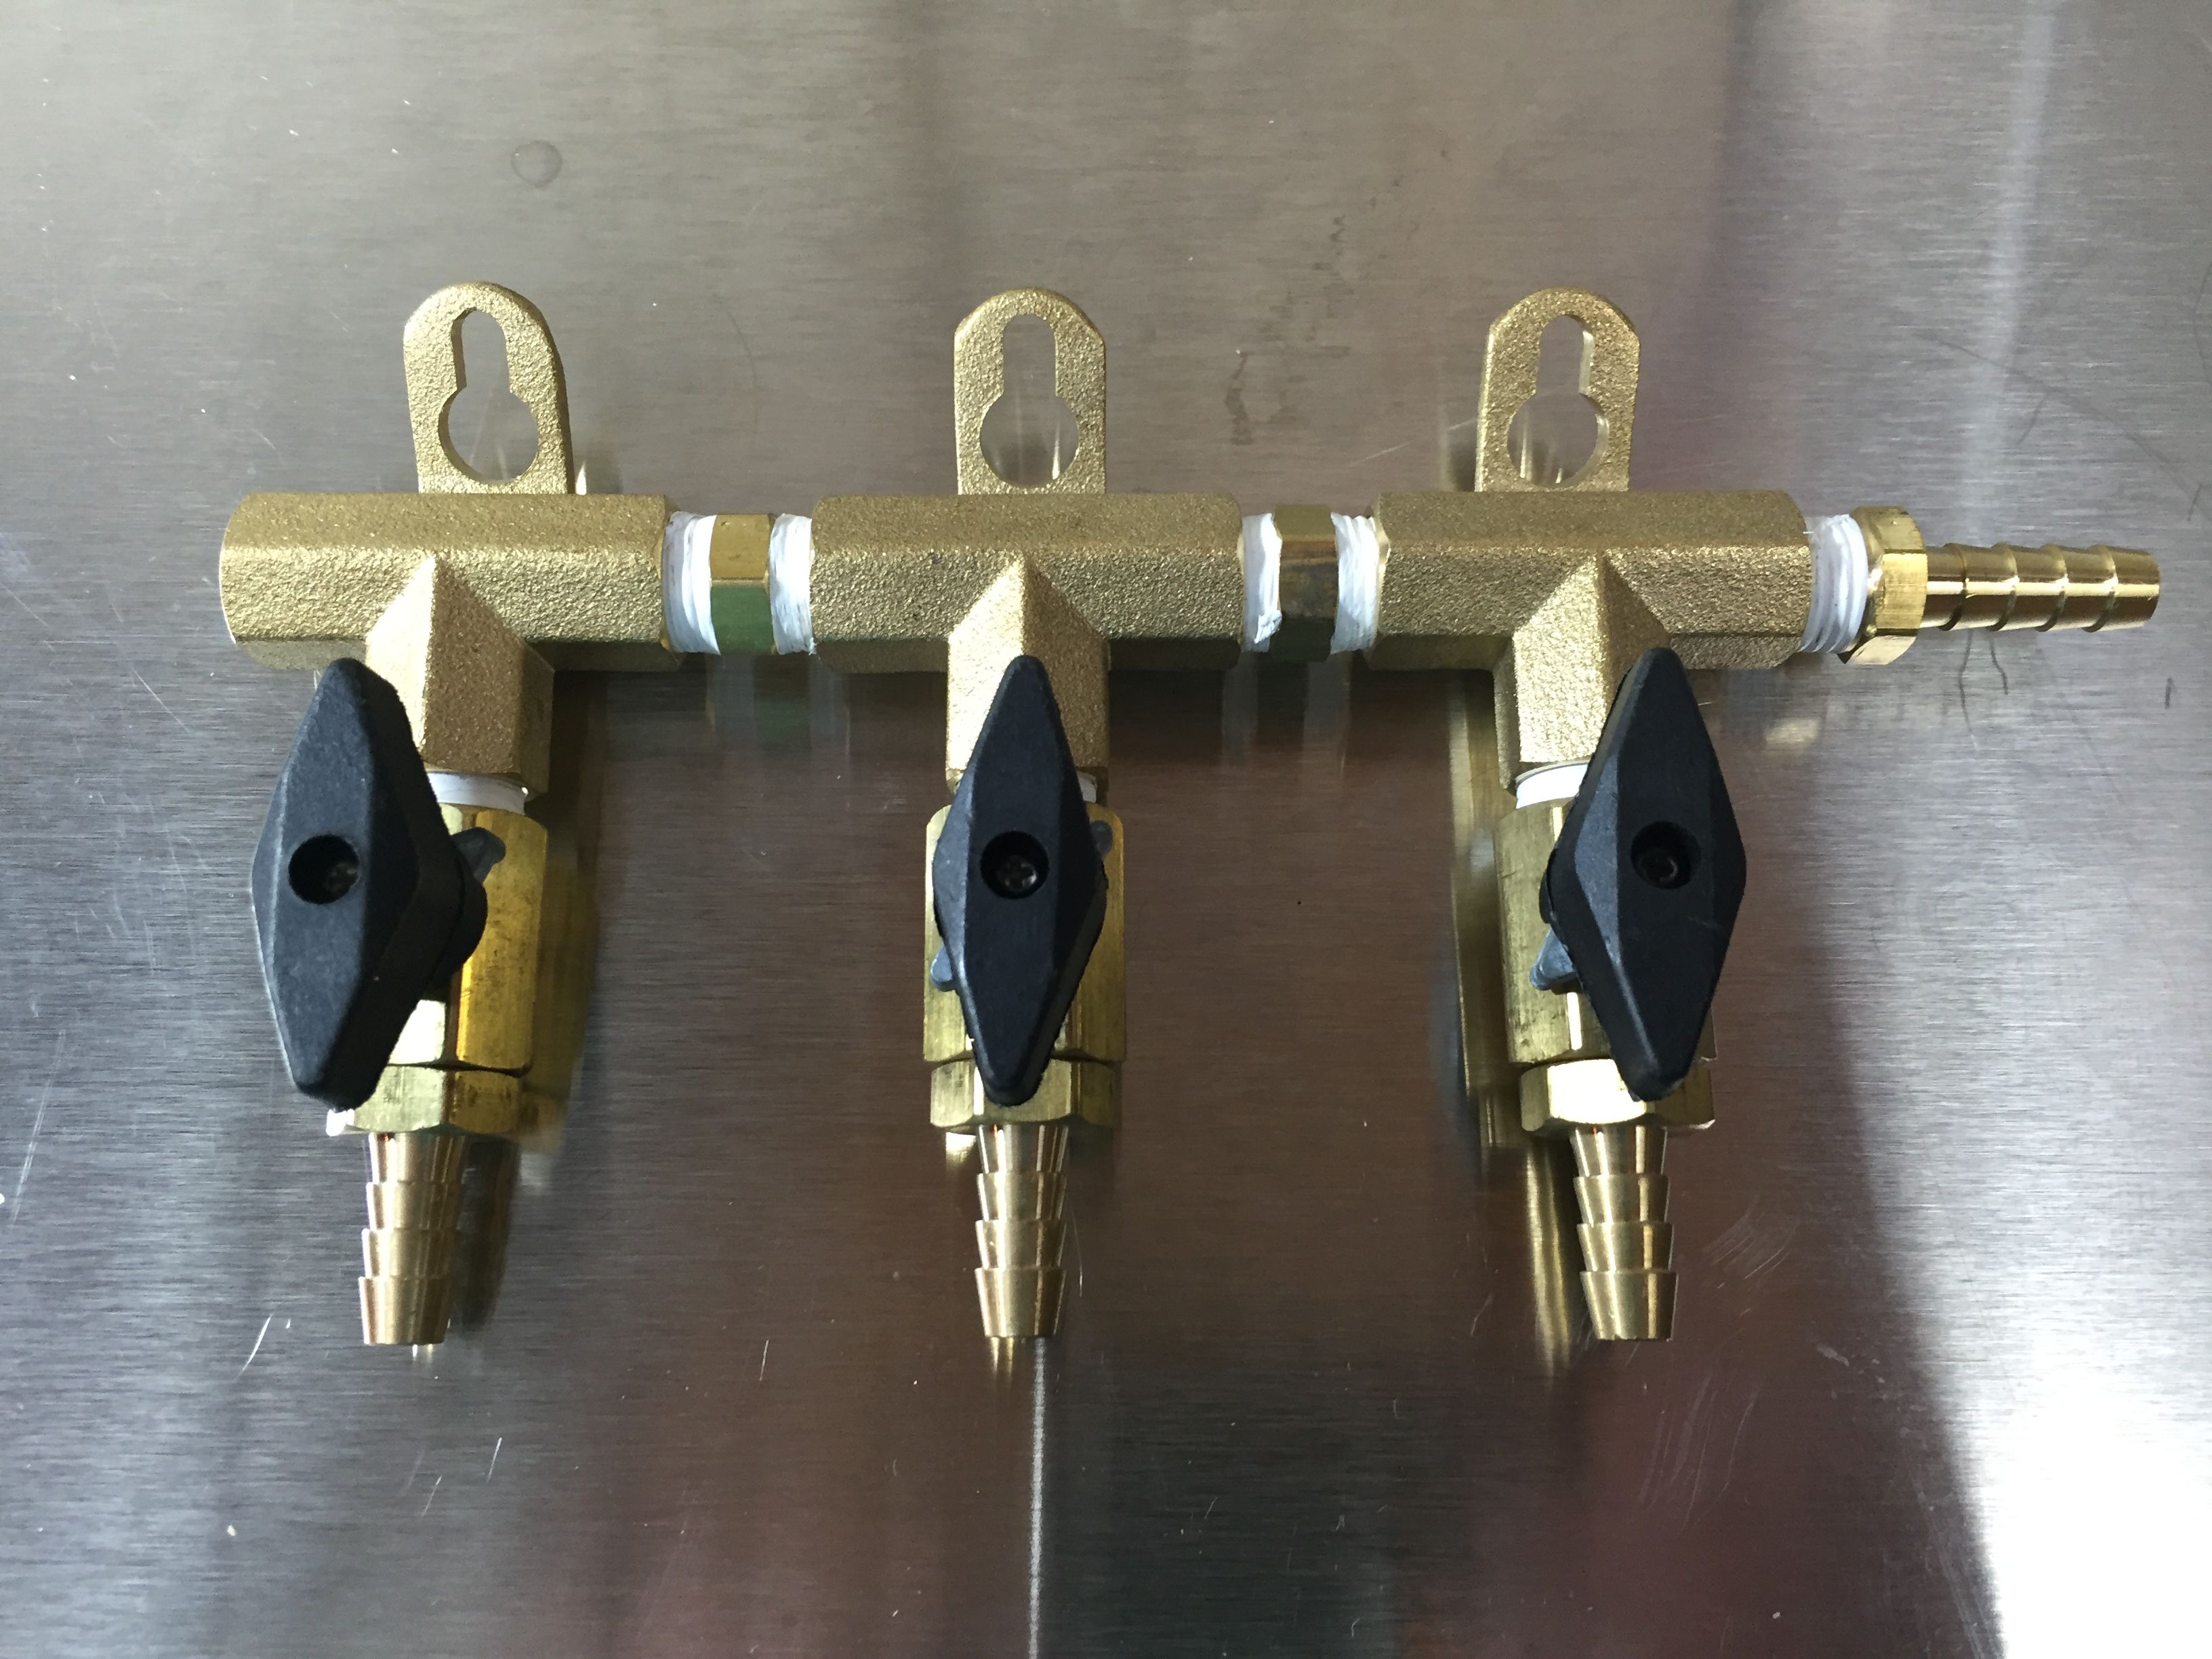 Assembled – sans PRV
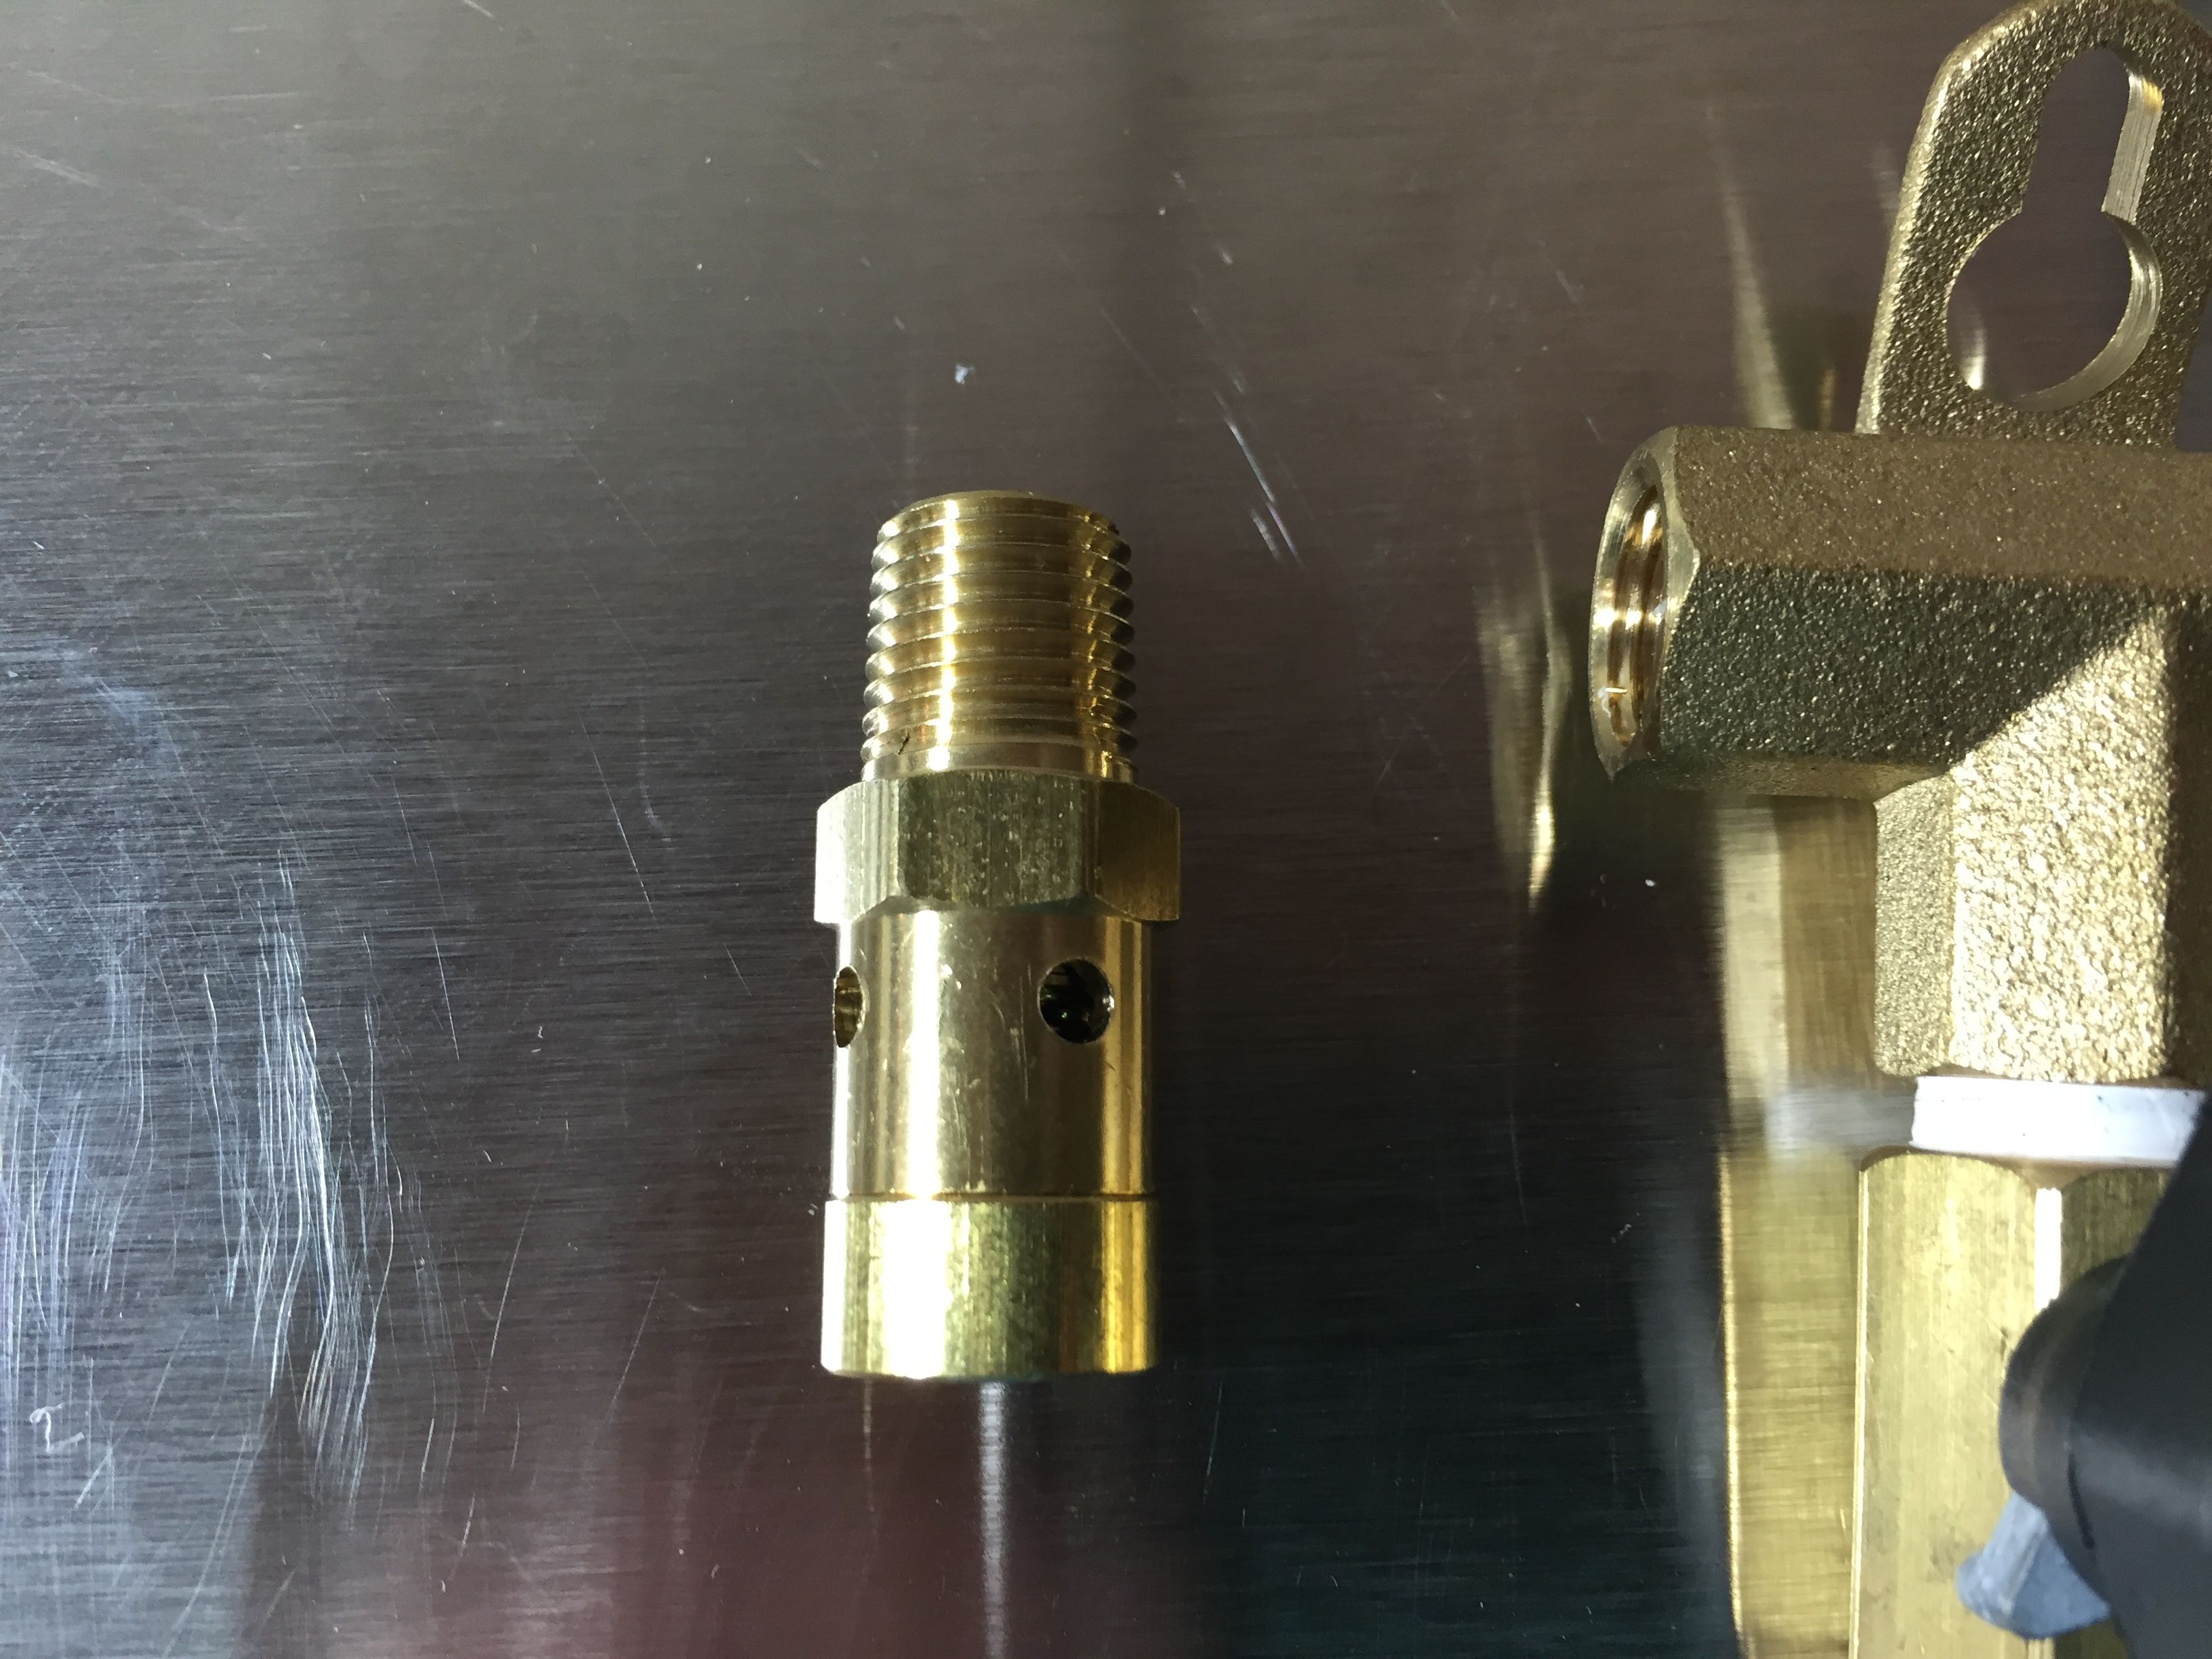 Clean the old PTFE tape off and add a new piece.
 Assembly completed. With about 3 minutes work, this now looks like a factory 3 way manifold.
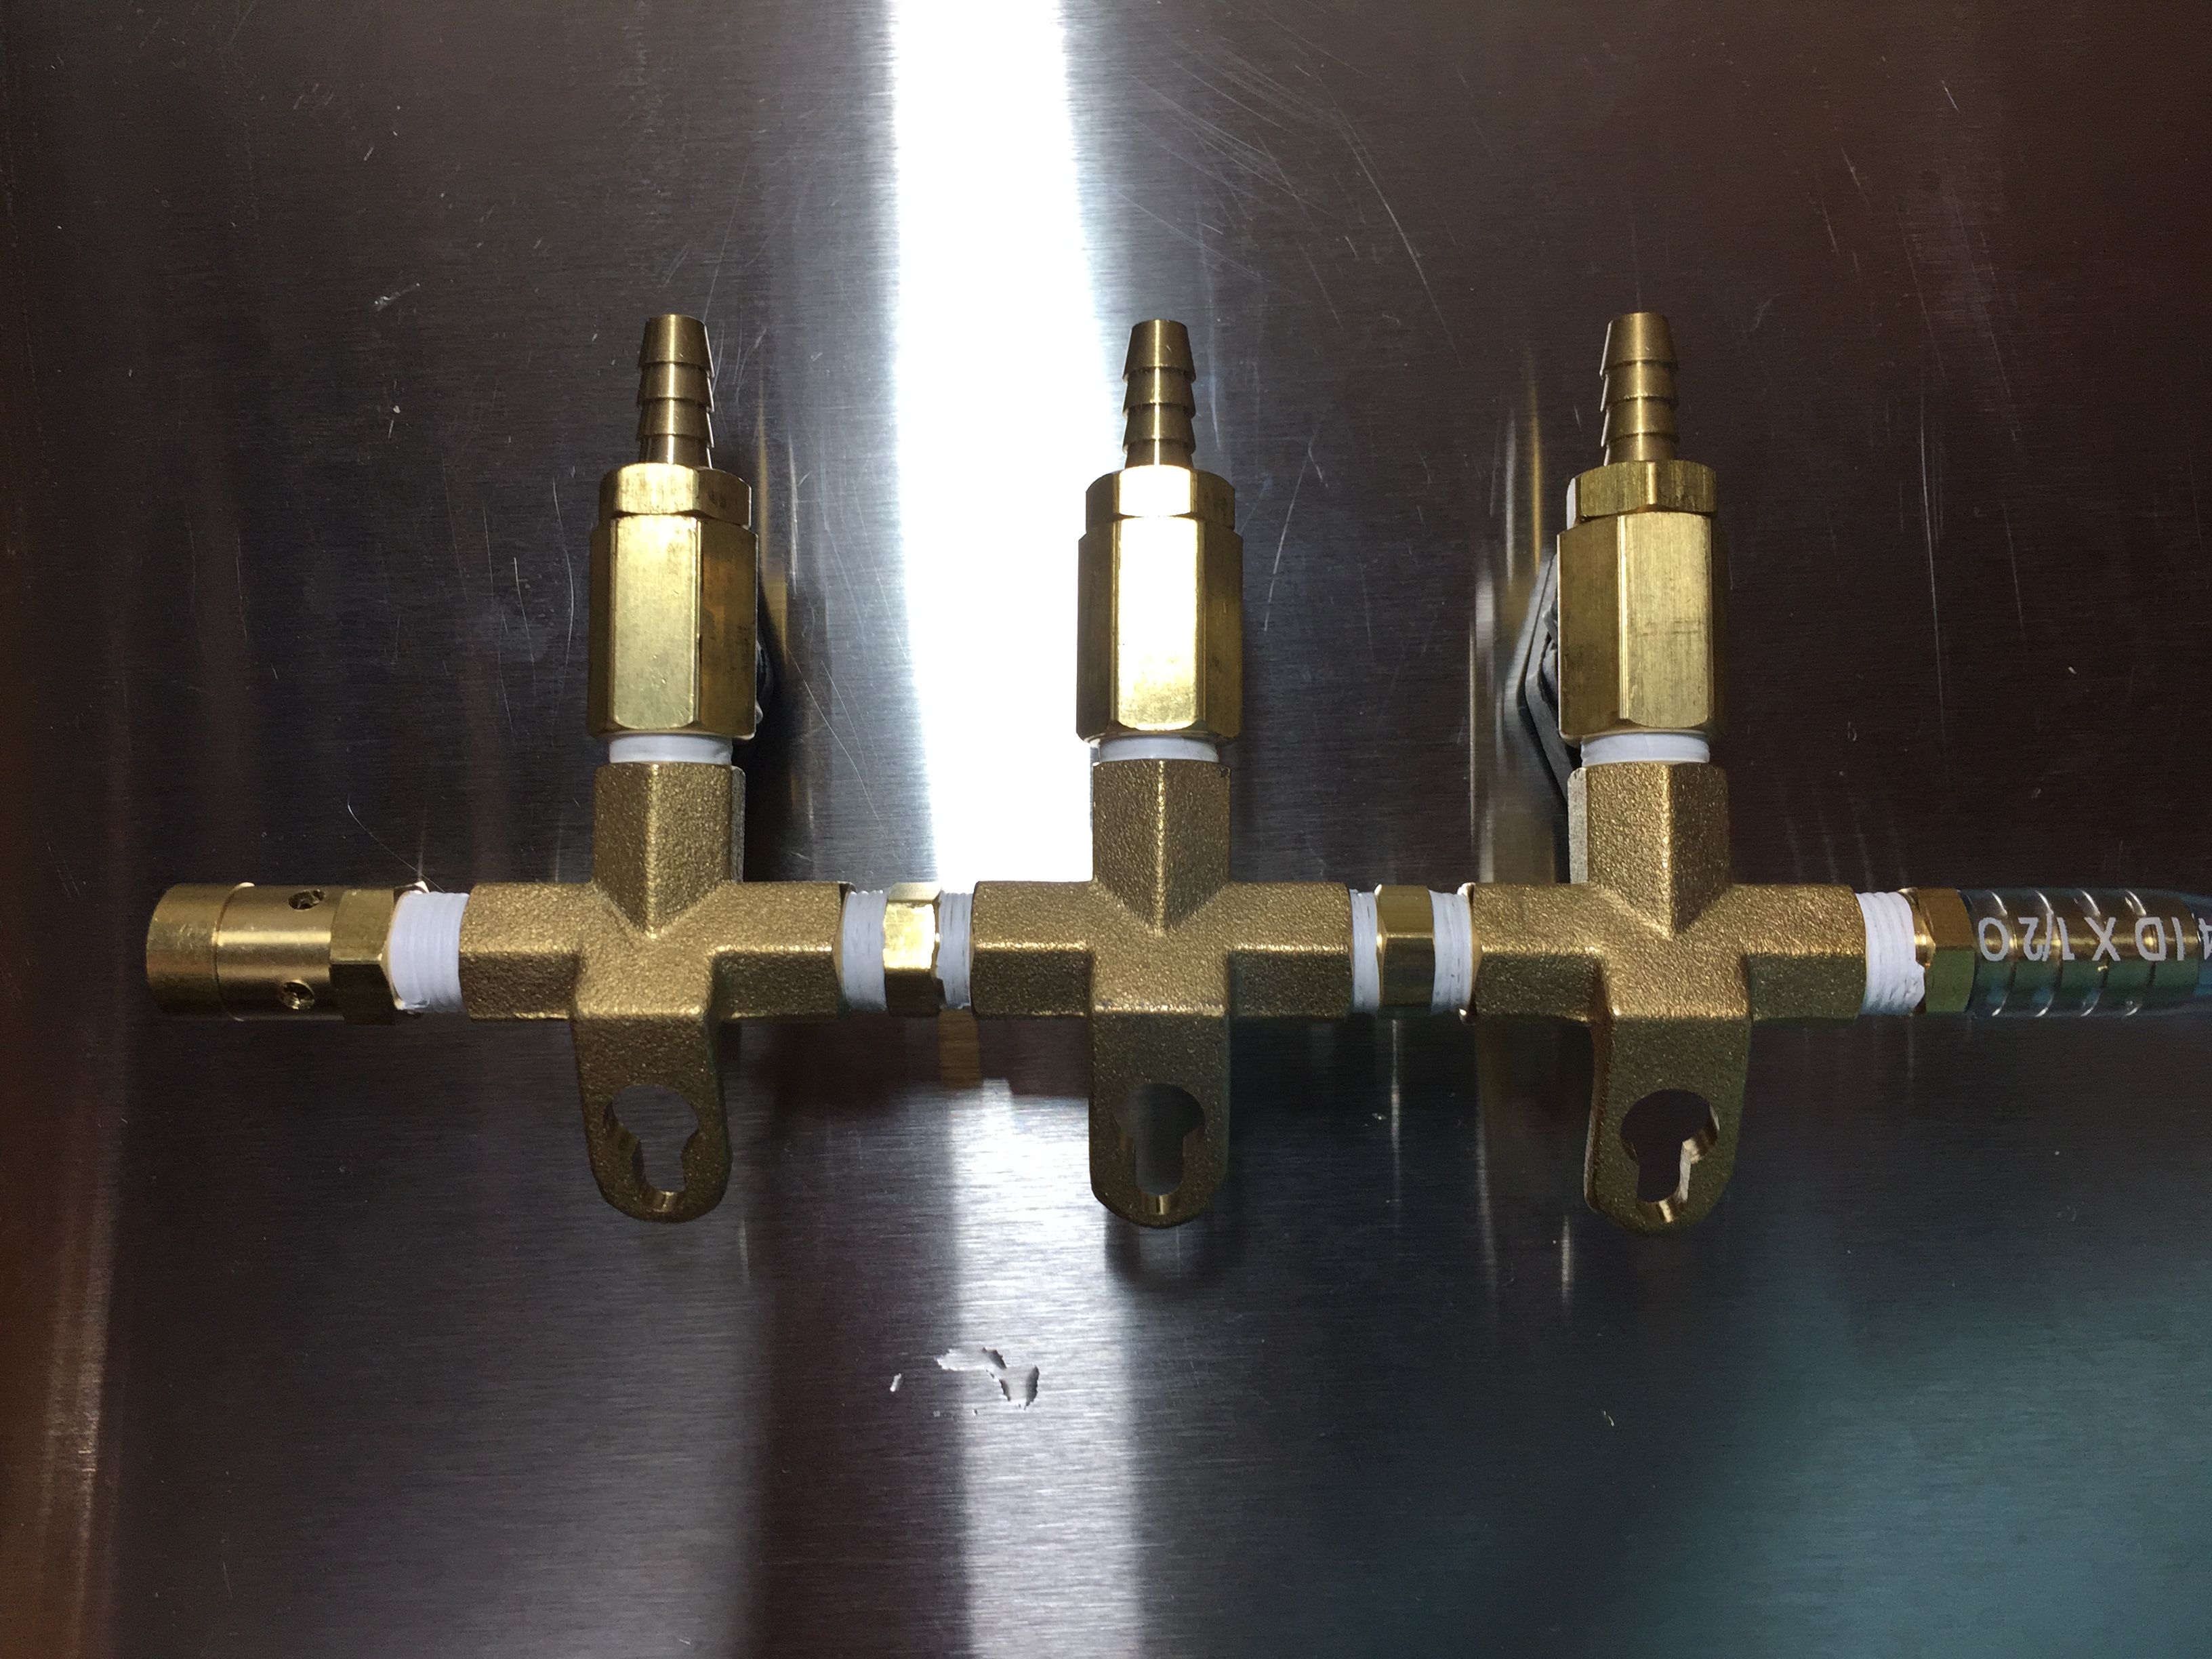 A look at the back side
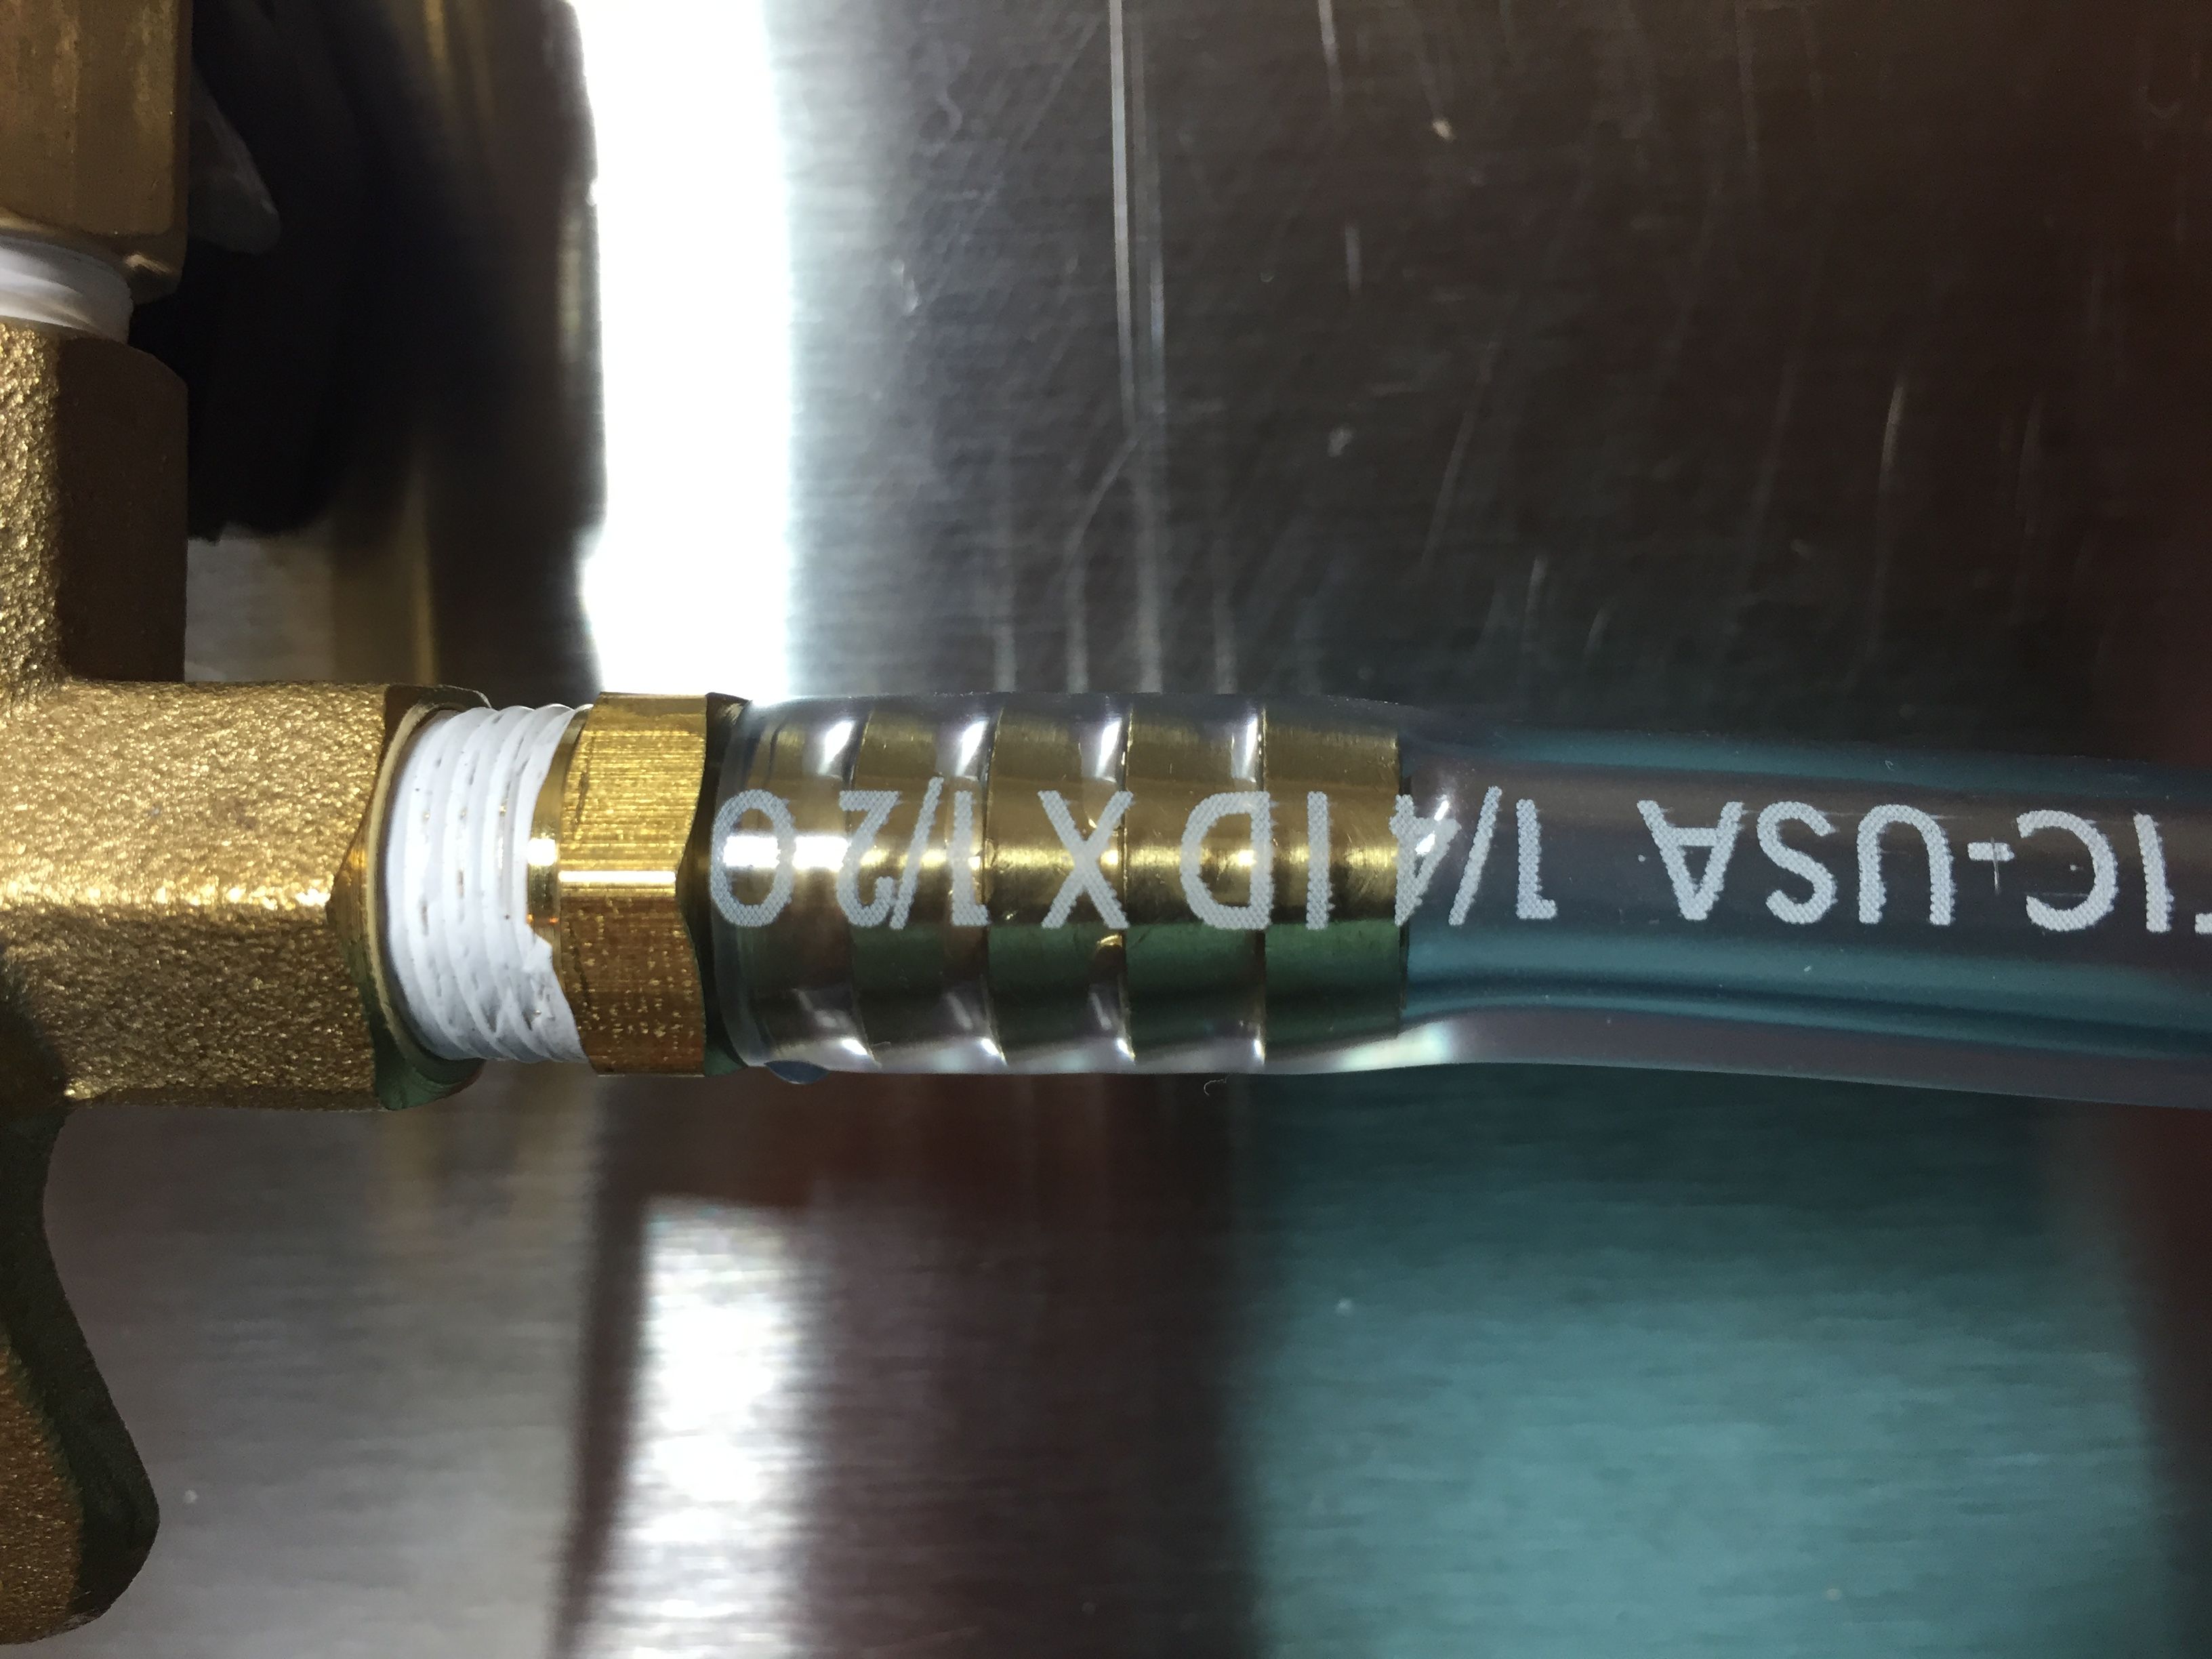 This system uses 5/16″ ID tubing. MoreBeer says that’s the industry standard. I use 1/4″ ID tubing and I have for years. The great news is you can use either size. Here is a picture of my 1/4″ ID tubing installed. I softened it in some warm water so that it would slide on easily.
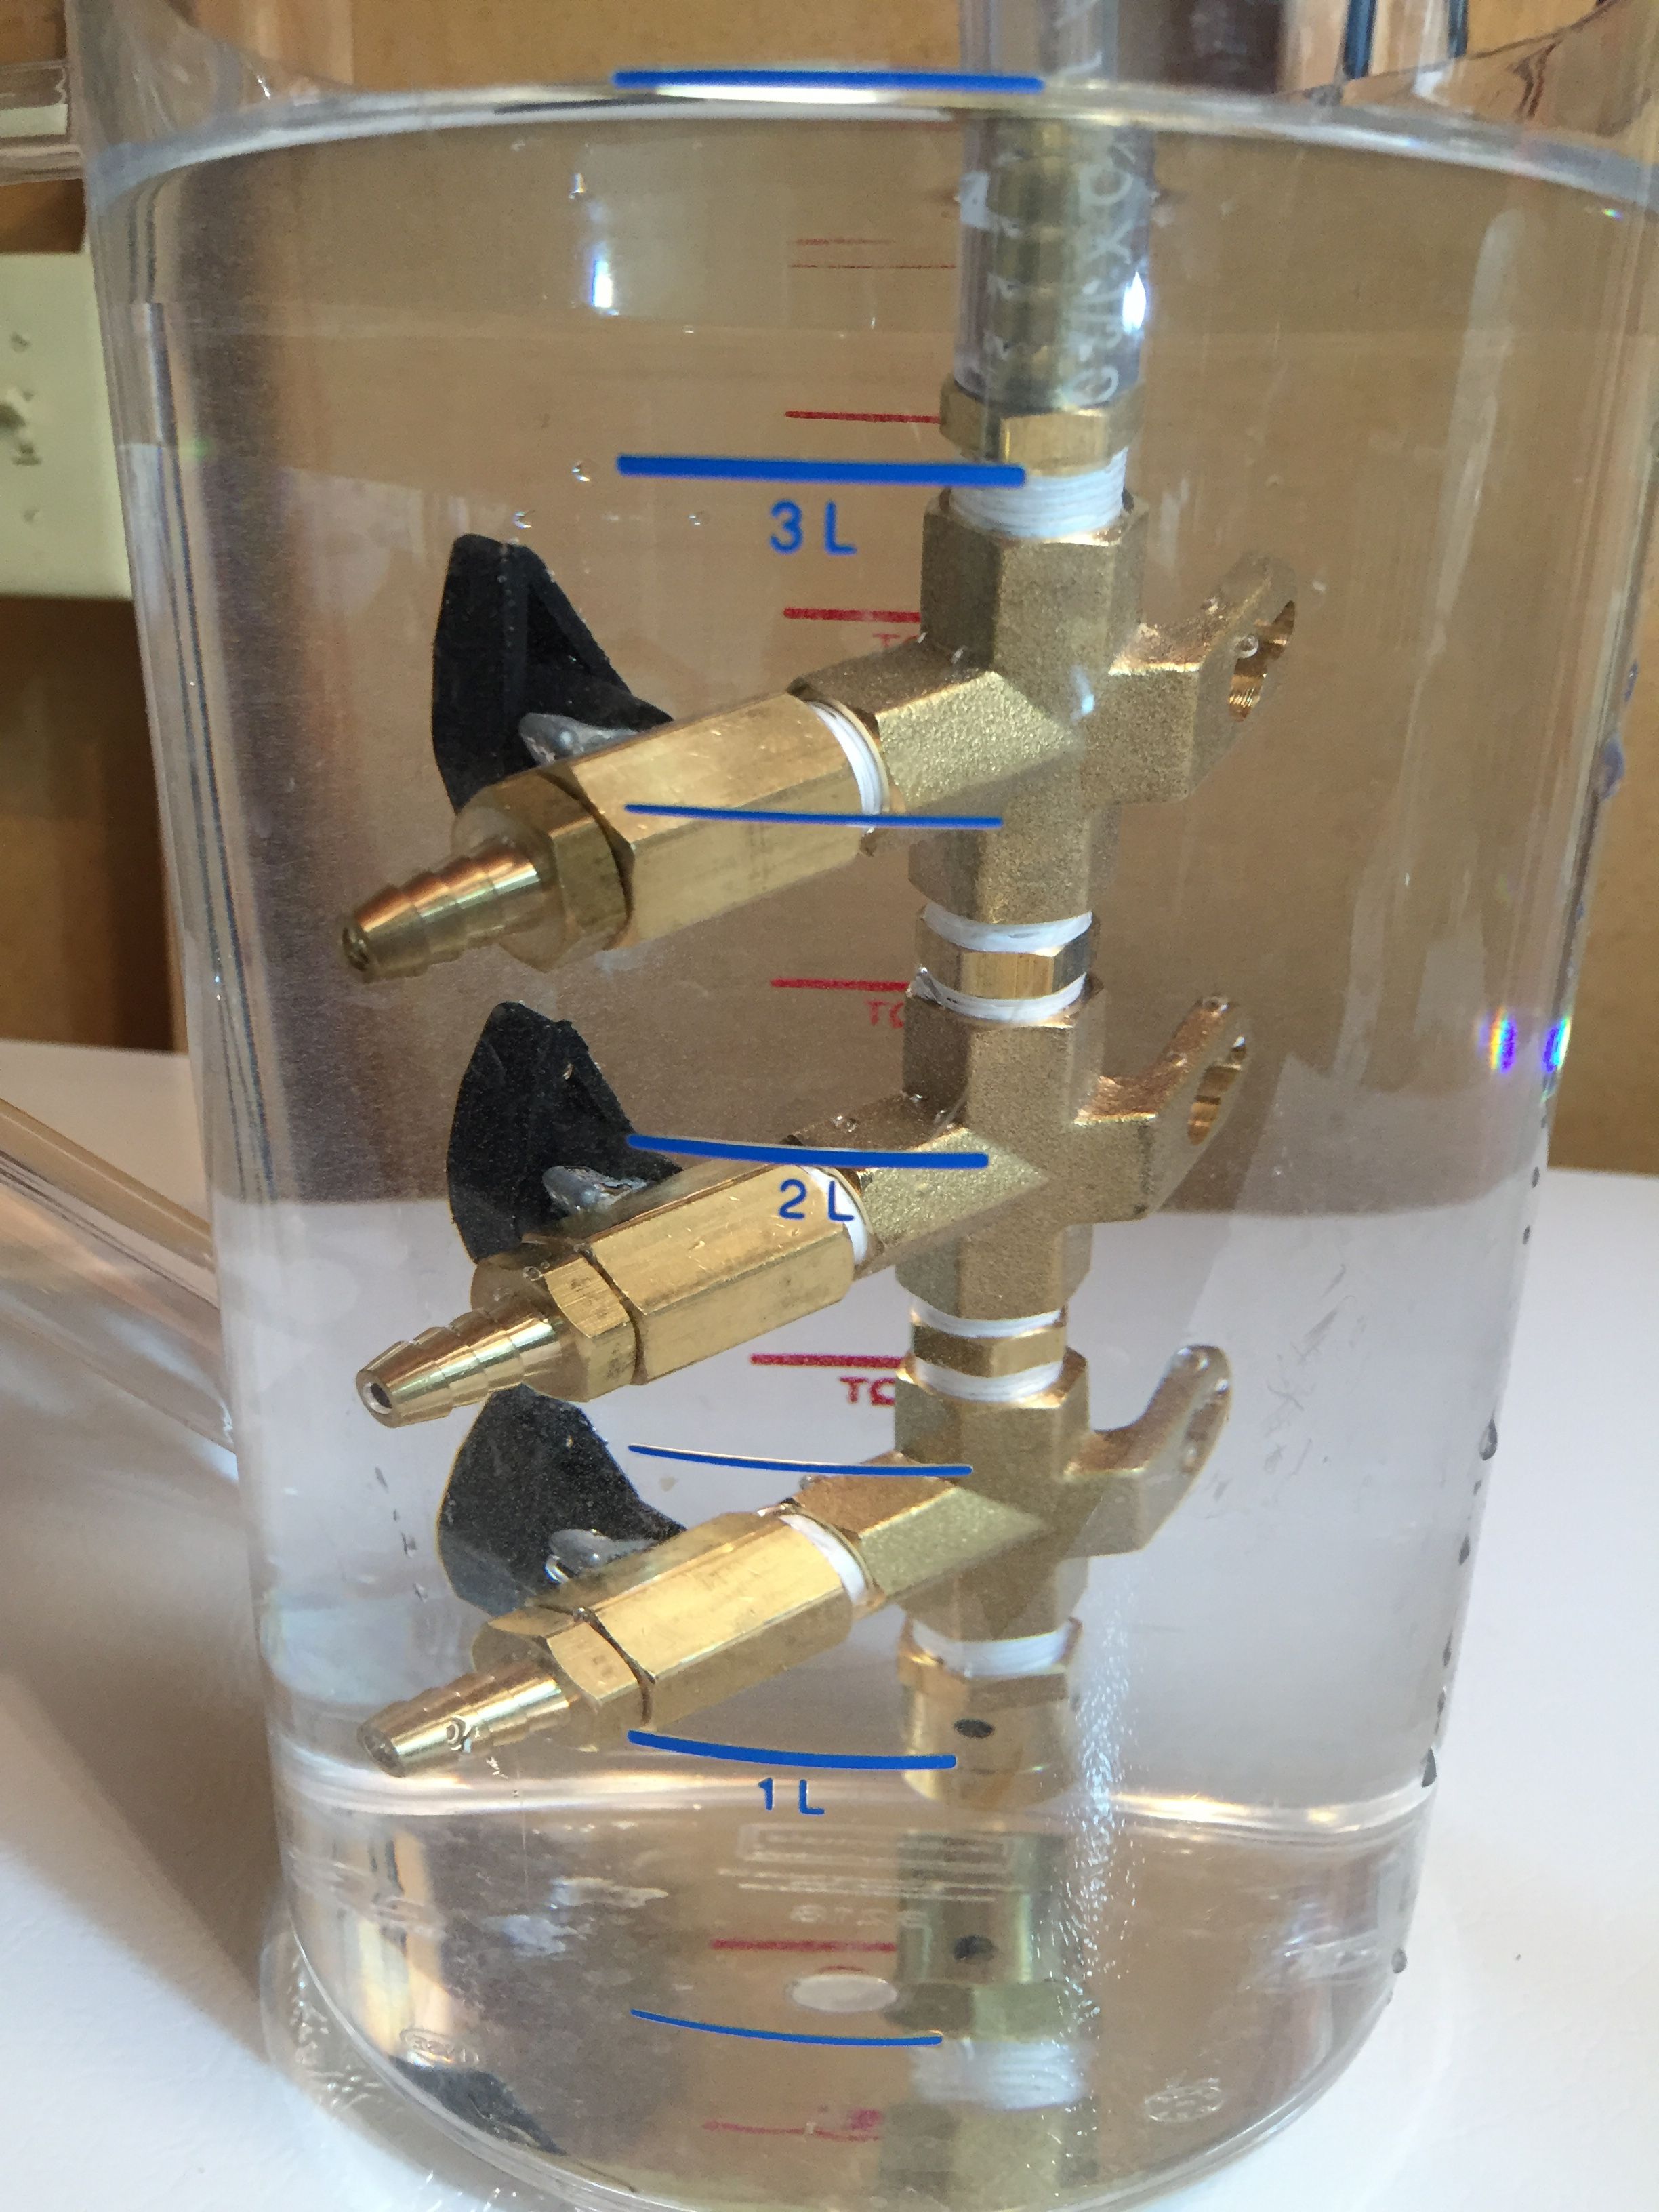 I wouldn’t typically do this, but (for the sake of this review)… here is the whole assembly with add-on installed submerged in water in my 1 Gallon Rubbermaid Pitcher. 0 leaks. An easier way to do this would be to spray some Star San on the connections and look for bubbles.
This is a great line of CO2 manifolds. It features quality construction, well thought out features and it grows with you. I have recommended this for years and this hands on look proves my point. If you’re looking to serve multiple kegs, check out this manifold system.
Check it out – MoreBeer’s CO2 Manifold System – including 2, 3, 4 and 6 way variants and add-on
Note that the 6 way version looks a little different than the rest of the lineup.
Also: Kegerator Tips & Gear | Keg Repair Part #s | 5 Recent Keg Finds
MORE MoreBeer Deals!… This post contains affiliate links. We may make a commission when you use our links. This will never cost you extra. Thank you for supporting Homebrew Finds!
review:morebeerco2manifold
Is it possible to unscrew the barb from the valve? I would like to have flare or NPT instead of a barb.
I think you can unscrew it, although I haven’t tried.