
Start Homebrewing! Brewing Your First Extract Beer, Illustrated Step by Step
This is a step by step guide to brewing a first extract beer. This process uses More Beer’s Personal Home Brewery Kit #2 Deluxe Starter Equipment Kit.
The techniques that I use here are designed to minimize the need for additional equipment and thereby reduce expenses. You can upgrade equipment and techniques when and if you’re ready to, over time. Most if not all of the equipment contained in this starter equipment kit can continue to be used as your brewing evolves.
I use More Beer’s included Extract Brewing Instructions as an outline for this post. Step numbers can be crossed referenced against those instructions. When I use quotes on step directions, those are direct quotes from the directions.
I brewed More Beer’s Zythos IPA kit (KIT163) for this post.
A look at the equipment kit:
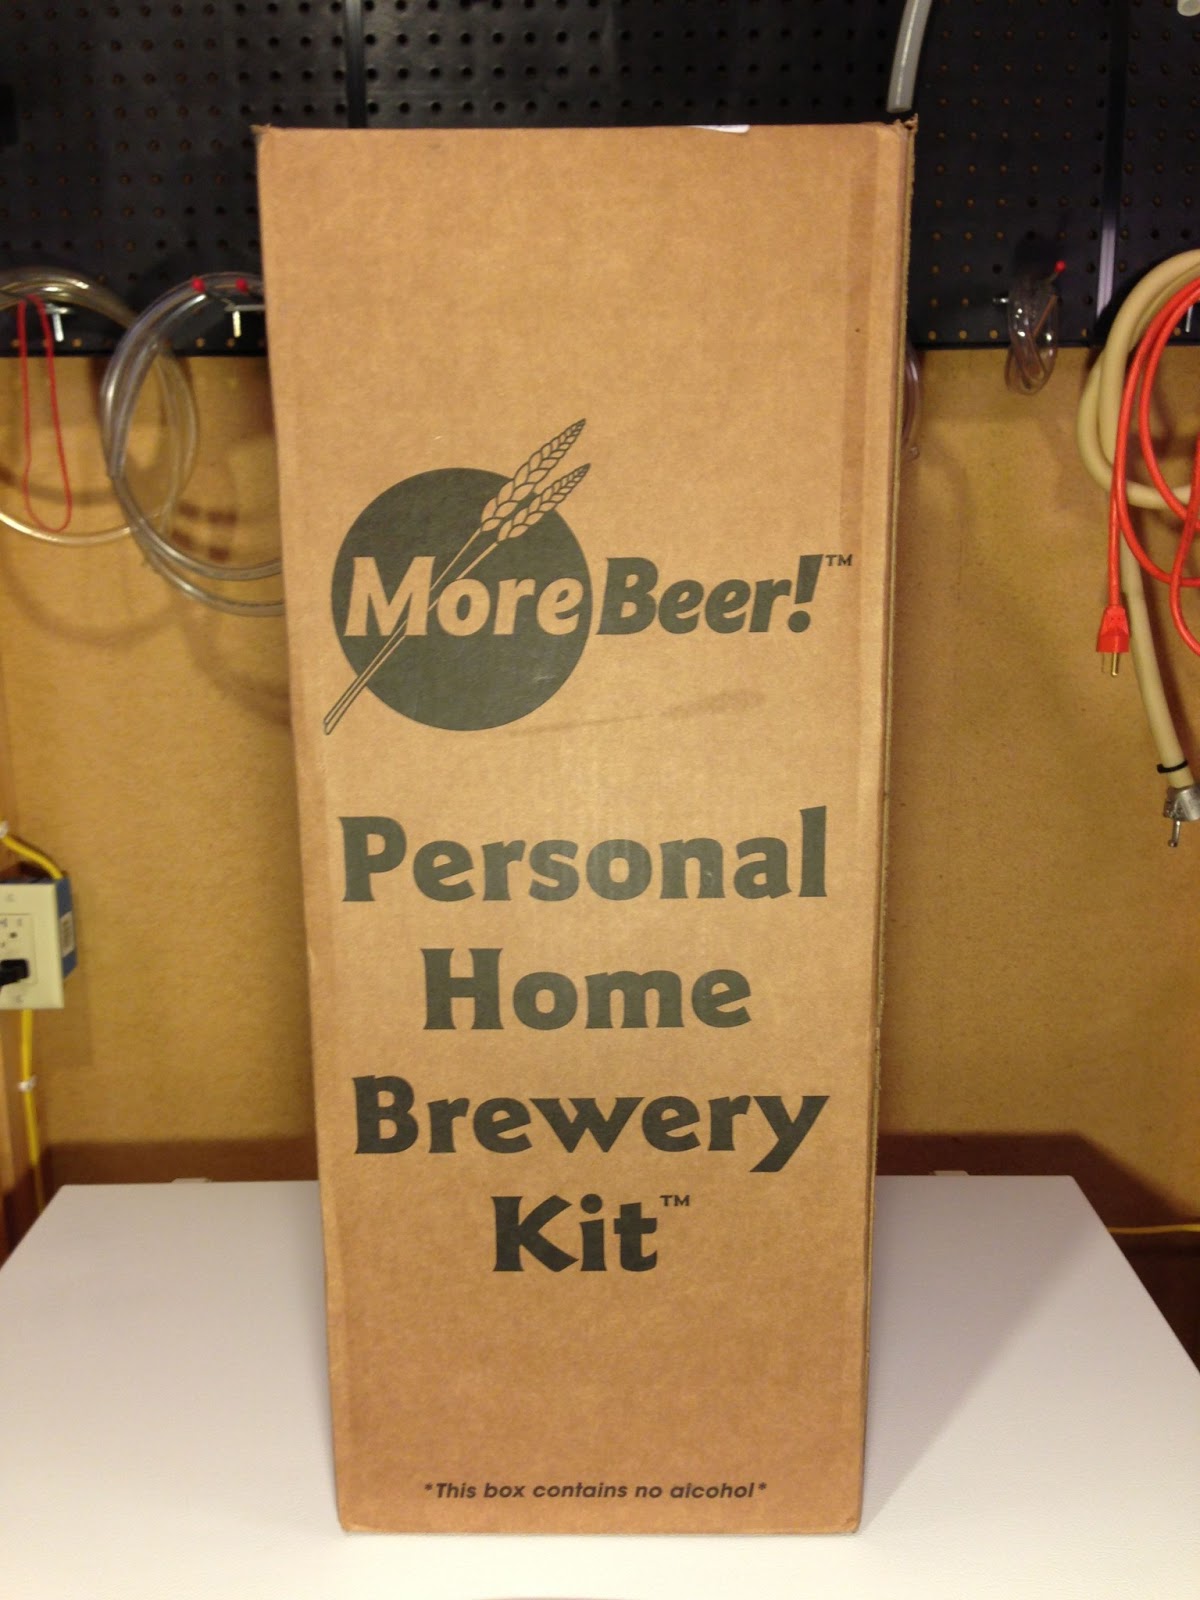 The Box
Guys… In case you wondered, the box does not contain alcohol!
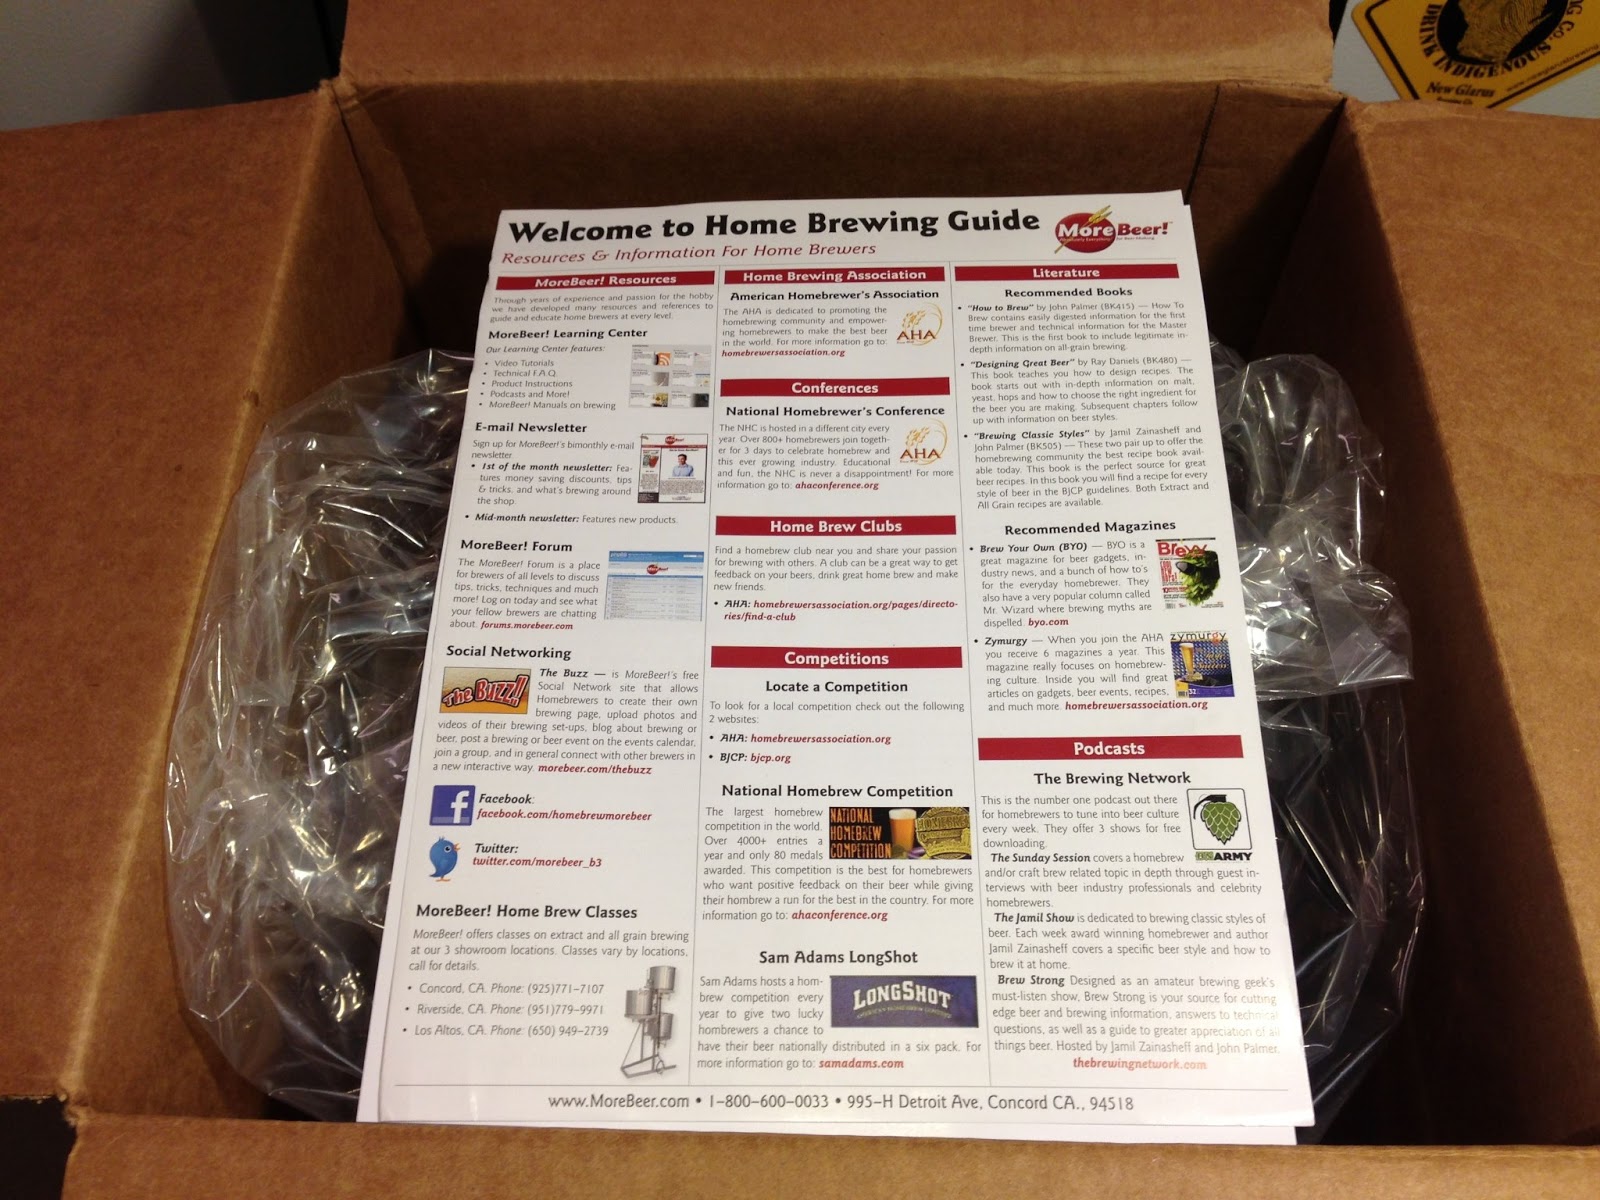
A nice welcome to Home Brewing Guide greets you upon opening the box. Welcome guys!
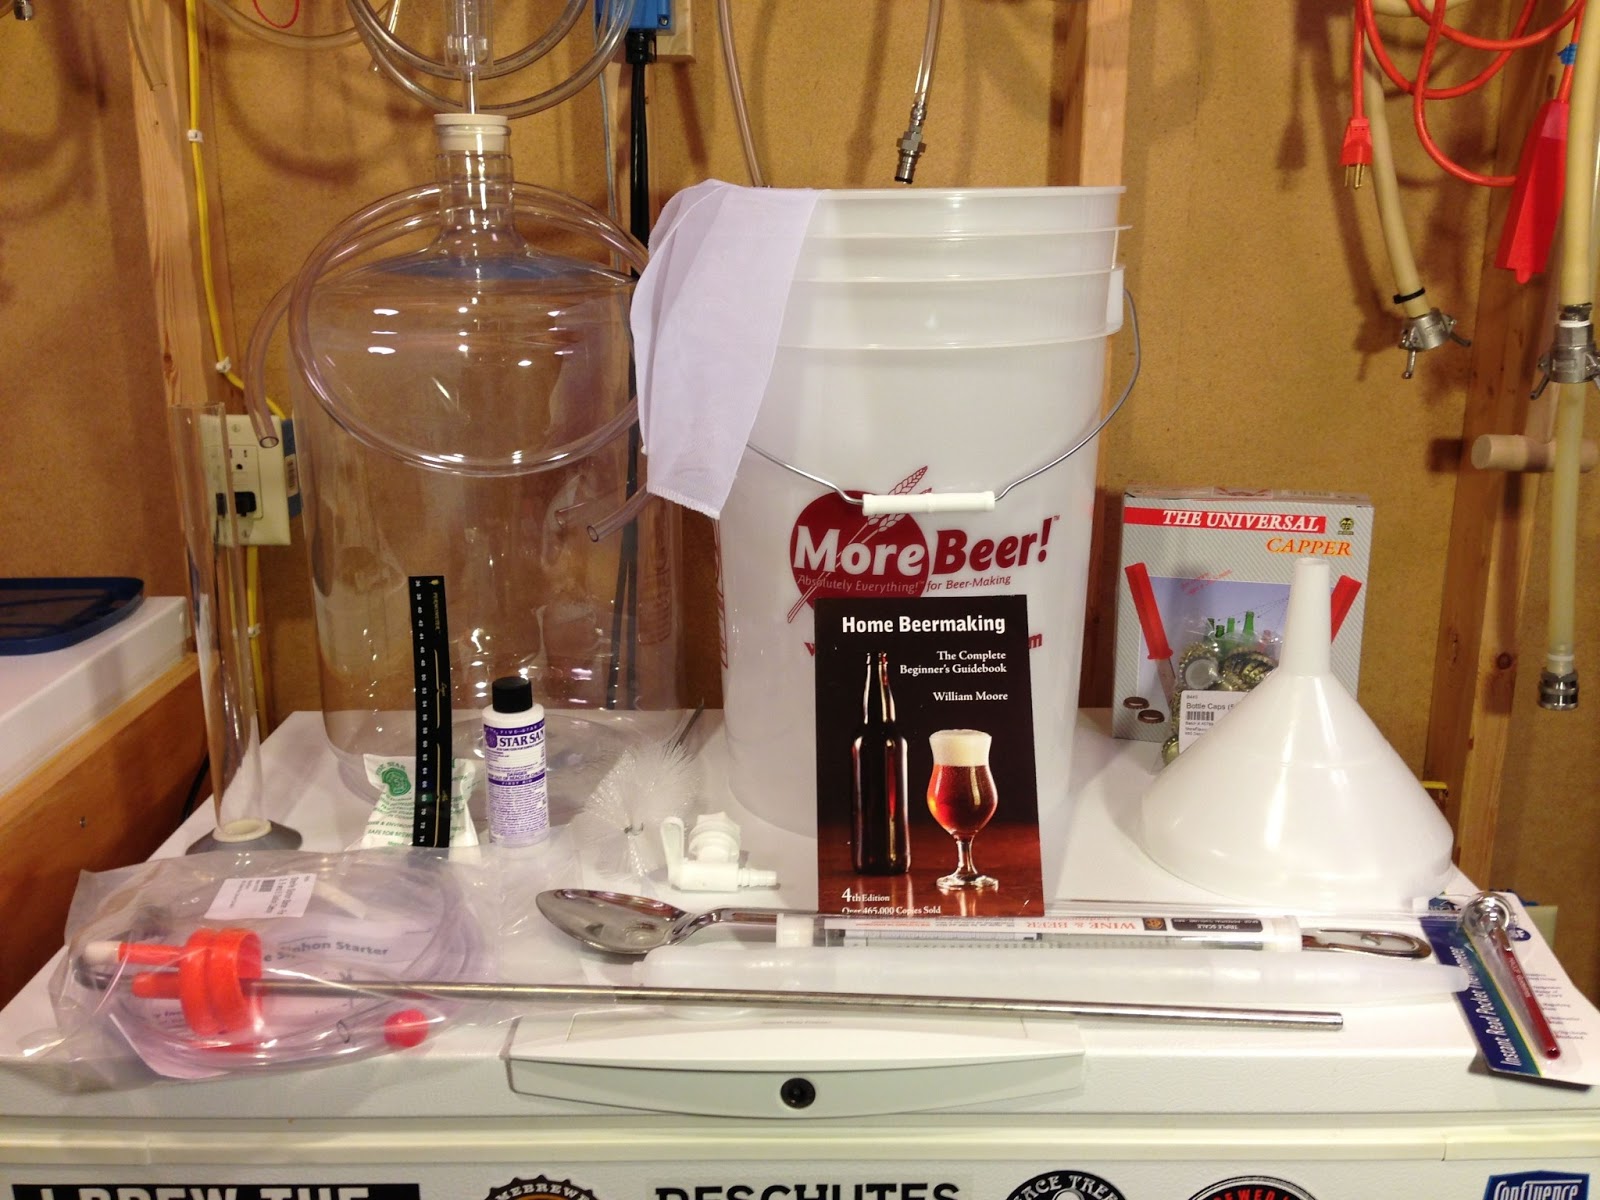
Kit contents
The kit includes:
- Bottle of Star San Sanitizer (4oz)
- 3/8” Plastic Bottle Filler
- Bag of Bottle Caps (1/4lb)
- Bottle Capper
- Reusable Mesh Steeping or Hop Bags
- Plastic Spoon
- Funnel
- Home Beermaking Book
- Bottle Brush
- Carboy
- Package of Powdered Brewery Wash (PBW)
- Plastic Bottling/Sanitation Bucket with Spigot
- Airlock
- Rubber Stopper with Hole
- Hydrometer
- Hydrometer Jar
- 5ft Vinyl Transfer Tubing
- Sterile Siphon Starter (Contains Racking Cane with Tubing, Air Filter and Carboy Hood)
- 5 inch long dial thermometer
Necessary Equipment and Supplies:
- MoreBeer! Personal Brewery Starter System
- MoreBeer! Malt Extract Ingredient Kit
- A kettle that will boil a minimum of 3 gallons. Usually a 5 gallon (20 qt) kettle is the minimum.
- Approximately (48)12 oz or (24) 22 oz non-twist, pry-off style beer bottles.
- Re-usable nylon mesh bags for steeping grain and hops.
Step by Step:
1 Day Before If you are using liquid yeast, take the yeast out of the refrigerator. If you’re using a Wyeast Smack Pack. Smack the pack when you take it out.
Step 1: Fill the included plastic carboy (hands on review) with 5 gallons of water
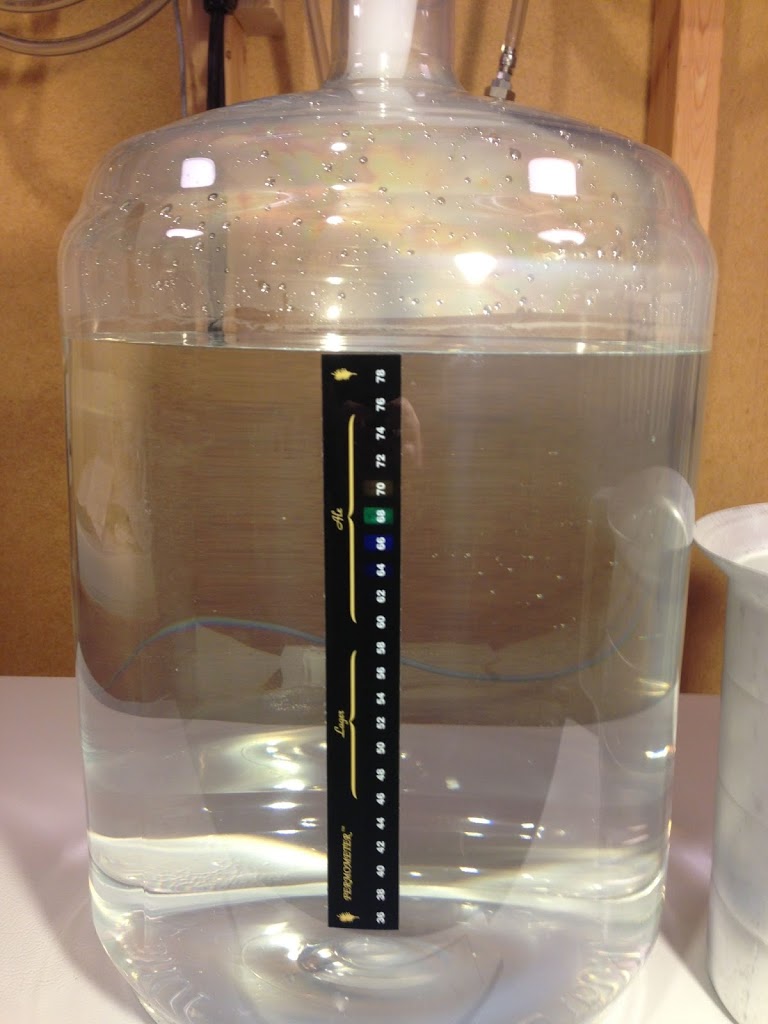 Mark 5 Gallons: I used the included fermometer strip to mark the 5 gallon line. The top of that strip is the 5 gallon mark. You can also use a permanent marker. This line will be used to help hit your final volume. Final volume is a key factor in hitting your intended Original Gravity. You only have to complete this step one time.
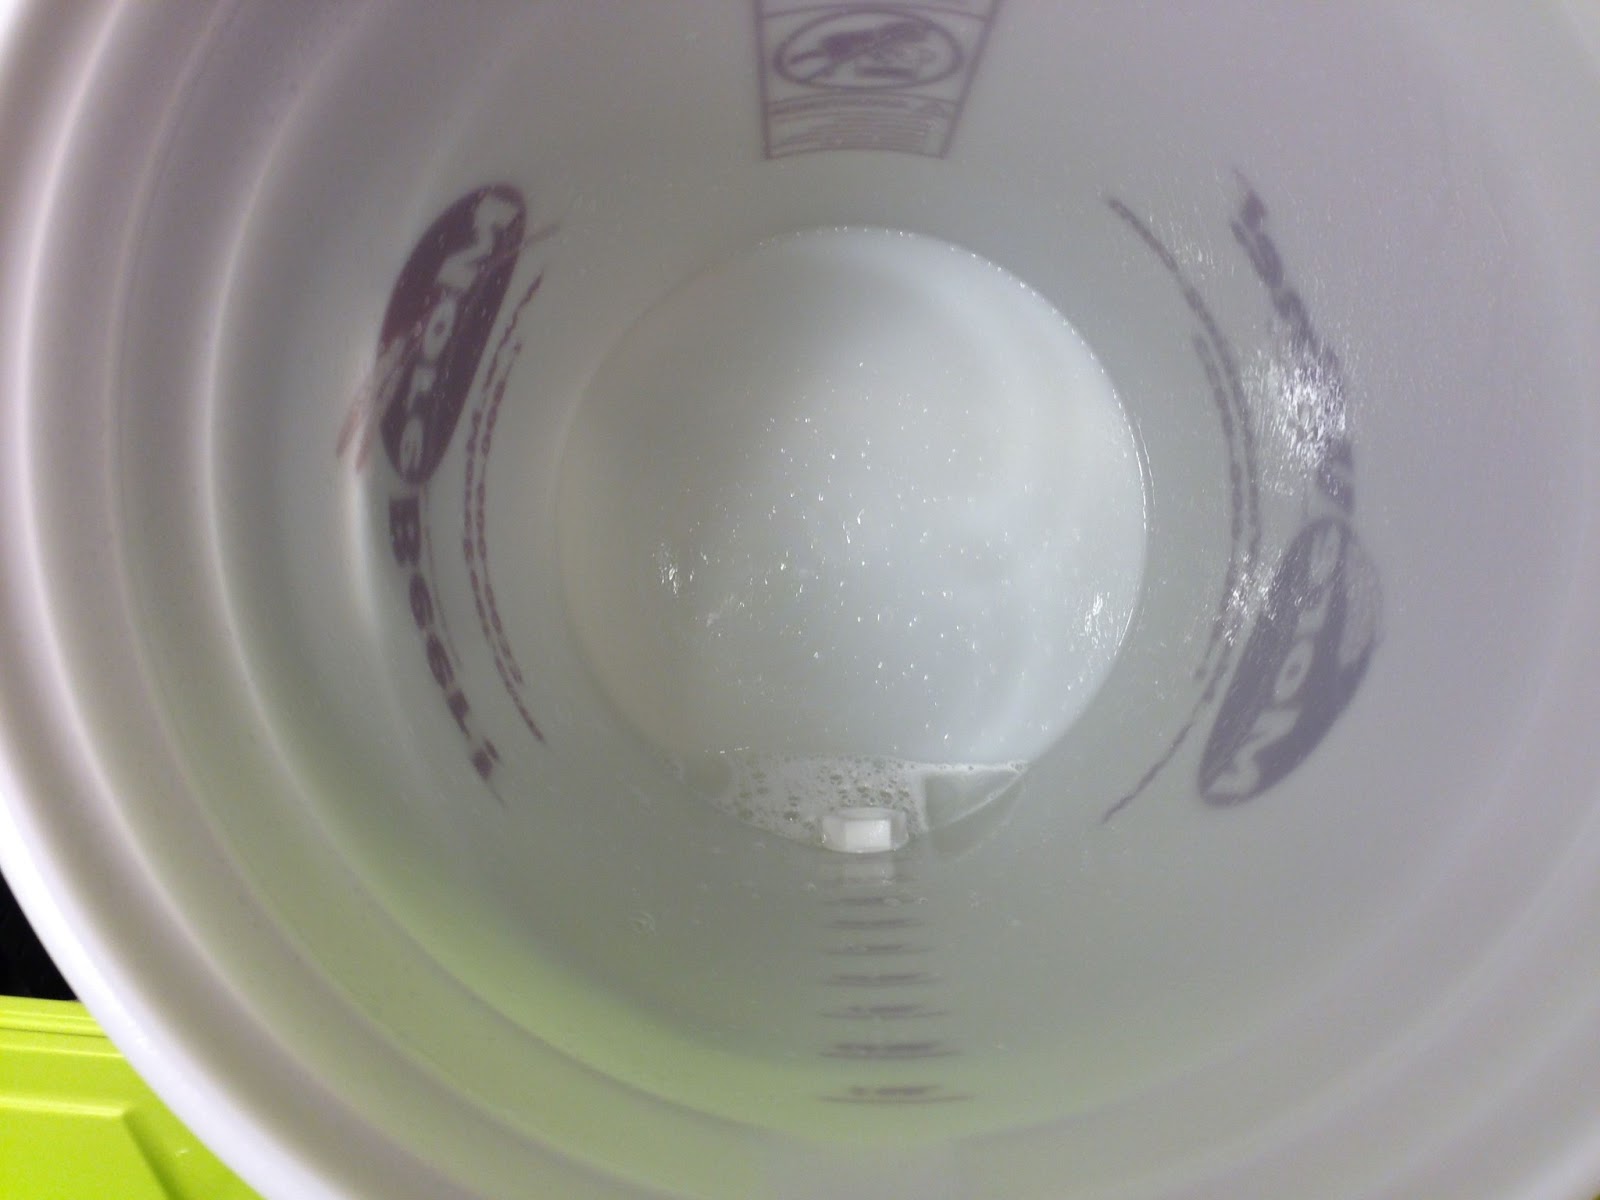
Sanitizing your fermenter: The included directions say to add 1 oz of sanitizer and fill the fermenter the rest the way to sanitize. I’m going to diverge with the official directions here.
The included bottle of Star San is 4 oz:
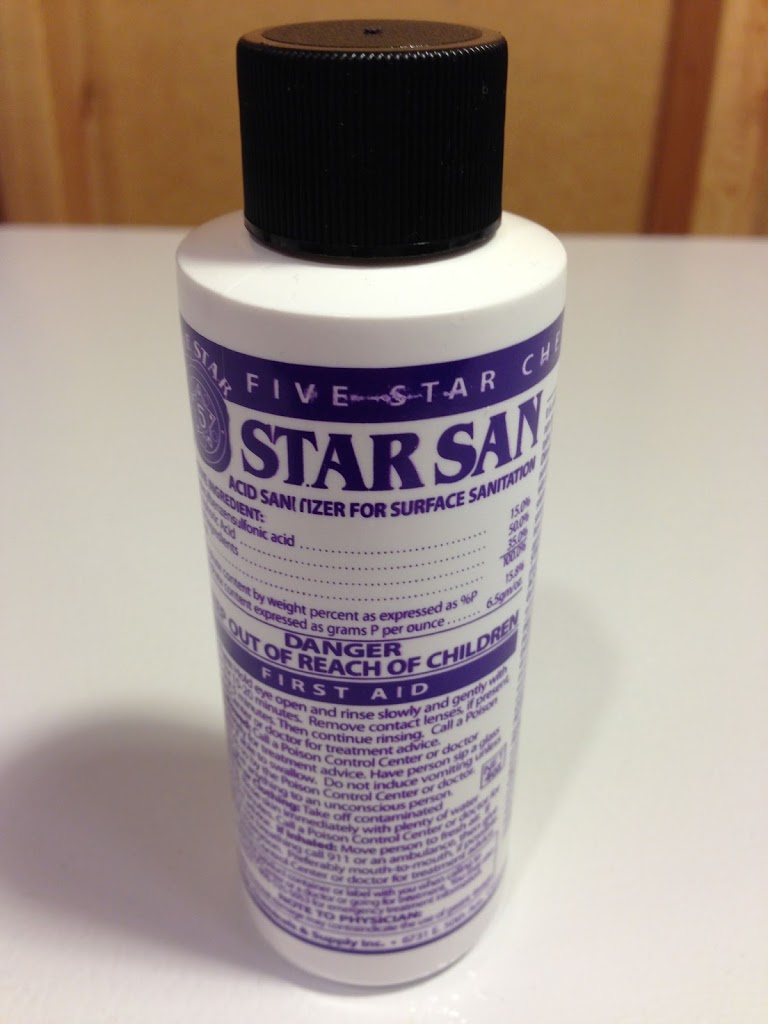

If you use a full 1 ounce of Star San, this bottle will last you for four brews. A much more efficient and arguably easier method is to use the Spray Bottle Method. The crux of that is: Add 6 mL of Star to 1 Gallon of Distilled Water. Fill a Spray Bottle with that. Use the Spray Bottle to coat items in need of sanitization. 4 Ounces is about 118 mL. That’s 29.5 gallons of sanitizer using the Spray Bottle Method. Let’s say you use 1/4 gallon per batch, which is probably high, this one 4 oz bottle will last for 118 batches.
If you’re going to use the Spray Bottle method… empty the five gallons of water and thoroughly soak with Star San using a Spray Bottle. Drain any excess Star San. Place the stopper or a piece of aluminum foil on the opening to minimize air getting back in. Note: You can sanitize the fermenter, and other items, much later in the brew day. I include it here only because the directions combine this step and the 5 gallon marking step.
 Fermenter Sanitized Using the Spray Bottle Method
Brewing:
Step 2: Filling your kettle. “If you are using a 5 gallon kettle, add 2–3 gallons of water to your kettle. If using a 7.5 gallon, or larger, kettle fill with 6 gallons of water. Place kettle on stove and turn on heat.”
I used a 6 gallon kettle for this beer. You can use anything that holds at least 5 gallons. Maybe you have a big spaghetti or chili pot that fits the bill. Either way, make sure to leave some space at the top.

Step 3: Steeping Specialty Grains. “Take your cracked flavoring grains (such as crystal, chocolate, roasted barley, black patent malts, etc.) and put them into a large nylon mesh bag. Put the bag into the heating water and remove when the water reaches 170˚F, allowing about 30 minutes to do so. If you reach 170˚F in less than 30 minutes, turn the heat off and let the grains steep until a total of 30 minutes has passed.”
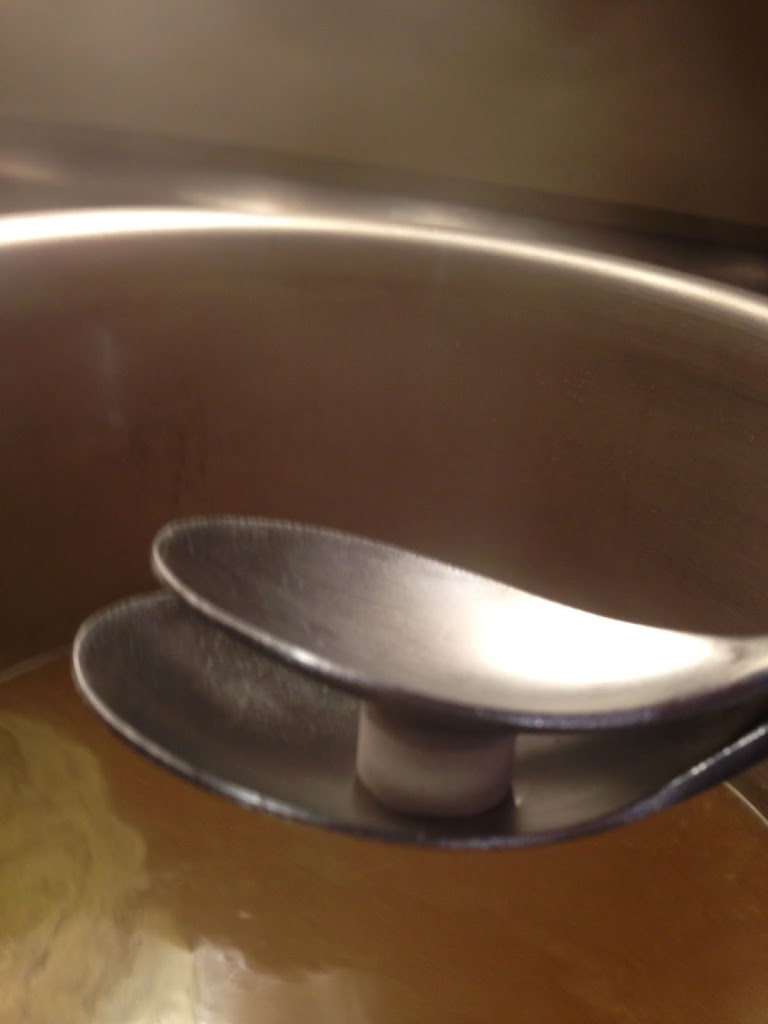
 Here are the specialty grains in the included mesh bag.
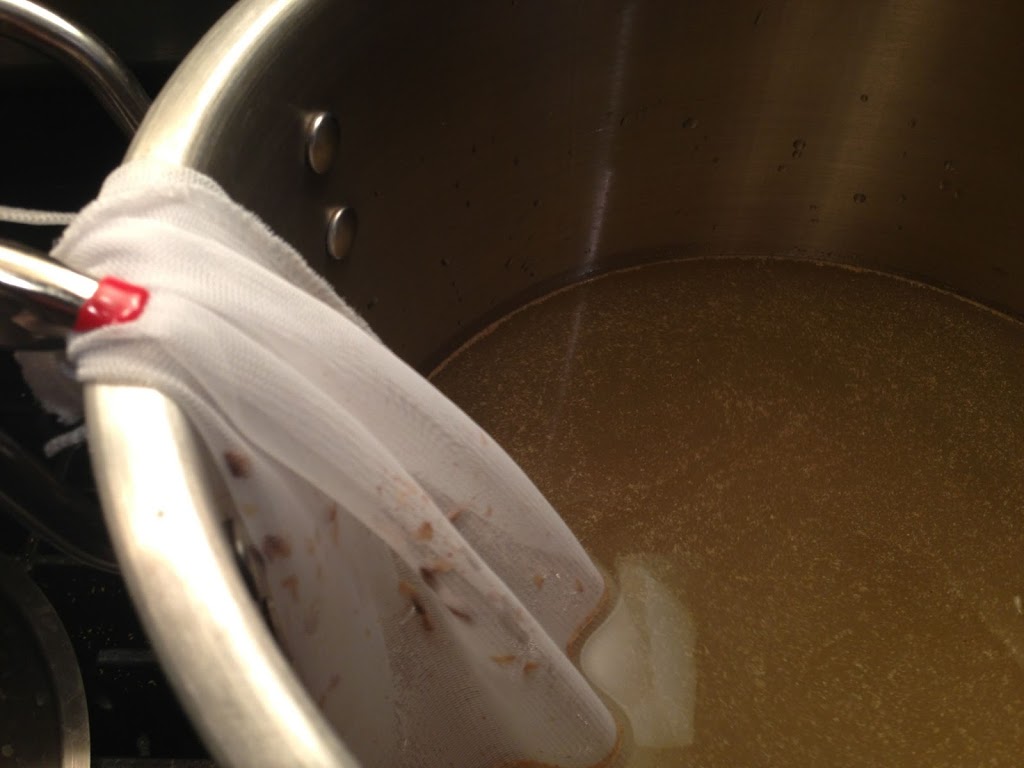 Just in the water. I used a clamp to secure the bag to the side of the kettle.
 Steeping
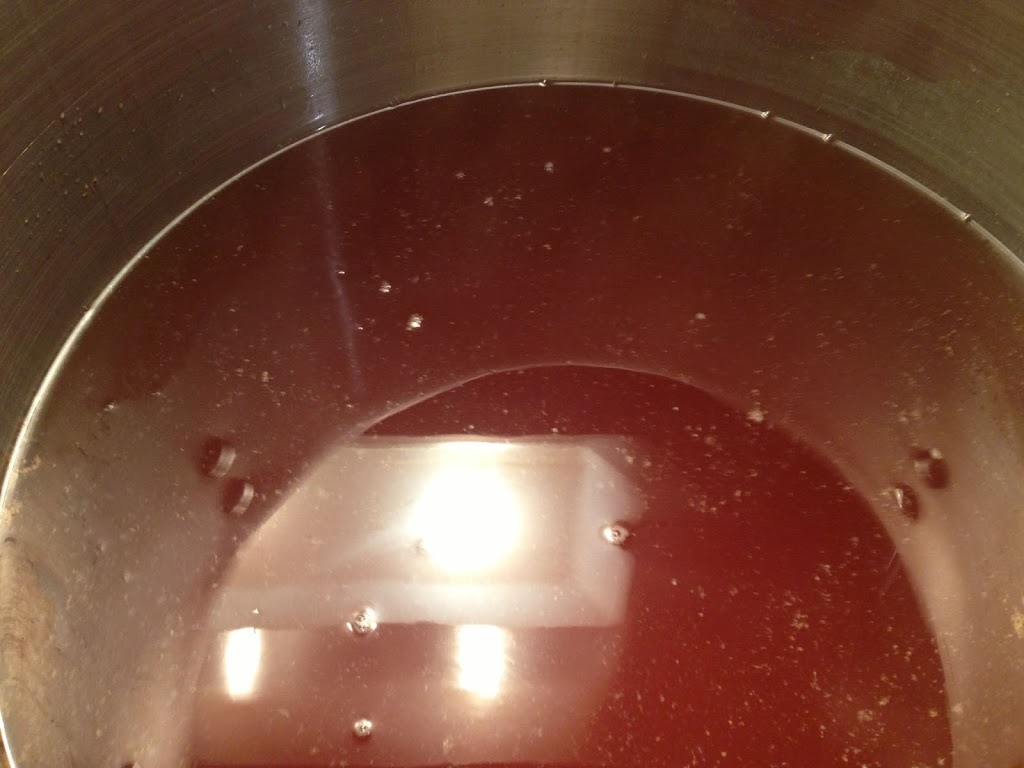 At the end of the 30 minute steep. Wort is up to around 170 deg F. Approximately 30 minutes has passed. You can see that these specialty grains have imparted a lot of color to the beer. They have also imparted flavor to the beer. That’s more difficult to get from the picture. 🙂
Step 4: “Remove the grain bag and continue to heat the water to a boil. Turn the heat off and stir in, so it does not burn on the bottom, the liquid malt extract, dried malt extract (DME), dextrin powder, sugar and/or lactose as called for in the recipe. This solution is now called sweet wort (pronounced wert.) Note: Do not add the 4 oz, white bag of corn sugar; the sugar will be used two weeks from now during the bottling process.”
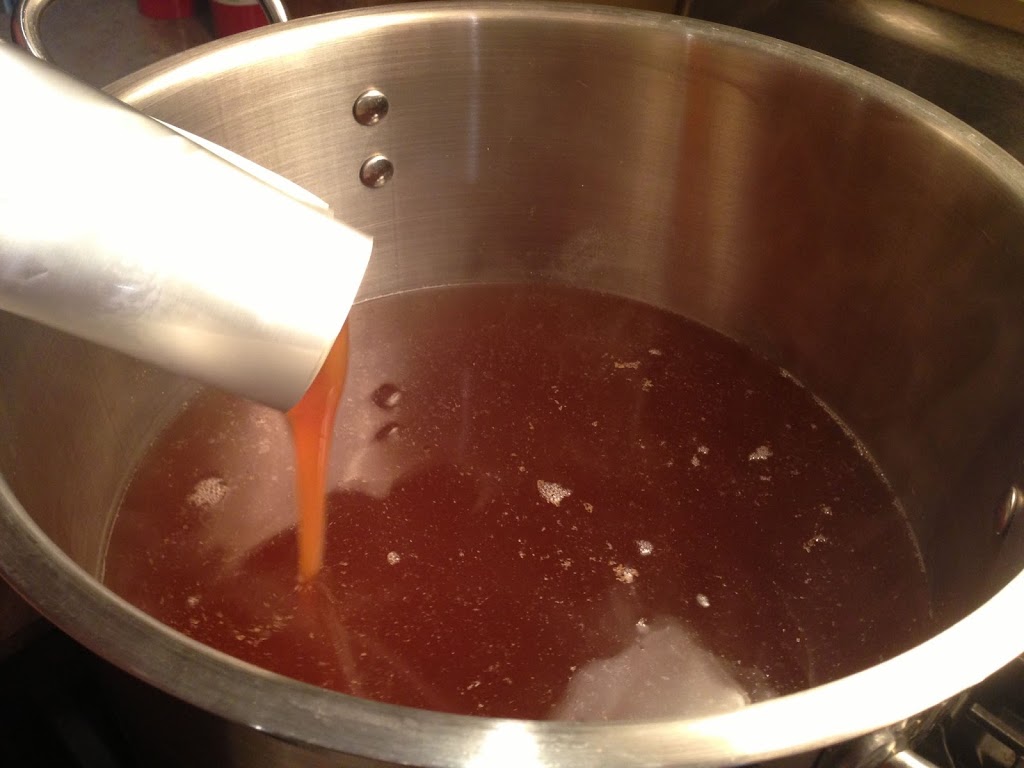 Adding Liquid Malt Extract (LME) from the Zythos IPA Kit. The picture doesn’t show it, but to avoid scorching, make sure and remove your kettle from the heat and continuously stir.
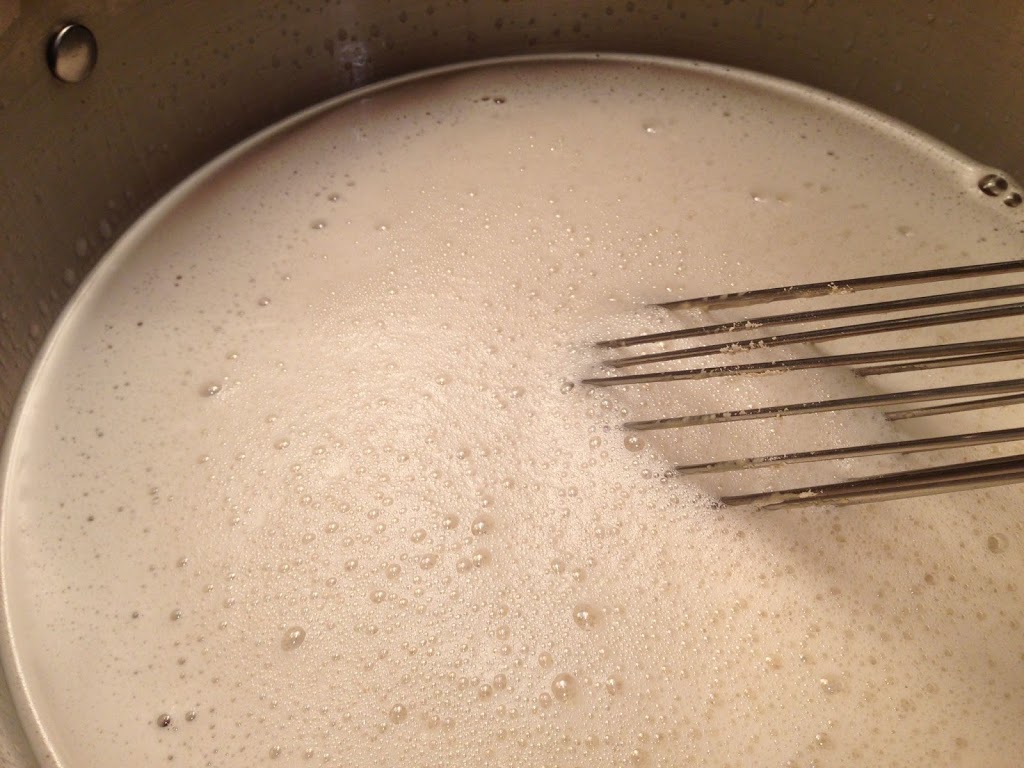
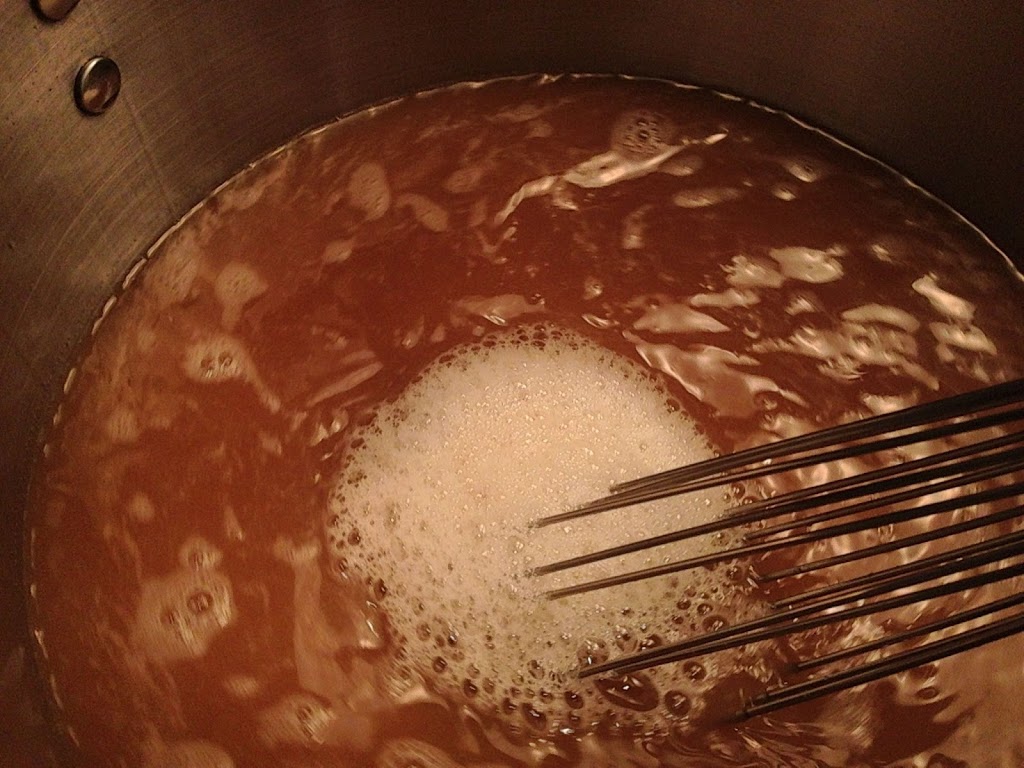 Incorporating LME. This kit does include a nice large stainless spoon that will work well for this. I just couldn’t resist using my 24″ whisk.
 This recipe calls for some additional Dry Malt Extract (DME) and Maltodextrin They have just been added in this picture.
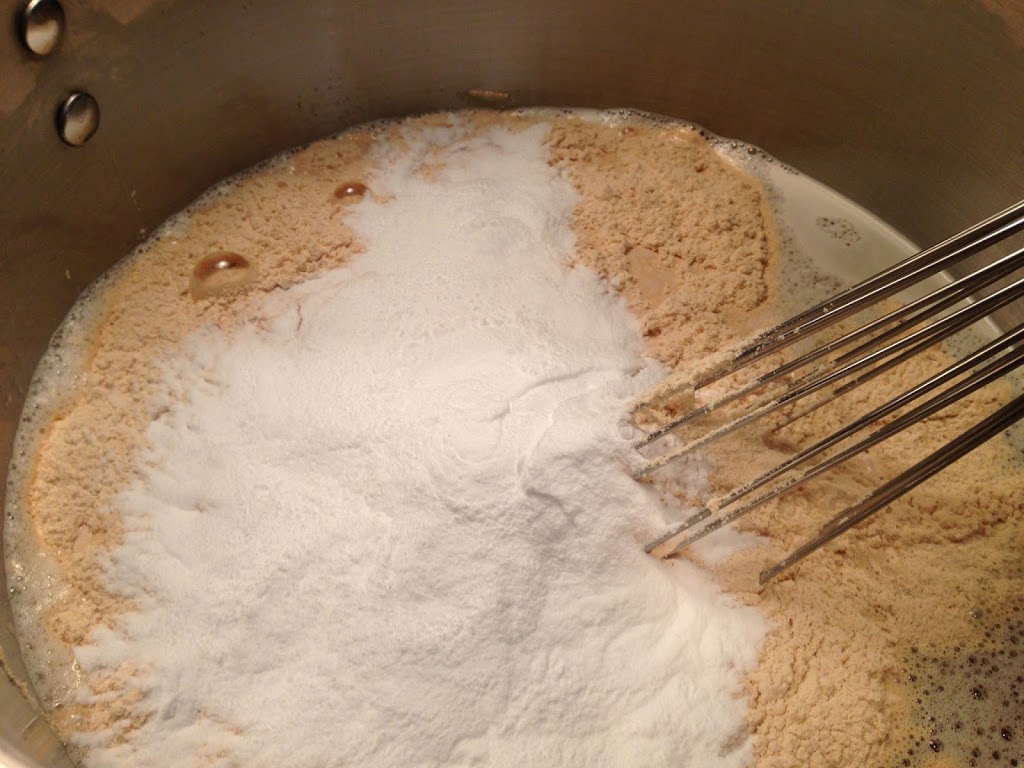
 After a little bit of stirring
 After a little more stirring
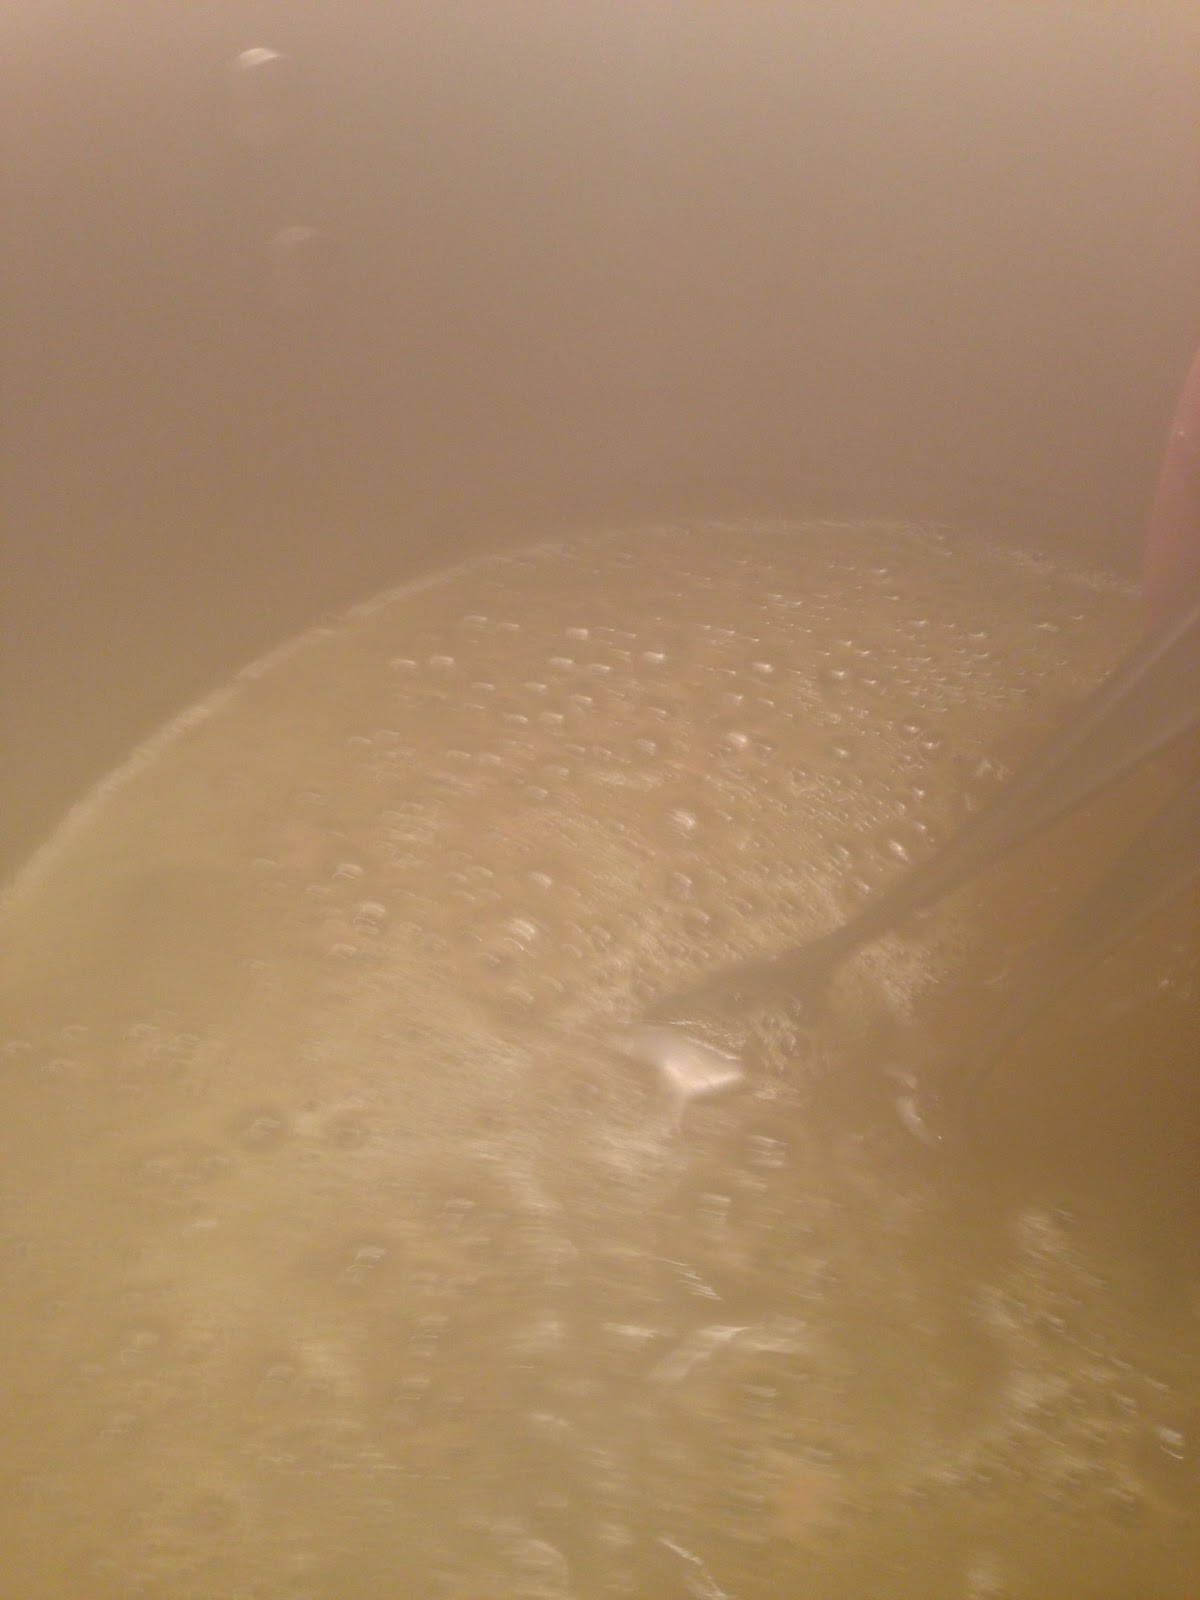
Step 5: “Turn the heat back up and bring to a boil. Stay near your kettle! When your wort begins to boil, you will notice foam starting to rise. You need to be there to turn down the heat. When the foam drops, reapply heat and proceed to boil.”
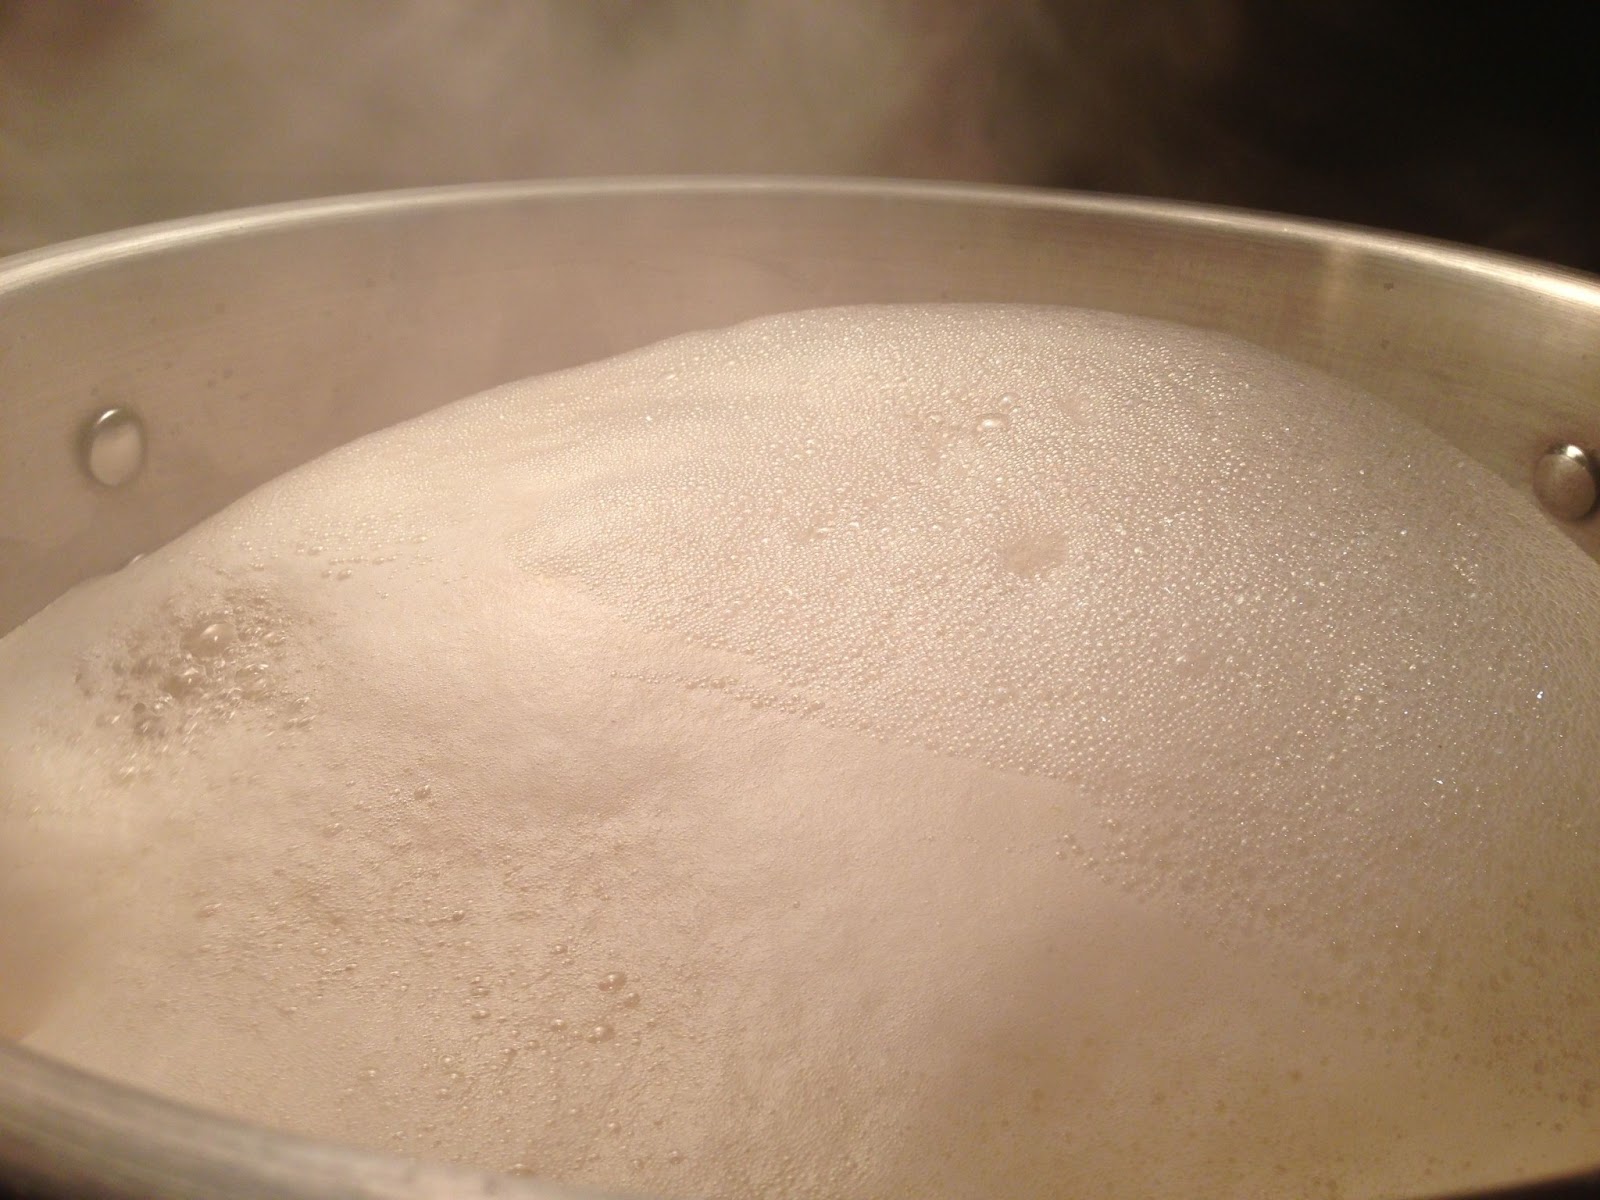 Hey, remember in the directions where it says “you will notice foam starting to rise”. Yeah, here’s that happening. You don’t want this to boil over. Ask me how I know. 🙁 Tips: 1. Reduce heat, 2. Stir the foam. You don’t need to stir the whole thing, just stir the foam to break up bubbles. That’s easier, faster and more effective than trying to stir the whole mass.
Step 6: “Add your bittering hops. Put the hops in a fine mesh nylon bag if available. If you do not have a bag add them directly to the boil. Boil for 60 minutes.”
This is going to be recipe specific. Most recipes do call for a 60 minute hop addition.
 60 minute hops added. Sometime’s you’ll get a bit of a hop break when you add hops. Something to keep in mind if you’re using a kettle that’s really tight on space.
 In all More Beer’s Zythos IPA Kit has four additions – 60 minutes, 20 minutes, 5 minutes and 1 minute. One of the later additions is pictured above.
Step 7: “You now need to sanitize any equipment that might come in contact with the beer once it drops below 160˚F. This list includes a lid (if you are using a plastic bucket fermenter), an airlock, funnel, thermometer, hydrometer sample taker, all stoppers, and anything else that will come in contact with the cooling wort. Put all this equipment into the sanitizing solution that you made earlier in step 1.”
Anything that touches your beer after it has cooled needs to be sanitized.
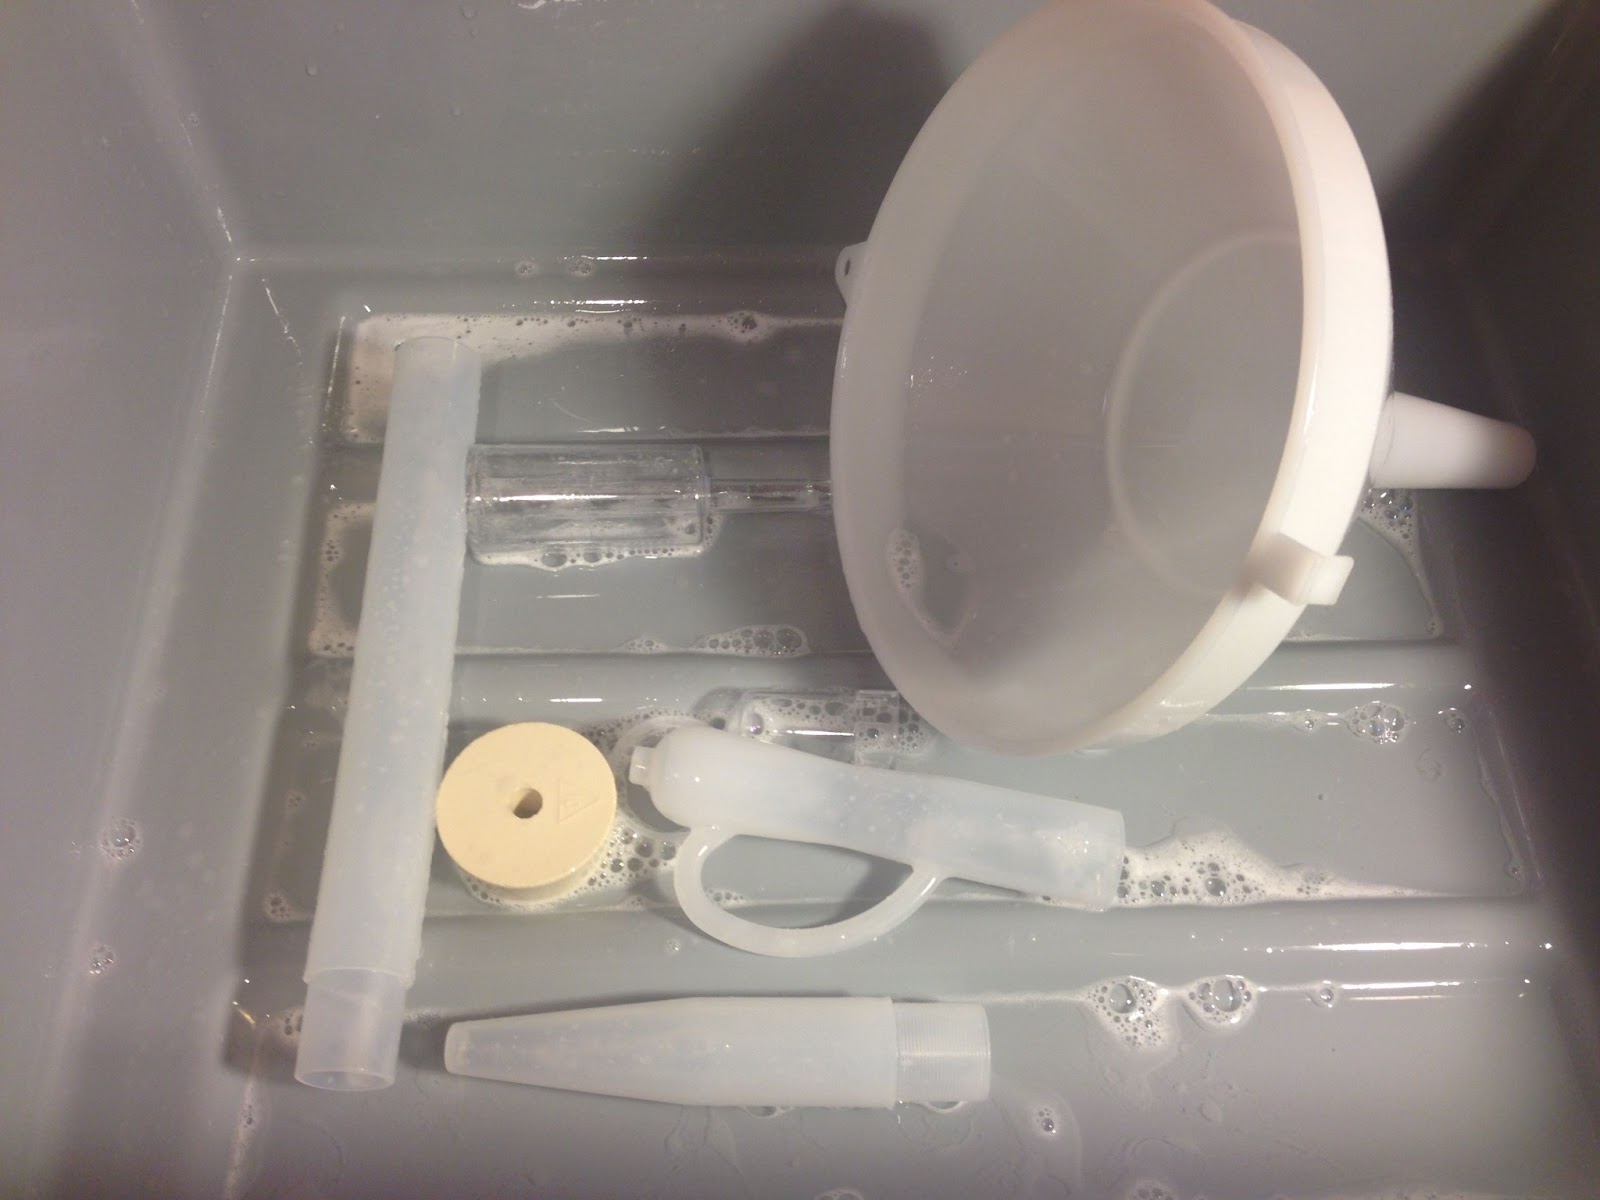 I found it necessary to sanitize: The included funnel, airlock, stopper and the sample taker (wine/beer thief). The fermenter was already sanitized in step 1. Not pictured: You’re going to want to sanitize the thermometer before you use to to check chilled wort temperature.
Step 8: “With 20 minutes left to the end of your boil, sanitize your wort chiller (for larger kettles) by placing chiller into the boiling wort.”
I skipped this as these directions assume you do not have a wort chiller.
Step 9: “With 5 minutes left in the boil, add the Whirlfloc tablet. Read addendum *4 for info on Whirlfloc.”
More Beer includes a Whirlfloc tablet in all of their kits. Addendum 4 States: “Whirlfloc is a natural product made from seaweed. It helps to clear your beer by attaching to protein molecules which then become heavy and fall out of solution.”
 I put Whirlfloc tablets between two spoons and crush them right over the boil kettle. I then use those spoons to mix it in.
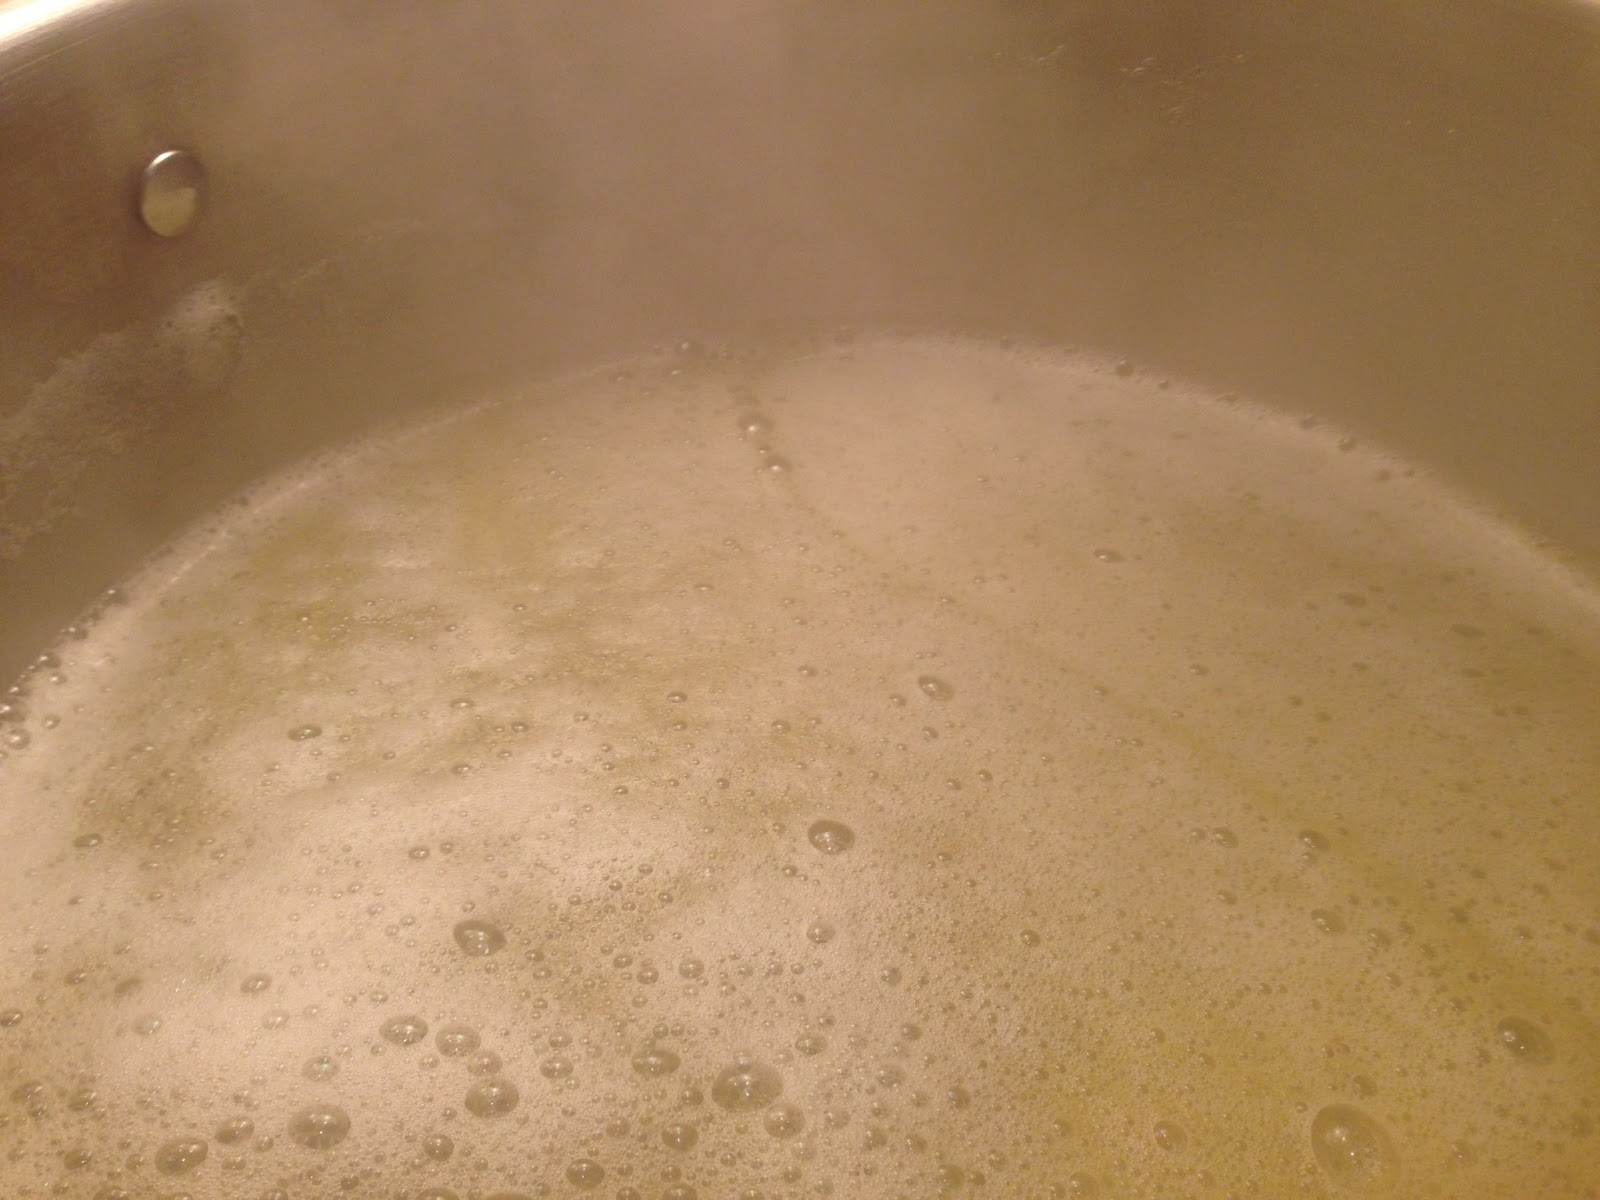
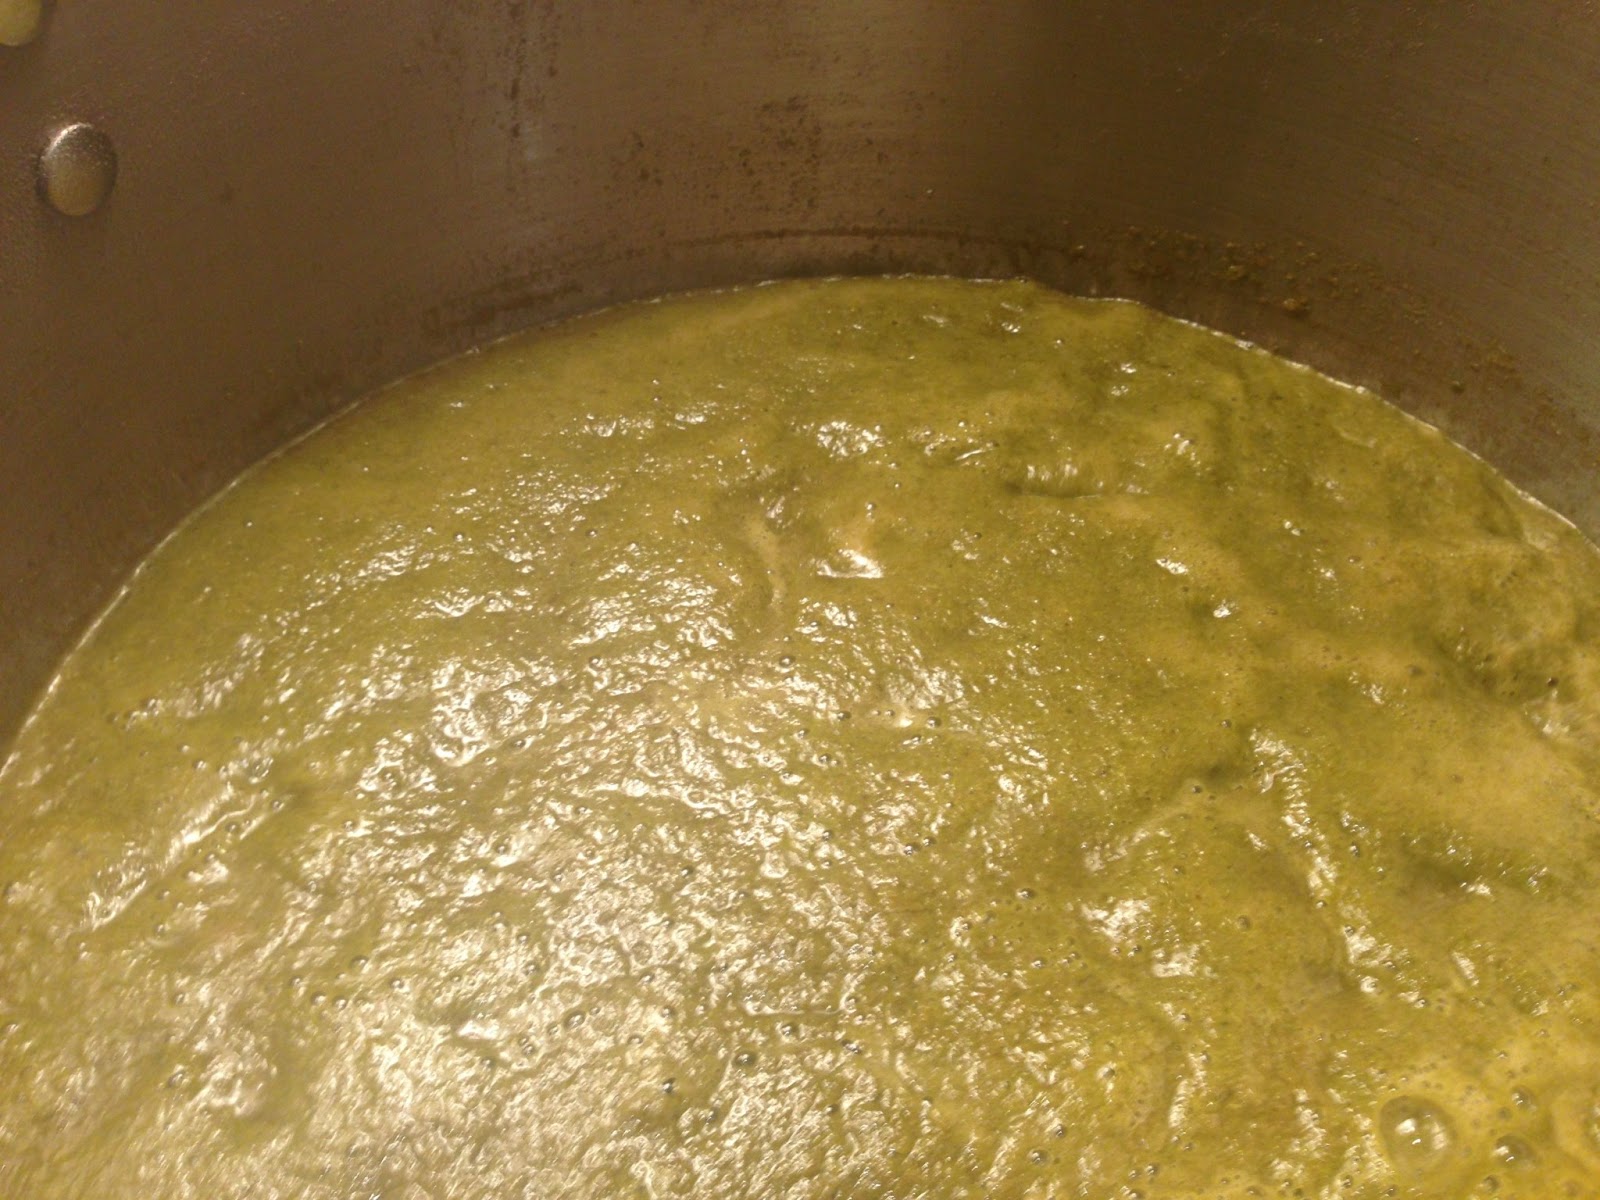
 Whirfloc causes proteins to coagulate and fall out of suspension. Keep an eye on our kettle as this usually causes some foaming.
Step 10: “Add your hops according to the recipe, with 10, 5, or 1 minute(s) left in the boil. Use fine mesh nylon hop bags if available.”
 The final 1 minute, 2 ounce addition of Zythos pellets.
Chilling:
Step 11: Cooling Wort (for partial boils). The directions basically have you chilling in an ice water bath in your sink until you get down to 130 deg F and then draining this into a fermenter filled with ice water. Read the directions for more information on that. I took a slightly different approach.
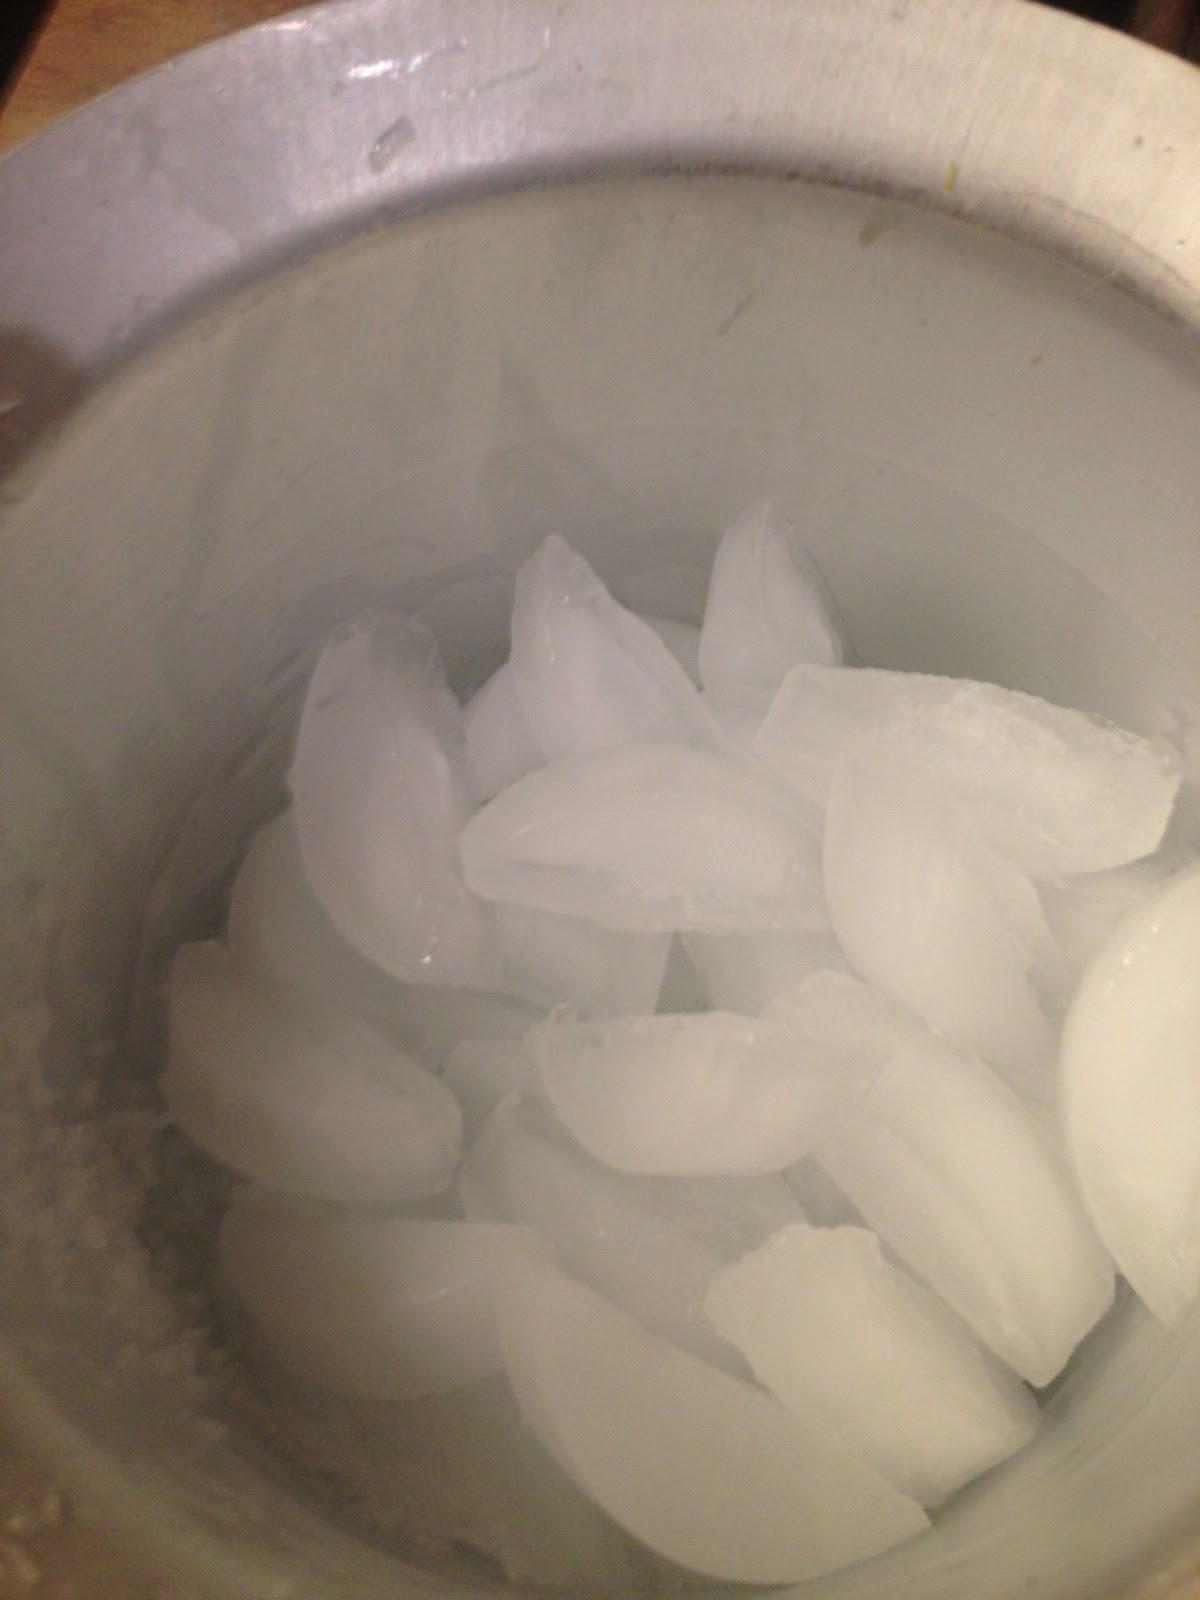 I added about 2 quarts of ice cubes directly to the kettle (be careful for hot splashing wort!). This brings the temp down a fair bit, quickly.
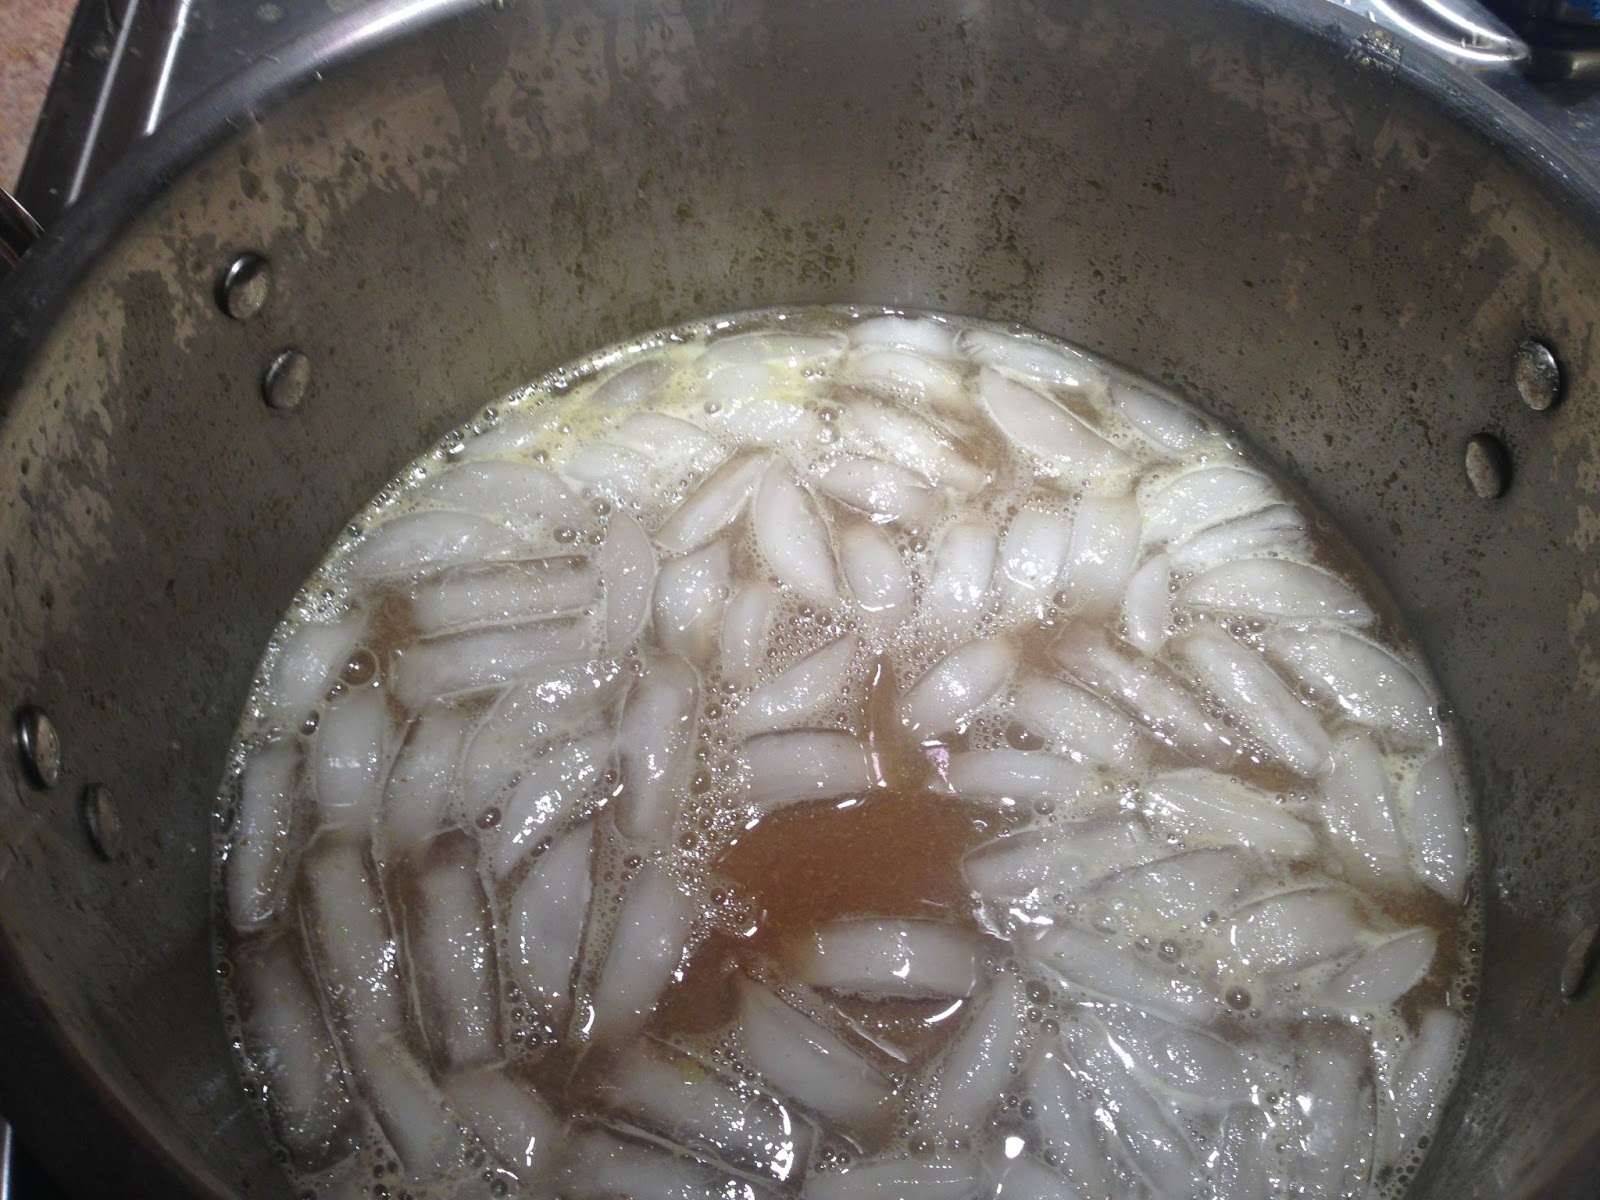 Right after adding ice
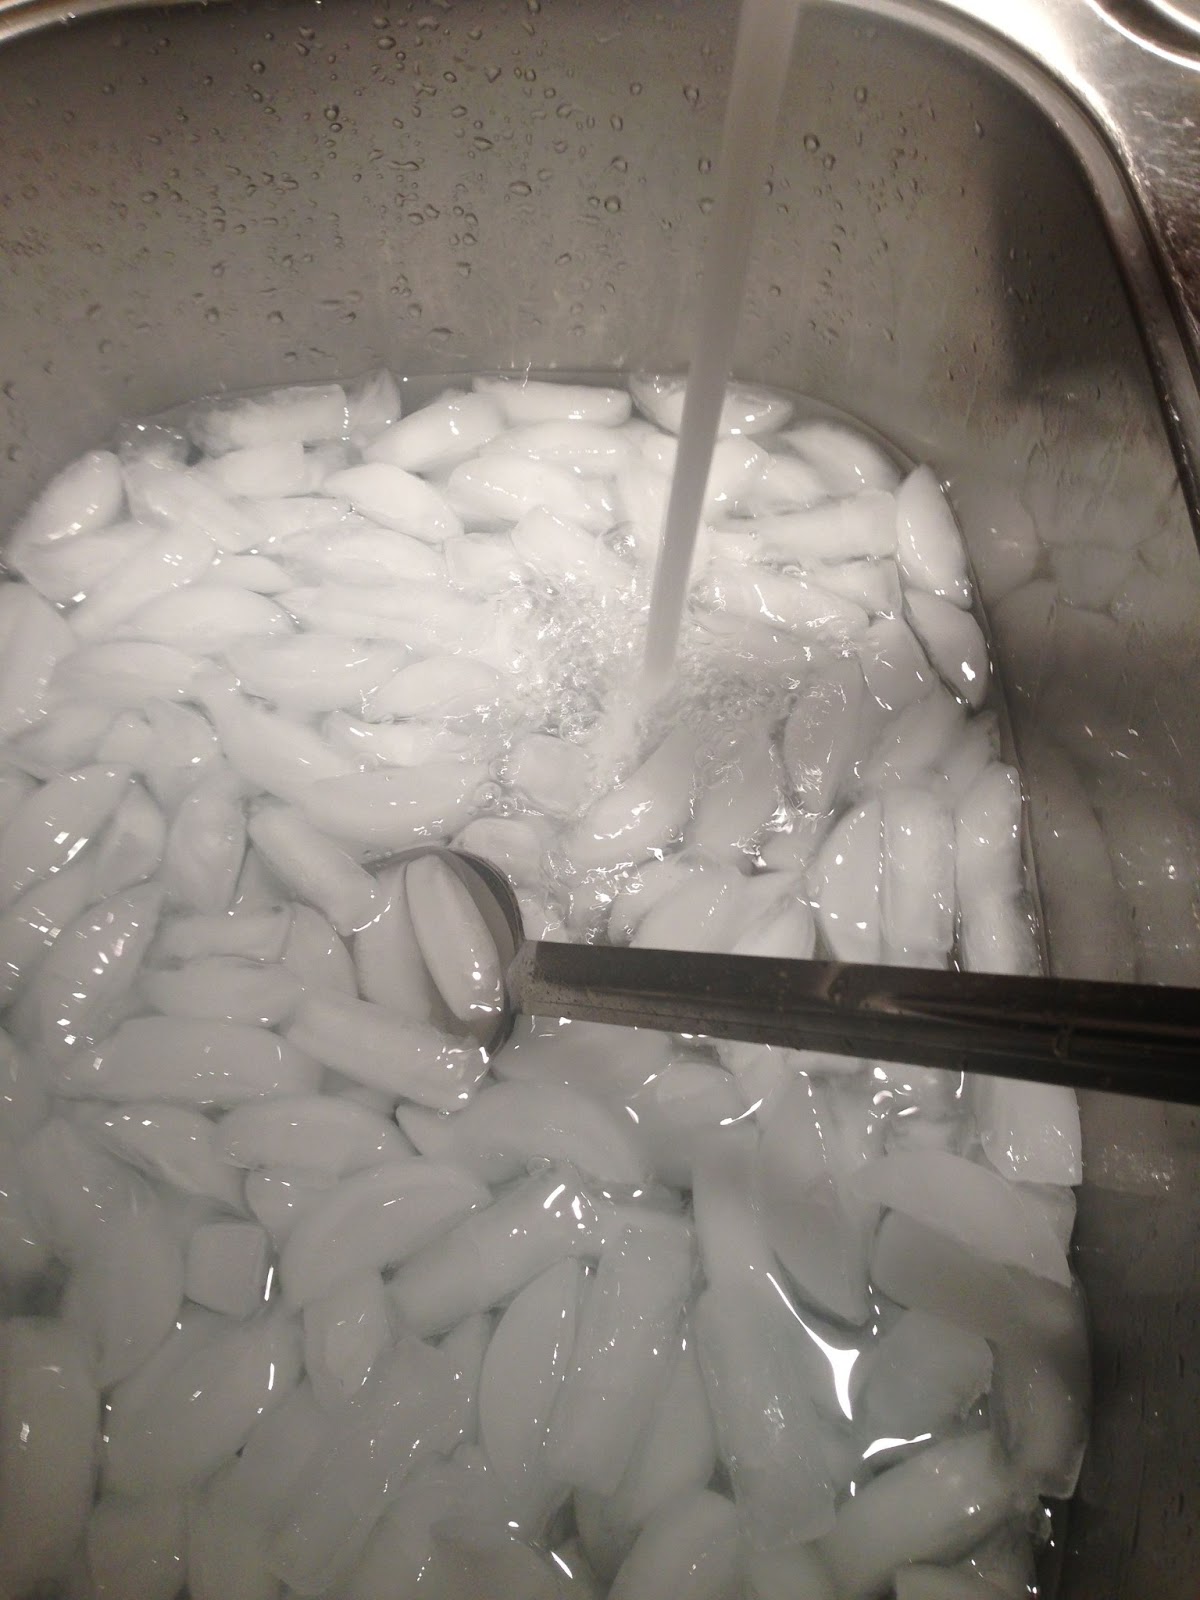 Preparing an ice bath
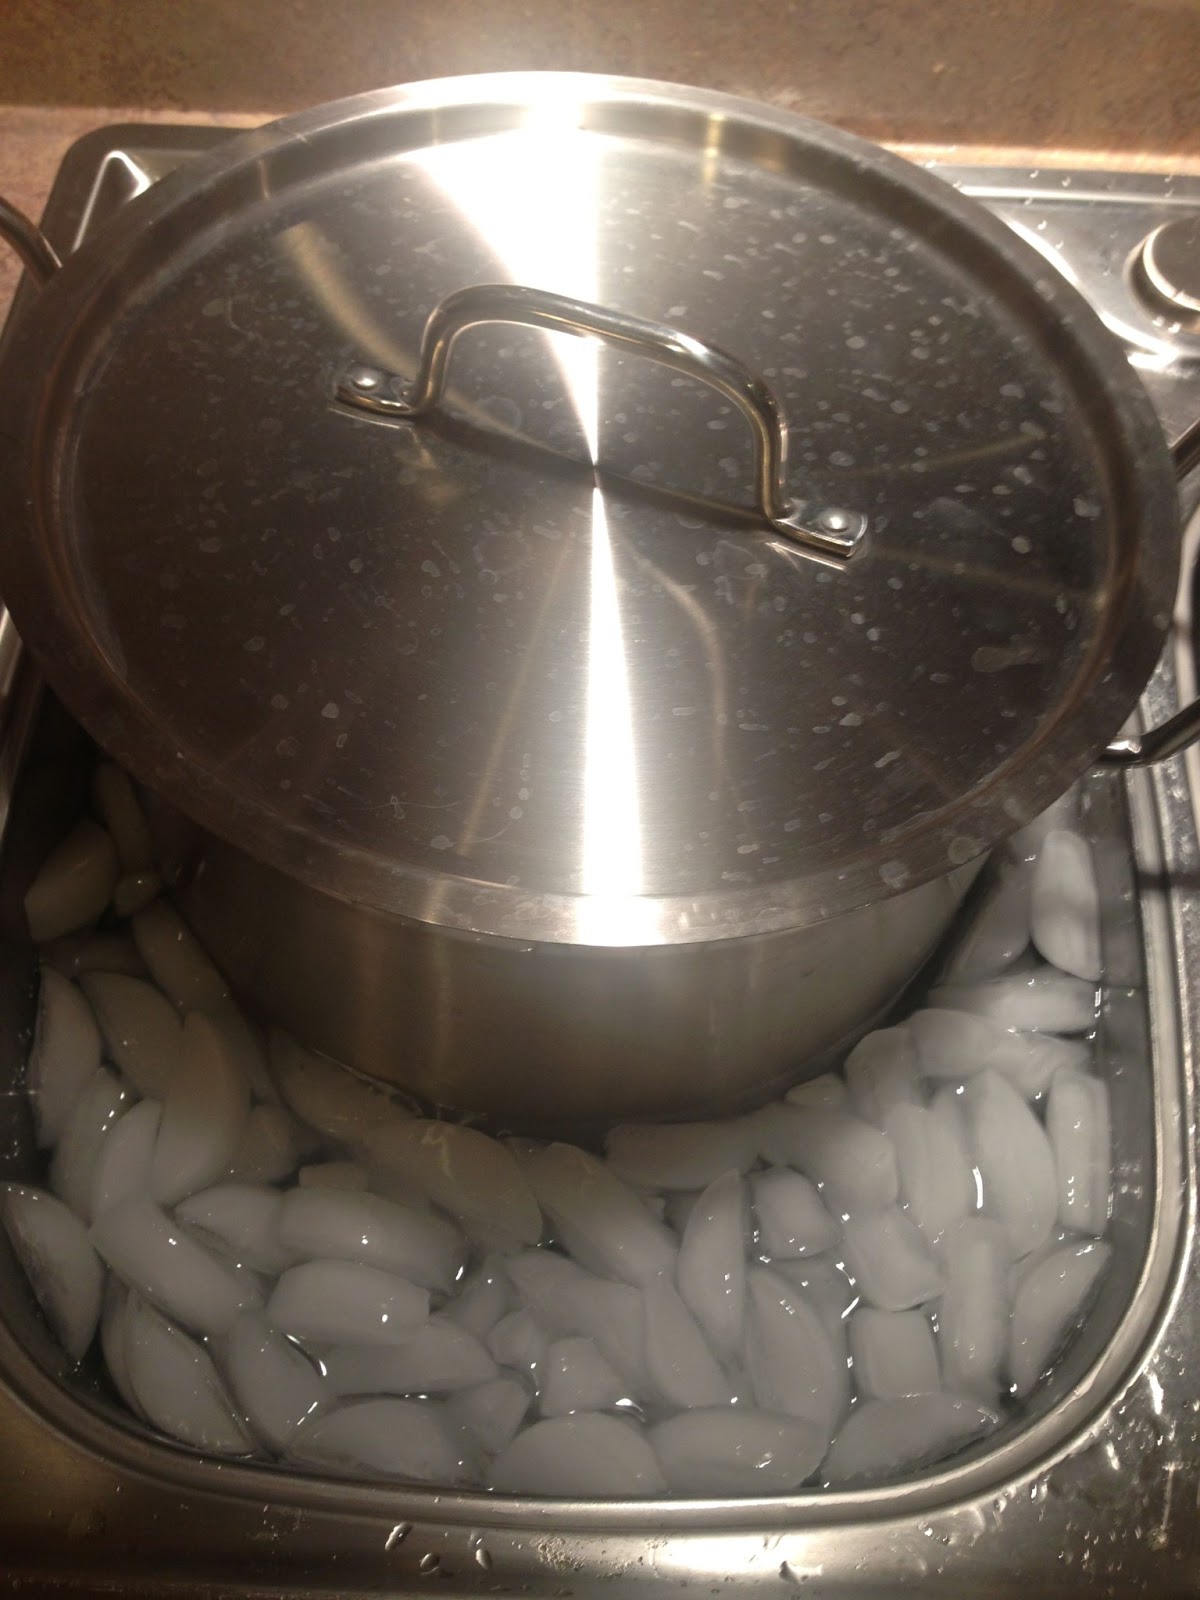 Kettle in ice bath. Leave the lid on your kettle while chilling. I periodically spin or otherwise agitate the kettle to speed up the cooling process.
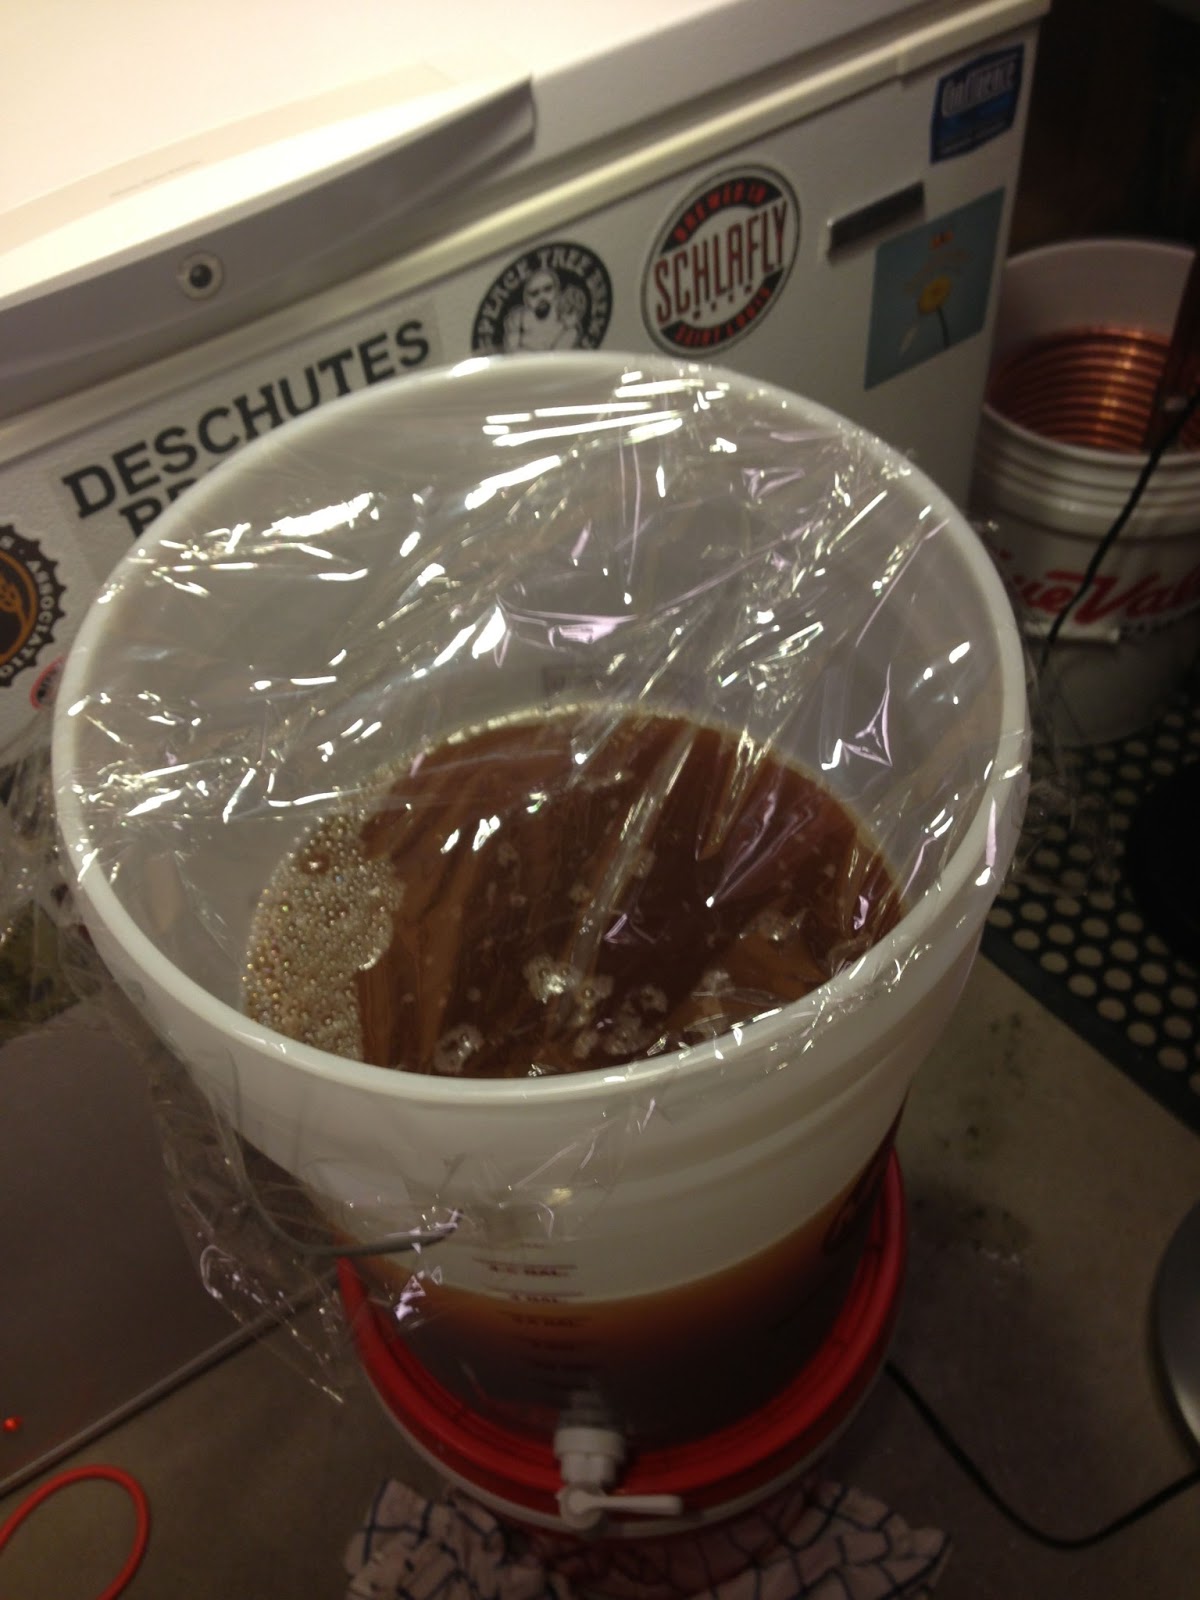
When the wort is chilled to between 70 and 80 degrees carefully pour it into the fermenter using the included funnel. Top up as required to achieve a total volume of 5 gallons.
 Chilled wort in the fermenter
Step 12: These instructions are for chilling wort when doing a full boil. I skipped this step.
Step 13: “Once the wort is into the fermenter, cover the opening with a lid (plastic bucket) or solid stopper (carboy). If the temperature dropped to between 70–80˚F, proceed to step 13, if not you will have to do additional cooling.”
Step 14: “If using dry yeast you will want to re-hydrate the yeast in accordance with the directions on the packet. If no directions are printed on packet, add dry yeast to 4 oz of warm (86–92˚F) water for 15 minutes. If using liquid yeast there is no need to do anything at this time.”
I ordered Safale US-05 dry yeast along with this kit. I typically do rehydrate dry yeast, but I did not for this beer.
Step 15: “Take a hydrometer reading and mark it down on the recipe sheet. If using buckets utilize the spigot to get a sample. If using a carboy utilize the sample-taker to get a sample. Do not return your sample to the rest of the wort. You take a hydrometer reading to determine how much sugar is in the sweet wort.”
Fermenting:
Step 16: “Add the yeast.”
Step 17: “If brewing an ale, ideally keep your fermenter in a dark spot and at a room temperature between 65–70˚F. Fermentation varies with individual conditions, but normally it starts in about 1–2 days and finishes in about 3–7 days.”
 Find a temperature stable place to ferment your beer. Places to consider: Basement, Closet, Bathroom Tub or a tub filled with water. I placed mine in my temp controller fermentation deep freeze.
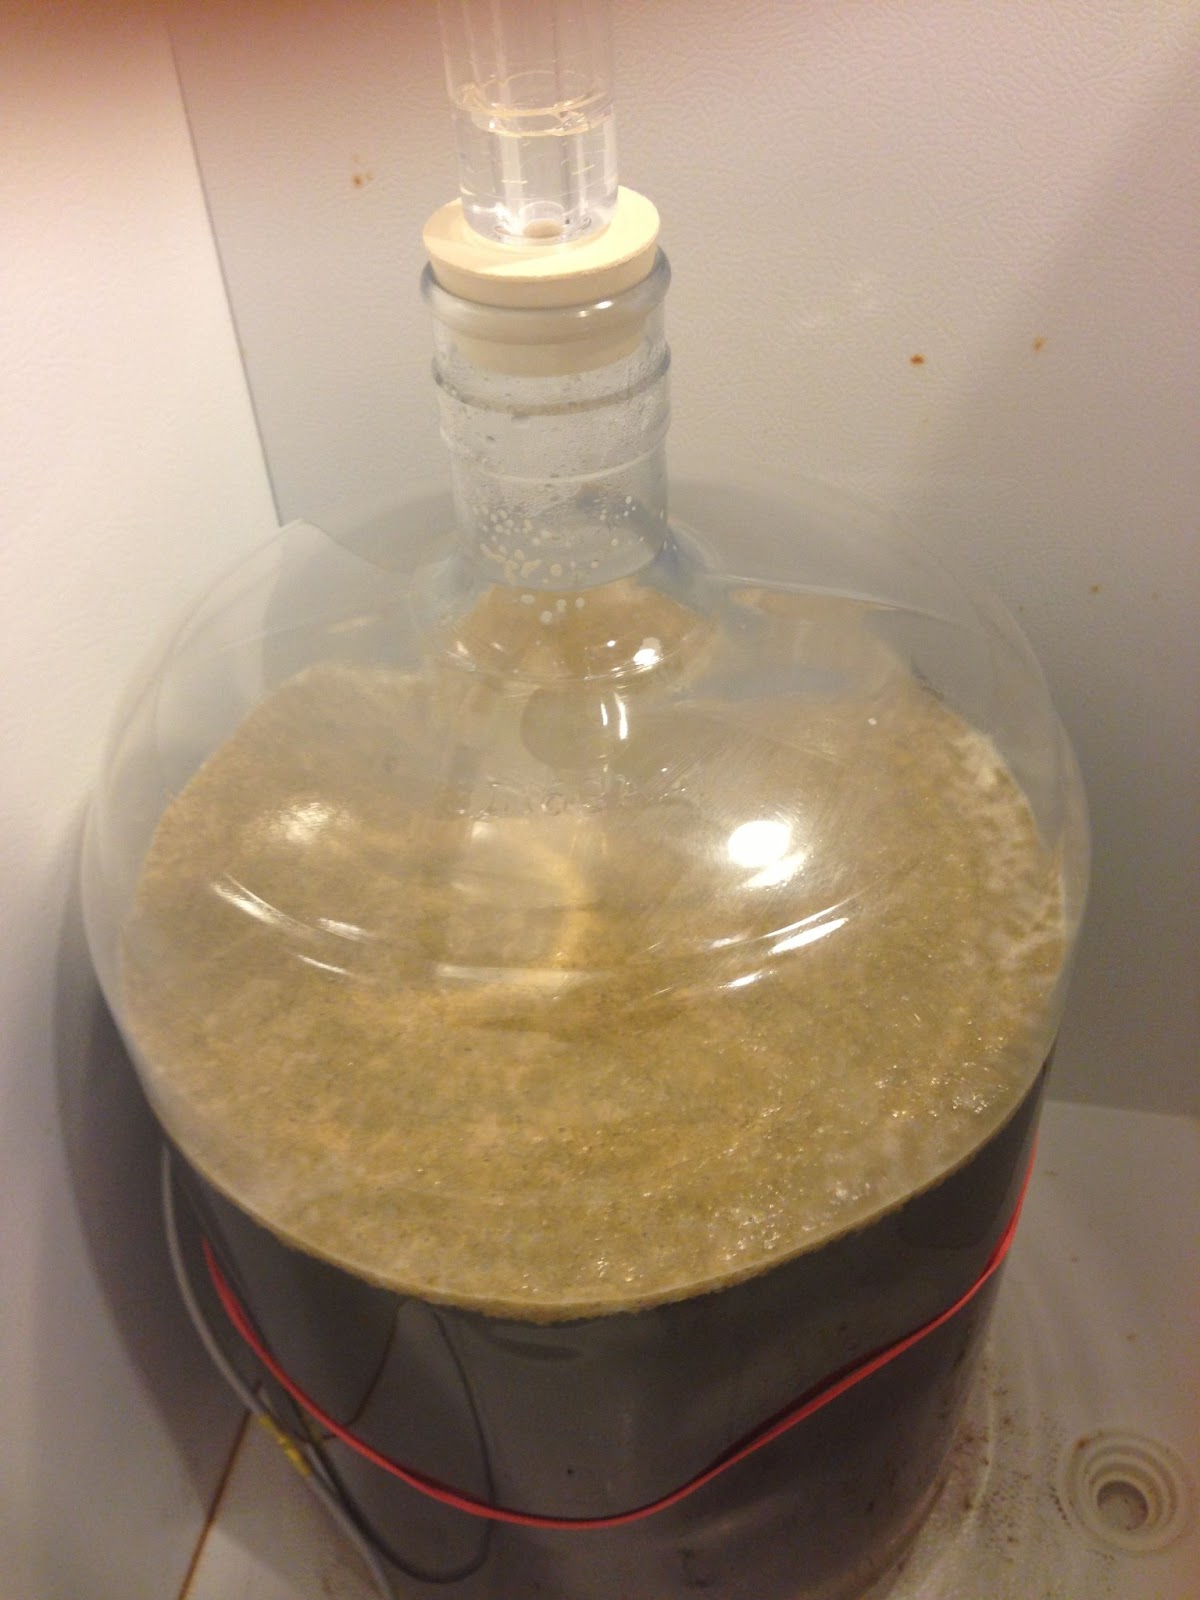
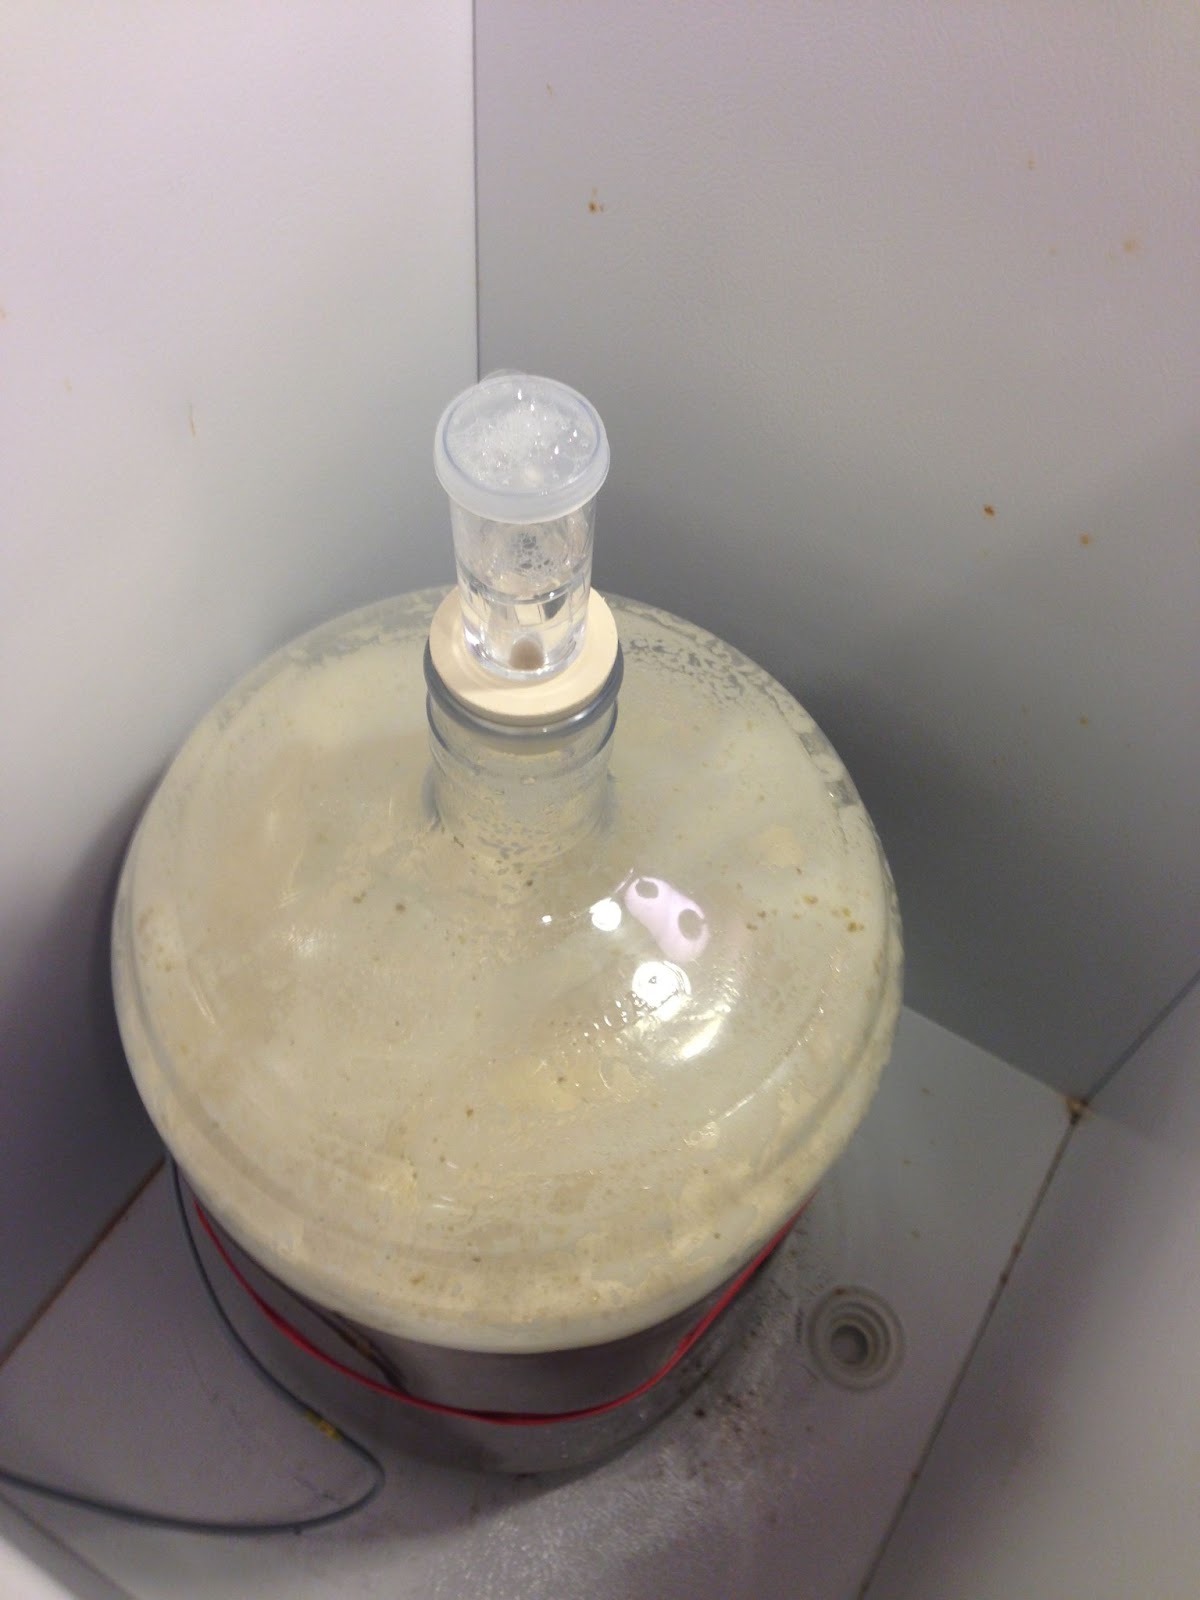 Fermentation is up and going within 24 hours or so.
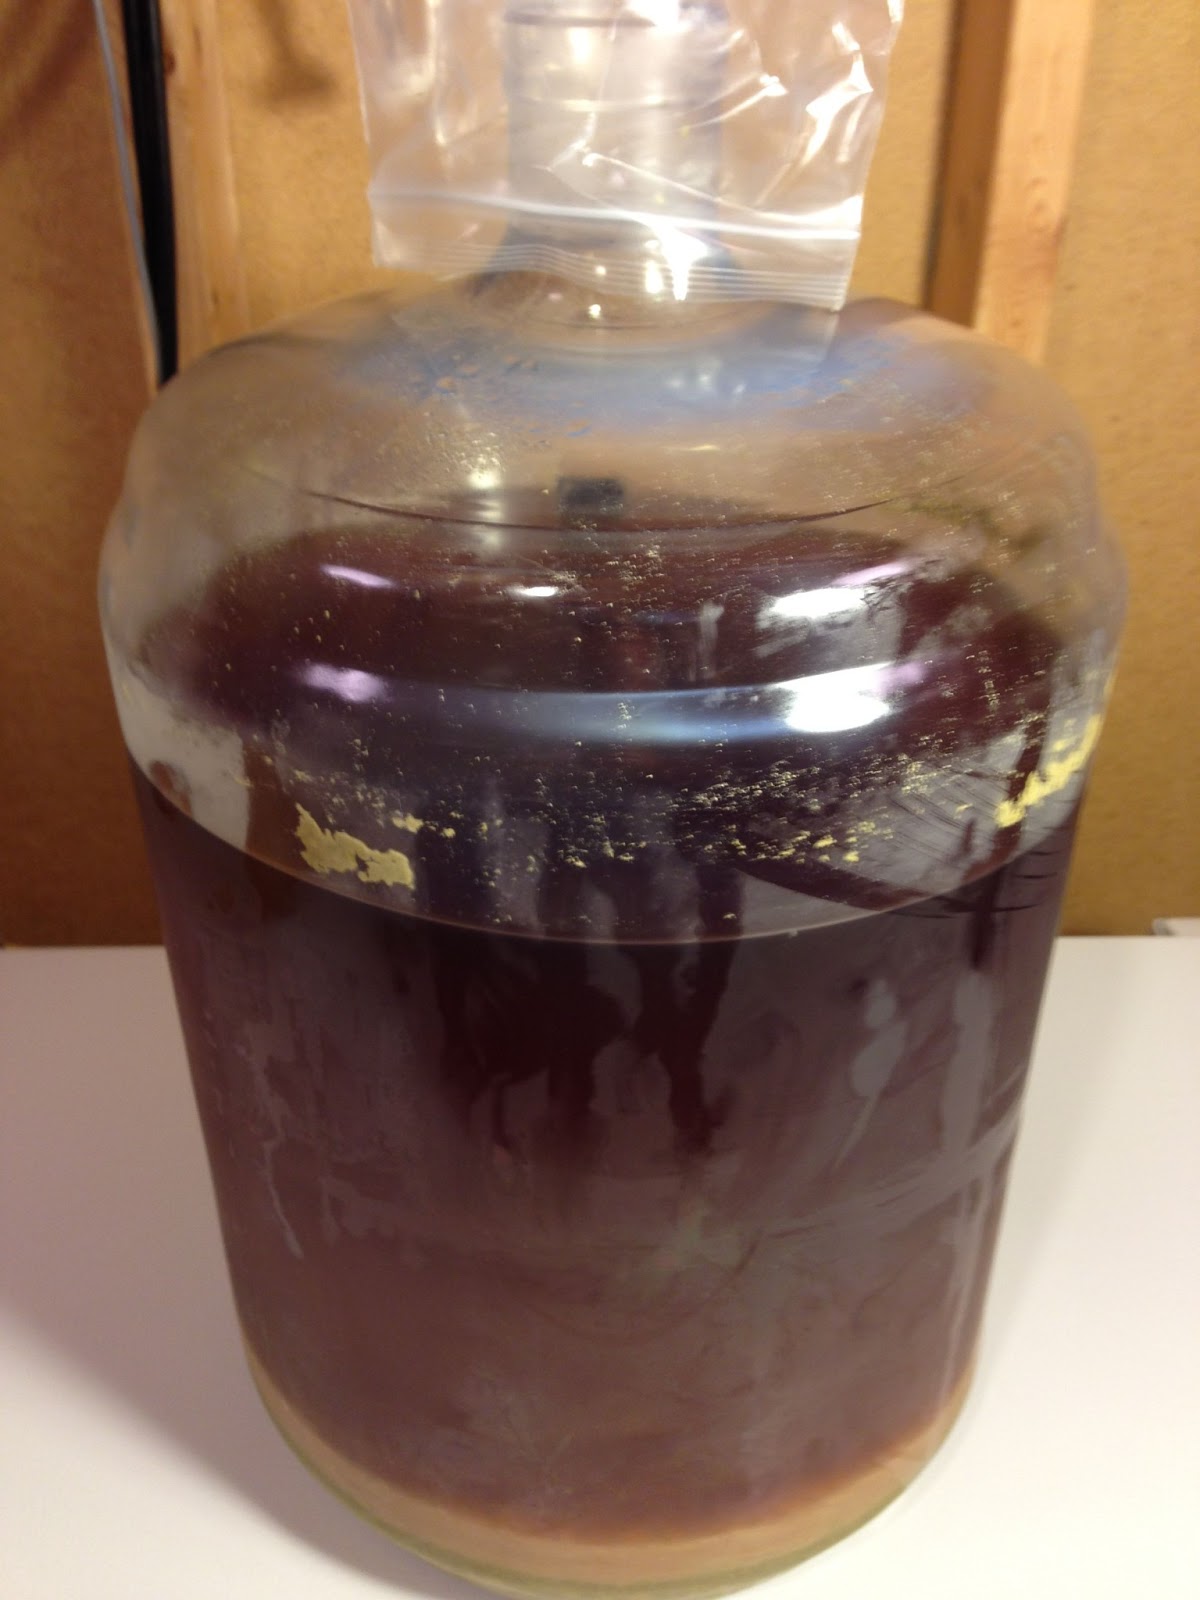
 Here’s the beer 3 days after pitching.
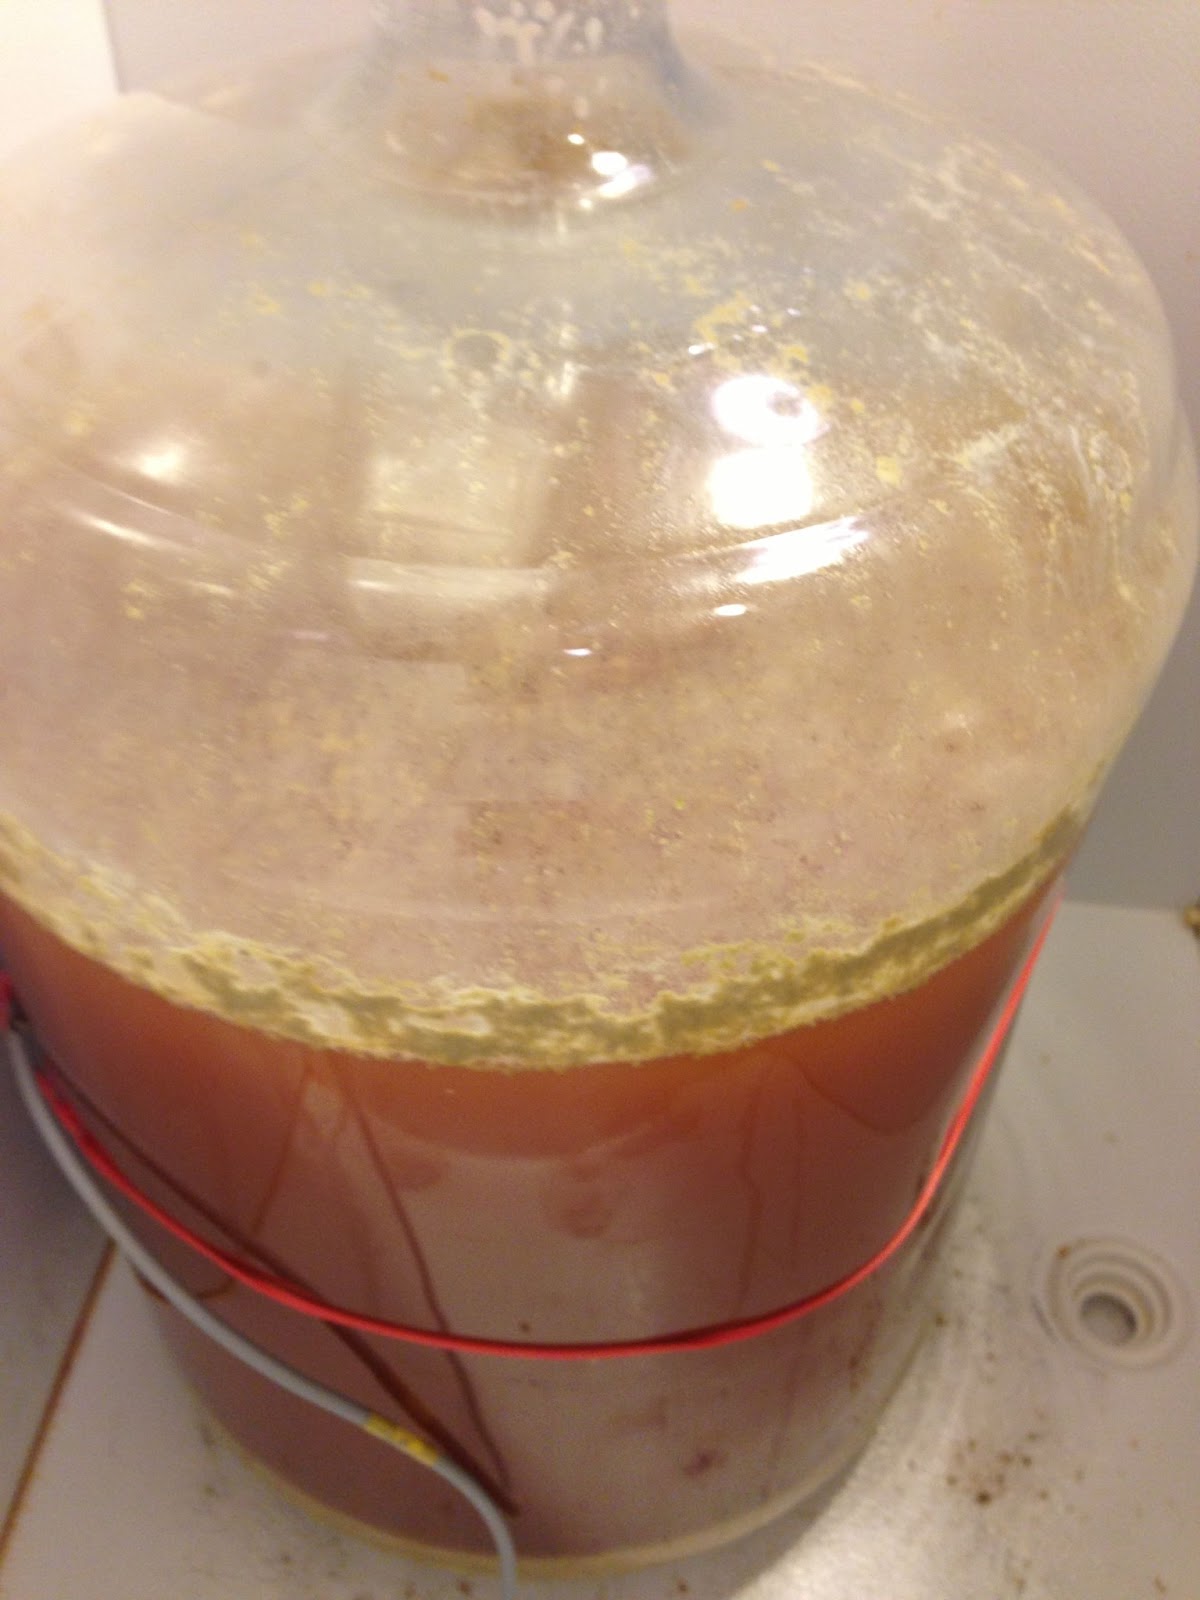 Here’s the beer 5 days after pitching. Fermentation has slowed noticeably. Airlock activity has markedly slowed down, the krausen/foam has dropped and the beer is starting to clear.
Step 18: “After approximately 14 days, allowing seven for fermentation and seven for settling, the beer is ready to be bottled or kegged.”
Bottling:
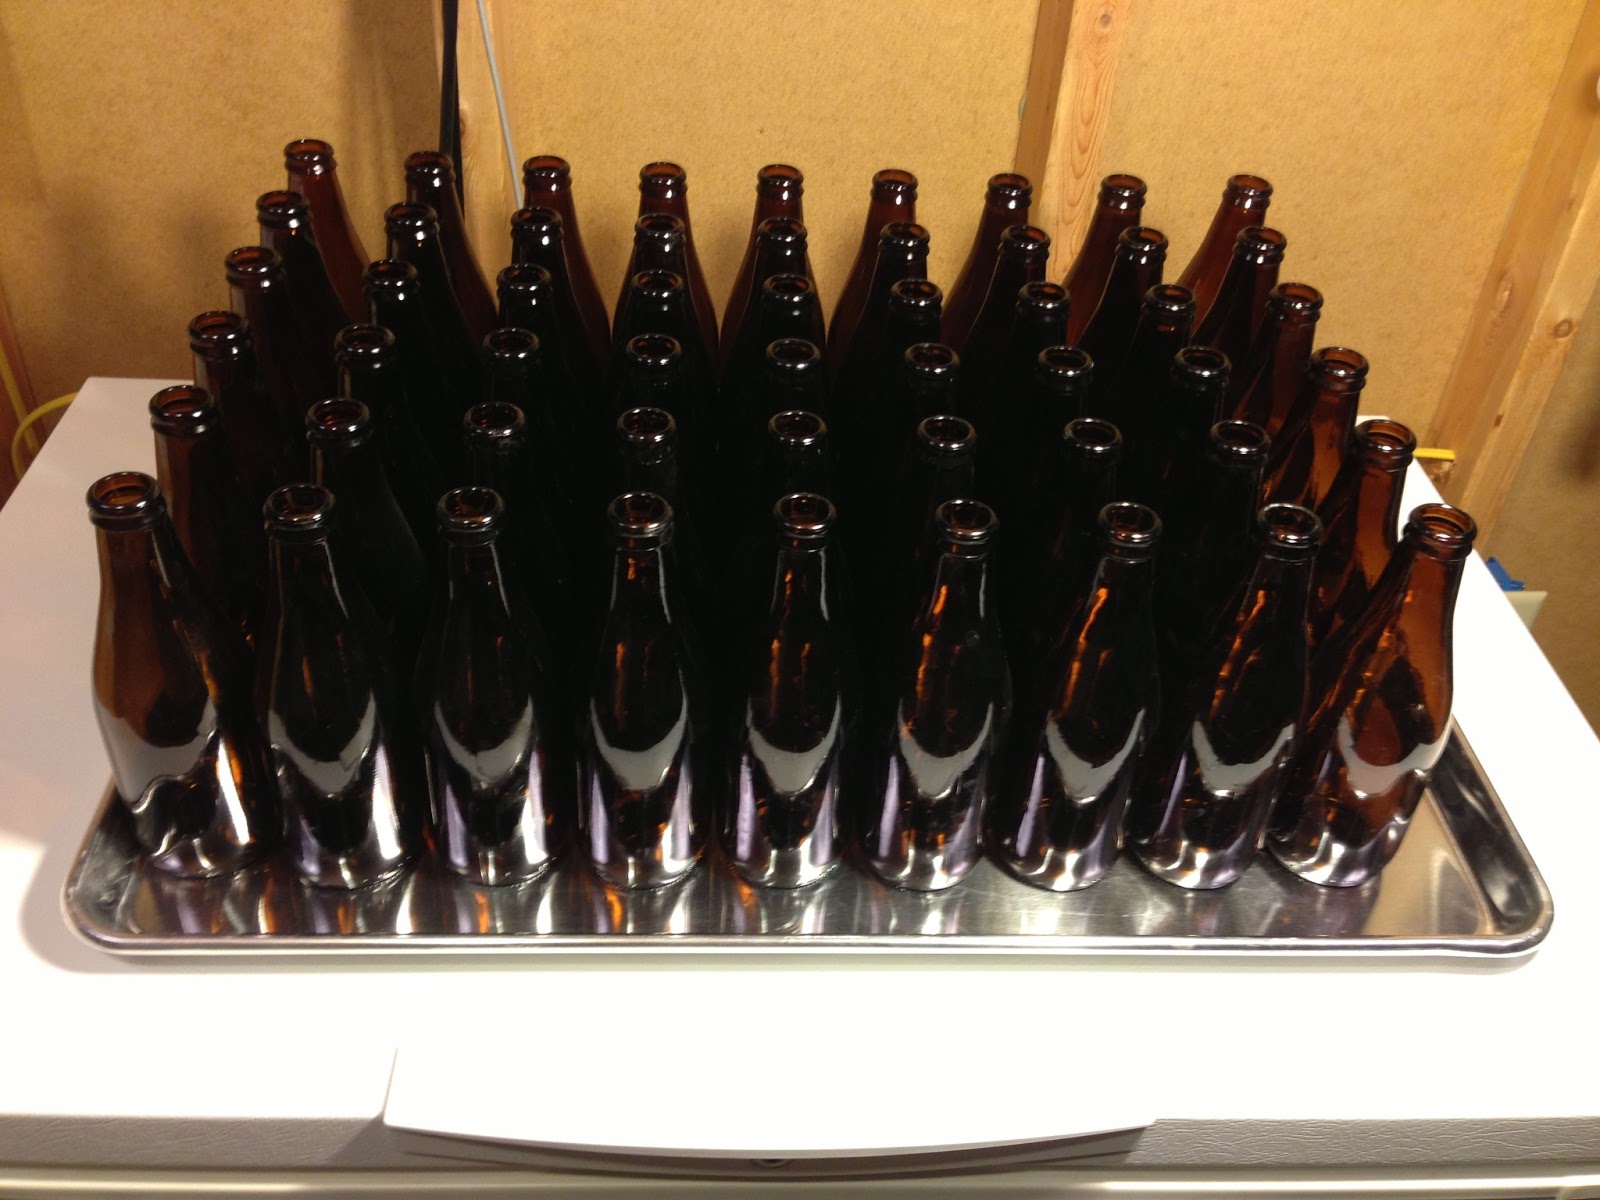
Step 19: “You will need to sanitize about 2 cases of re-cappable bottles. You can either wash your bottles with a sanitizing solution and drain them upside down (this is where a bottle tree is worth its weight in gold) or run previously cleaned bottles through your dishwasher on hot wash and dry with no soap. If you are using dirty bottles, you must scrub the inside with a bottle brush first. Do not wash labeled bottles in your dishwasher, as pieces of labels will come off.”
 I soak bottles in a hot mixture of PBW solution. That does a great job of removing labels and also cleans the inside. These bottles already had the labels removed.
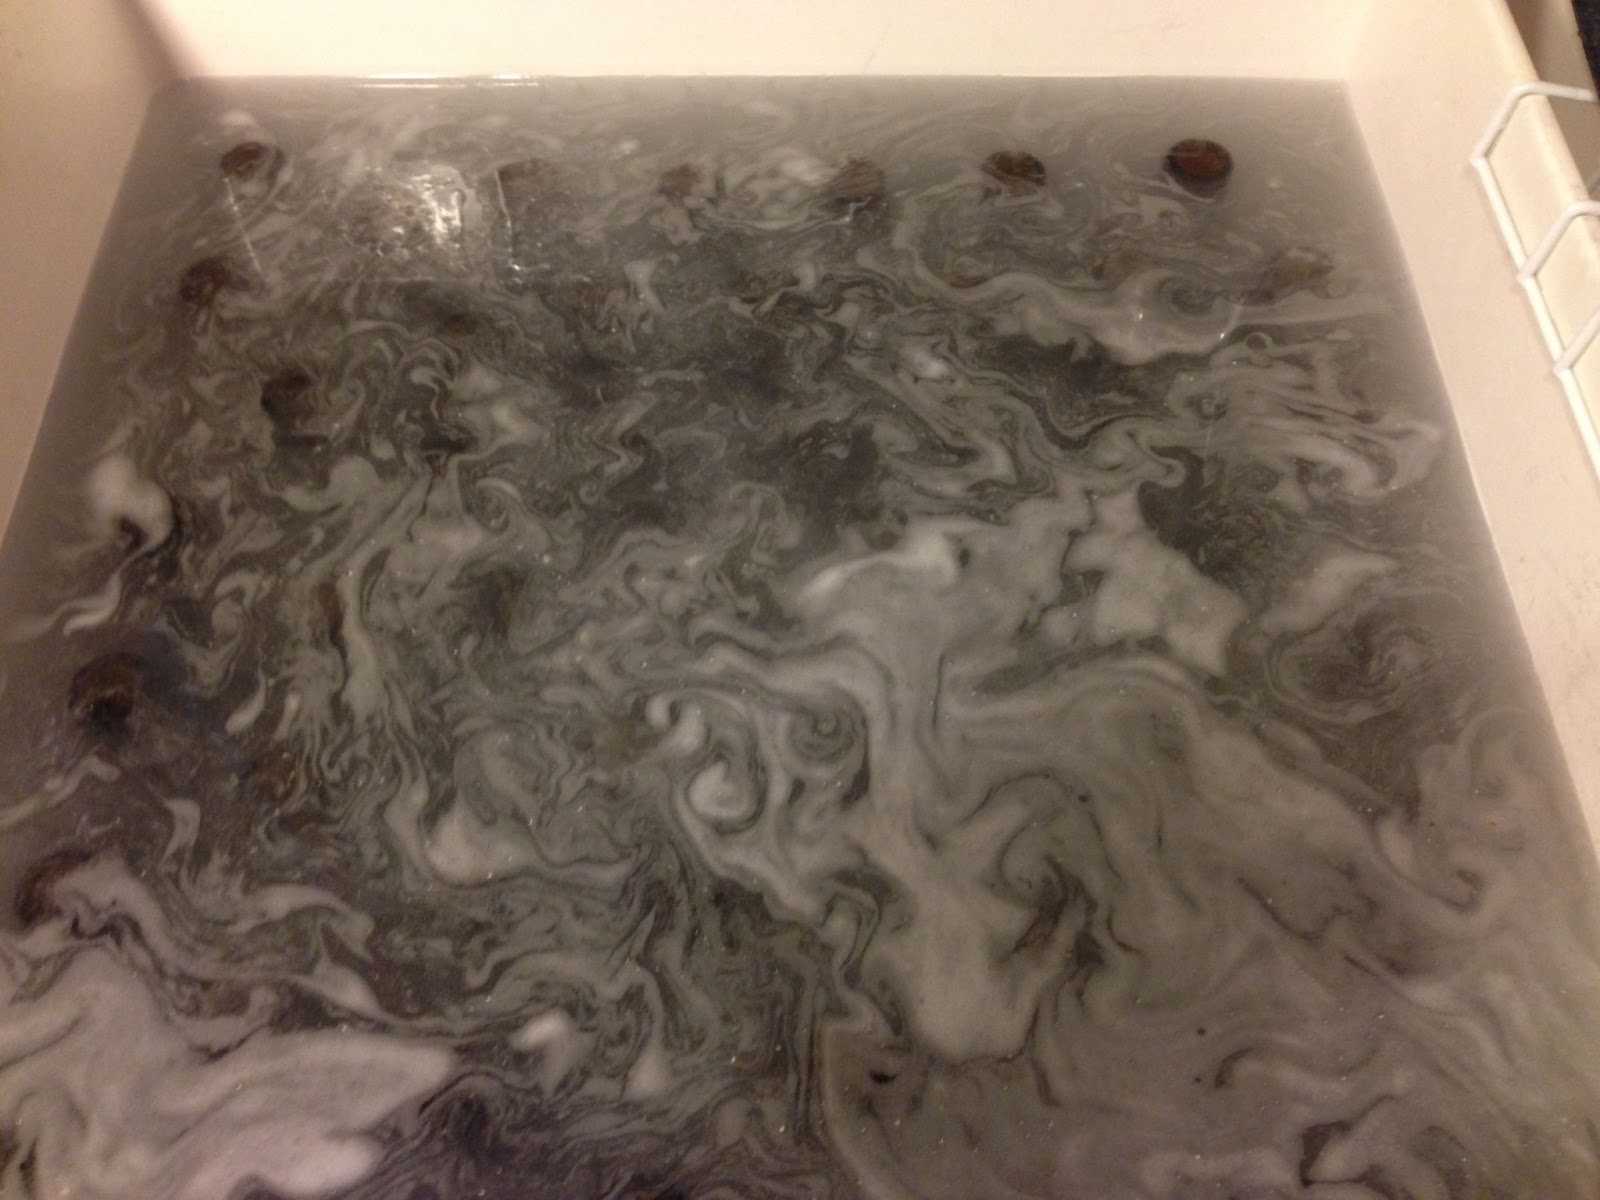
 I rinse the outside off with tap water and then rinse the inside out with a jet sprayer.
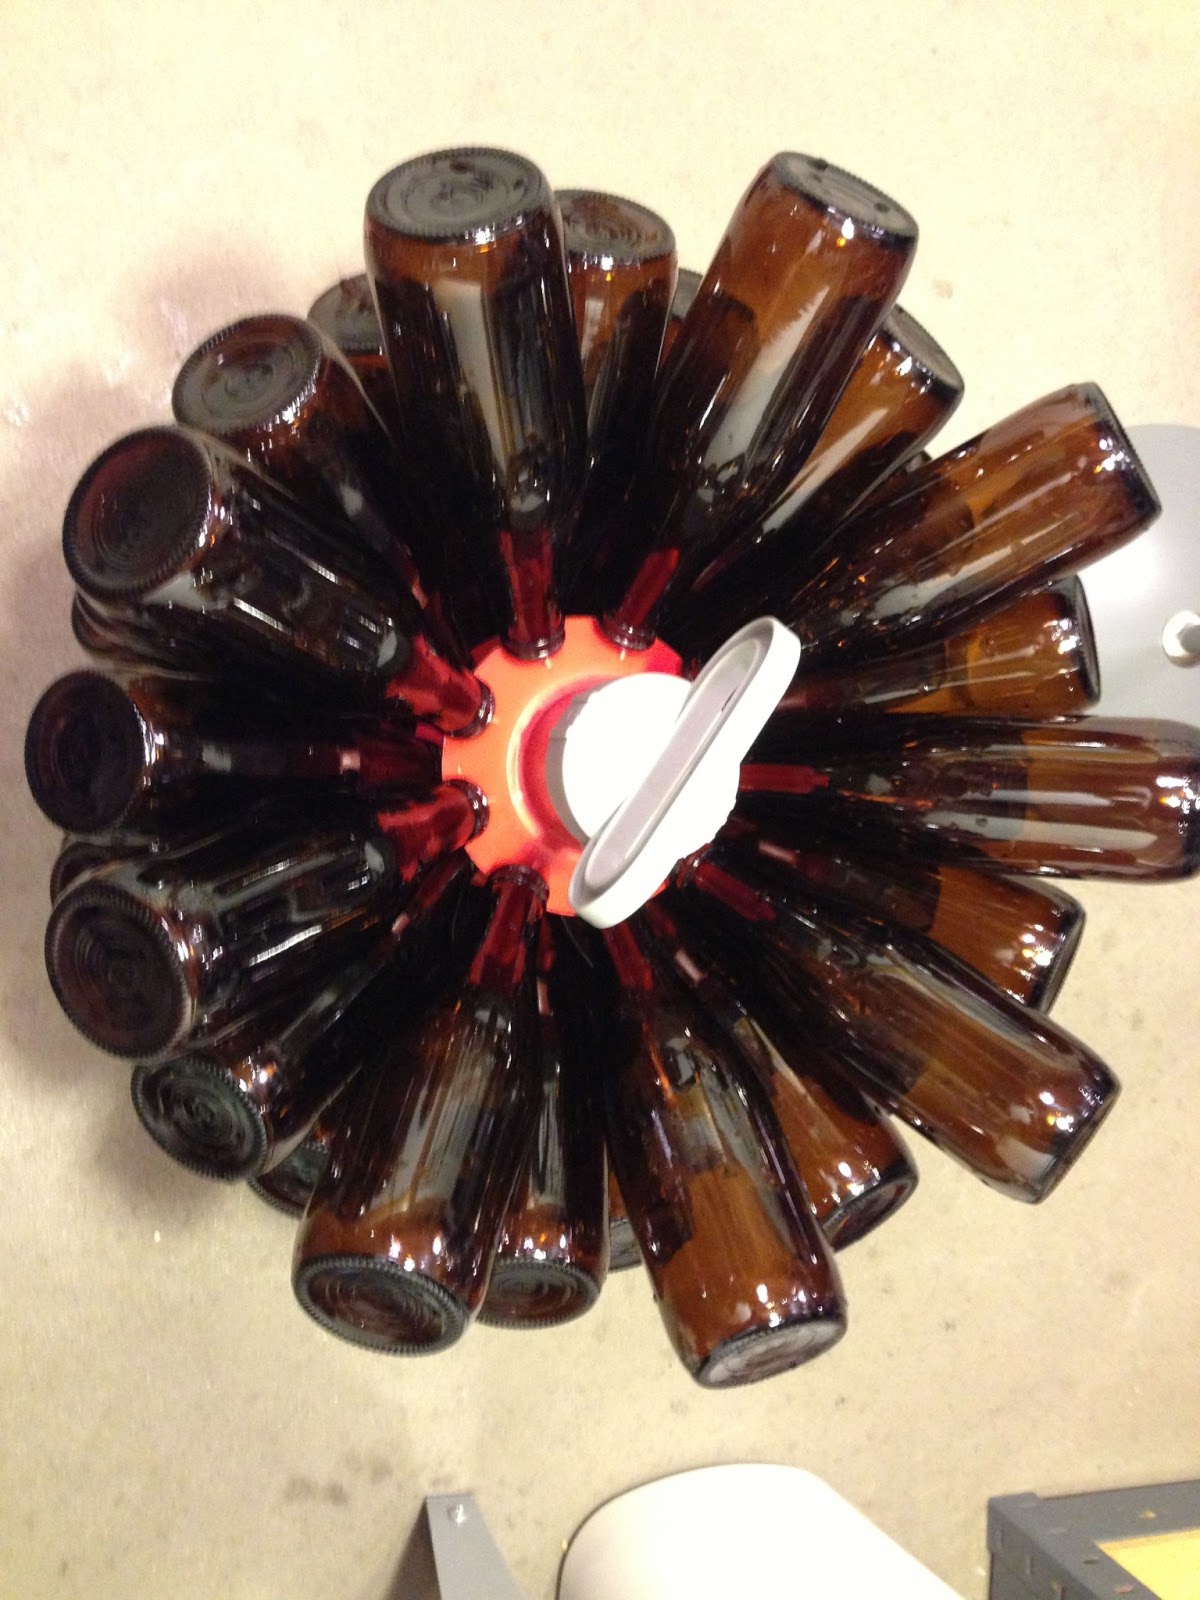 Bottles drying
Step 20: “If you need to move your fermenter to be able to siphon, move it a few hours, or even a day, ahead of time so that the yeast and sediment, called ‘trub’, can settle.”
 Here’s the finished beer
Step 21: “Sanitize your bottling bucket, siphon hose, racking tube (w/carboys only), bottle filler, spoon, hydrometer, and bottle caps with a sanitizing solution.”
 I use a wallpaper prep tray to sanitize longer items
 Bottling bucket sanitized with the Spray Bottle Technique
Step 22: “In a small pot mix the 4 oz corn sugar packet and two cups of water. Boil for 5 minutes.”
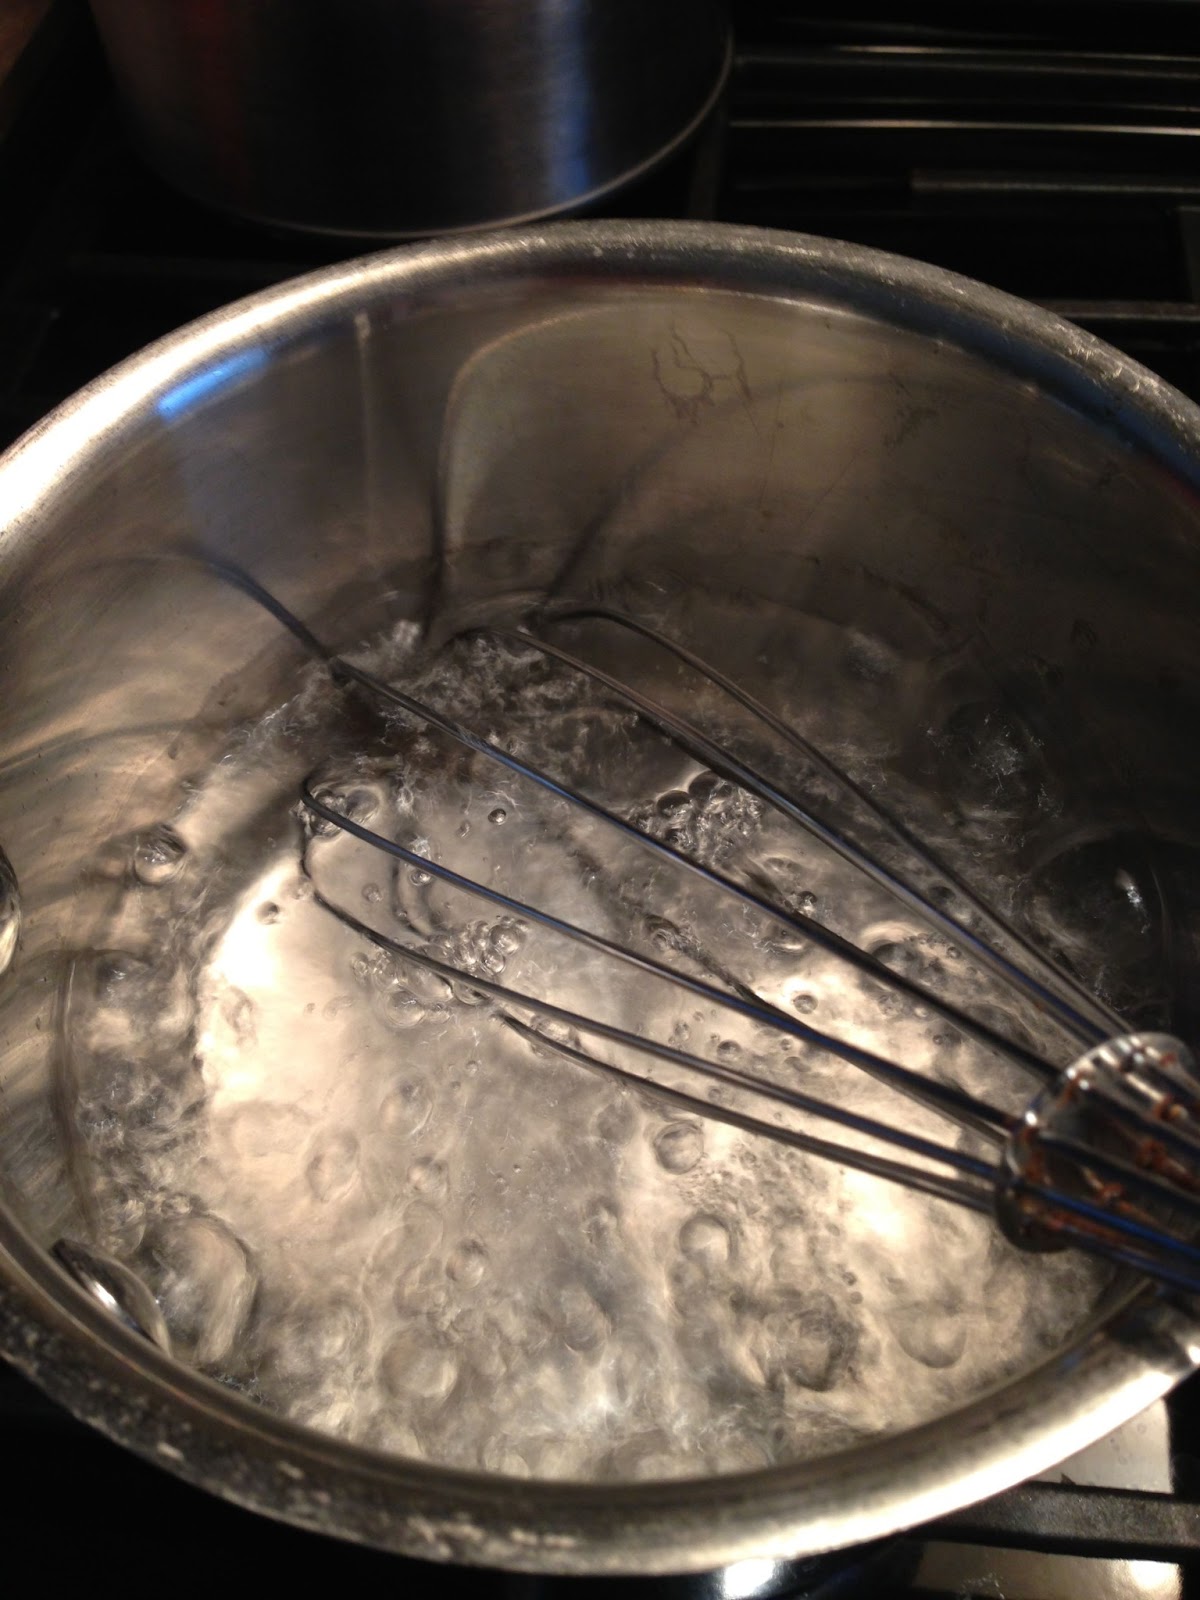 Priming Sugar Solution Boiling
Step 23: “Take a final gravity hydrometer reading and record it on the recipe/log sheet.”
Step 24: “Siphon your beer from the fermenting vessel into the bottling bucket being careful not to splash. Air is now the enemy. Dissolving air into the beer at this point causes premature staling via oxidation. After there is 2 inches of beer in the bottom of the bucket gently stir in the boiled corn sugar. The dissolved sugar will ferment in the bottle, making natural carbonation.”
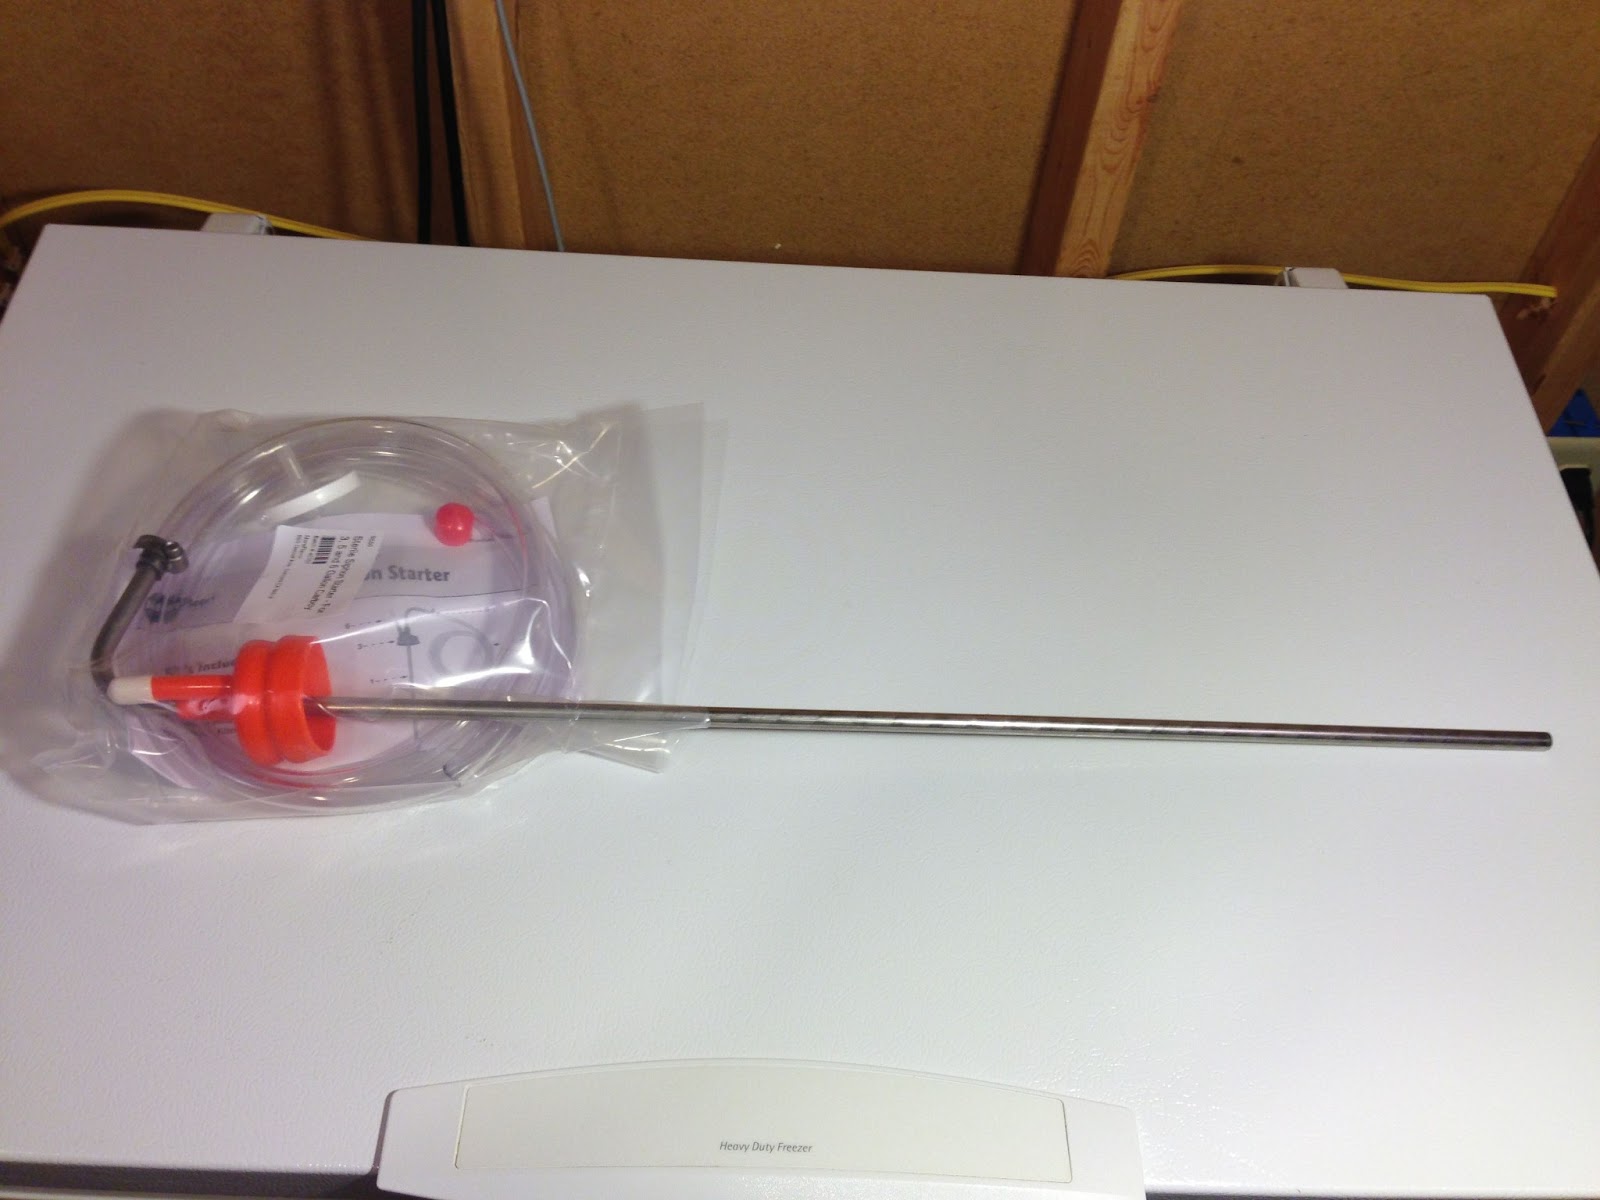
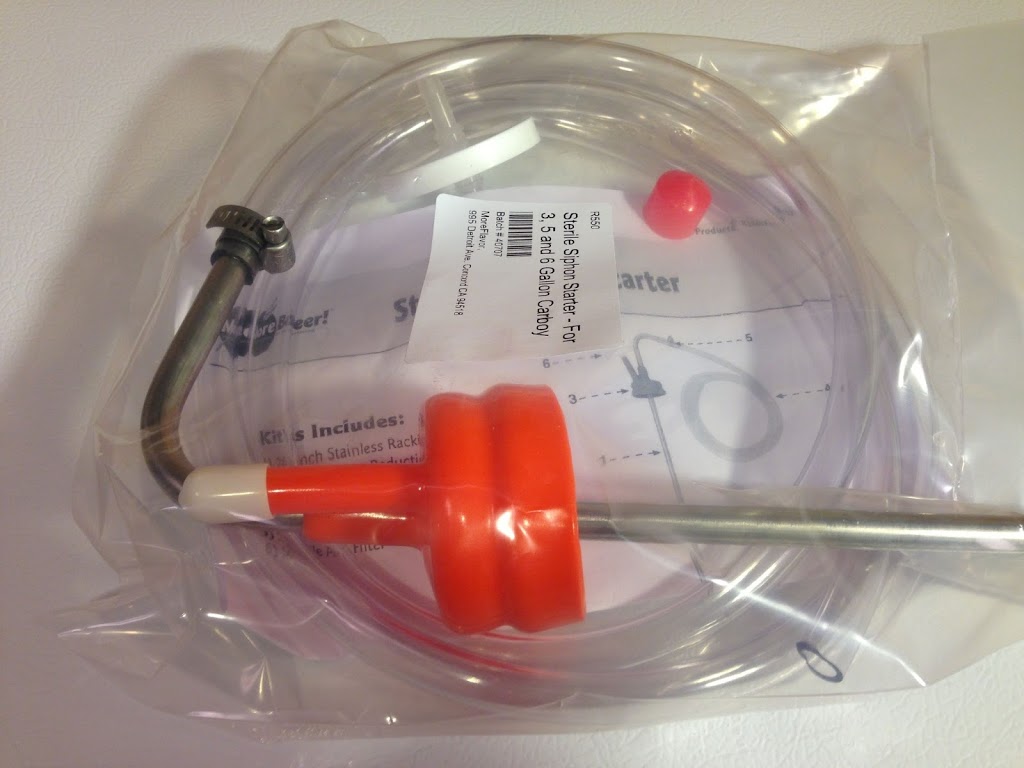 This equipment includes More Beer’s Sterile Siphoning Kit. This allows you to easily create a siphon.
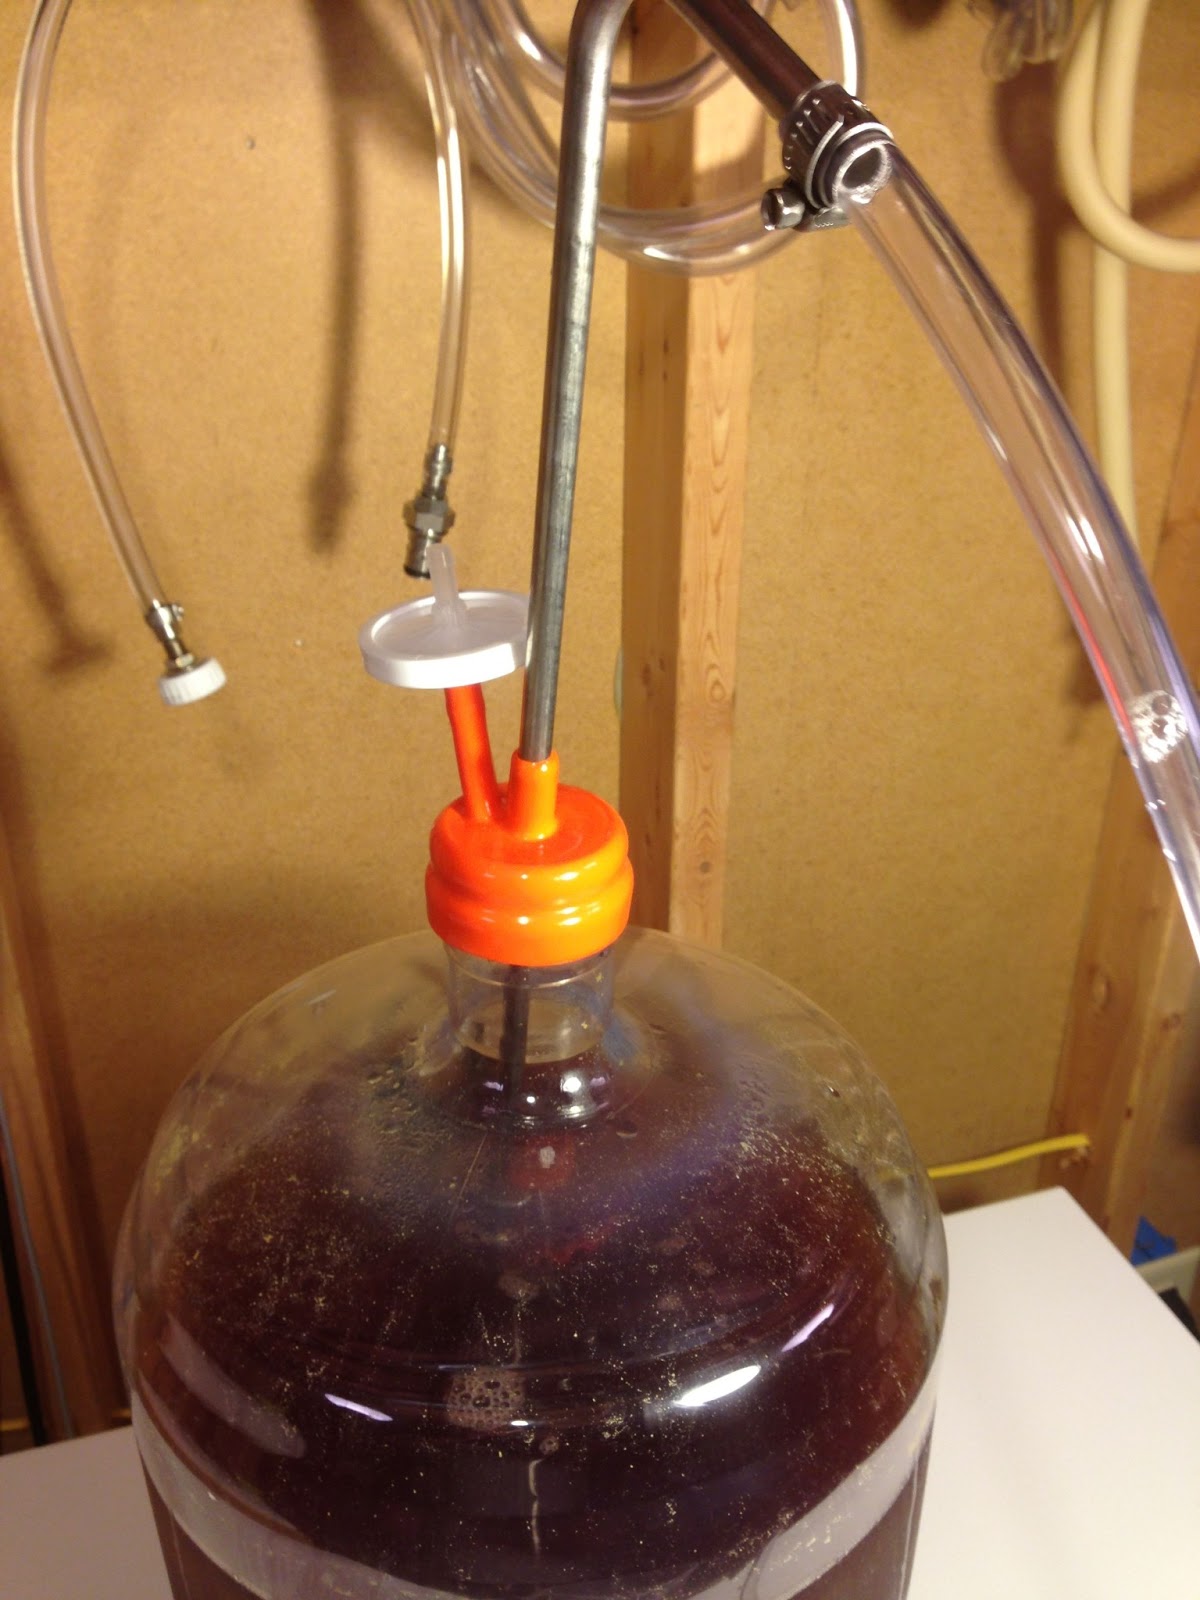 Sanitize all components (except the sterile filter). Assemble the tubing and racking cane, Insert that through the carboy hood and place the racking cane tip on the end of the racking cane. Place that in the fermenter. Put the sterile filter in the remaining carboy hood hole.
 To start a siphon simply blow in the sterile filter.
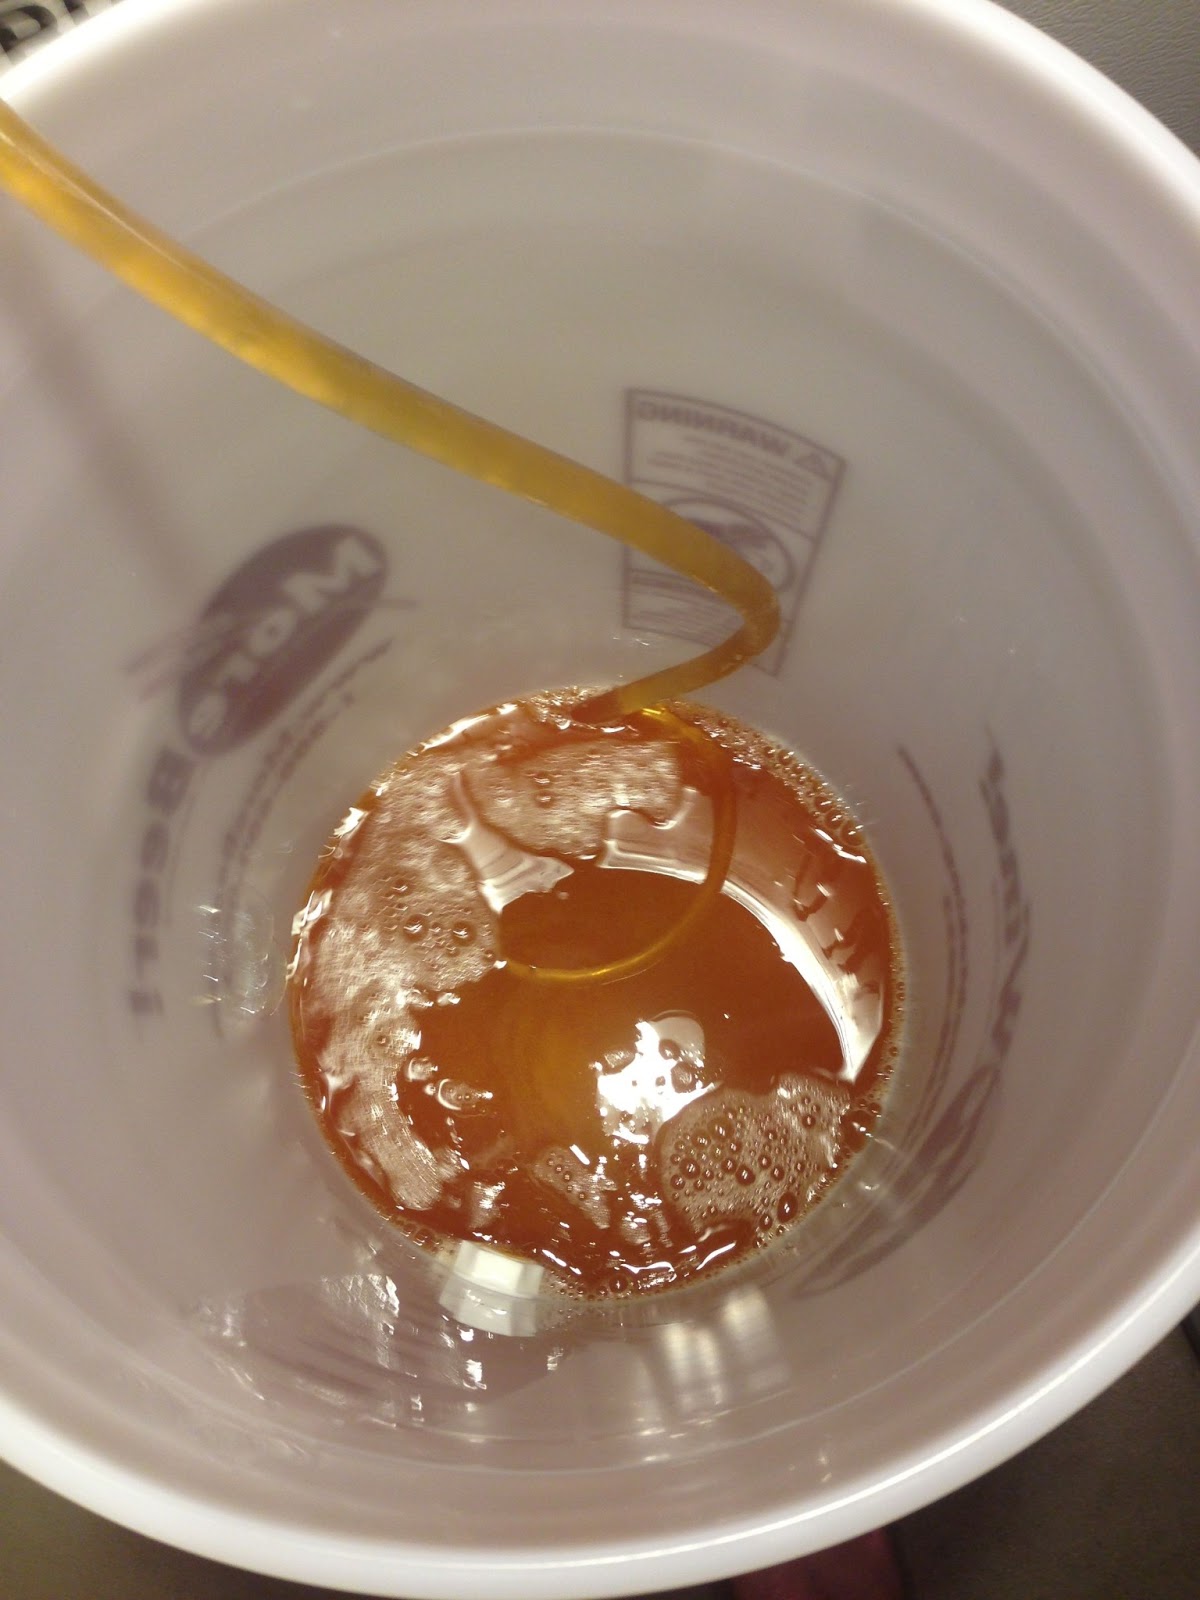 Situate the bucket and tubing so that the tubing is all the way at the bottom of the bottling bucket. Less splashing equals less oxygen pickup. Per More Beer’s directions, pour in the boiled priming sugar solution when you get two inches of beer in the bottling bucket.
Step 25: “To prevent airborne bacteria from falling in, cover the bottling bucket. Aluminum foil or loose fitting saran wrap is perfect. We don’t recommend attaching a bucket lid because these are so tight they can create a vacuum in the bucket as you drain out the beer.”
 Filled bottling bucket with loose fitting saran wrap
Step 26: “Take the 5′ of 3/8″siphoning hose and attach one end to the spigot on the bottling bucket and one end to the bottle filler. Fill the bottles to the top and remove the filler, leaving about 1″ of headspace. Place a cap on top of each bottle. You can choose to cap the bottles as you go or you can fill all of the bottles first and then cap them all at once.”
 I use a full size sheet pan to catch drips while bottling. I sanitize bottles by spraying a couple squirts of Star San in each bottle and inverting to drain that solution out. Also make sure to sanitize bottle caps.
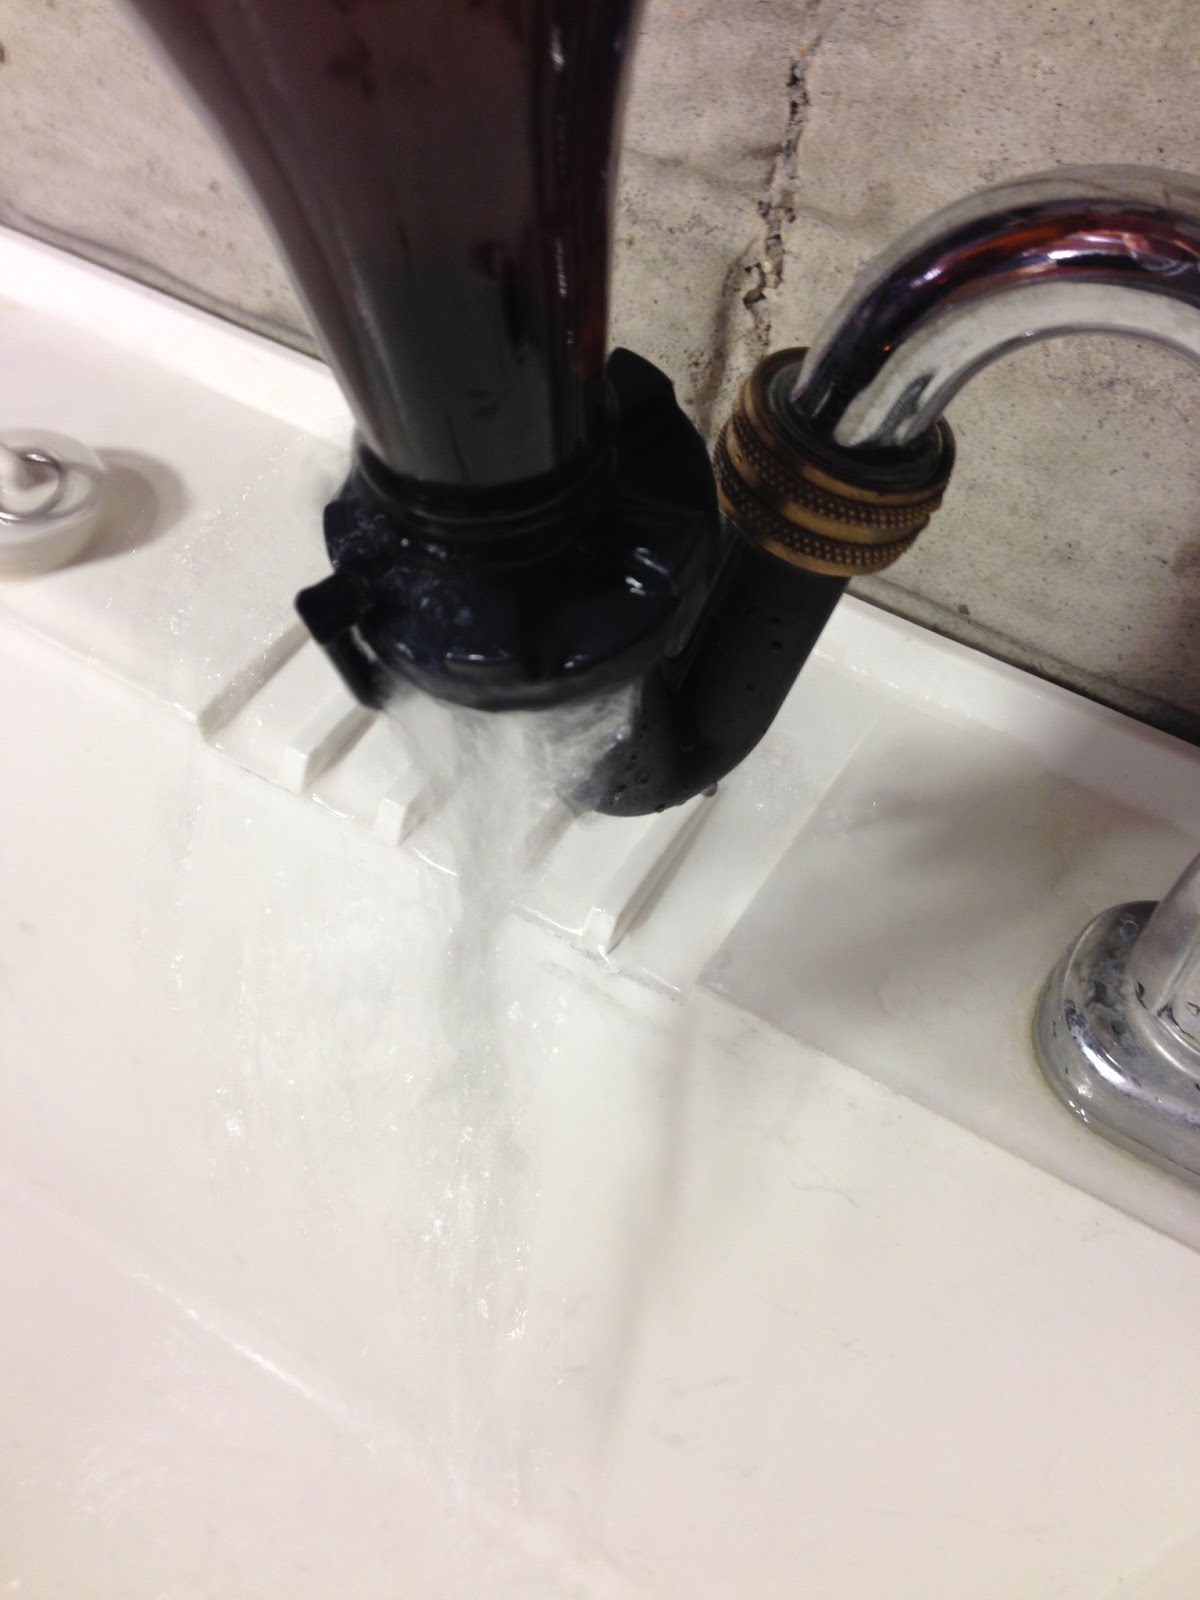
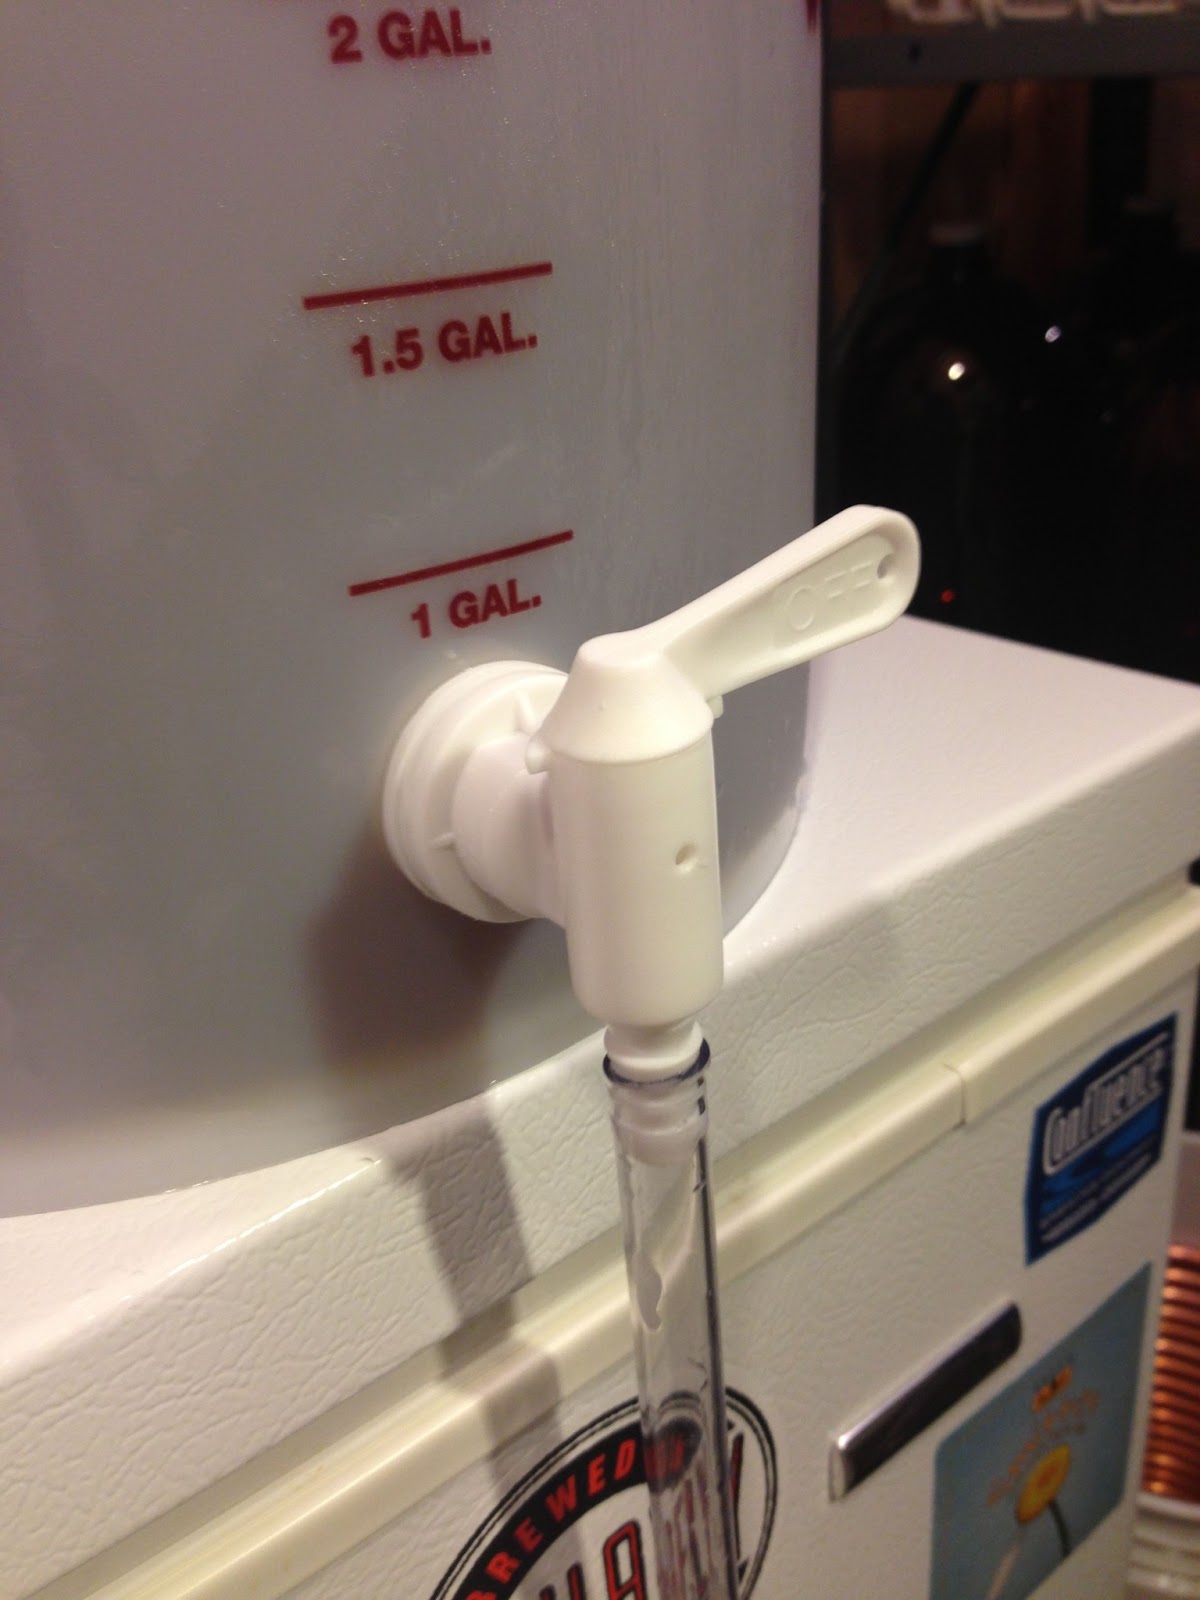 Tubing connected to bottling bucket. The included spigot includes handy On and Off labeling.
 Sanitized bottling wand on the other end of the sanitized tubing.
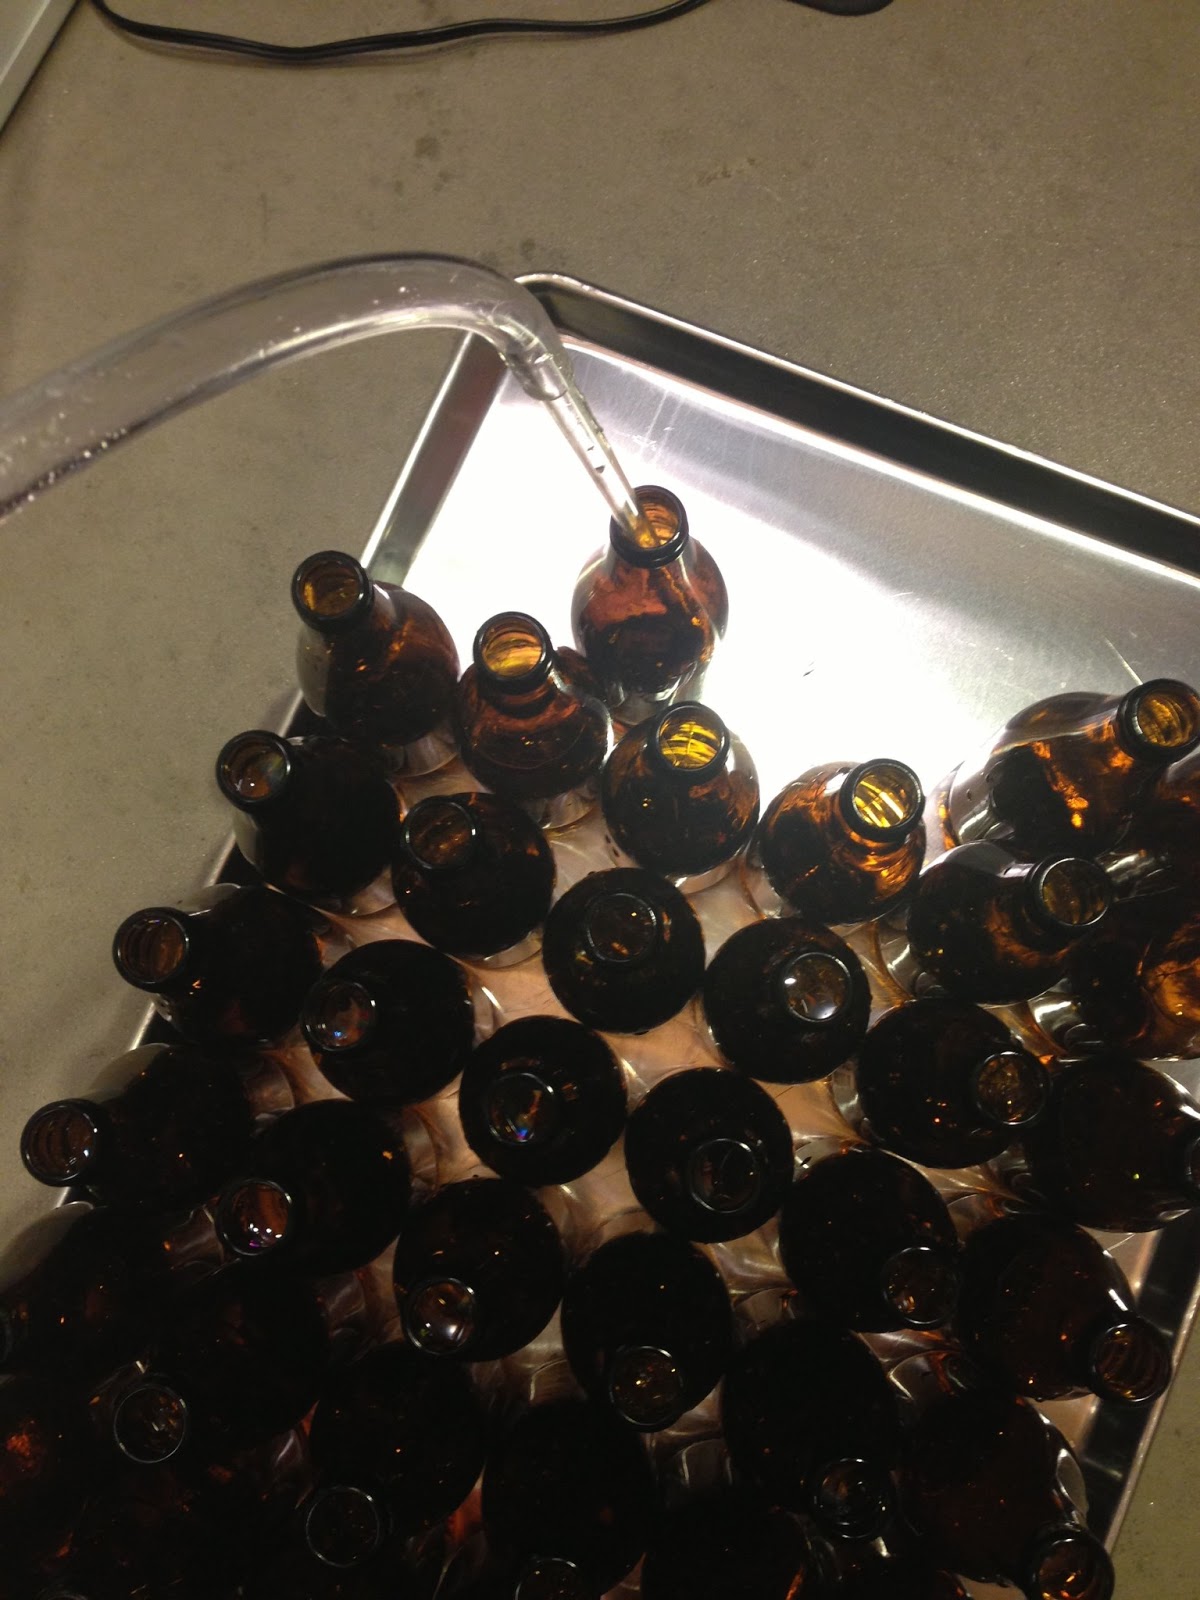
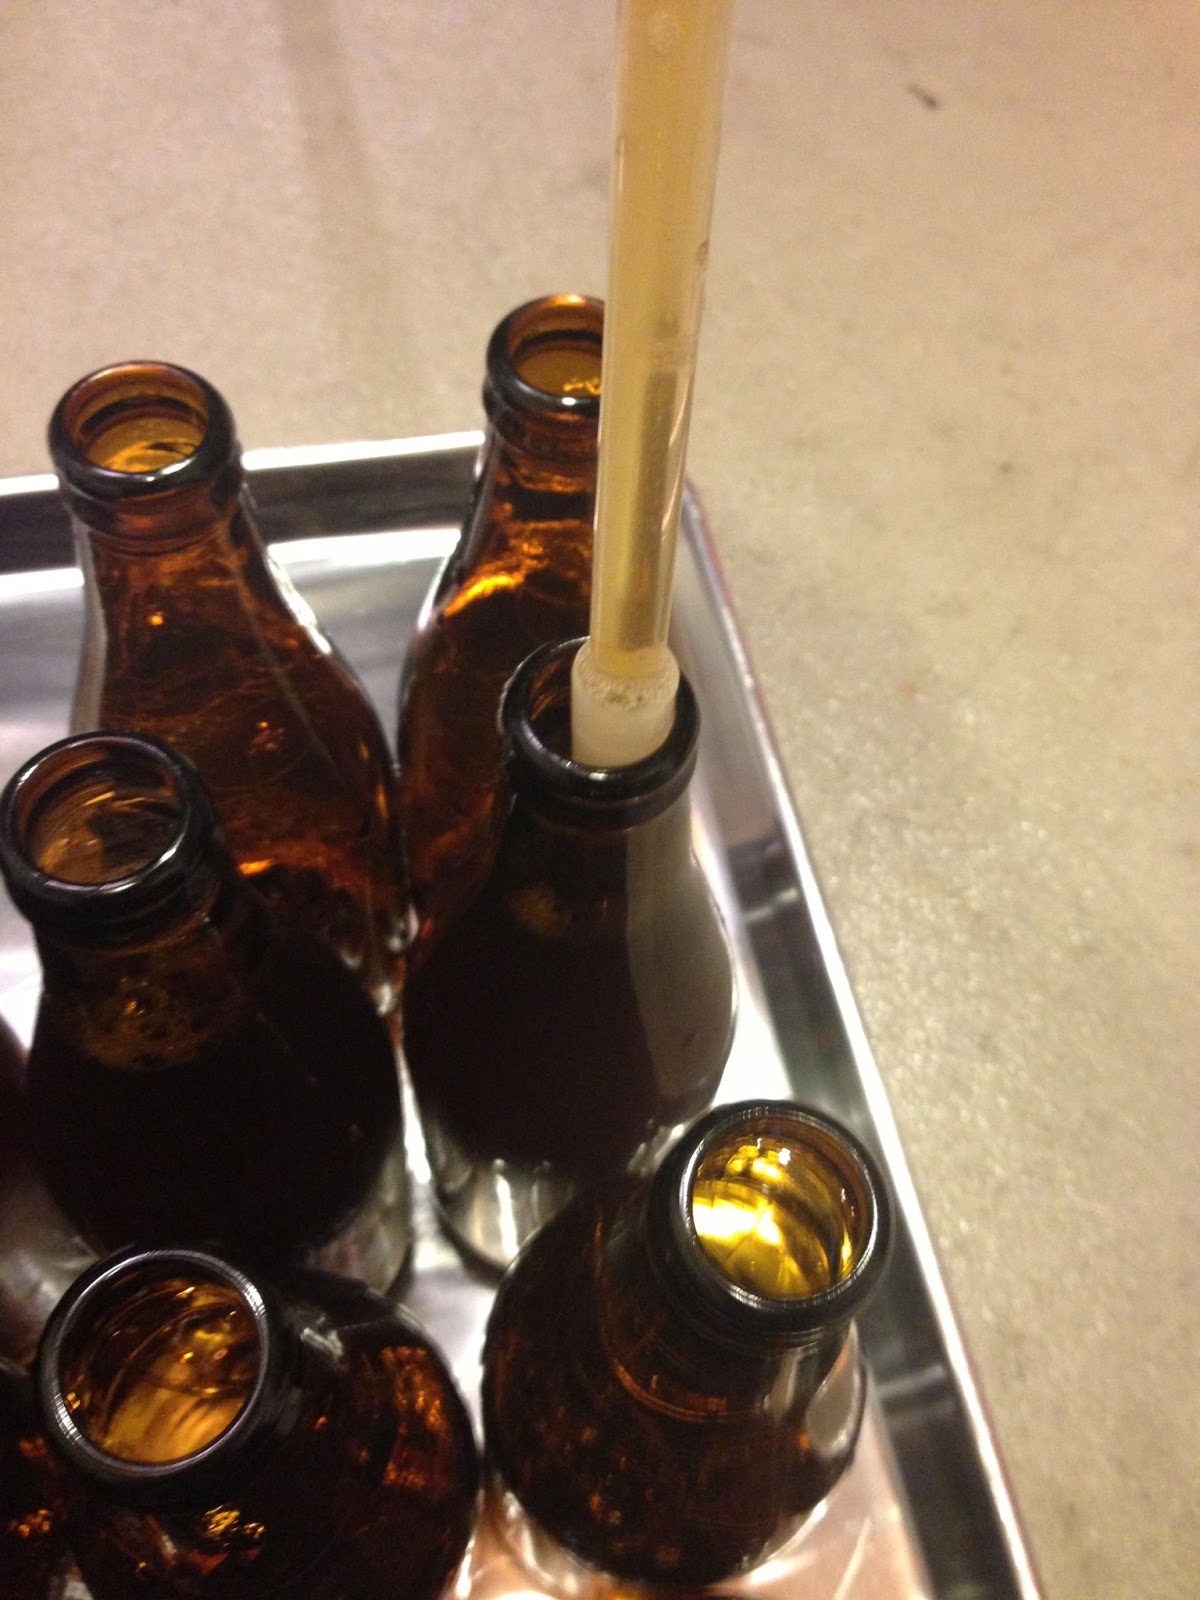 Starting to fill bottles. As I fill bottles, I place a sanitized cap on each one. That reduces airborne bacteria while at the same time allowing me to continuing to fill bottles.
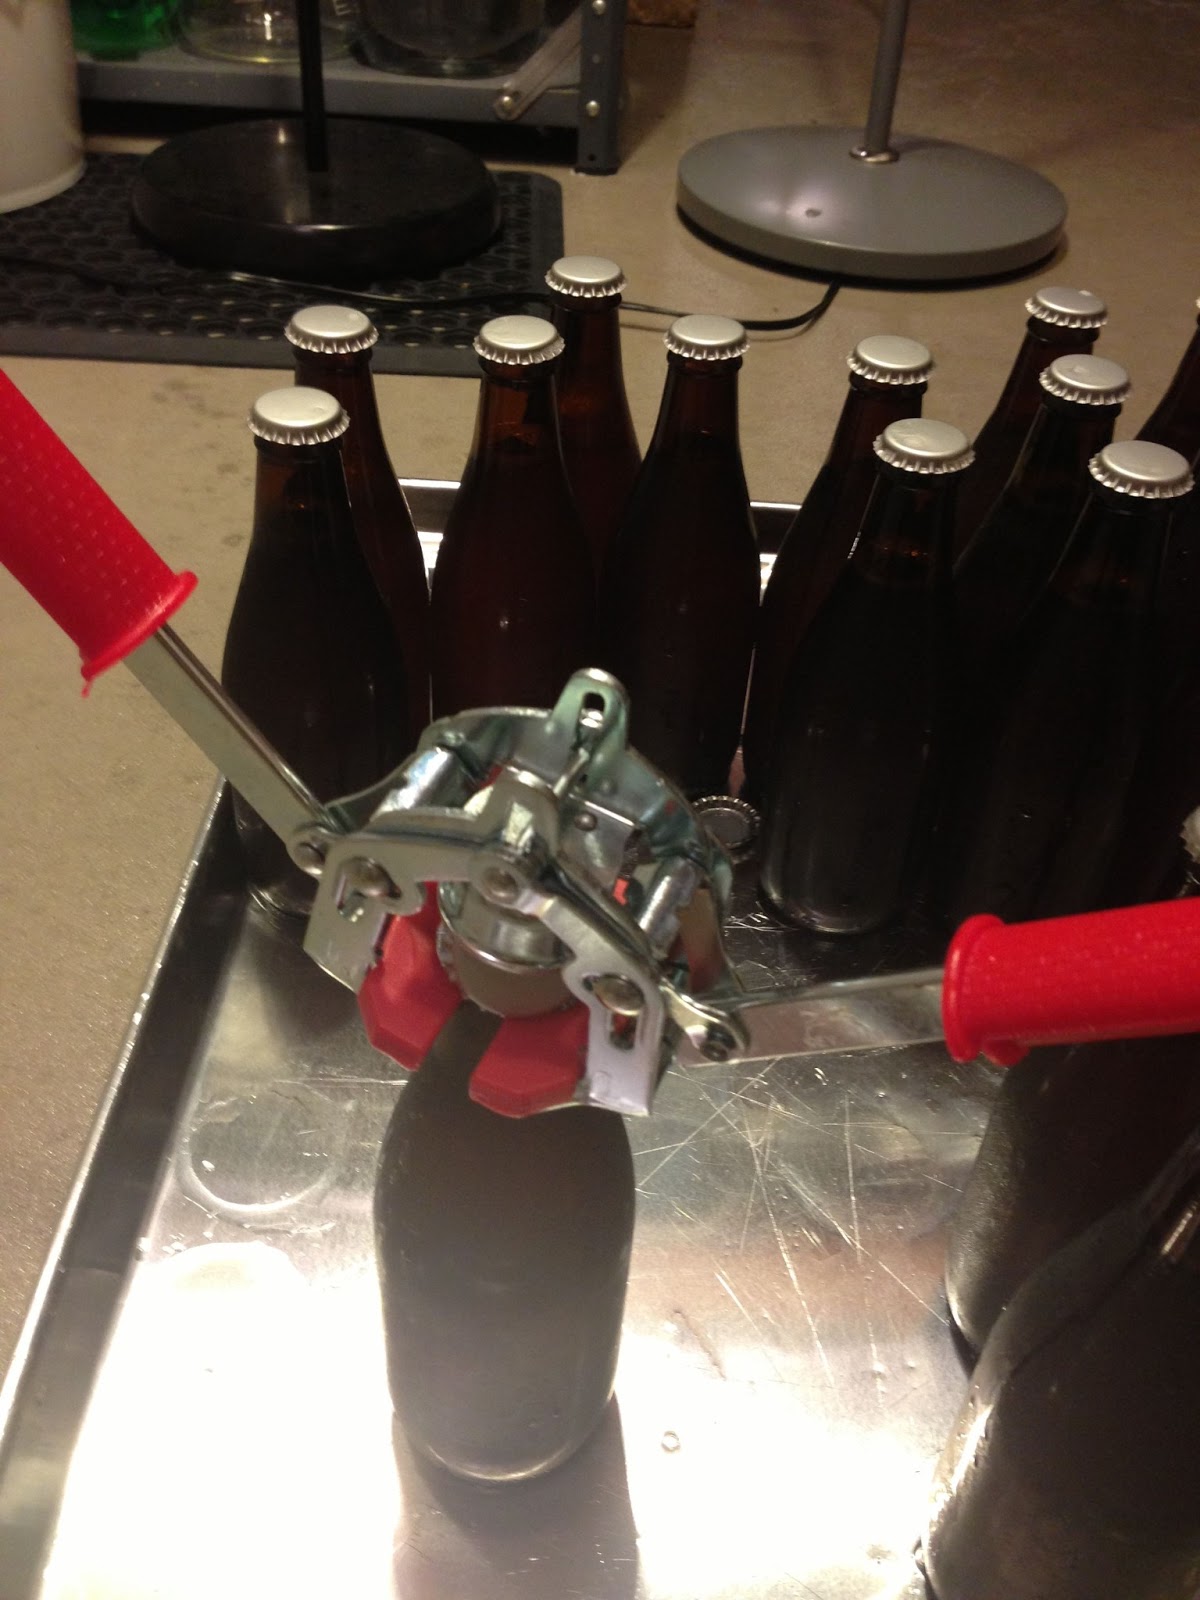 Capping using the included capper
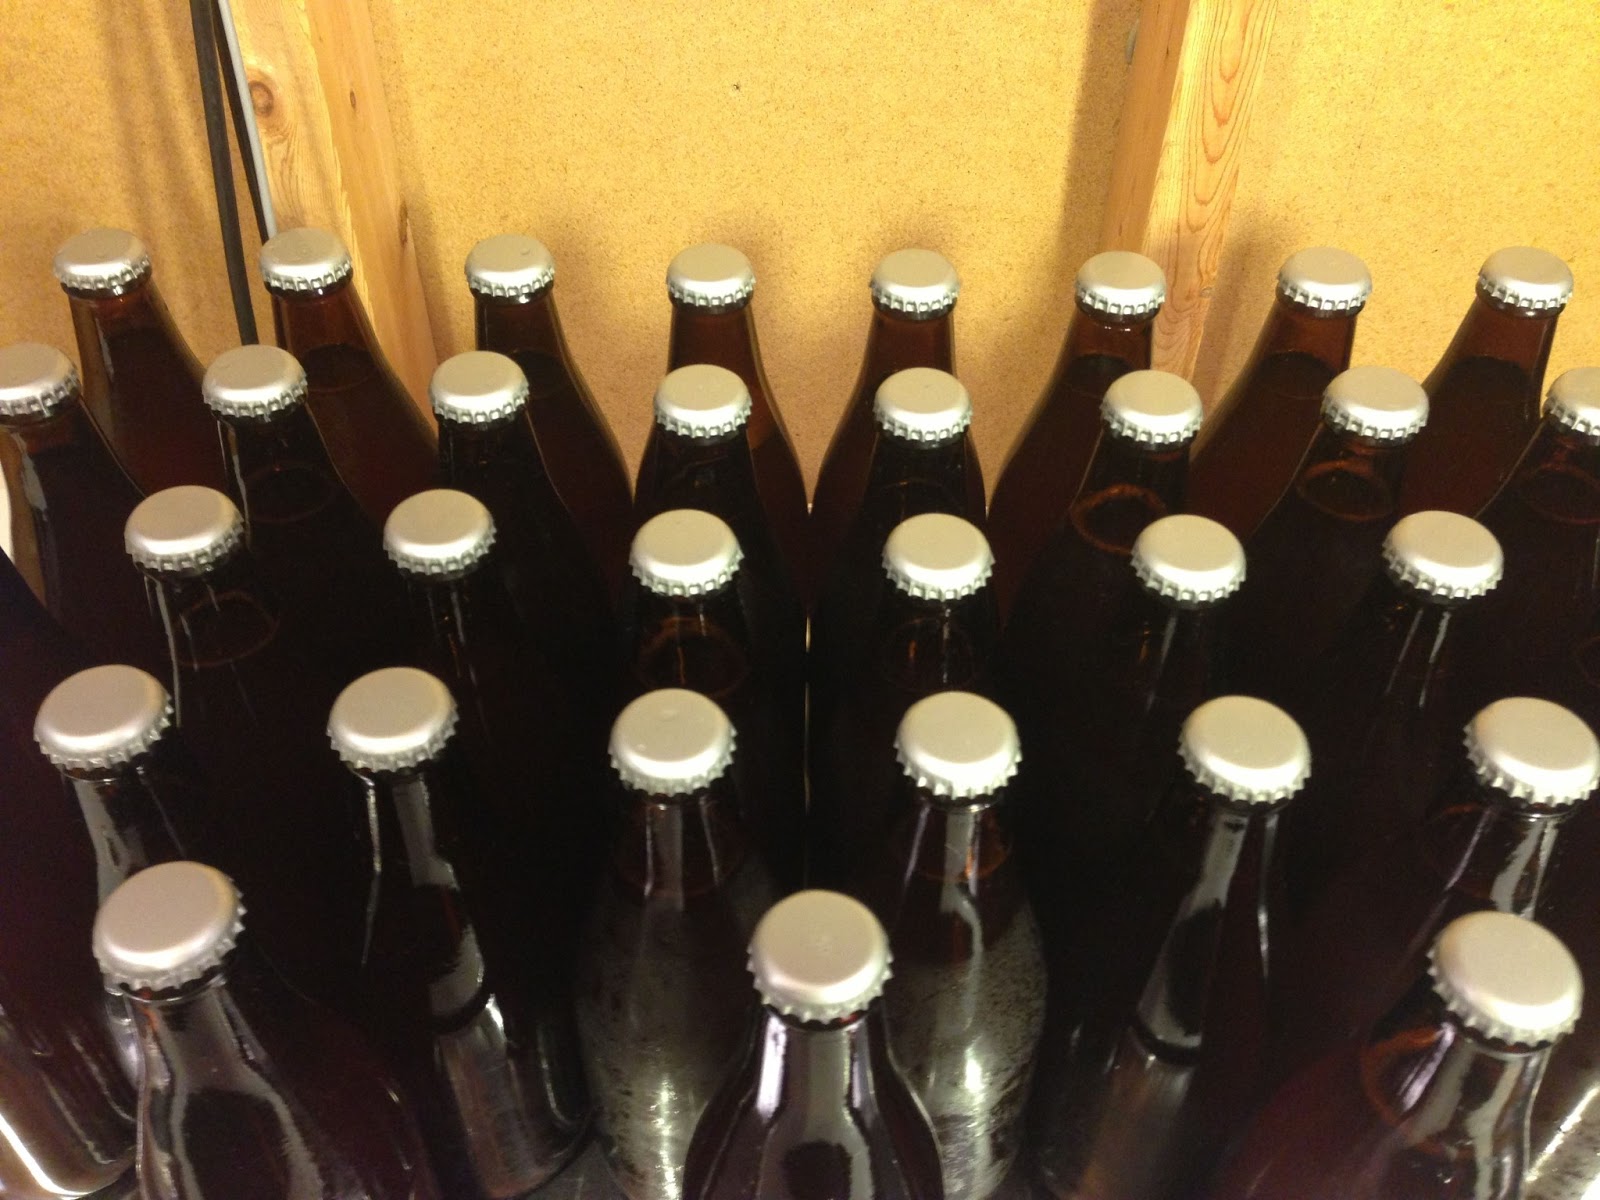 I rinse off the bottles to get any drips of beer off of them and then give them a quick dry. Here are some of the filled bottles.
Step 27: “Leave the bottles at room temperature for at least 2 weeks to carbonate. Colder temperatures, 65˚F or below, will require additional time for carbonation. You can drink the beer after 2 weeks, or when carbonation is present, however your beer will improve significantly with additional aging in either the refrigerator (ideal) or at room temperature. The refrigerator, or a cool spot, is really beneficial for long-term aging (months). Beers with higher alcohol contents and higher bittering rates will need to age longer.”
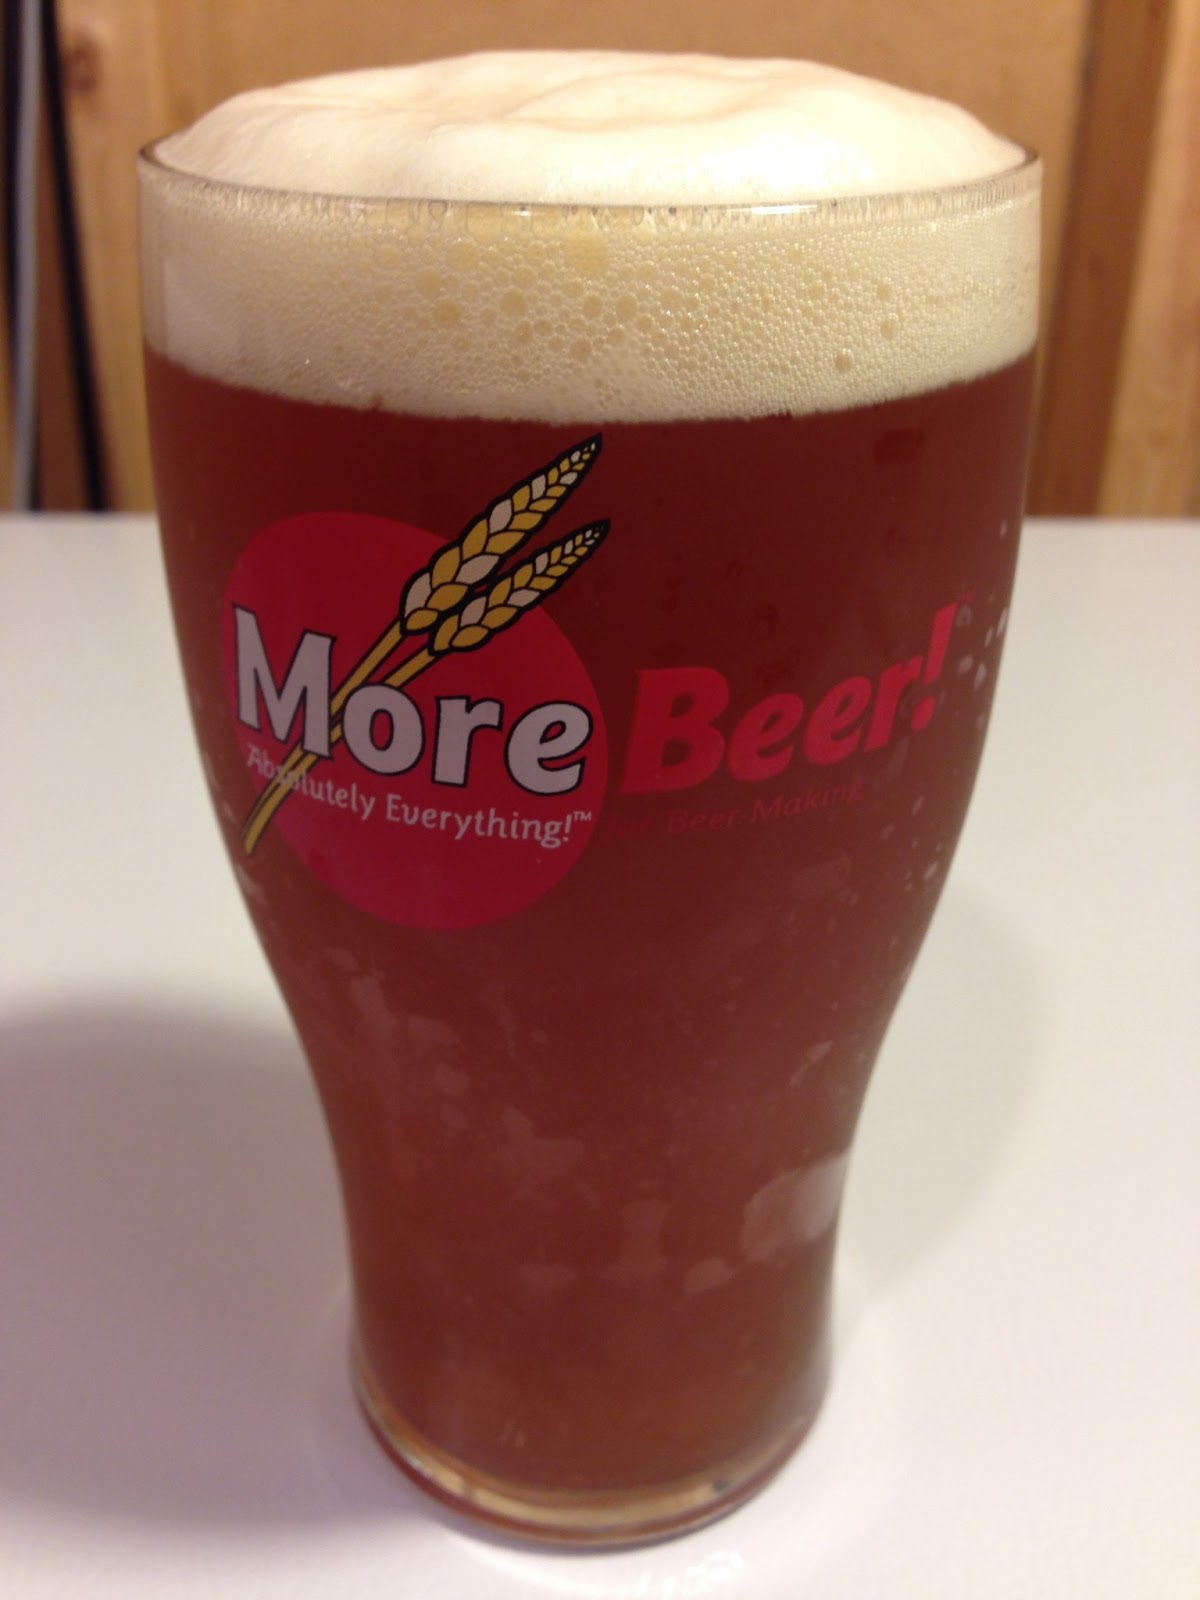
Finished Beer
This Zythos IPA was brewed using relatively simple techniques, in my kitchen. It fermented in my basement. It tastes delicious. If someone handed this to me and said it was such and such from such and such brewery, I would say… that’s a great beer.
Homebrewing is a hobby that can grow with you. You can start out with this or a similar kit and much of the equipment can continue to be used if decide to take a next step. This is a great starter kit with nearly everything you need to get started.
Check it out – Personal Home Brewery Kit #2 Deluxe BRKIT2
Essential Add On:
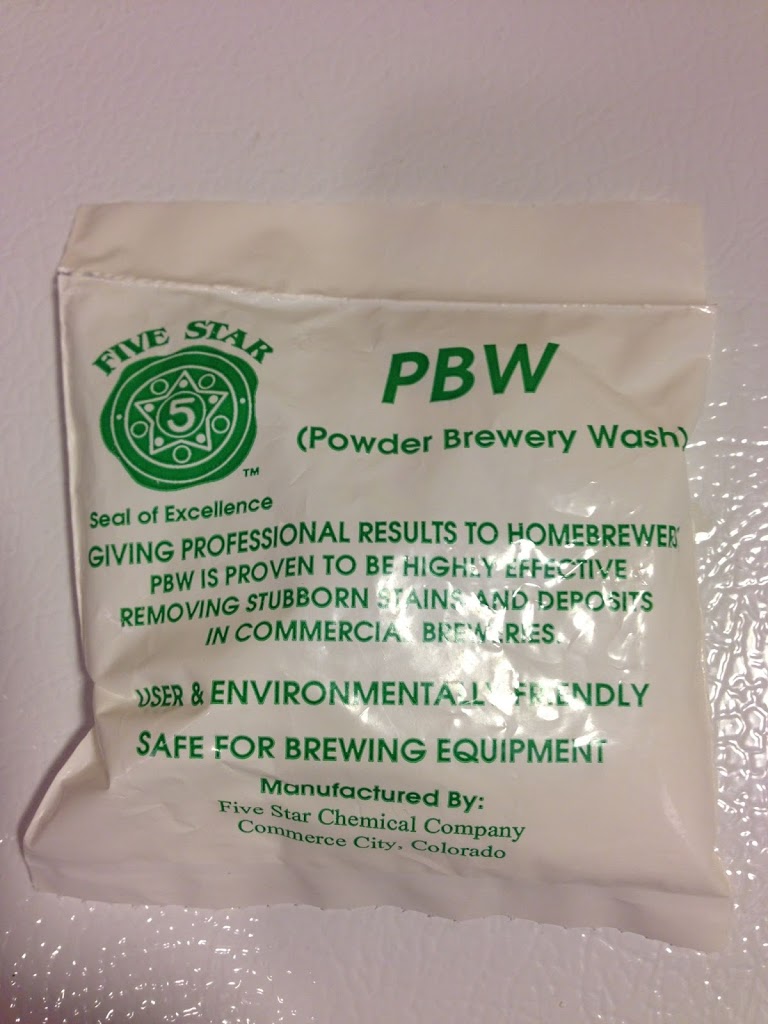 The included packet of PBW
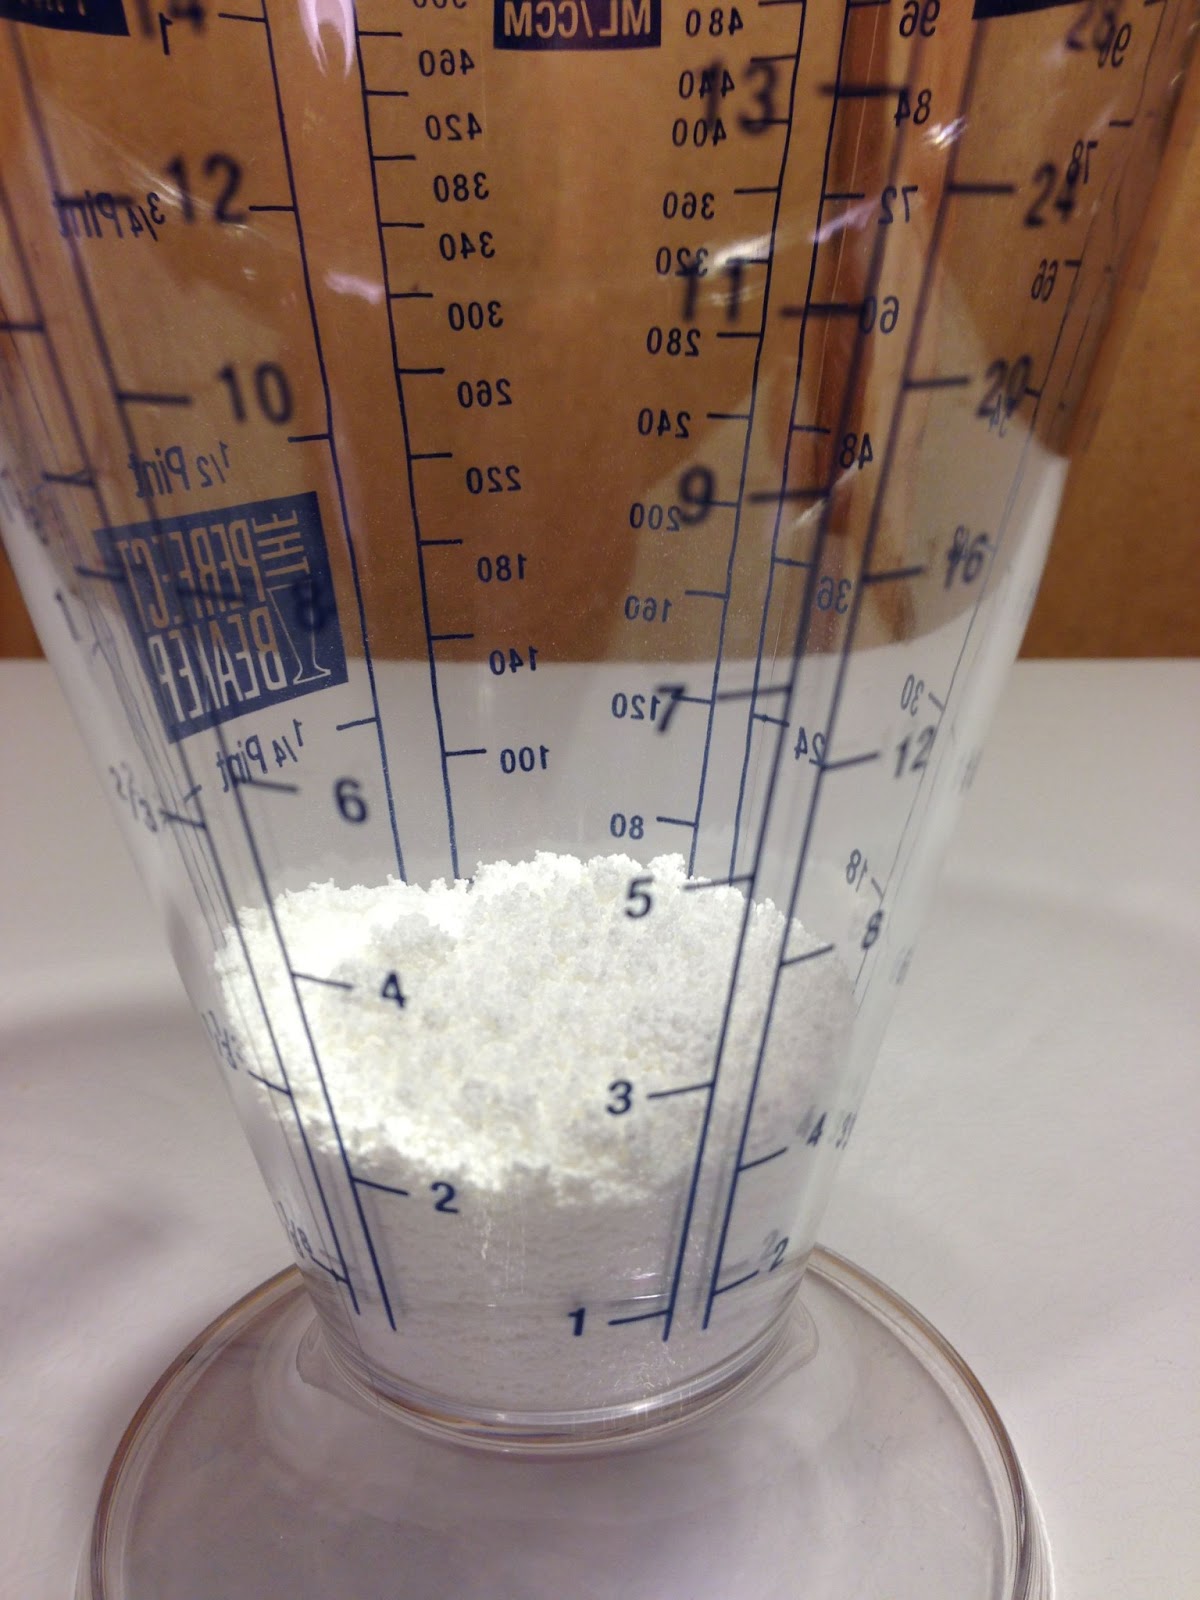
My Perfect Beaker shows this packet coming in at about 2 ounces.
What is 2 ounces of PBW good for? It does little more than prove that PBW exists. 🙂 Seriously though. While the supplied amount of Star San may very well last for years using the Spray Bottle technique, the included amount of PBW isn’t enough to complete your first batch. Add a 1 lb or preferably a 4 lb container on to your order or plan on cleaning with some other substance.
Consider Adding On:
Saves time and water when you’re cleaning bottles.
Stainless Bottle and Carboy Washer

45 Seat Rotating Red Bottle Tree B510
 If you do not have a large enough kettle on hand More Beer offers an economical 5 gallon stainless kettle.
5 Gallon Stainless Steel Kettle BE300
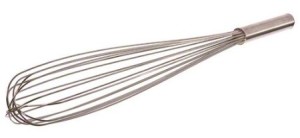 This works really well for incorporating LME and DME. It also works really well as a mash tun whisk should you choose to start brewing all grain in the future. It’s also great for starting a whirlpool.
Update International FW-24 Stainless Steel French Whip, 24-Inch
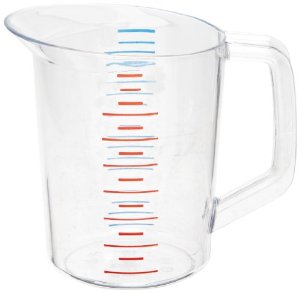 Consider picking up a quality 1 gallon pitcher for measuring water.
Rubbermaid Commercial Products FG321800CLR 4-Quart Bouncer Measuring Cup
If you want to use the Spray Bottle Method of Sanitizing…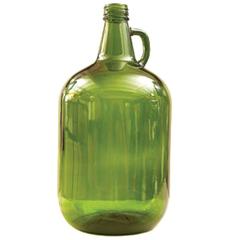 Glass Jar – 1 Gallon (Green) FE300
Plastic 1 Gallon Jar Cap FE303
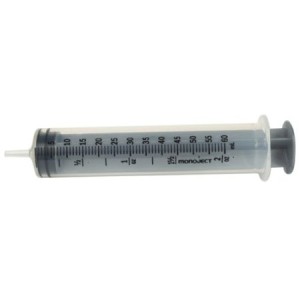 For measuring 6 mL of Star San
60 cc Disposable Syringe without Needle
Full Wort Boils: At some point consider doing full wort boils. That requires a larger kettle, this one is a great value. That upgrade also, generally requires a wort chiller and can possibly require a propane burner.
MORE MoreBeer Deals!… This post contains affiliate links. We may make a commission when you use our links. This will never cost you extra. Thank you for supporting Homebrew Finds!
This is a Top Post! See: All Top Posts
topost:firstbeer